How to make control equipment for a flight simulator
Just a couple of years ago, I first heard the word - copter. At the same moment, I wanted to figure out what it is and how it works. Let's skip this time the theory of the copter - not one post has been written about this. My article is about gaining control skills for this very copter , as well as, in principle, any flying model. Of course, the first thing we need is the aircraft itself! But do not rush to lift it into the air! 10 of the first 10 flights on copters end with broken screws and frames.
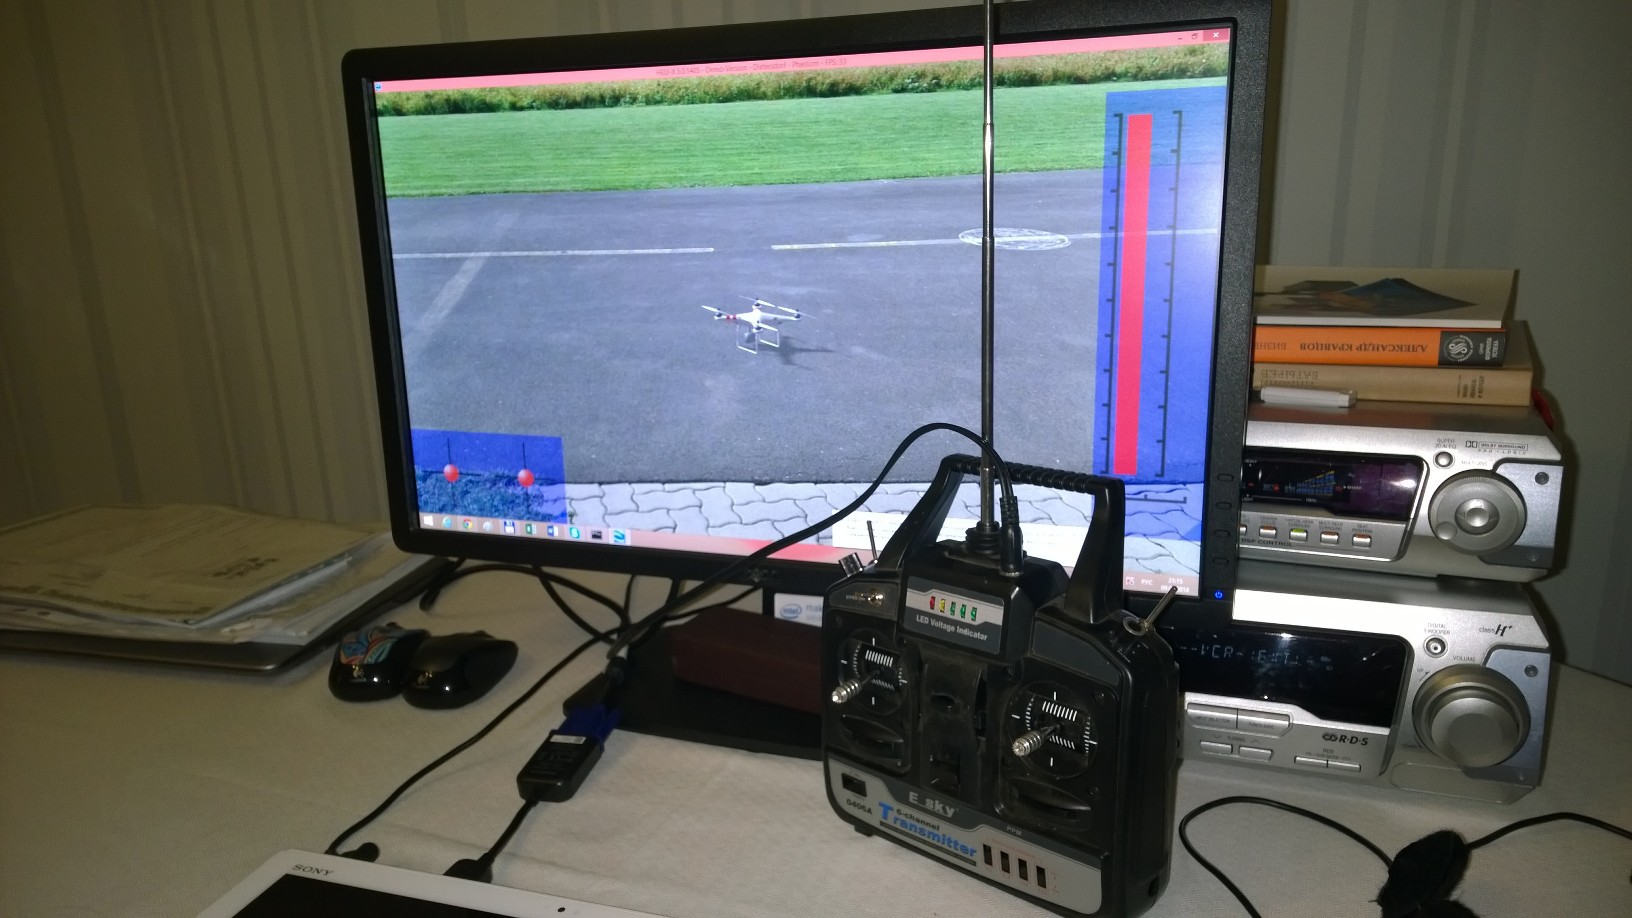
To begin with, my advice to you is to practice the simulator, and for this, get a simple device for connecting your control equipment to a computer! This device is nothing more than an adapter that turns a sequence of signals coming from the controller of your equipment into a sequence of codes that are understandable by the software of your OS. As a result, we get a gaming device: joystick.
How to do it? We will need:
So, let's start in order.
As my first equipment, I purchased the simplest 4 channel through the forum of aircraft models. It operates at frequencies of 72 MHz, so now it can be used without regret for the simulator, and for flights I got a 2.4 GHz version. This time, for clarity, I used exactly 72 MHz equipment!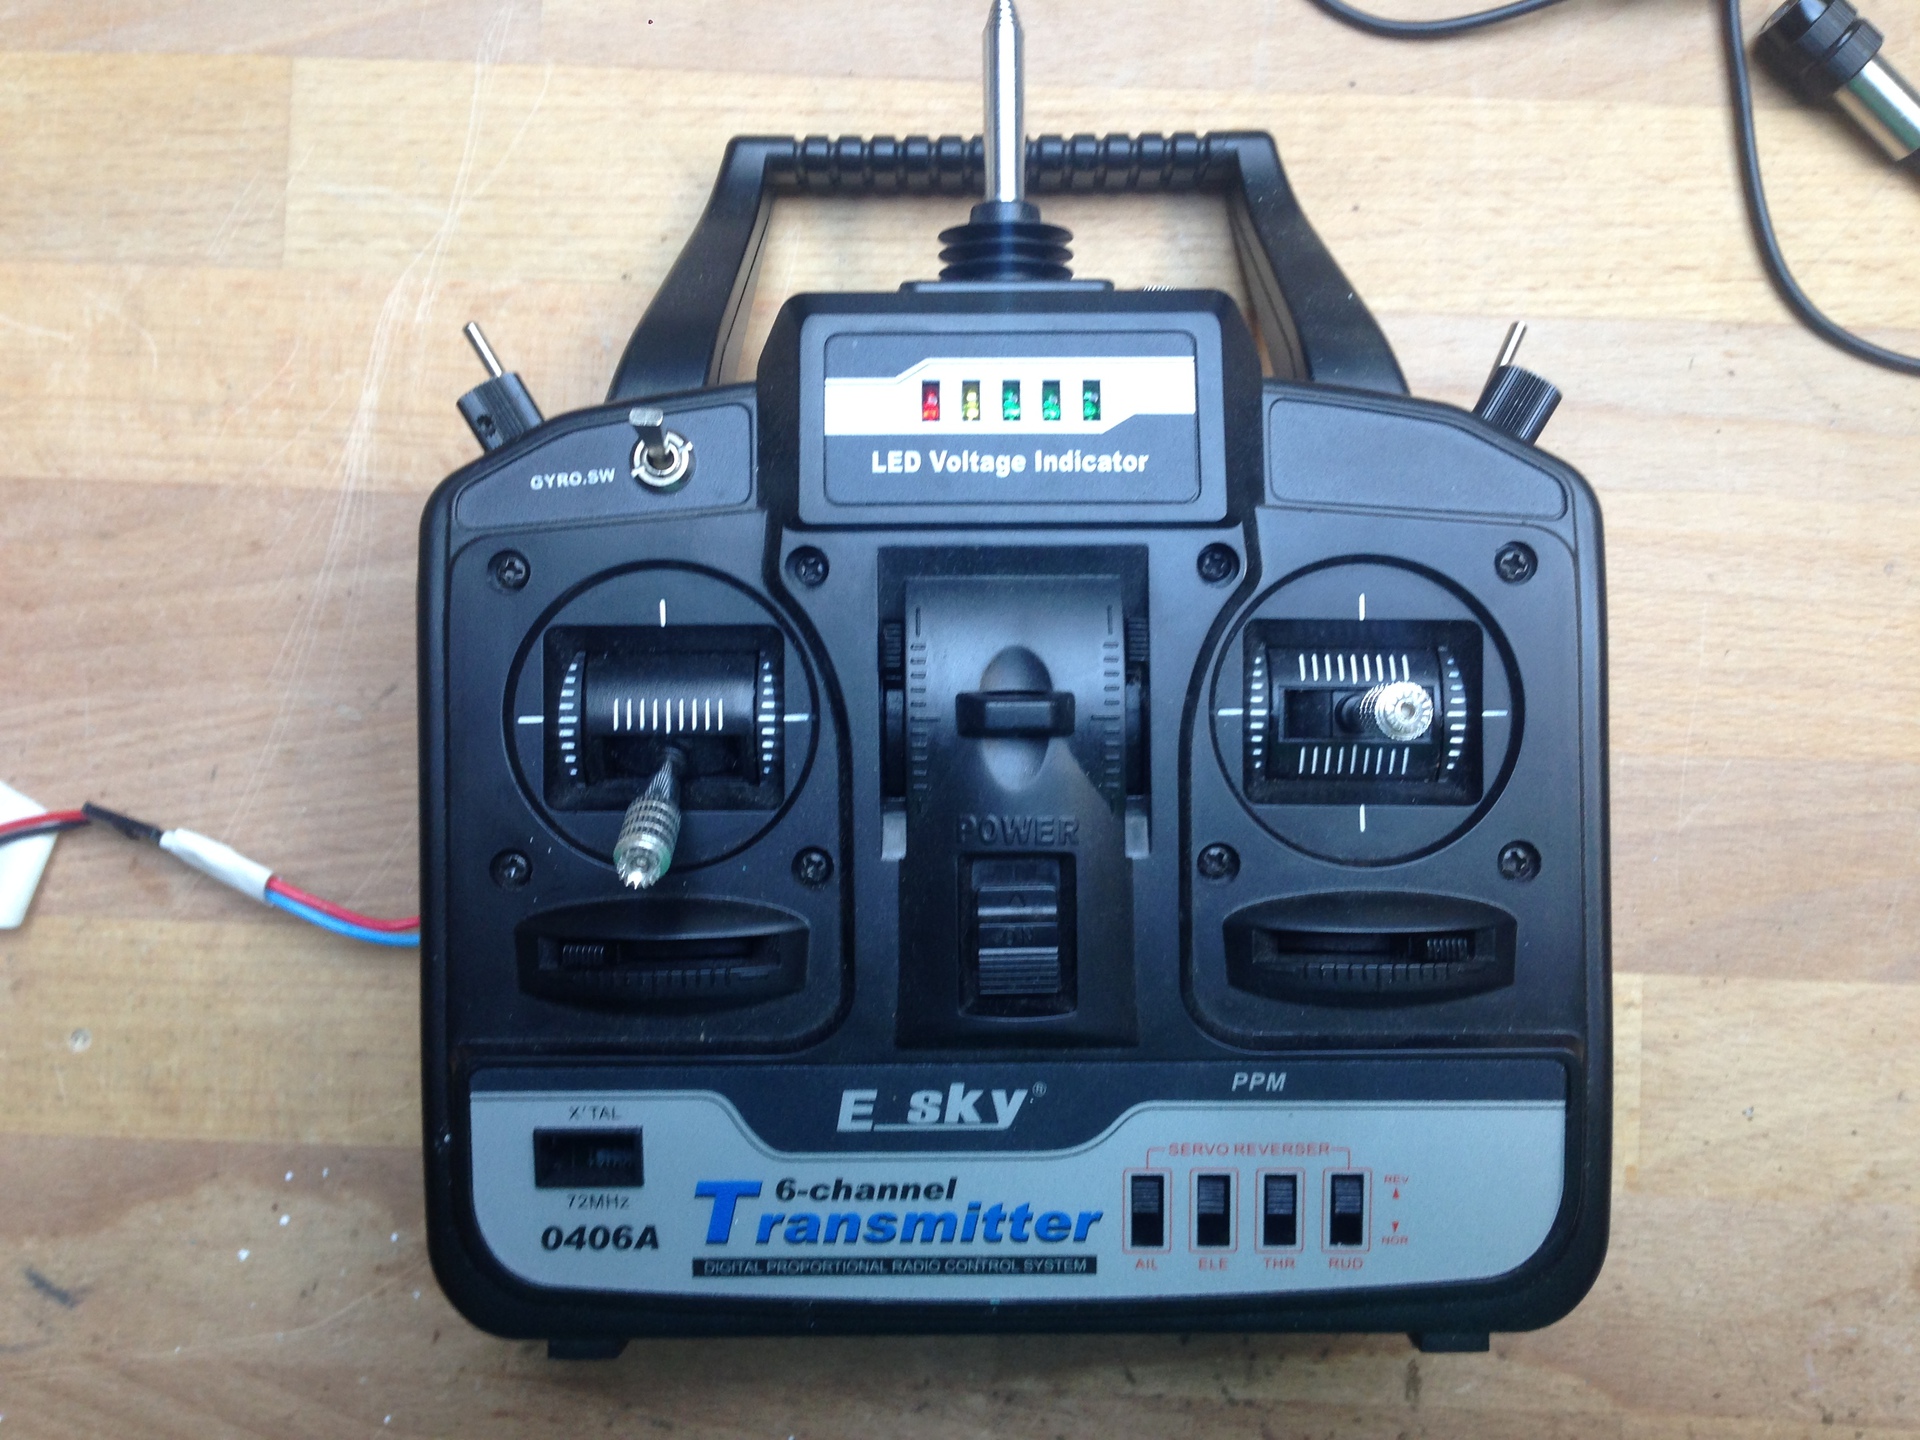 You can also use any other option. For example, everyone’s beloved Turnigy TGY9x 3.5mm jack is immediately placed on the back wall.
You can use the standard connector on the back cover of our chosen equipment to connect to the adapter.
 .
.
If you have Futaba, you will need an adapter (which by the way, as a rule, comes with an adapter). Or our first soldering iron intervention!

This is what the standard connector looks like on our equipment.
And this is how the result of our work will look. An additional connector is visible.
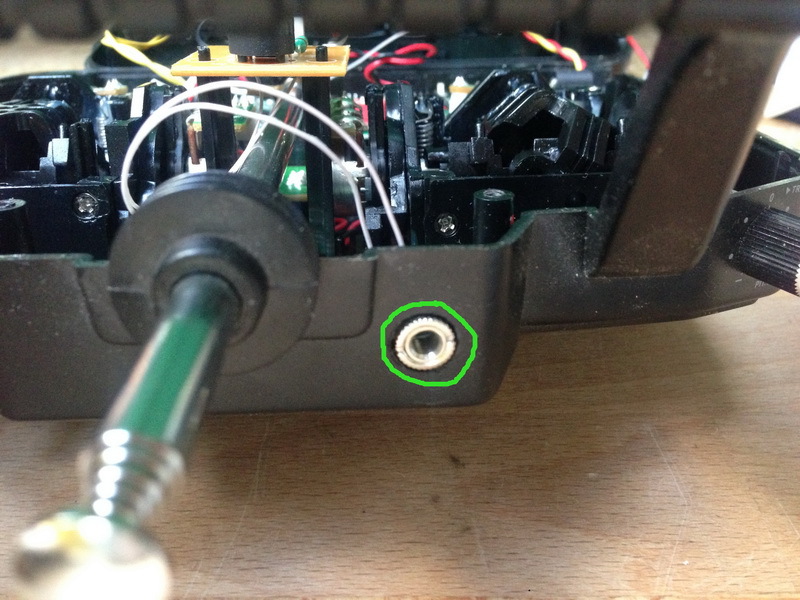
Why do I prefer to embed a standard 3.5 mm jack into the case? A cord with two minijacks is much easier to find and replace in case of breakage. Yes and lengthen conveniently. Also, when using the standard connector on the back cover of the equipment, it is not convenient to lay it on the table - because the connector in this case will play the role of a backup - which leads to an even faster cable failure.
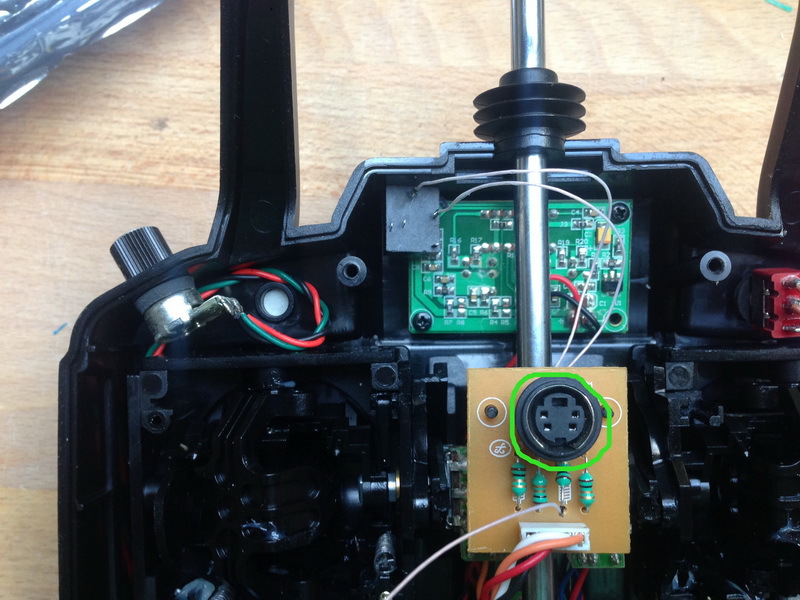
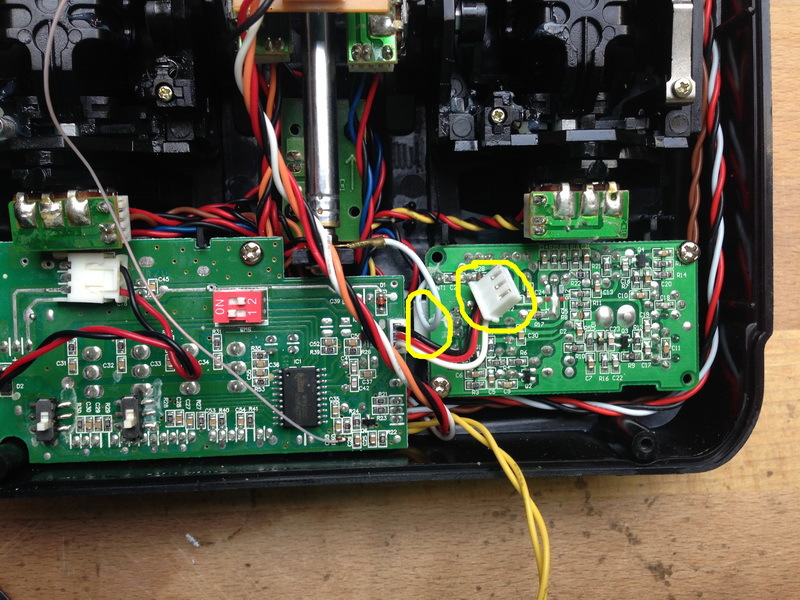
Using an oscilloscope, and based on an external examination, we find contact with the PPM signal.

and solder to it.

then this signal wire must be connected to the 3.5 mm jack through a resistor.


I used a resistor on the standard connector board. There I soldered the common wire. After all of the above and in order to save power, I disconnected the connector from the transmitter board (we only need a controller that monitors the position of the sticks and issues a PPM signal.

Besides him, I flew to:All of these simulators have demos available for download without purchase. So before you decide on a purchase, you can try flying and choose the one that you like the most. I’ll just add on my own - although FMS isn’t very good at graphics, it remains the most common simulator, since a large number of aircraft modelers draw for models and landscapes. Thus, we got a working simulator that will save a lot of money on screws, frames and other breakdowns, and will allow you to enjoy a real flight.
To begin with, my advice to you is to practice the simulator, and for this, get a simple device for connecting your control equipment to a computer! This device is nothing more than an adapter that turns a sequence of signals coming from the controller of your equipment into a sequence of codes that are understandable by the software of your OS. As a result, we get a gaming device: joystick.
How to do it? We will need:
- any control equipment! (really any)
- circuit (approximate) of this equipment, or an oscilloscope (if it does not have a 3.5mm jack)
- 3.5mm connector for mounting in equipment (if not on the equipment)
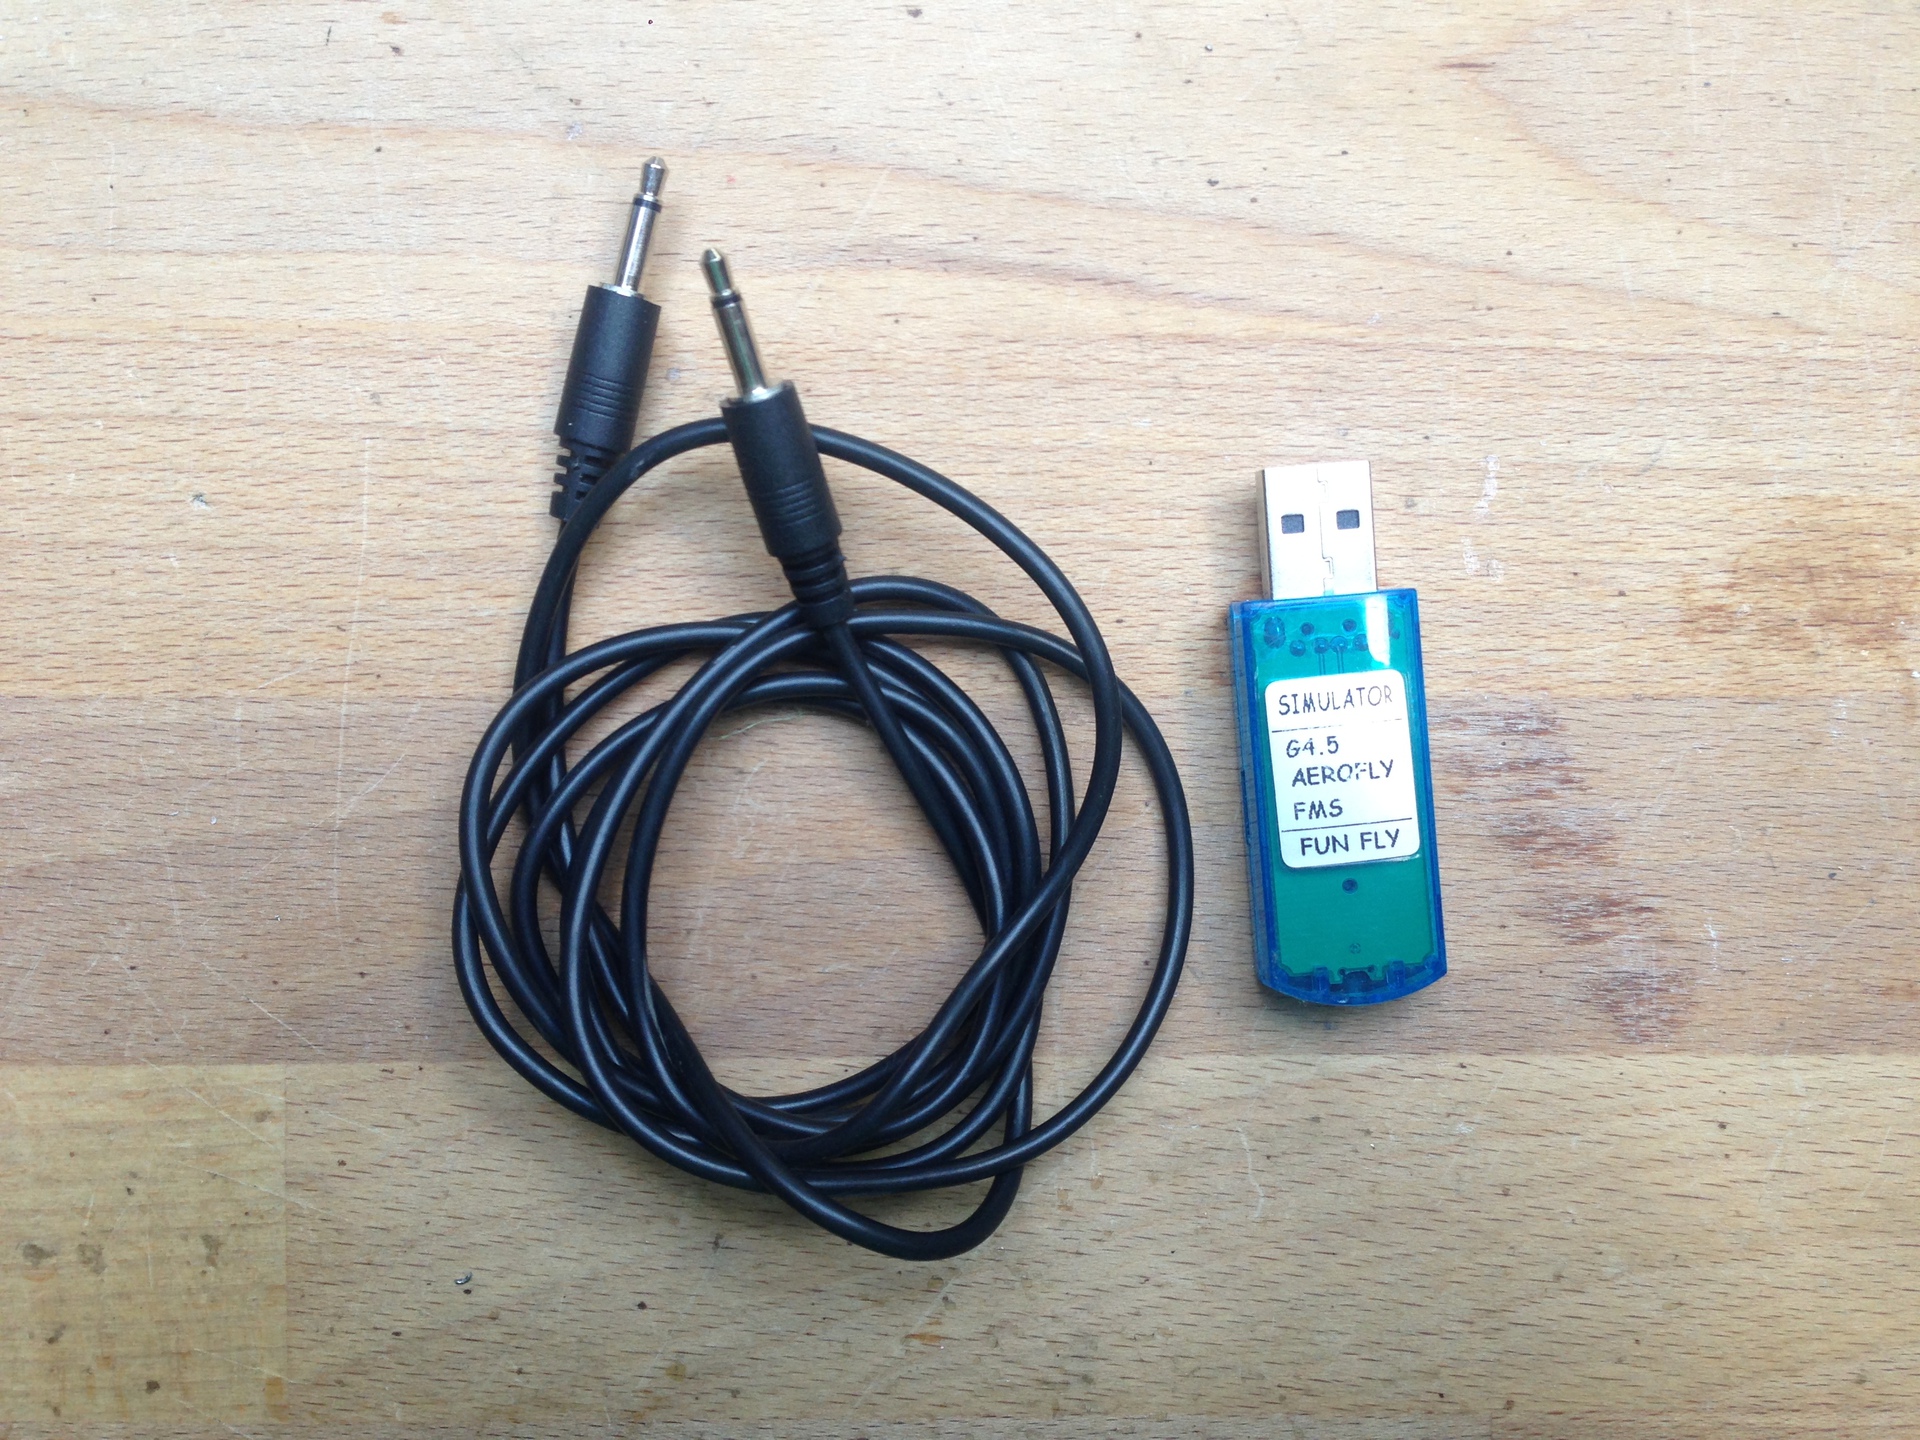
- adapter for connecting to a computer
- computer or laptop
- computer simulator
So, let's start in order.
Control equipment
As my first equipment, I purchased the simplest 4 channel through the forum of aircraft models. It operates at frequencies of 72 MHz, so now it can be used without regret for the simulator, and for flights I got a 2.4 GHz version. This time, for clarity, I used exactly 72 MHz equipment!
You can also use any other option. For example, everyone’s beloved Turnigy TGY9x 3.5mm jack is immediately placed on the back wall. You can use the standard connector on the back cover of our chosen equipment to connect to the adapter.
. If you have Futaba, you will need an adapter (which by the way, as a rule, comes with an adapter). Or our first soldering iron intervention!
This is what the standard connector looks like on our equipment.
And this is how the result of our work will look. An additional connector is visible.
Why do I prefer to embed a standard 3.5 mm jack into the case? A cord with two minijacks is much easier to find and replace in case of breakage. Yes and lengthen conveniently. Also, when using the standard connector on the back cover of the equipment, it is not convenient to lay it on the table - because the connector in this case will play the role of a backup - which leads to an even faster cable failure.
Using an oscilloscope, and based on an external examination, we find contact with the PPM signal.
and solder to it.
then this signal wire must be connected to the 3.5 mm jack through a resistor.
I used a resistor on the standard connector board. There I soldered the common wire. After all of the above and in order to save power, I disconnected the connector from the transmitter board (we only need a controller that monitors the position of the sticks and issues a PPM signal.
Adapter
With the adapter, everything is more interesting:- you can assemble it yourself
- You can use the computer audio input, install the appropriate software and use it again as a joystick.
- The easiest option is to buy a ready-made adapter .
Simulator
The easiest and most affordable option is FMS. You can download it for free from the official site . For him, there are many freely distributed models and landscapes. You can also download the editor and draw your own landscape or create a physical and visual model. The graphics are not very impressive - but he copes with the main task. This is more important in this case: after all, our goal is to get basic management skills, and then move on to real flights on a real copter.Besides him, I flew to:All of these simulators have demos available for download without purchase. So before you decide on a purchase, you can try flying and choose the one that you like the most. I’ll just add on my own - although FMS isn’t very good at graphics, it remains the most common simulator, since a large number of aircraft modelers draw for models and landscapes. Thus, we got a working simulator that will save a lot of money on screws, frames and other breakdowns, and will allow you to enjoy a real flight.