Quick start a web project (BE - Java Spring, FE - React Redux, interaction - Rest, WebSocket)

Quick start of the project on React
Link to the project in Git
To develop a modern web application, it is necessary to have skills in both the creation of the server part and the client part. The most common recent combination in a corporate environment is Java using the Spring Framework for the server and React for the client. However, not all developers have Full stack skills (knowledge in both server and client side), and for novice developers, creating such a configuration turns out to be quite an impossible task.
So, here is a ready-made solution that will allow you to learn how to create such configurations, as well as save time when starting a new project.
Consider in more detail the technologies used.
Server part:
Building the project - gradle 4.8.1 (optional gradle-node-plugin for building the front)
Language - Java 1.8 (or older)
Framework - Spring 5.x
Database - HSQL 2.3.1 (it will be enough for a start)
Client part:
Building the project - webpack 4.17.2
Language - JS6
Framework - react 16.4.0, redux 3.7.2, bootstrap (reactstrap 6.3.1)
If you are satisfied with everything, then you can continue.
Launch of the project
I think it will be much more fun if we start everything first and make sure that everything works!
You can download the project from here.
It will take quite a bit of time and patience to start. The main thing to do everything in order:
More detailed information on installation (at the request of readers) at the bottom of the article
- Install java 1.8 (do not forget to register JAVA_HOME)
- Install node.js
- Open the command line (I hope that you yourself will figure out how to do this in your operating system)
- Go to the project folder (for example, cd C: \ Git \ react-start )
- Run the npm i command (This command will download all dependencies for the front and put them in the node_modules folder)
- Run the gradle build command (This command will build your project and put everything into the build folder)
- Run the gradle bootRun command (Now your project is running)
- It remains only to follow the link and enjoy the result.
You should see something like this:

Introduction
My main task in this article is to show the structure of the project. Therefore, I will basically tell as much as possible which file in the project is responsible for with some lyrical digressions. For backend developers, the client part will be interesting mainly and vice versa.
Project structure
If possible, I tried to remove all unnecessary things from the project, than any project grows over time, but it scares novice developers.
To begin, let's consider what files we have in the project and why they are needed. We will split them again according to the purpose server and client.
Server:
build.gradle - The main file for building our project. It describes all the dependencies we need and links to the repository where to get them. And also there is a gradle-node-plugin plugin which, when building the server part, automatically assembles the front, which is undoubtedly very convenient.
gradlew and gradlew.bat and the gradle folder are the necessary parts for running the collector. By the way, if the gradle build command is not executed for some reason, then you may have to install gradle. This can be done using the official instructions .
README.md - Universal file for displaying project information in the repository.
In the src / main / webapp / WEB-INF / folder there are two jboss-web.xml and web.xml files for local work, they are not used, but if you need to run the project on web servers like WildFly, they will be needed.
application.yml is also not unimportant file. It describes the configuration of Spring. In particular, there is a port: 8090 - the port on which the application will be launched and the settings for connecting to the database.
If you have already started talking about databases, then the project uses HSQL - this is a file database running on java. When you start a project, a folder db / will be created in the user’s folder in which the database itself will be stored. You can use any of your database that you prefer, for example Postgress, there are no fundamental restrictions on this.
The server part code itself is located in the src / main / java folder .
Customer:
.babelrc - all configurations for babel are stored here. For those who do not know babel, this is the thing that transforms all sorts of newfangled things in front-end development, such as JS6, JS7, JSX, into ordinary js. In this file, for example, I have the plugins plug-in connected: [“transform-decorators-legacy”] which allows using decorators — this is like @ annotation in java. I did not use them, but you can. For this, everything is already configured, I checked.
.npmrc - link to the repository for js dependencies.
package.json- a very important file here is a description of our entire application, links to js dependencies and commands for building and running the client part. And the dependencies are divided into two parts: dependencies - dependencies that are necessary for the operation of the application itself and devDependencies - dependencies that are necessary only for building the project. The scripts section describes the buils and start commands that are used to start only the front part of the project. For example, the front can be started using the npm run start command (it will start on port 9090). In essence, this file is an analogue of build.gradle for the client part.
webpack.config.babel.js- the most important file in the whole configuration - settings of the webpack collector. On this occasion, you can write a separate article, but I still want to go through the main parts of this file to form a general idea of its capabilities.
devServer
devServer: {
        contentBase: `/${publicPath}/`,
        historyApiFallback: {
            rewrites: [{from: /./, to: `/index.html`}]
        },
        open: true,
        port: 9090,
        publicPath: `/`,
        proxy: [{
            context: ['/api', '/endpoint'],
            target: {
                host: "localhost",
                protocol: 'http:',
                port: 8090
            }
        }]
    },
DevServer is used to develop the client side. As mentioned above, we can run our front on a separate port npm run start (it will start on port 9090). All changes to the js code will take effect immediately on this server. ContentBase - the root path to our application. If the server will run multiple applications, it is important. open: true - when the server starts, the application will automatically open in the browser. proxy is the section that is responsible for forwarding calls to the server part which will be running on port 8090.
output
output: {
        filename: 'assets/javascripts/[hash].js',
        path: path.join(__dirname, 'src/main/resources/static'),
        publicPath: `/`
    },
output - this section sets the place to build our project. If you run the npm run build command, then the client-side of our project will appear in the src / main / resources folder.
module
module: {
        rules: [
            {
                exclude: /node_modules/,
                include: path.join(__dirname, 'src/main/js/'),
                test: /\.jsx?$/,
                use: 'babel-loader'
            },
            {
                test: /\.css$/,
                use: [MiniCssExtractPlugin.loader, 'css-loader']
            },
            {
                test: /\.less$/,
                use: [MiniCssExtractPlugin.loader, 'css-loader', 'less-loader']
            },
            {
                test: /\.(ico|png|gif|jpe?g)$/,
                use: {
                    loader: 'file-loader',
                    options: {name: 'assets/images/[name]/[hash].[ext]'}
                }
            },
            {
                test: /\.(svg|woff|woff2|eot|ttf)$/,
                use: {
                    loader: 'file-loader',
                    options: {name: 'assets/fonts/[name]/[hash].[ext]'}
                }
            },
            {test: /\.html$/, use: 'html-loader'},
        ]
    },
The module section tells webpack what to look for in the project files with .jsx extensions, style files, images and fonts and also include them in our project.
The entry section contains a link to the main file of our js application.
Well and in the conclusion HtmlWebpackPlugin will create an index.html file in which will include all created dependences.
The client-side code is in the src / main / js folder.
The structure of the code itself
In the project, for example, I made the connection between the client and server parts via Rest and WebSocket. Who is more like it. The description of the technologies of the Spring Framework and Rect on the Internet is great. This article is for those who have something wrong, or something lazy. This is a customized ready-made working solution containing everything you need to grow into a full-fledged big project.
You can also take this project as a starting point in exploring Java EE or React applications.controller / RestController.java
Server:
The client-side code is in the src / main / java folder .
The way everything is there is completely subordinate to the structure of the Spring Framework. For those who are familiar with it there will not find anything interesting there, but for those who are just starting, again, just briefly go through the files.
Main.java is the main file. Contains the main method which launches the entire application.
configuration / WebSocketConfig.java - for entry points when working through webSocket
Controllers - Classes responsible for the interaction between the server and client parts.
controller / IndexController.java - the controller responsible for the display of our client part. We transfer the user to url application / ** (This is the context path to our application)
controller / RestController.java - as the name implies, this controller is responsible for data exchange between the client and server parts via Rest. The @RequestMapping annotation (value = "/ api / rest", method = RequestMethod.GET) says that the server will give us a list of users upon request at / api / rest.
I used the PUT method to add users and DELETE, respectively, to delete a user by ID.
controller / WebSocketController.java - defines the path for exchanging data via webSocket. The getAndSendMessage method receives a message from the client and sends it back.
Services - usually responsible for the logic of our application.
service / ORMUserService.java- in my case, is responsible for creating a list of users, as well as adding and deleting users to the database using the data received from the client part as data. To delete a user, this is the user id, and for creation, this is the name, role and password of the user.
Domain classes are classes that most often contain only data that is projected onto the tables in the data pool. From the logic that may be contained in these classes, it is the verification of data for correctness or some actions that must be performed immediately before writing data to the database or after reading from it. For example, you can do the conversion from kilograms to grams.
domain / User.java - the class that will correspond to the Table table (name = "USER")in the database.
The data for the @Column column (name = "ID") will be automatically generated.
domain / Message.java - in my case does not use database mappings. data will be stored in it while the application is running. It serves me to generate messages sent by webSocket.
On this with the server part I have everything.
Customer:
On the client side I will not focus, as the React itself is still quite a young technology. And it has not yet fully formed the best practices that should be used in each specific project. I note only that I have created the most classic structure that I think is most convenient for studying.
What has been done on the front:
- The main layout of the application and several tabs are implemented.
- Implemented translation for the entire application.
- Implemented state applications on Redux.
- The mapping of the table of users received from the server via Rest is implemented
- Implemented user deletion by id
- Added adding users
- Implemented sending and receiving messages via WebSocket
I think this is more than enough for a start.
Conclusion
Leave all your questions and suggestions in the comments or email me. I'll be glad to help.
Detailed information on installation and launch
OS "Wondows 10"
Install Java 1.8 detailed instructions
Before starting the installation, press the key combination Win + R and enter cmd,
enter java -version and see

This means that java is not installed on this computer.
If the computer brought out the java version and this version is not lower than 1.8 , then go to the Gradle installation point.
Download Java from the link.
You need to click the Accept License Agreement checkbox .
The version of Windows x64 we need
Java download
Run
Java run
We press Next and Ok all the time at the end of the close.
After installation, we re- invoke the Win + R command line and enter cmd, enter java -version and see the version of Java installed by us.

Open the properties of your computer
Computer properties
Advanced Parameters - Environment Variables
Environment Variables
Make sure that the system variables have JAVA_HOME with the value C: \ Program Files \ Java \ jdk1.8.0_181 \
JAVA_HOME
And the Path variable has the string C: \ Program Files \ Java \ jdk1.8.0_181 \ bin
Path
Go to the next item.
Install Gradle detailed instructions
Open the console again and enter gradle -version.
Since it is not yet installed, we will see this:

Download the archive by link.
Unpack it here, for example, in the following folder: C: \ gradle-4.10.1
Then, by analogy with java, open the system partition variables and already independently add the GRADLE_HOME variable with the value C: \ gradle-4.10.1 \ bin
GRADLE_HOME
And we also add C: \ gradle-4.10.1 \ bin to the path variable even next to the line C: \ Program Files \ Java \ jdk1.8.0_181 \ bin, but this is not necessary.
gradle path
Be sure to restart the Win + R cmd console and enter gradle -version

Everything is now and gradle is installed!
Node JS detailed instructions
Download Node JS at the link
and install
Install Node js
Restart the command line and enter npm -version and we will definitely see the installed version

Launch of the project
Excellent, all the preparatory work is done
Downloading the project in the form of an archive
It weighs only 135 Kb
Git
And unpack in C: \ react-start-master \
Project folder
Start the command line and go to C: \ react-start-master \
For those who don’t remember, in order to go up the folder tree, enter cd in the command line .

So we go to the root of the C: \>
Next we enter cd react-start -master and get the path C: \ react-start-master>

enter npm i

Now downloading JS dependencies for our project

Varnings are allowed (WARN-warning)
The project will have a folder C: \ react-start-master \ node_modules all dependencies will be in her.
Immediately after this, we enter into the console. Gradle build.

All dependencies for Java including Spring will be downloaded.
The folder C: \ react-start-master \ build appears in the project.

everything will come together and we will see a message about a successful build
BUILD SUCCESSFUL
And right after that you can execute the command gradle bootRun

The project will start running
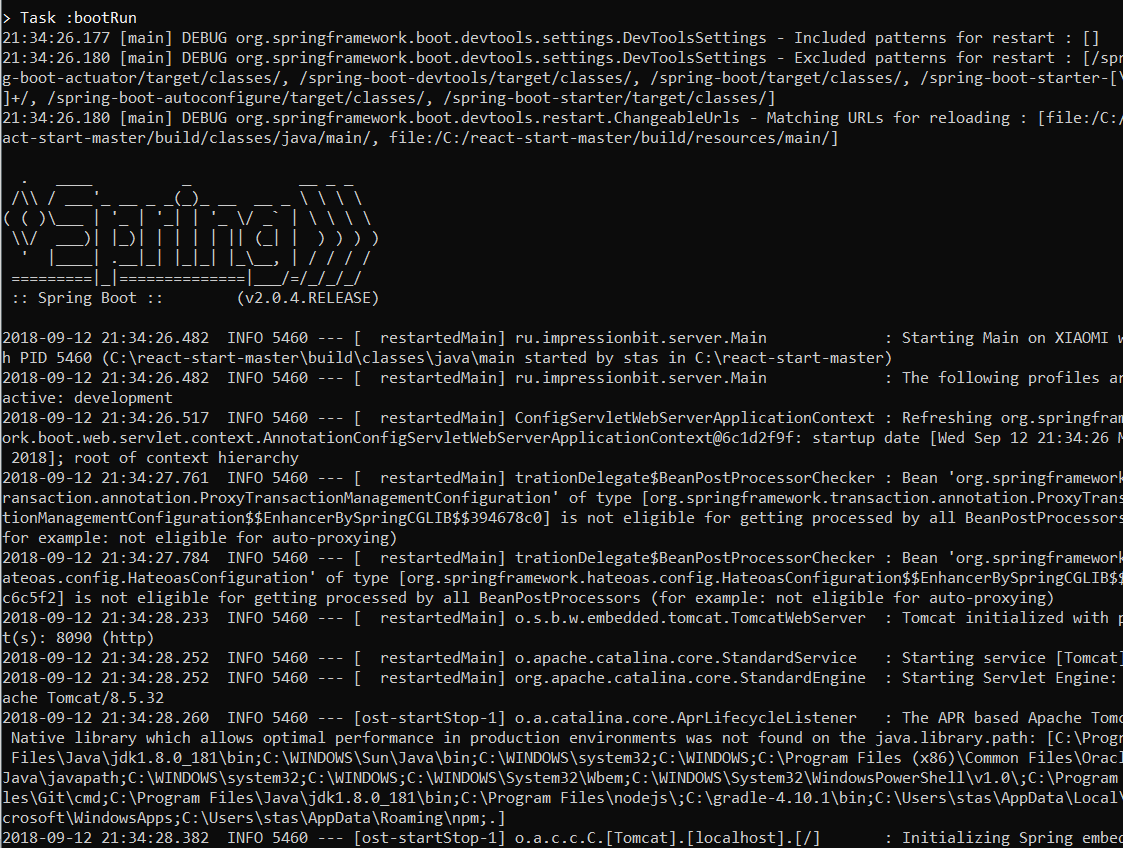
At the end of the launch, the console will have something like this

All project launched!
Do not close the console just fold.
Open a browser and enter localhost : 8090 / application / or follow this link.
You will see a running project.

Run only js
Open another console.
Navigate to the folder C project: \ react-start-master>
Run npm run start

If all the dependencies for JS has already been downloaded as explained above (command npm i )
That the browser itself will start the link localhost : 9090 /
and any changes to the Js code the project will be there automatically displayed!
That's all, thank you for your attention.