Review of post-processing methods for FDM 3D-printed models
Hello! With you Top 3D Shop and today we have an unusual review, it is dedicated not to technology, but to post-processing of 3D-printed models.
We will consider the processing of prints printed on FDM technology , since this is the most common and affordable technology, and the processing of such models is required most.

A few points to keep in mind before printing the product.
Layers
The first point is the thickness of the layer. The thinner the layer, the higher the surface quality and less post-processing is required. Naturally, you have to pay for high quality printing time.
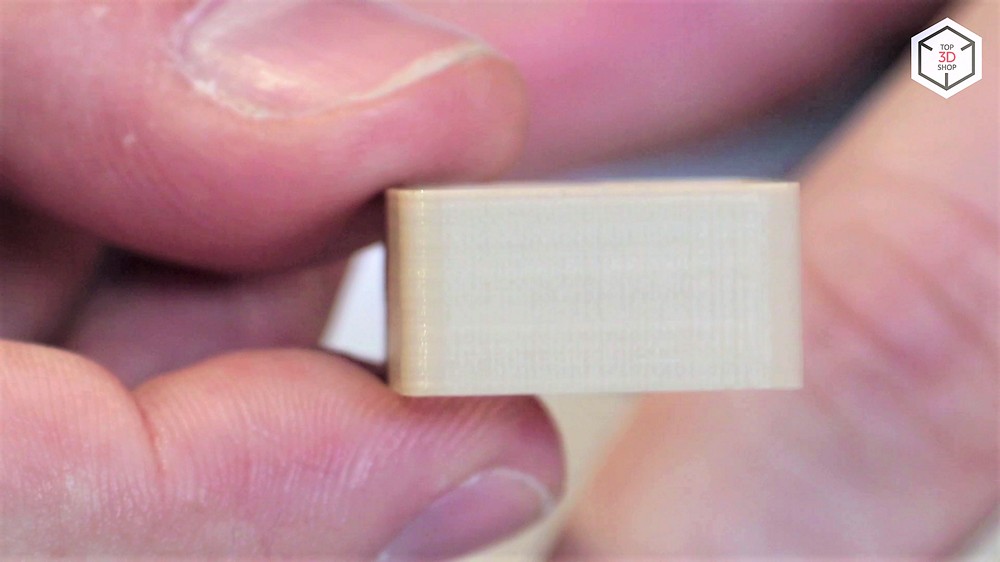
If you need a glossy surface, it makes no sense to spend time printing with a minimum layer thickness - the model will still need to be polished and polished, or apply primer and paint.
Walls
Consider the future post-processing costs and when establishing the wall thickness.

Usually it is about 2 mm, and on parts for subsequent grinding or chemical polishing it makes sense to increase the wall thickness to 3-4 mm, since these processes remove the material. With insufficient wall thickness, in the process of post-processing it is easy to wipe or dissolve the surface to holes.

Support
On FDM printers we almost always print with support. Ideally, if the printer can print with two materials, make the supports soluble.
Large parts of such supports are removed mechanically, the rest is dissolved, then the model is simply washed and you can proceed to the following operations.

If the printer prints with one material and supports are printed from the model material, pay special attention to them when creating the file for printing.

With the right settings and the simple form of products, support items are easily removed.

If the joints of the supports occupy a significant area on the model, after their removal, characteristic traces will remain that require further processing.

Tip:
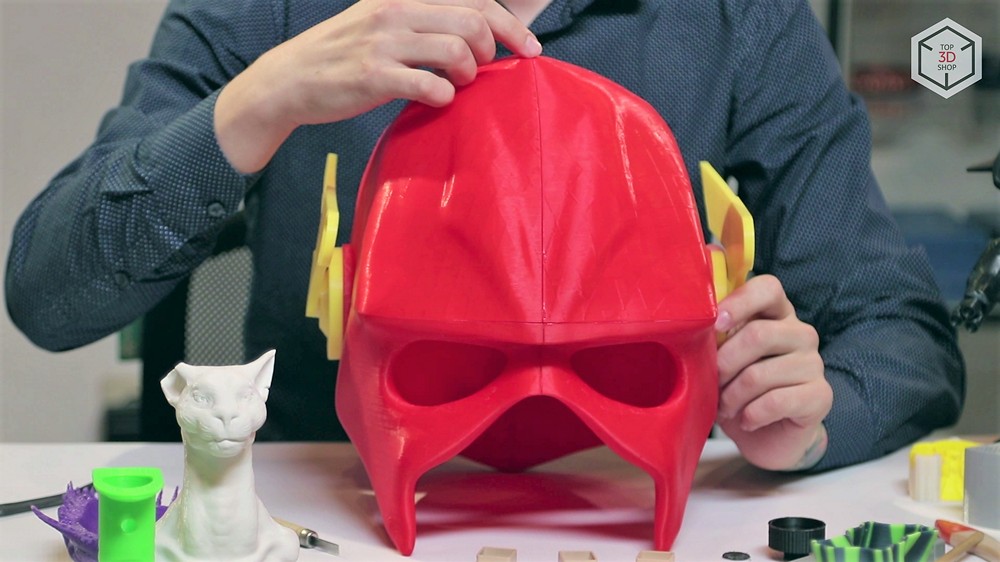
Take the time to customize the supports, you will save it during post-processing and the print will look neater. If the model is large, it is often worth cutting it into pieces to reduce the number of supports. After glueing the seams are easier to handle than the traces of many supports throughout the print area.
Settings
Modern slicers support advanced support settings. When setting, pay attention to their number and the contact patch between the support and the model; both of these values should be as low as possible.
The location of the supports is also important: do not leave the place of their contact with the model in hard-to-reach places, if this can be avoided. Remember that the model for printing can be rotated or divided into parts.
Chemistry
Let's talk a little about the wonders of modern chemistry. For post-processing, various solvents are used, depending on the material of the model and the supports.

The use of dichloromethane and acetone helps in gluing parts, and in chemical polishing .
Gluing

For gluing parts of large or complex models, you can use both household adhesives, which create their own adhesive film on the surface, and solvents.
The second is preferable if you need the most durable connection.
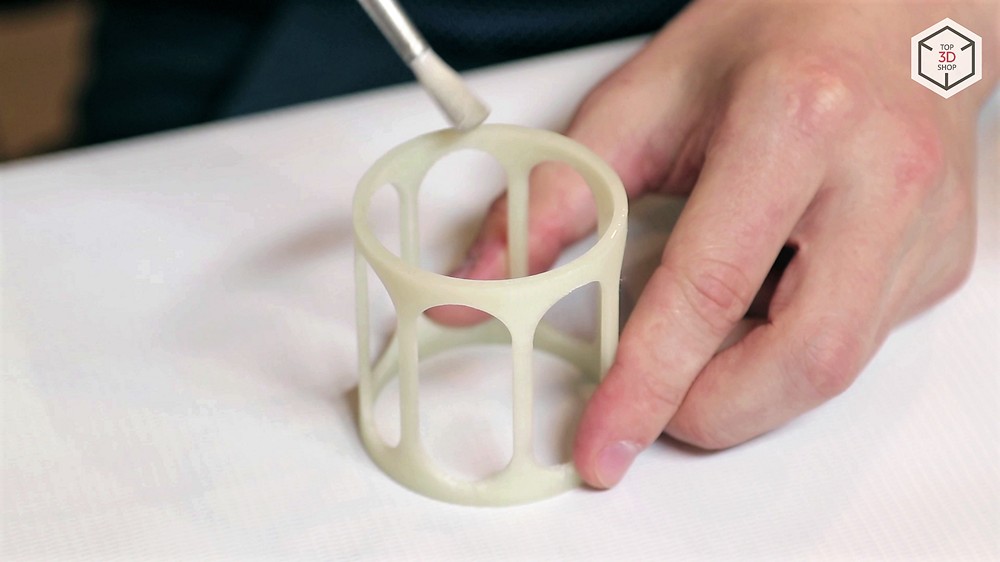
The most common solvents used for processing and gluing plastics are dichloromethane and acetone.

Important:
Work with any glue, solvents and paintwork in well ventilated areas, protective gloves and glasses. Inhalation of these substances and getting them on the skin or mucous membranes will not bring benefits to your health.

Acetone is often used to process ABS plastic, as it softens and dissolves it more slowly than dichloromethane, which makes treatment with it more accurate. It is used both for gluing and for surface treatment, with brushing or placing parts in an “ acetone bath ”.

Dichloromethane is preferable for bonding, it acts faster. When gluing with a solvent, it is enough to cover them with the surfaces to be glued and with an effort to press them together.


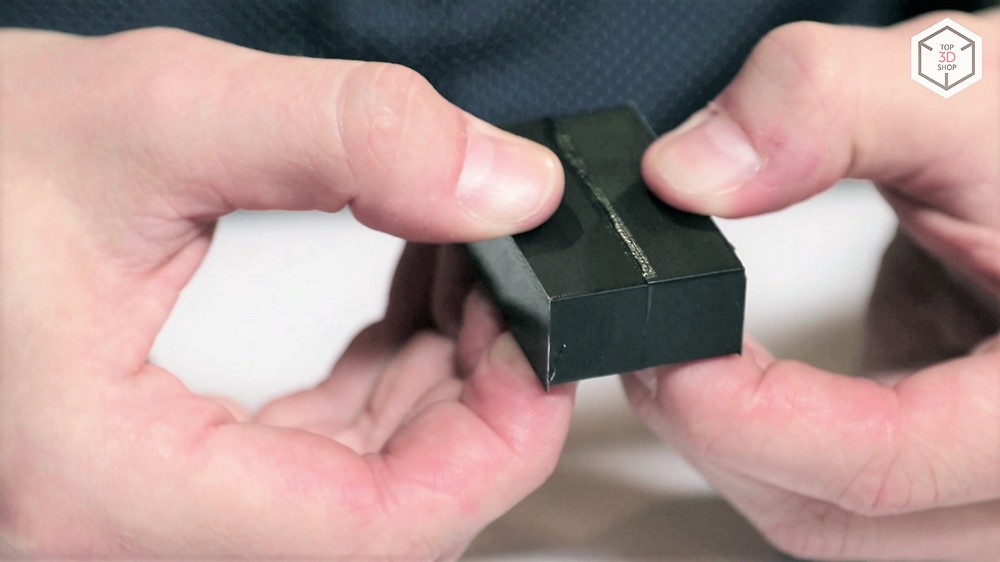
The resulting seam is removed by further processing, after sanding and priming it will not be visible.
Supports dissolving
To create soluble supports, when printing models from ABS , HIPS is often used . This plastic is dissolved by limonene which does not react with ABS in any way that does such combination ideal.

Almost perfect. There are two downsides: the cost of limonene and its sharp citrus smell, which may not please someone.
Grinding and polishing

Grinding
The easiest way of processing: take the sandpaper and erase the top layer of the model. With a certain skill, you can achieve a very flat surface.

Overdoing, you can wipe the hole in the product, if the wall thickness is too small. This method of treatment is more suitable for ABS than, for example, for PLA, since PLA begins to soften already at 60 ° C. Accordingly, if PLA sanding is done, it should be done slowly and carefully, so that the plastic does not roll under the sandpaper.

The process is rather dirty, it is better to do it in goggles and a mask, since a plastic suspension remains in the air, which is unpleasant and harmful to breathe.
For processing of difficult places it is possible to use a drill with various nozzles.


Polishing
Mechanical polishing, in general, is not very different from grinding. It is produced by the smallest sandpaper and fabric with polishing paste.

If the mechanical treatment is carried out after the chemical, it is necessary to wait before it until the solvent completely evaporates and the surface hardens.
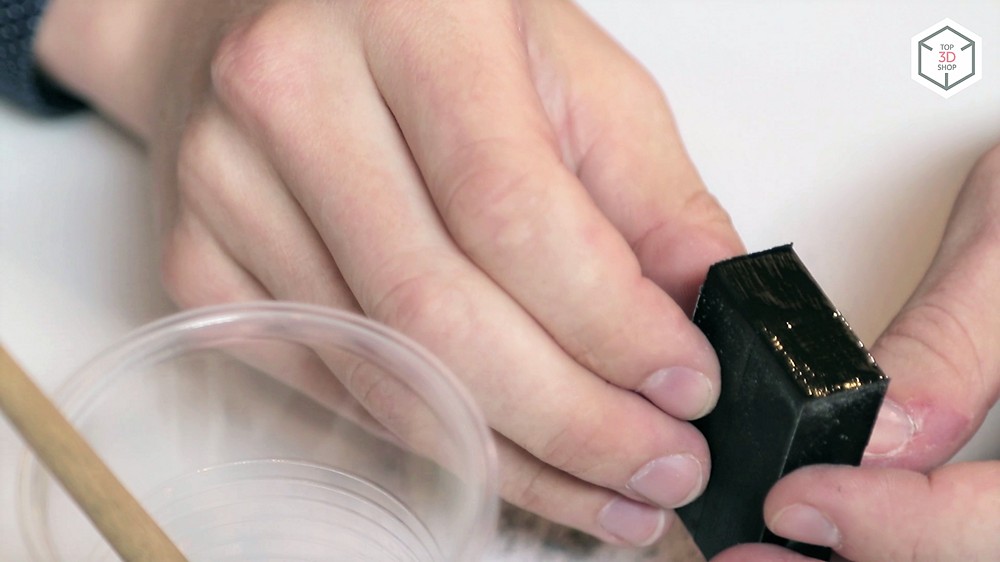
Chemical polishing is performed by leveling the surface by dissolving the top layer. The solvent is applied by brush, spray or by placing the parts in a closed box filled with solvent vapors.
Primer
Pre-paint primer is applied in cases where the surface of the model is already flat, and the ground serves to fill in microscopic recesses and improve adhesion of paint to the surface of the object. Soil for this we use an aerosol , it is inexpensive and easy to handle. For larger volumes, it is better to use an airbrush.


The corrective primer is more coarse, it is designed to correct the model's flaws, printing errors, smooth out irregularities or poorly polished seams.

For her, you can use the usual latex putty and, again, the ground. The process is quite simple: we gloss over everything that we don’t like, we wait for drying, we carry out polishing and polishing.

If the result is not satisfied, repeat.
Coloring
We proceed to this stage only when the desired surface texture has been fully achieved, there are no unplanned stitches and flaws, which after painting will become even more noticeable.
Before painting, as well as before the pre-paint primer, make sure that there is no dust or other impurities on the surface. Do not forget about the means of protection.

Carrying out these simple procedures will give prints a high quality surface that will delight you and your customers.

Materials and reagents for post-processing buy in Top 3D Shop - we will select the necessary set for any technical process, promptly issue and deliver.
Learn more about 3D printing at our master classes.: every printer buyer gets the right to attend a master class for free, for the rest it will cost 2,000 rubles.
On September 21, the master class is free for everyone at the exhibition and conference “ Top 3D Expo. Digital Education 2018 ”, which itself is also free of charge, but requires prior registration on the site. The number of places is limited, have time to register.
See you again!
Want more interesting news from the world of 3D technology?
Subscribe to us in the social. networks:


