VK authorization using the OAuth 2.0 protocol under Windows 8
Today we will talk about how to create the simplest applications for VKontakte under Windows 8. First, go to the page http://vk.com/developers.php and create a new application,

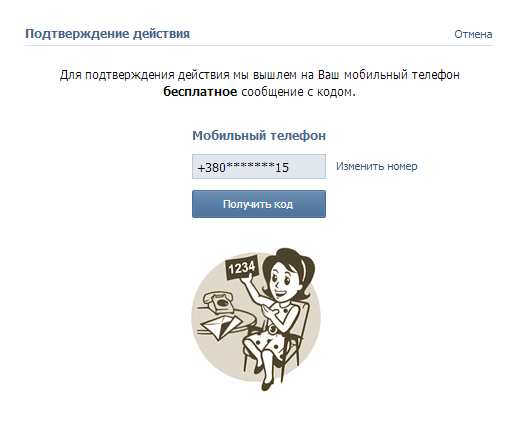
then select Standalone applications, since it is designed specifically for computers and smartphones. Enter the name of our application and click Connect Applications. After that, you will receive a message on your mobile phone with the code that is needed to confirm the registration of the application.
After a successful check, you will go to the application editing page, it looks like this:
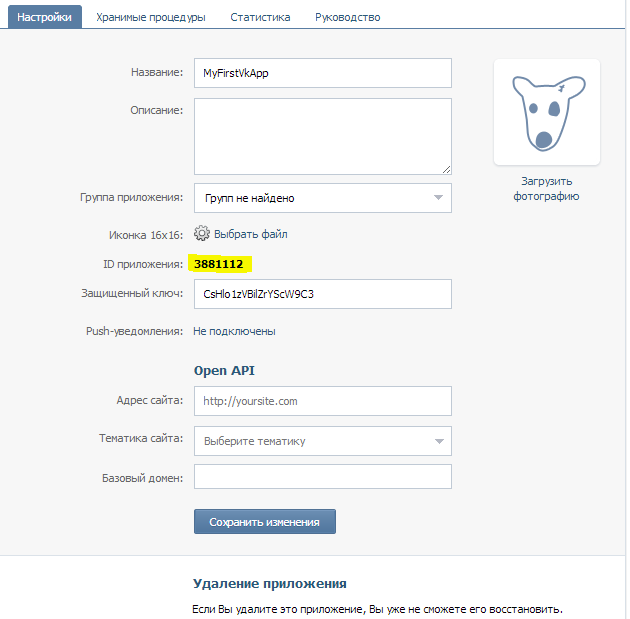
From this page we will need the application ID, you can save it somewhere for further work with it.
So, the floor is done, now go to authorization.
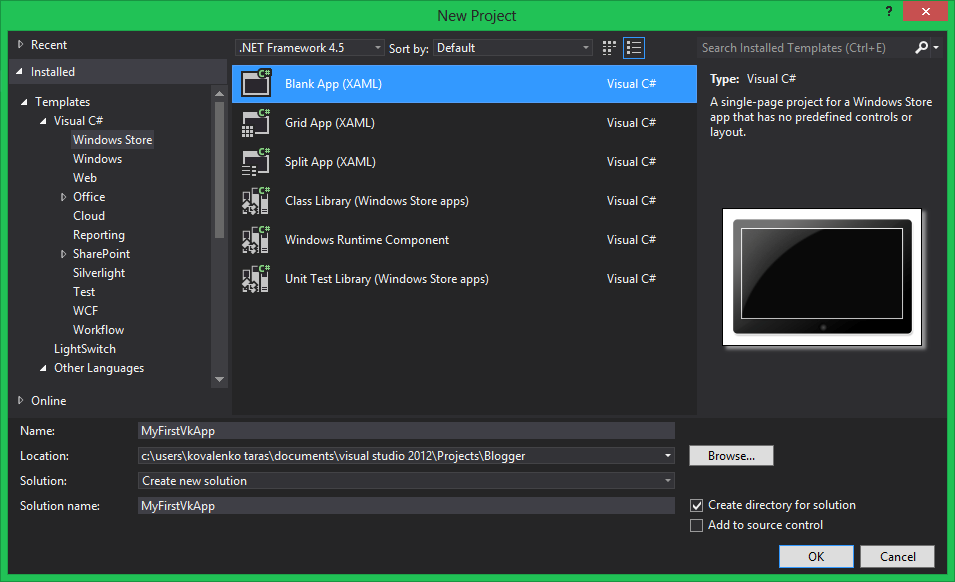
Go toHere is a page that describes how authorization should go. Now we go directly to the coding, for this, run Visual Studio and create a new project based on BlankApp.
We will authorize using the OAuth 2.0 protocol . To do this, we will go to the MainPage.xaml.cs page and create a new OAuthVk () method that will do authorization through WebAuthenticationBroker, what it is is a special class that launches a standard window in which the authorization link opens. After entering data into the authorization window, the broker ends his work and transmits the result of whether the authorization was successful or not.
Here is the code for our method:
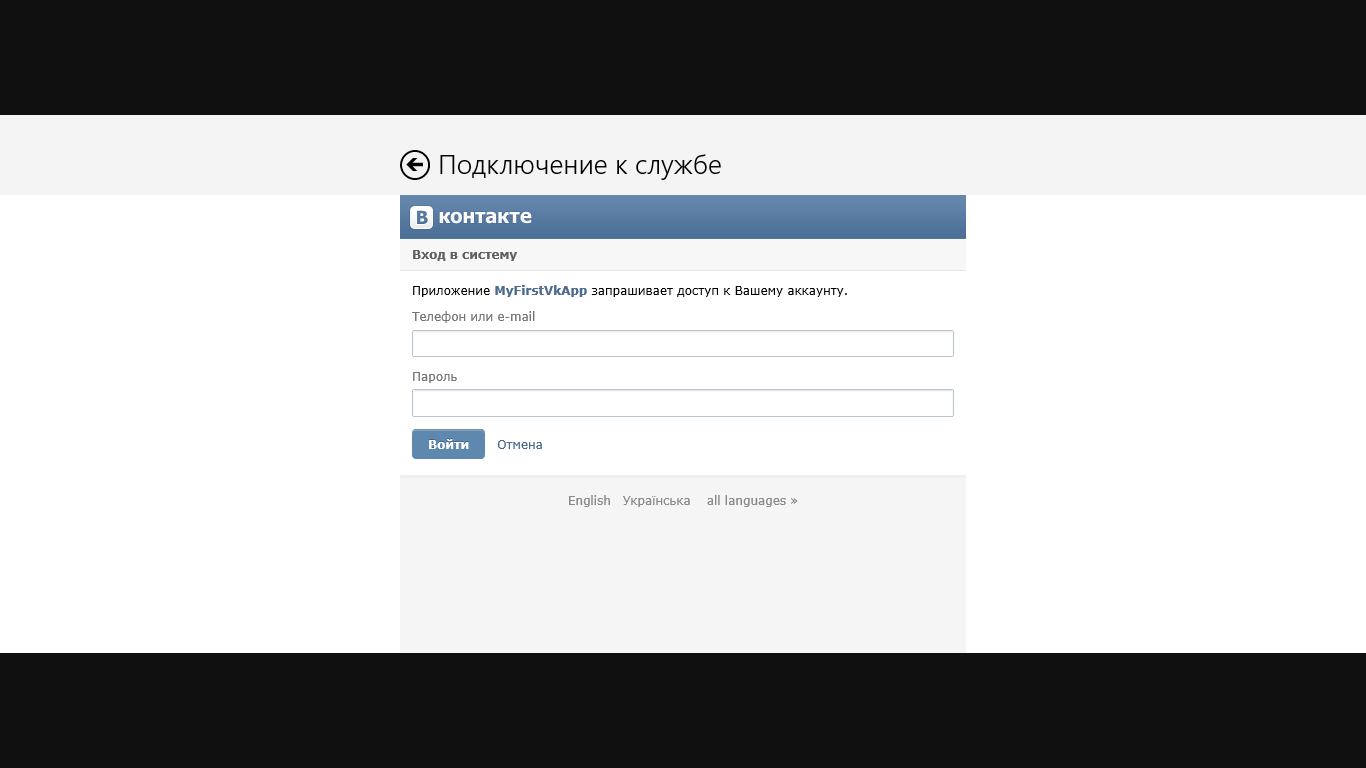
Now a little about what I wrote. The first line of vkUri is the address for opening the OAuth 2.0 dialog box, we take it from here . The line says client_id - we pass the id of our application, scope - the access permissions of the application that are taken from here , I wrote 9999999 this is access to everything, in which access_token does not change its value, this is so that each time it does not pass authorization, but takes the saved access_token immediately and user_id, and use them to call the API, but more on that later in a separate post. After that, we call the AuthenticateAsync method to authorize and write the result to WebAuthenticationResult. After that, if you start the application, we will see the authorization window:
Next, through the switch statement, we check the result of authorization and perform the appropriate actions. If the network fails, we display error messages; if authorization is successful, we display messages that indicate access_token and user_id. The server response will be something like this:
All we now need to do is get from the access_token and user_id lines for their further use. To do this, instead of a message about successful authorization, we will write the following code:
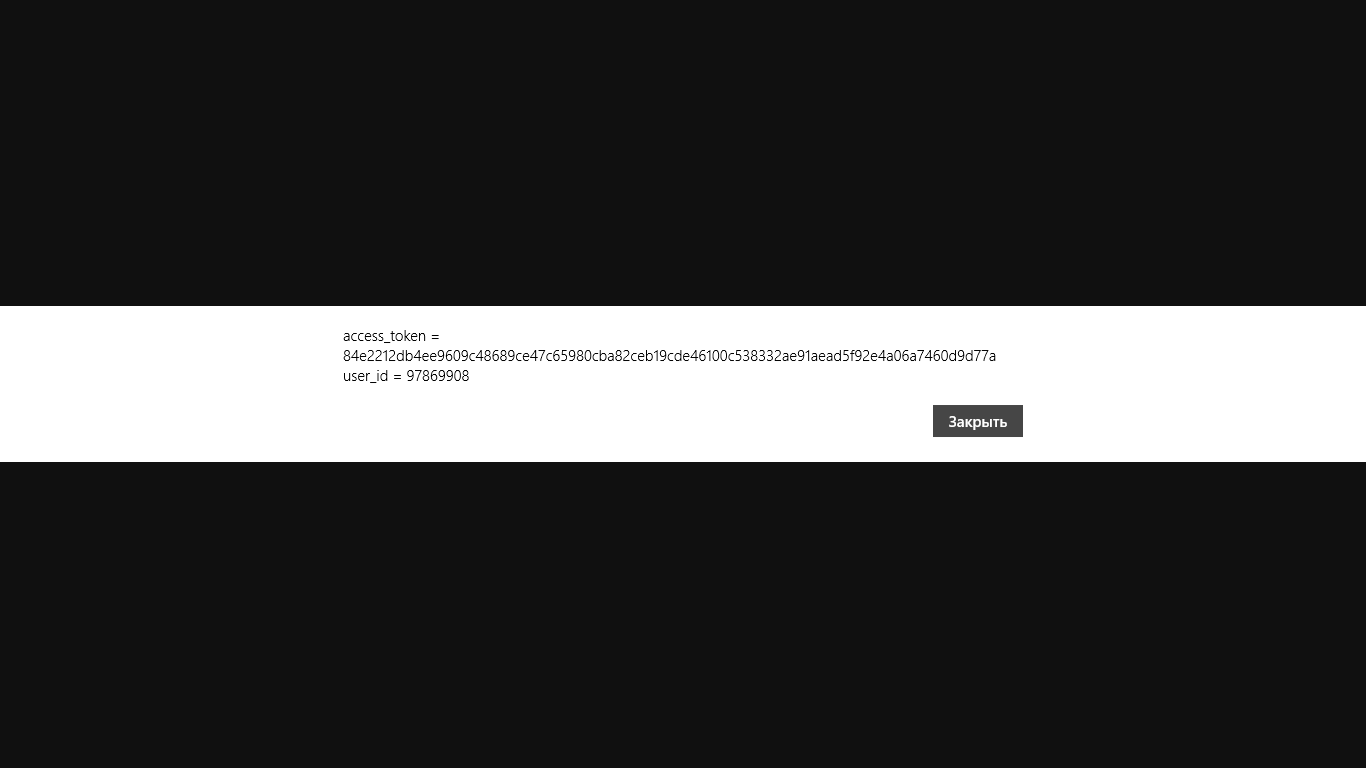
Now, with successful authorization, we will display messages in which only access_tokeb and user_id will be displayed.
That's all, the token and id we got can call any API.
then select Standalone applications, since it is designed specifically for computers and smartphones. Enter the name of our application and click Connect Applications. After that, you will receive a message on your mobile phone with the code that is needed to confirm the registration of the application.
After a successful check, you will go to the application editing page, it looks like this:
From this page we will need the application ID, you can save it somewhere for further work with it.
So, the floor is done, now go to authorization.
Go toHere is a page that describes how authorization should go. Now we go directly to the coding, for this, run Visual Studio and create a new project based on BlankApp.
We will authorize using the OAuth 2.0 protocol . To do this, we will go to the MainPage.xaml.cs page and create a new OAuthVk () method that will do authorization through WebAuthenticationBroker, what it is is a special class that launches a standard window in which the authorization link opens. After entering data into the authorization window, the broker ends his work and transmits the result of whether the authorization was successful or not.
Here is the code for our method:
public static async void OAuthVk()
{
    const string vkUri = "https://oauth.vk.com/authorize?client_id=3881112&scope=9999999&" +
                            "redirect_uri=http://oauth.vk.com/blank.html&display=touch&response_type=token";
    Uri requestUri = new Uri(vkUri);
    Uri callbackUri = new Uri("http://oauth.vk.com/blank.html");
    WebAuthenticationResult result = await WebAuthenticationBroker.AuthenticateAsync(
        WebAuthenticationOptions.None, requestUri, callbackUri);
    switch (result.ResponseStatus)
    {
        case WebAuthenticationStatus.ErrorHttp:
            MessageDialog dialogError = new MessageDialog("Не удалось открыть страницу сервиса\n" +
        "Попробуйте войти в приложения позже!", "Ошибка");
            dialogError.ShowAsync();
            break;
        case WebAuthenticationStatus.Success:
            string responseString = result.ResponseData;
            MessageDialog dialogSuccess = new MessageDialog(responseString);
            dialogSuccess.ShowAsync();
            break;
    }
}
Now a little about what I wrote. The first line of vkUri is the address for opening the OAuth 2.0 dialog box, we take it from here . The line says client_id - we pass the id of our application, scope - the access permissions of the application that are taken from here , I wrote 9999999 this is access to everything, in which access_token does not change its value, this is so that each time it does not pass authorization, but takes the saved access_token immediately and user_id, and use them to call the API, but more on that later in a separate post. After that, we call the AuthenticateAsync method to authorize and write the result to WebAuthenticationResult. After that, if you start the application, we will see the authorization window:
Next, through the switch statement, we check the result of authorization and perform the appropriate actions. If the network fails, we display error messages; if authorization is successful, we display messages that indicate access_token and user_id. The server response will be something like this:
REDIRECT_URI # access_token = 533bacf01e11f55b536a565b57531ad114461ae8736d6506a3 & expires_in = 86400 & user_id = 8492
All we now need to do is get from the access_token and user_id lines for their further use. To do this, instead of a message about successful authorization, we will write the following code:
char[] separators = { '=', '&' };
string[] responseContent = responseString.Split(separators);
string accessToken = responseContent[1];
int userId = Int32.Parse(responseContent[5]);
MessageDialog dialogSuccess = new MessageDialog("access_token = "+accessToken+ "\nuser_id = "+userId);
dialogSuccess.ShowAsync();
Now, with successful authorization, we will display messages in which only access_tokeb and user_id will be displayed.
That's all, the token and id we got can call any API.
PS If you are interested then in the following posts I will consider the most interesting and complex API functions, because most of them are called the same way.
Good luck in programming.