Basics of 3D modeling for 3D printing
The 3D model, which will be printed later on a 3D printer, is different from a 3D model developed for casting or milling. This is due to the technical features of the 3D-printer, from which you must either squeeze the maximum benefit or adjust to the disadvantages of printing.
Of the reservations, I note that these recommendations relate mainly to the method of 3D printing FDM (FFF), in which the plastic bar is heated by a movable extruder that forms part by layer.
The development of a 3D model begins with the creation of a sketch. This may be a drawing on paper, a material prototype, a mental image, etc. What is important to pay attention to when creating such a sketch and the model itself is analyzed in detail.
Here and further in the text there are several sub-items that need to be considered simultaneously, to keep in mind from the very beginning.
Elimination of aliasing is achieved by mechanical and chemical methods. It is possible to use putty. Available in acrylic paint. If the item has a complex color structure, then we use a ProJet 4500 printer, which uses a different technology. He glues powder particles with colored ink glue. It turns out not bad.

In conclusion, I would like to note that these recommendations and the accumulated experience will allow us to produce parts using the 3D printing method, which will not be inferior in their properties to cast, which makes it possible to save significant funds if you have a customized printer and small production volumes. From my own experience, I’ll note that messing with the printer, debugging it, and knowing “all cracks” is a separate topic that I’ll talk about later. And in conclusion, I would like to ask the reader to express an opinion in the survey.
Of the reservations, I note that these recommendations relate mainly to the method of 3D printing FDM (FFF), in which the plastic bar is heated by a movable extruder that forms part by layer.
The development of a 3D model begins with the creation of a sketch. This may be a drawing on paper, a material prototype, a mental image, etc. What is important to pay attention to when creating such a sketch and the model itself is analyzed in detail.
Strength details
Here and further in the text there are several sub-items that need to be considered simultaneously, to keep in mind from the very beginning.
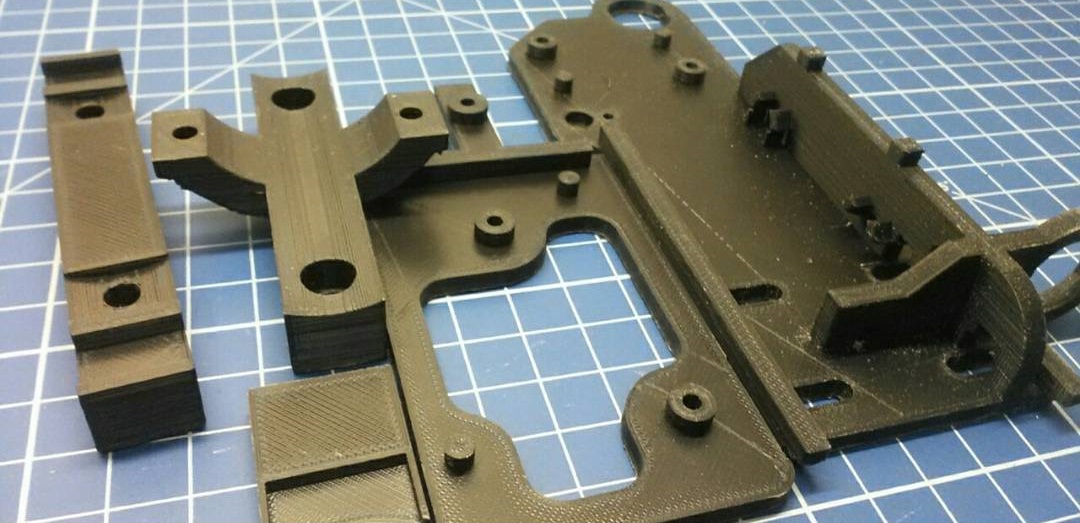
- Remember about the lamination or anisotropy of the material: it is much easier to break a part by layers than across. This must be considered in advance, given the location of the 3D model on the table of the 3D printer.
- Add rounds. The leg of the stool and the tabletop at the interface must have a rounded corner. In this case, the larger the radius of rounding, the stronger the leg will be fixed on the tabletop. Similarly for various body parts. Modeling a box? All right angles are round. At the same time, it does not matter what plane they are in. Even where a right angle is needed, we make a radius of 0.5 mm. The printer is easier to pass such a site than rounded, there will be a blow from the abrupt stop of the extruder, the part does not swing and other advantages.
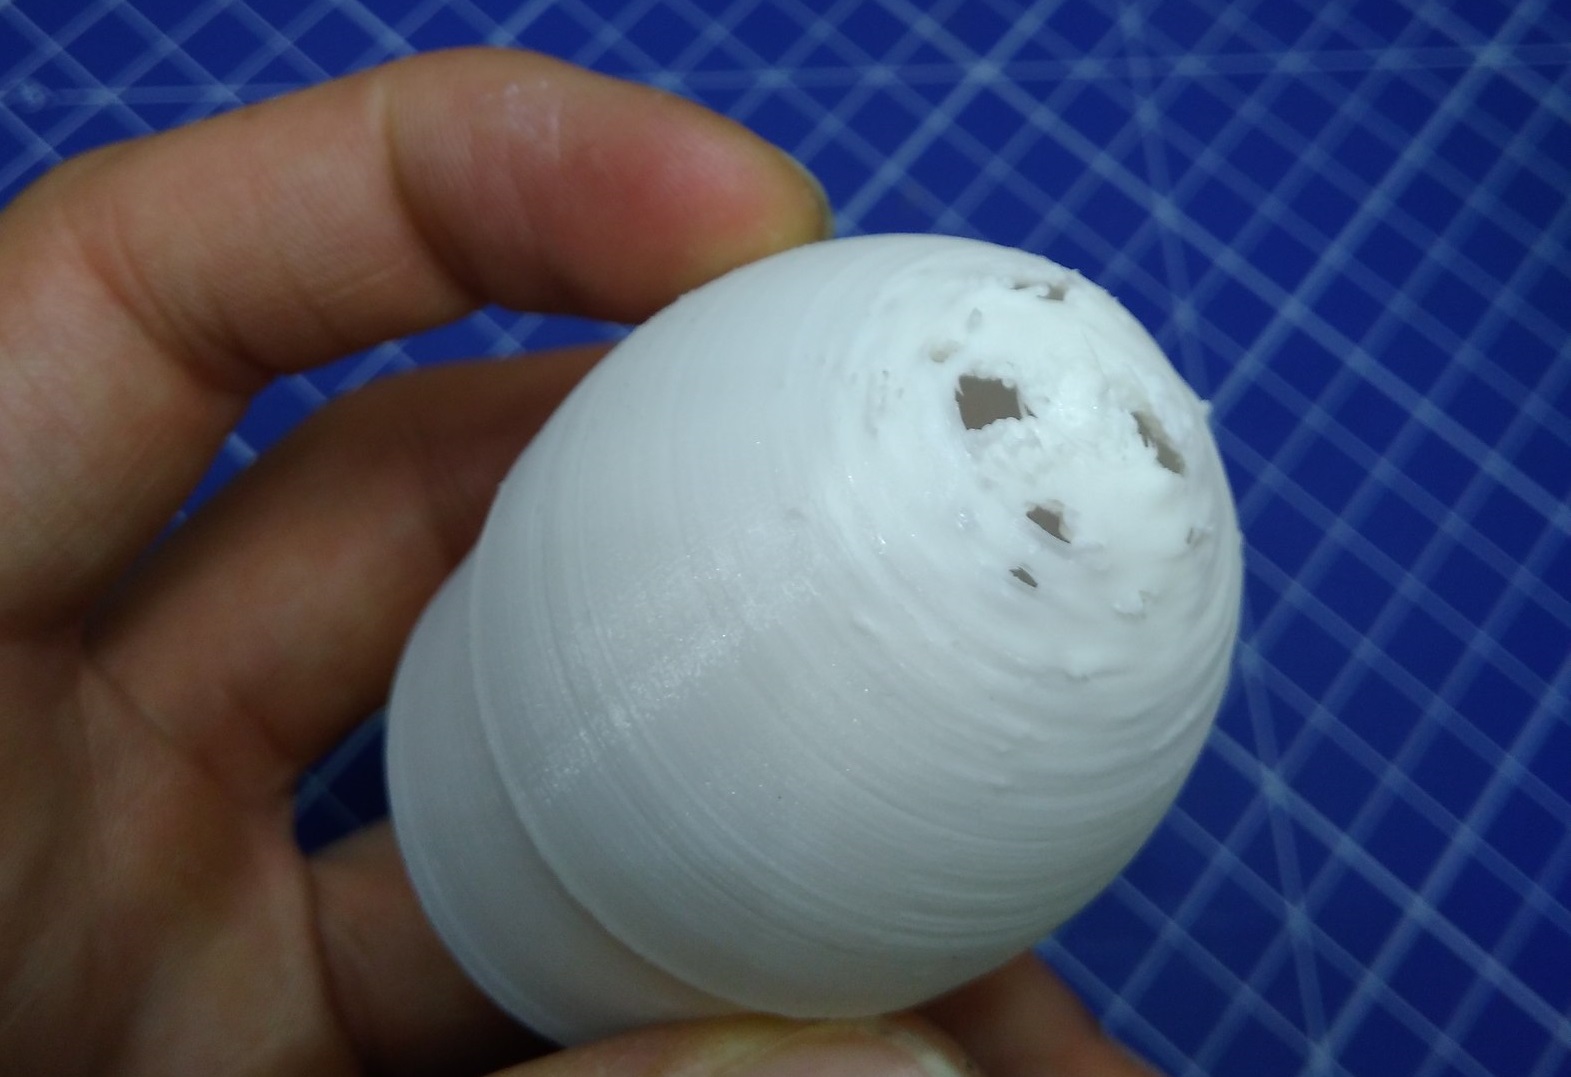
- Wall thickness and filling. Maximum strength at 100% filling is a fact, but if you need to lighten the part or save plastic, you can make a much larger wall thickness in the print settings, while filling out much lower. This works with parts that have holes for fasteners. When creating a machine code for the printer, absolutely all the outer walls are thick, so the fasteners will be surrounded by a reliable thick plastic layer of your part.
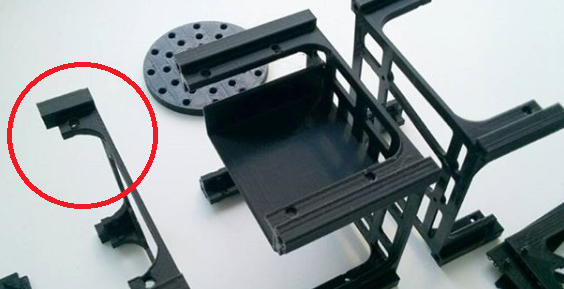
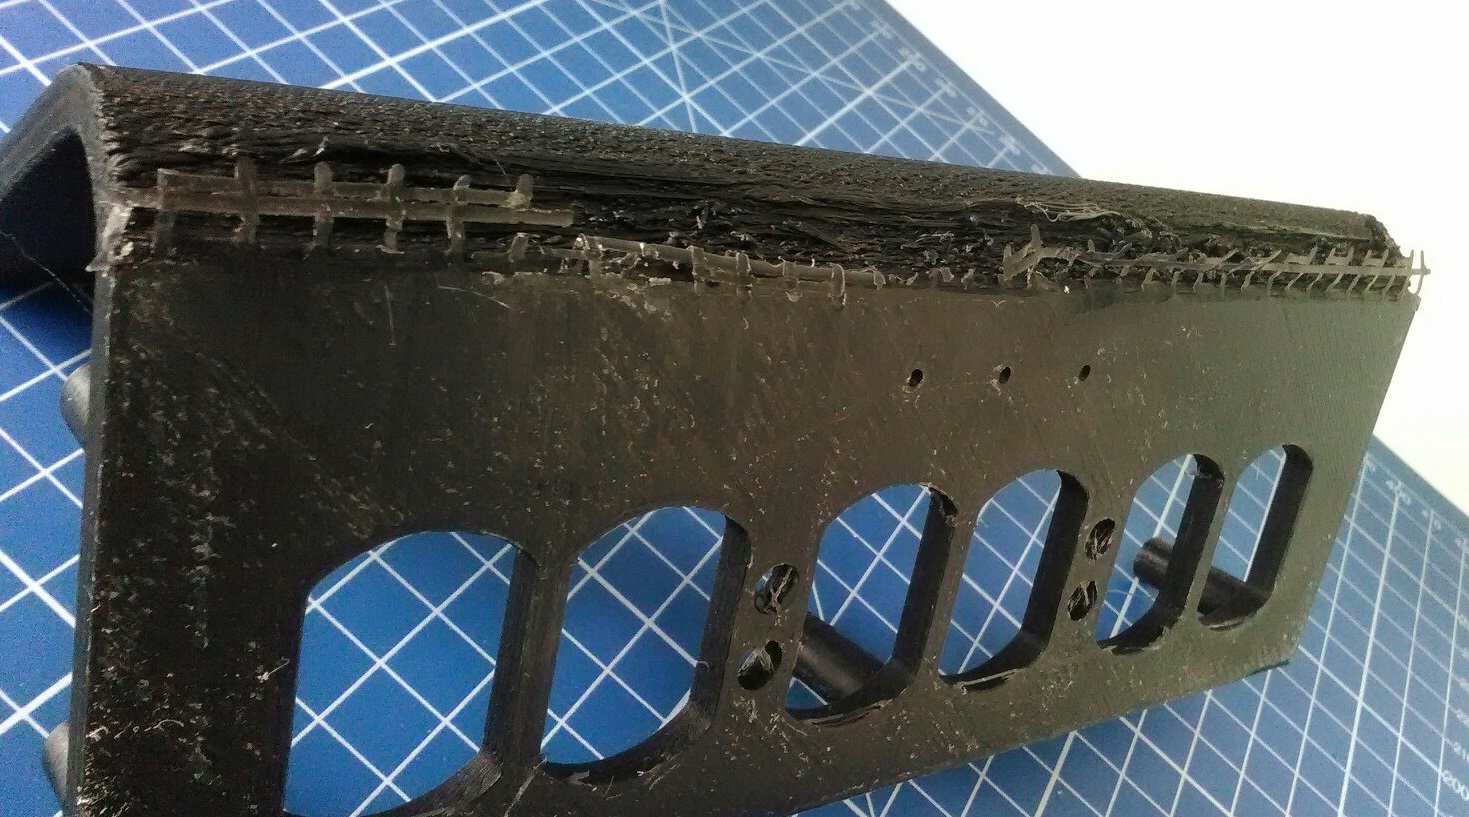
- Support. This element affects the strength of the fact that not always the layers based on support are ideal in structure. This can be solved by increasing the wall thickness, filling, but better not to support at all. Support is added by the slicer depending on the angle between the wall of the part and the plane of the table. Often the default is 60 degrees, sometimes 45. This parameter is chosen experimentally for each 3D printer. You can check this with the help of special test parts. For example, https://www.thingiverse.com/thing:2806295- do not forget to turn off support to check the real quality of 3D printing in its absence. For example, you need to print a T-connector for the tubes. Cast products make T-shaped. 3D printing makes the product L or even Λ-shaped. In the second case, you can even avoid the support, and the part will be stronger because of the layers located at an angle of 45 degrees to the tubes. We, in the workshop, set up slicers for each machine and ask the client about the strength requirements, and, depending on this, choose a 3D printer to print.
Geometric constraints
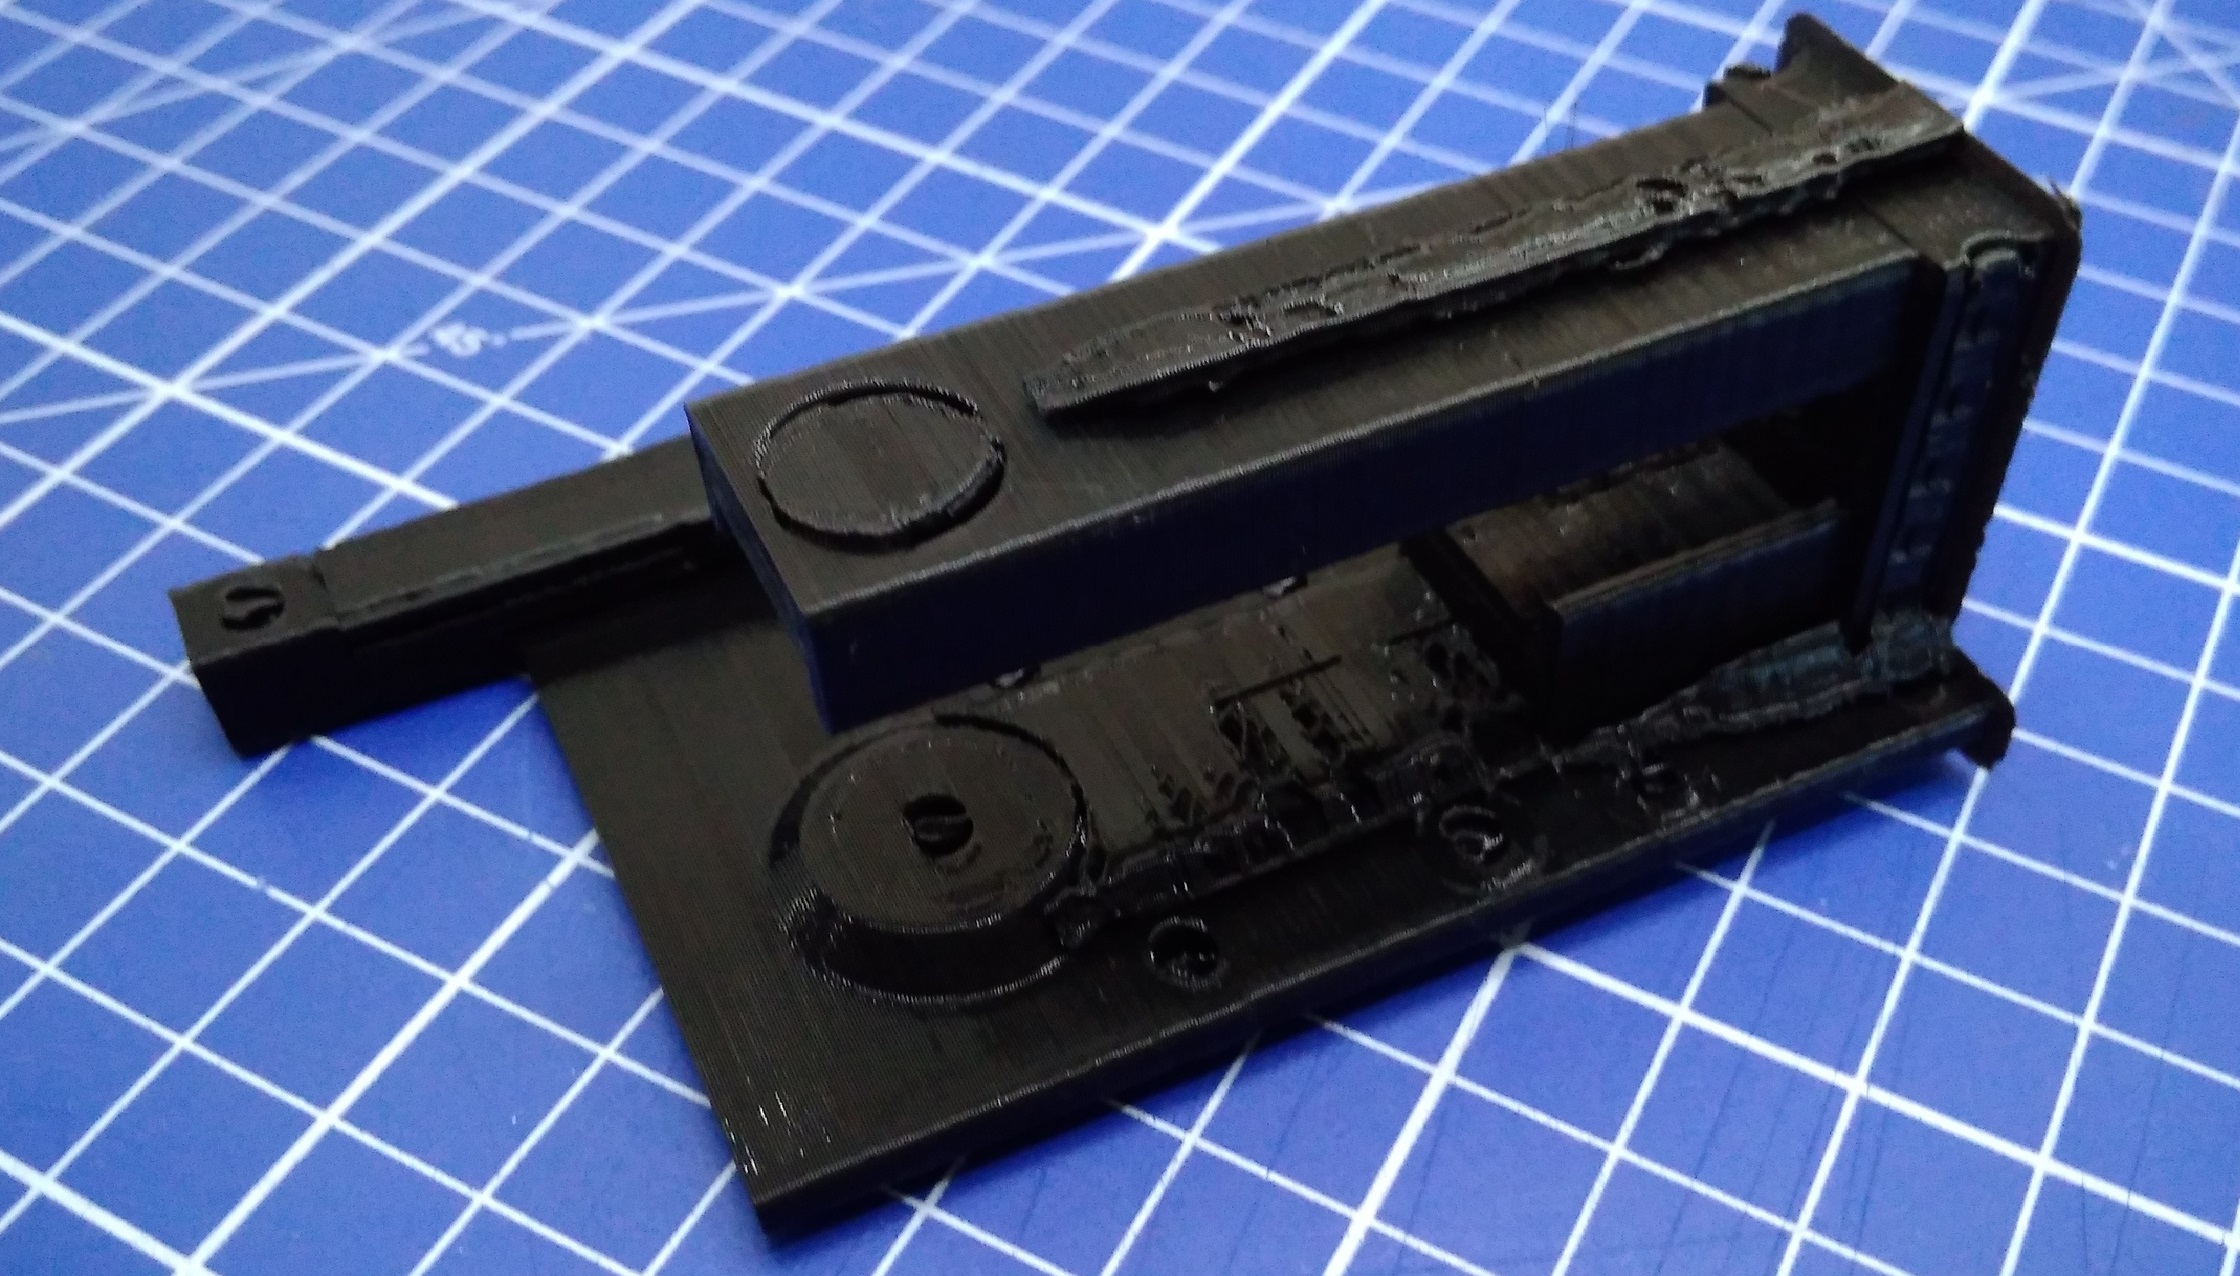
- The wall thickness is limited to the bottom nozzle size of the 3D printer. Its diameter is constant and in most cases is equal to 0.4 mm. Lower thickness - long 3D printing for most parts. The larger the nozzle is, the bonds between the layers are less strong, the steps between the layers are more visible. And in general, the wall thickness should be a multiple of 0.4 mm, then the 3D printer can accurately make a wall in two passes (0.8 mm), in 3 passes (1.2 mm), etc. Other thicknesses will cause the 3D printer to leave a gap or overflow, which negatively affects the strength and appearance of the printed part.
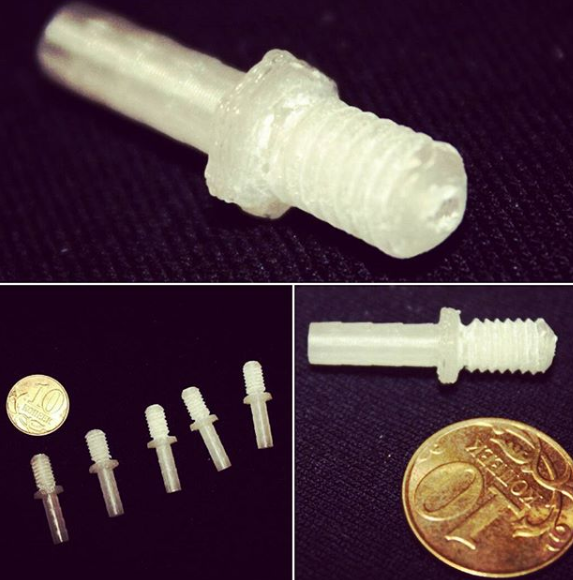
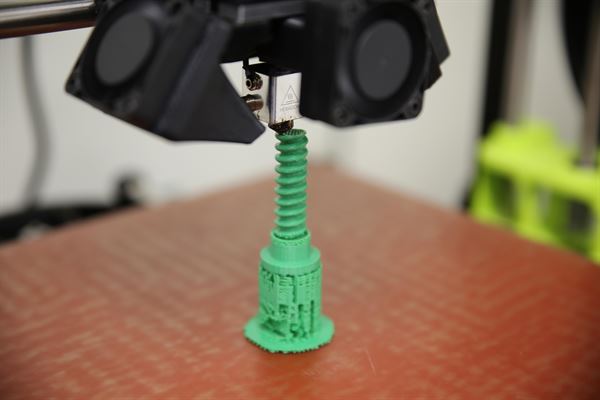
- 3D Printing of thin cylinders and needles. For 3D printing of such products, you need special settings for a 3D printer: slow 3D printing speed, give time for cooling, otherwise such a structure will bend. Vertically standing thin elements should be avoided by all means. Even if they are printed, they will be very fragile. It makes sense to leave them only for decorative purposes, but we must be prepared that their quality will be worse than the quality of other elements of the 3D part.
- 3D-Print Holes. I note that if the hole is straight and through, then it can be drilled out, if it is curved and needs support, it may turn out that it will be impossible to get support.
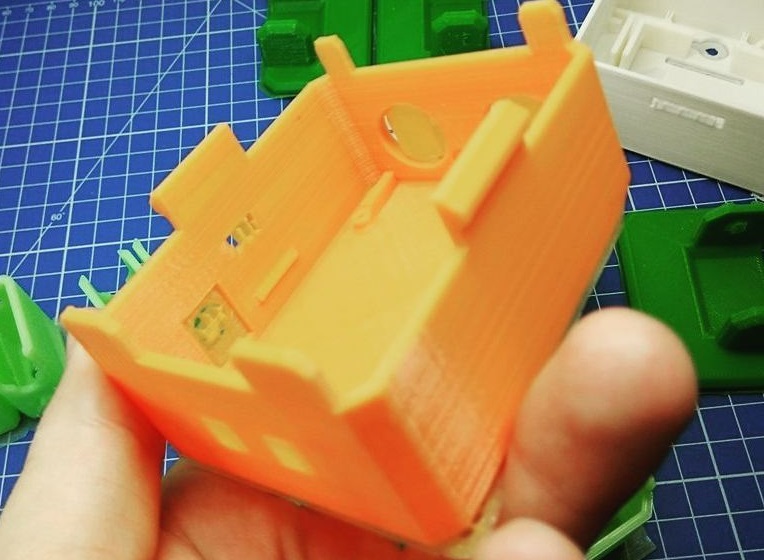
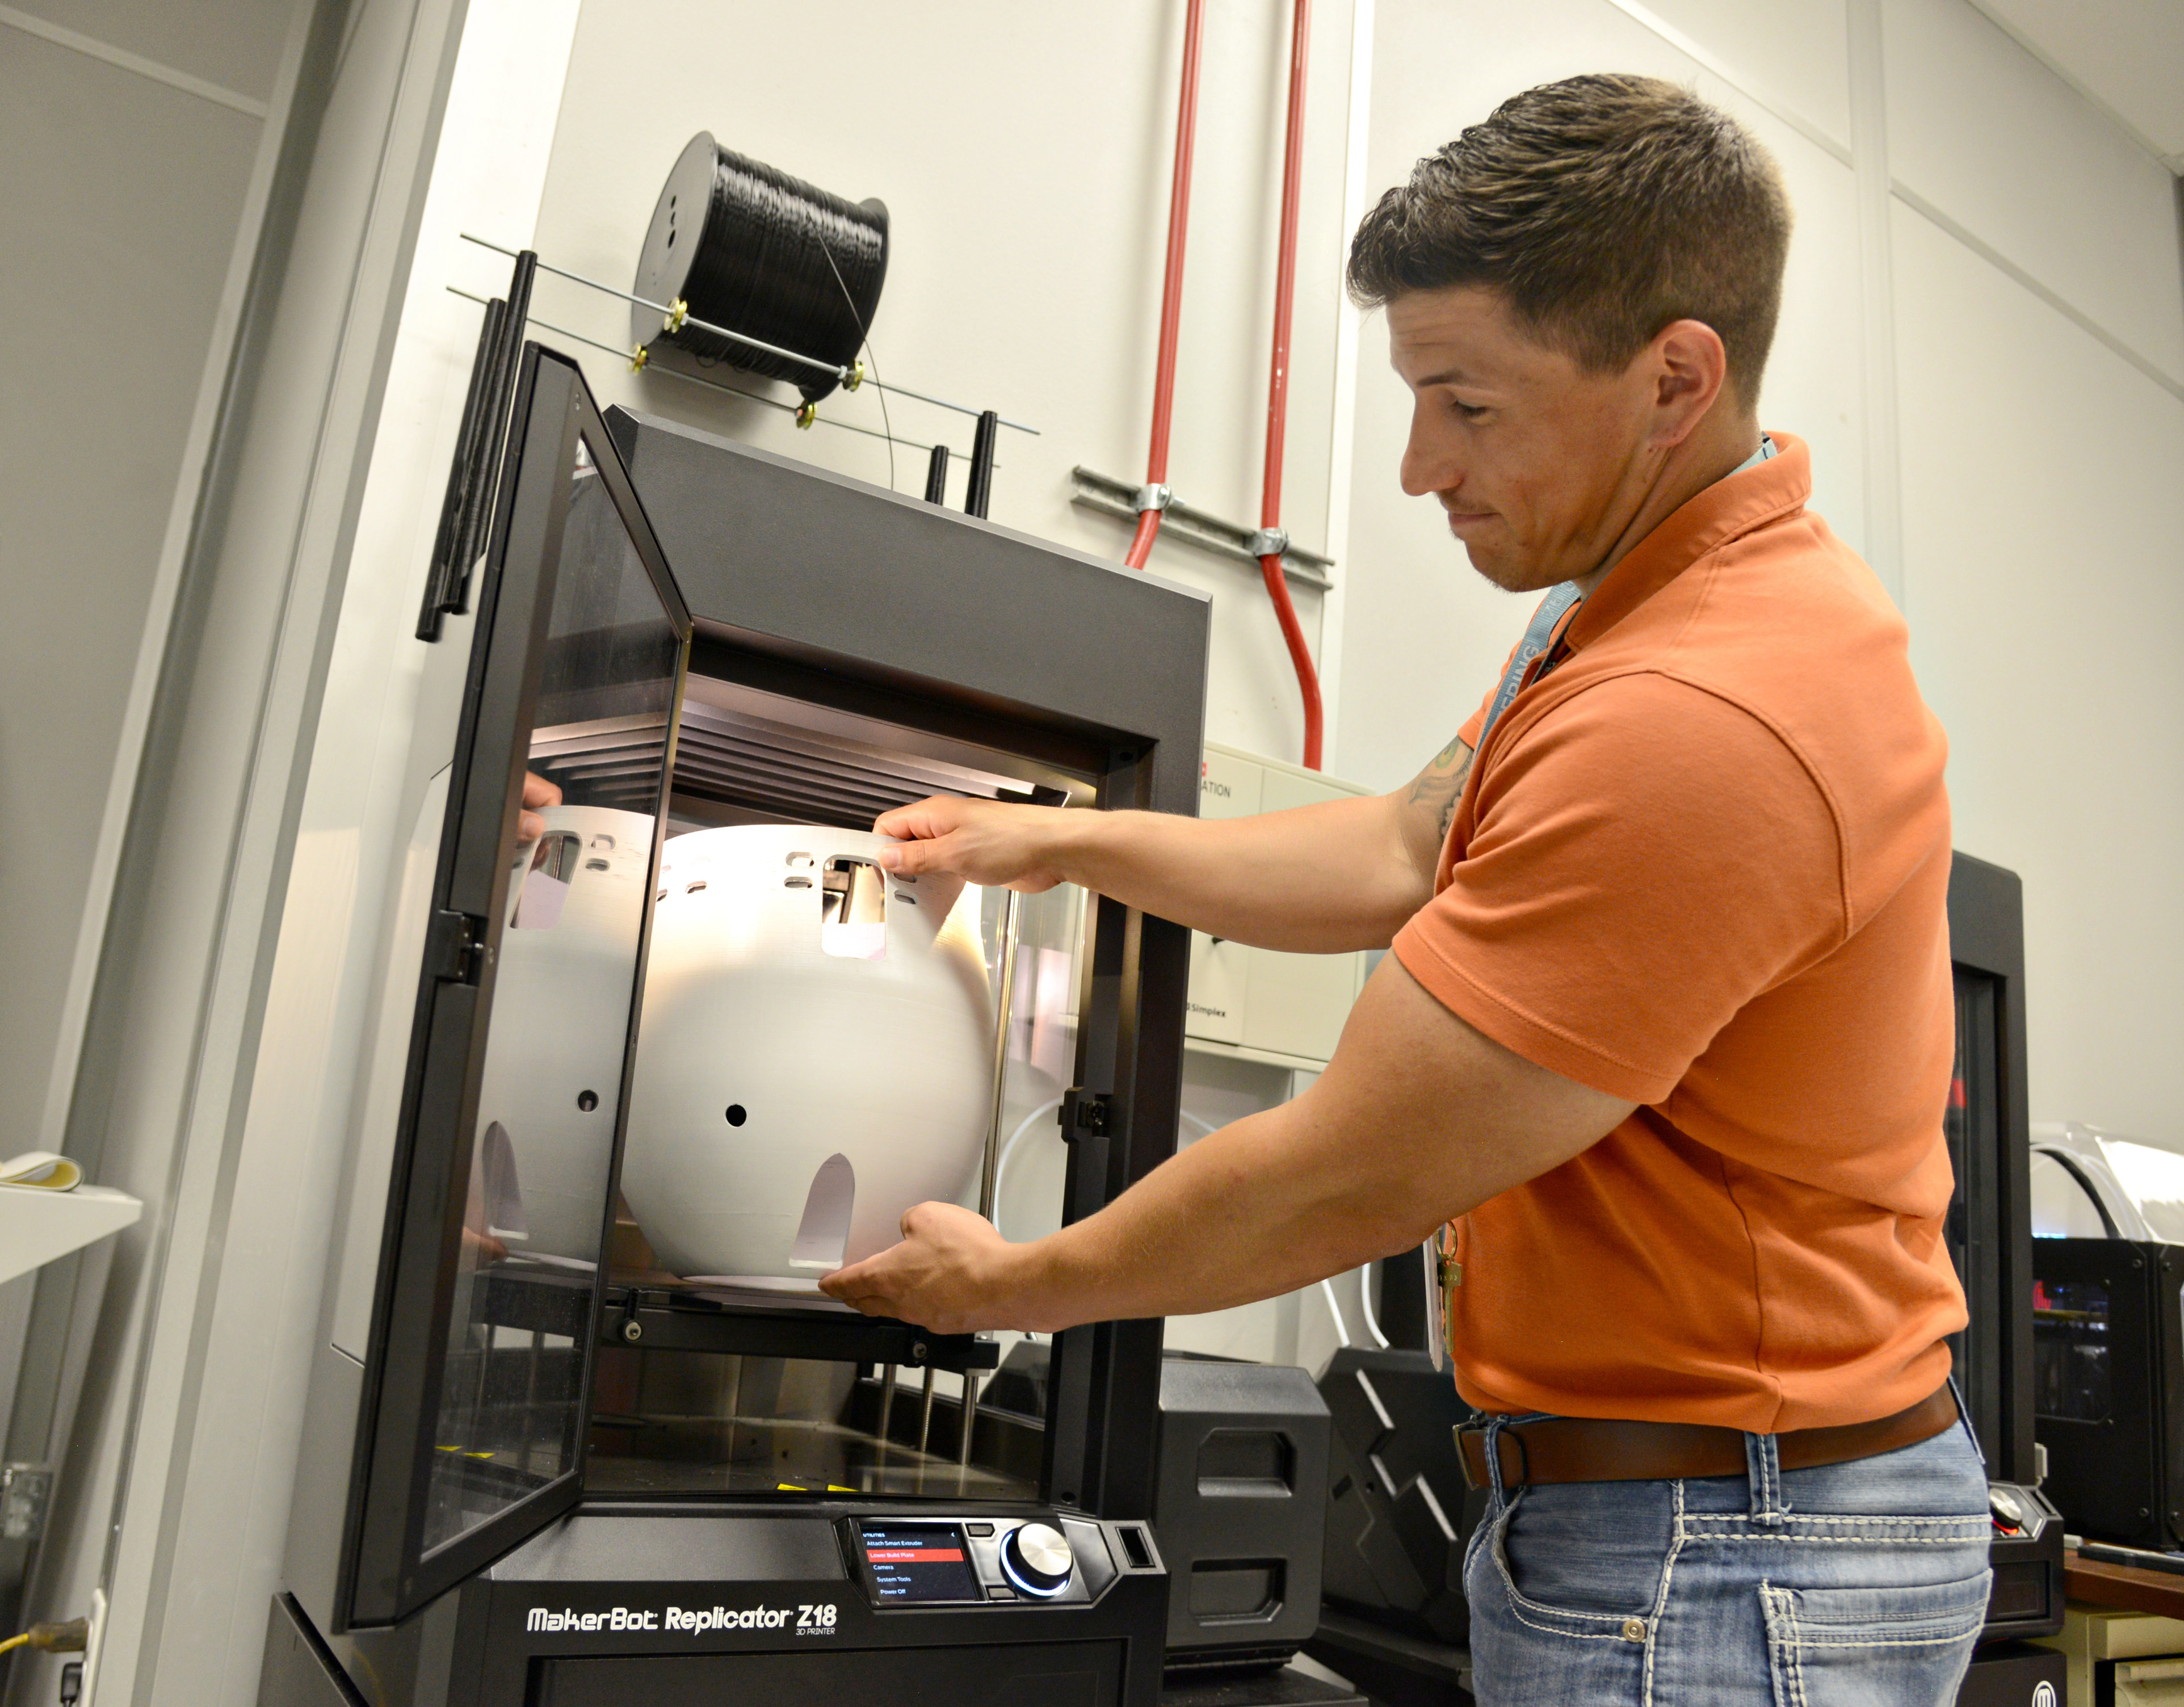
- In 3D modeling, it is important to take into account the overall dimensions of the 3D printer. We use convenient 3D-printers, a table of 250x250 mm, a diagonal of 353 mm. Here it is necessary to enter the dimensions, if possible. Otherwise, you must order either an industrial 3D-printer with a large print area, or use gluing, but the assembly is better, because the assembly process will be controlled by the developer, not the 3D printing master.
- A large area of the base may cause the edges to come unstuck from the table. We use special glue, but this does not always help. We are periodically complained to our colleagues that such “minor” defects as a curved edge are not a reason for restarting 3D printing for them, take it as it is. But an engineer who 3D-models a part can take this into account in his work, and either make assemblies or thin-walled flat 3D-parts that “do not have enough strength” to compress the outer contour and raise, as a result, the edge.

- High and thin "towers" can be poorly obtained due to vibrations that occur when working with a 3D printer closer to the top, layer shifts are also possible.
Dimension stability, accuracy
- Accurate 3D printing is a rare bird. I don’t want to speak an engineering language here, but the likelihood that a complex composite structure is assembled from the first time is very low. Here it is rather necessary to take into account that it is possible to mechanically modify the details later.
- Holes for fasteners better to do with a margin of 0.5 mm in diameter. This will not diminish the strength, the fasteners will not hang too due to the tightening forces, but if you do it without a stock, you definitely have to drill. Reducing the size of a large shaft,> 10mm sandpaper, is much easier than machining a hole that requires a huge drill that cuts into or gets stuck into plastic walls and parts. It is also important to note that when drilling plastic melts and the drill can fuse into it so that it is impossible to remove. There have been cases.
- Thermal shrinking is not always compensated, more precisely, it is very difficult to catch, it is not the same in different directions, so it is extremely difficult to take it into account. Easier to print a trial version, and then make adjustments.
If appearance is important
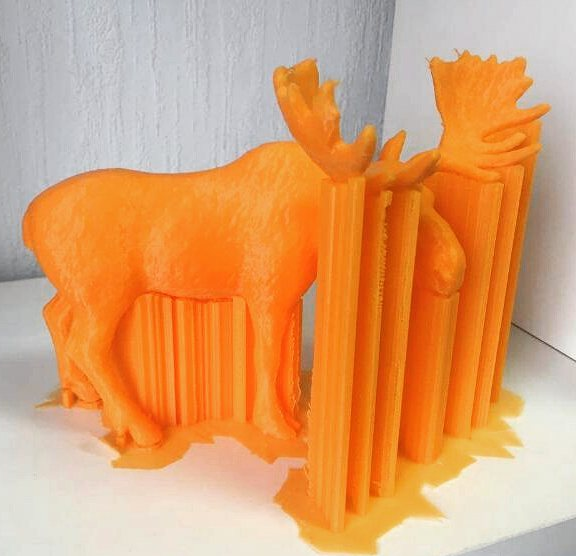
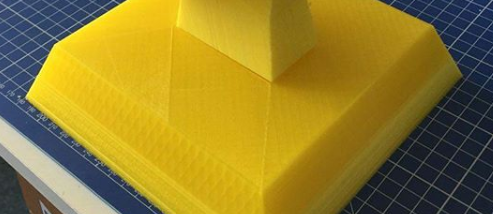
- Think about how the master will orient the part on the table of a 3D printer. 3D printing is carried out in layers, which is clearly evident when printing surfaces that are at a small angle from the table horizontal. Skins will have a long and painful, because you have to cut this "ladder" to the deepest depressions of the "steps". It is better to have such surfaces or horizontally, for example, put on the table, or increase the angle. In some cases, even the addition of support, spoiling the wrong side of the unnecessary, saves time and effort for post-processing.

- Support. First, the surface it supports has significantly more defects than without it. Secondly, thin and high support is weak, shaky, which leads to the fact that the supporting part can have serious defects, or it will not work out at all.
- Improving the quality of the first layer. You need to add a chamfer. Even where you do not need a sharp angle, I recommend adding a chamfer of 0.5 mm. It will not be clearly visible, but the edge will be neat.
What you need to know, so as not to be mistaken when ordering 3D printing
If appearance is important
- Location details on the table. Remember about anisotropy.
- Wall thickness and filling. What you can run into here: filling - 20% cells, which are either visible through a thin outer wall, or filling slightly slackens the outer wall during shrinkage, but it is visually easy to determine that there is support inside. It helps primarily increase the thickness of the outer wall, or an increase in the density of filling. Consider this when ordering.
Post processing
Elimination of aliasing is achieved by mechanical and chemical methods. It is possible to use putty. Available in acrylic paint. If the item has a complex color structure, then we use a ProJet 4500 printer, which uses a different technology. He glues powder particles with colored ink glue. It turns out not bad.
Morality
In conclusion, I would like to note that these recommendations and the accumulated experience will allow us to produce parts using the 3D printing method, which will not be inferior in their properties to cast, which makes it possible to save significant funds if you have a customized printer and small production volumes. From my own experience, I’ll note that messing with the printer, debugging it, and knowing “all cracks” is a separate topic that I’ll talk about later. And in conclusion, I would like to ask the reader to express an opinion in the survey.
Only registered users can participate in the survey. Sign in , please.
Do I need to buy a 3D printer, or should I outsource it?
- 66.6% Better to control everything yourself, modeling and printing 60
- 21.1% I model, but let those who live with it print 19
- 10% I prefer modeling and printing to give to narrow specialists 9
- 14.4% I do not believe in 3D printing, I try to avoid it at all 13