#BigGun. The simplest "frame" chronograph on the Arduino (measuring the speed of a bullet)
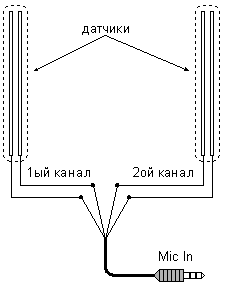
Electrically the sensor design consists of conductors only. Elementary.
No strapping - in principle - these are two “buttons” from the masses to ports 2 and 3, simpler than a detector receiver!
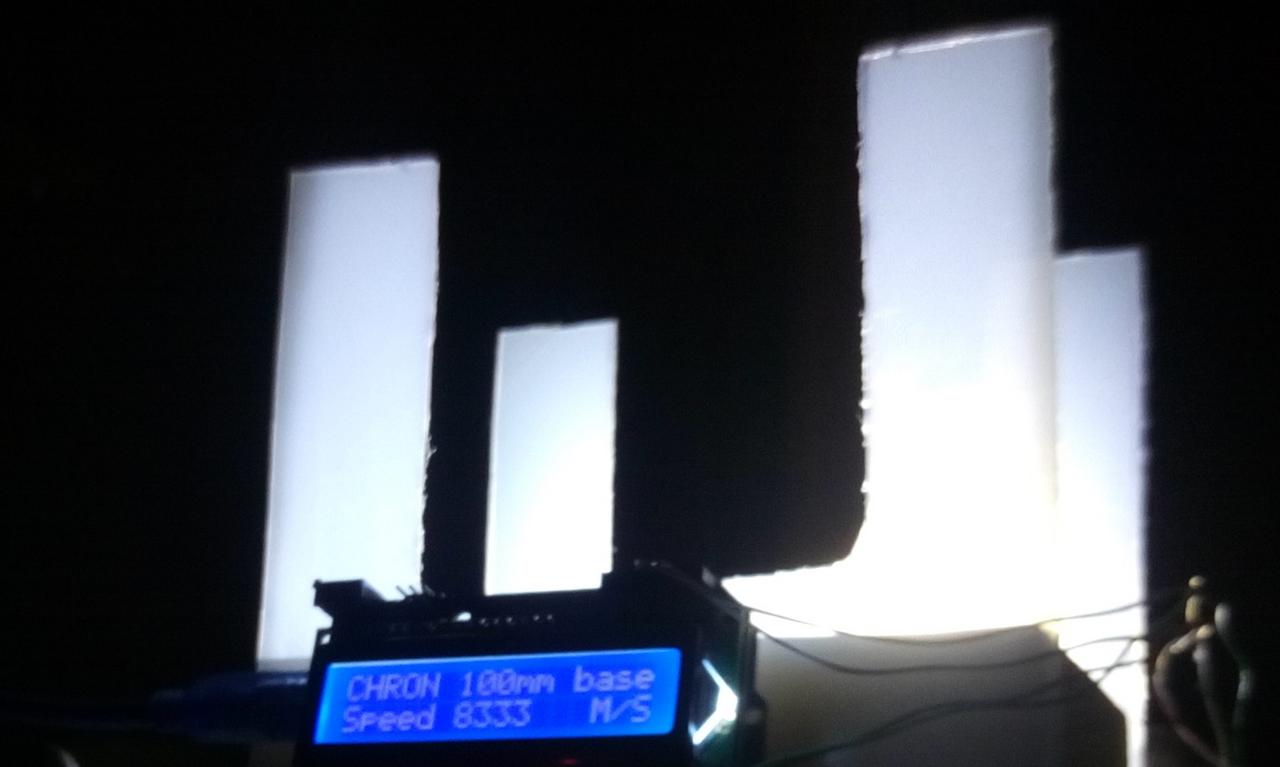
A small excursion into history (italics) - I have been engaged in air guns for more than 20 years, and all this time I used the method of a ballistic pendulum to measure the speed of a bullet.
But Shotgun appeared - energy vs. 4.5mm magnum - 100 times !!! more - do not use the same log on suspensions!
At that time, I had already started using the Arduino for peaceful purposes._
Based on the construction of Mikhail Shevchenko on two pairs of optical sensors.
Made an option that is mounted on the barrel, but the return even spring pneumatic after a few shots destroyed the LEDs.
I tried to assemble a universal frame monster with a variety of optical sensors - FAIL.
Having decided to simplify, I came to the described construction, nowhere else ;-)
The principle of sensors borrowed from the creators of the program Airspeed (originally from the 90s).
Just add a microcontroller (accuracy - an order of magnitude higher)!
That is, when it worked, it just looks like that!
Unlike sound cards, we had to operate not with an analog signal, but with a transition from logical 1 to 0.
Success was preceded by many experiments - 2 variants of the framework, 3 types of electrical "strapping" and 4 edits of sketches (programs).
Pulling the voltage on digital pins (PULLUP) turned out to be the most vital and stable solution!
As a result, the probability of making a mistake when repeating this scheme is scanty!
Everything, further there is no time to explain, the sensors can be assembled just by looking at the photos.
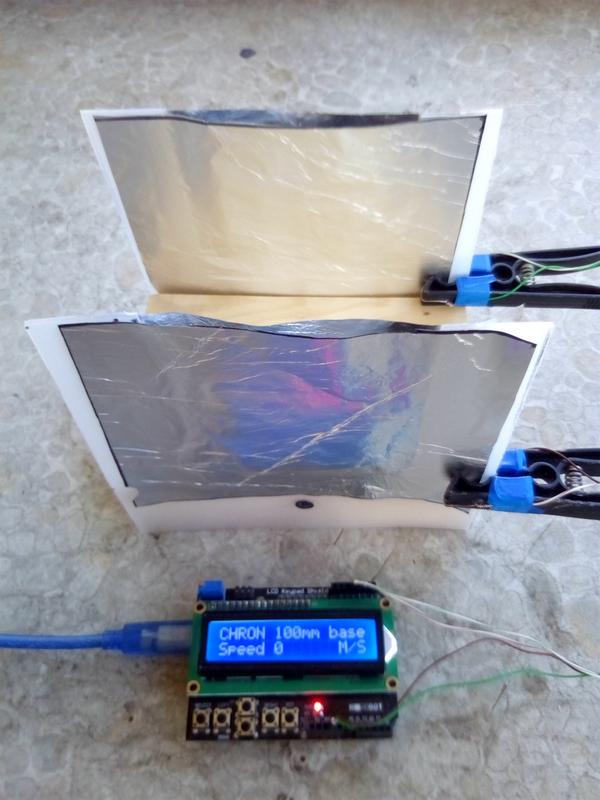
So, we start the game in SPECKS - raw materials - wooden bar 15x10x5cm, two pieces of plastic sheet 15x15cm, 2.5 mm thick.
On a greater thickness of the framework - the sensors may not work, on a smaller one - to short from the blow of the breeze.
You can take a 3-mm corrugated cardboard, balsa, or even make a frame of the usual lines!
The main thing to remember - 4mm thickness - is already a lot, it stops working at six!
The size of the "window" within - 9x9cm (initially there were ten) is not enough?
If you can not get into the top ten, in the literal and figurative sense, then talk about the need for a chronometer - early!
Next - cut pieces of food foil 11x14 cm and with the help of an ordinary adhesive pencil gently fasten the frame on both sides.
The latter are fastened to the base (bar) so that the distance between them is 10 cm (the chronograph base embedded in the sketch).
At the same time, the bar itself should already be 100mm. on the thickness of one frame (in fact, wood as a result of drying out in the warehouse itself decreases in size ;-)
U-shaped frames are made for reasons of "reusability" of one "set" of foil - after each shot with a ruler we draw between pairs of plates in order to break the contact in the area of the bullet holes.
For the convenience and simplicity of ensuring contact with the foil clamps were made on the basis of pegs:
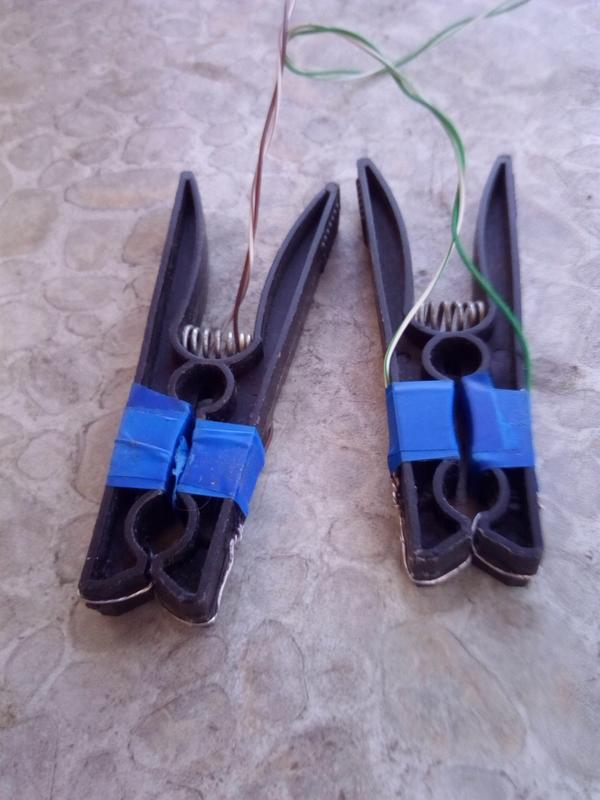
As conductors, I took a twisted-pair stranded wire - all ends were scored (we remember that copper and aluminum are not directly connected!)
So we figured it out.
Now let's move on to the microcontroller - everything is debugged on the arduino Uno (Atmega-328) 16Mhz + LCD Keypad Shield.
So, the text of the sketch (program):
// Подключаем библиотеки#include<LiquidCrystal.h>//ВАЖНО! инициализируем пины вывода - у Вас могут быть другие!!!LiquidCrystal lcd(8, 9, 4, 5, 6, 7);
//определяем переменные://скорость пулиunsignedint data = 0;
//переменные для записи времени прерыванийvolatileunsignedlongint time1 = 0;
volatileunsignedlongint time2 = 0;
voidsetup(){
  //Устанавливаем количество столбцов и строк LCD
  lcd.begin(16, 2);
  //определяем пины для работы с прерываниями
attachInterrupt(0, sensor_1, FALLING);
attachInterrupt(1, sensor_2, FALLING);
//включение внуттреннего напряжения подтяжки на эти-же  пины
pinMode(2, INPUT_PULLUP);
pinMode(3, INPUT_PULLUP);
}
voidloop(){
  lcd.setCursor(0, 0);
  lcd.print("CHRON 100mm base");
//проверка разомкнутости цепей датчиков
nogood:
//если на первом датчике - короткое - на экране будет отображаться # после слова CHRONif ( digitalRead(2) == LOW )
{
  lcd.setCursor(5, 0);
  lcd.print("#");
  goto nogood;
}
else
{
  lcd.setCursor(5, 0);
  lcd.print(" ");
}
//если на втором датчике - короткое - на экране будет отображаться # перед словом baseif ( digitalRead(3) == LOW )
{
  lcd.setCursor(11, 0);
  lcd.print("#");
  goto nogood;
}
else
{
  lcd.setCursor(11, 0);
  lcd.print(" ");
}
  lcd.setCursor(0, 1);
  lcd.print("Speed ");
  lcd.setCursor(6, 1);
  lcd.print(data);
  lcd.setCursor(13, 1);
  lcd.print("M/S");
     delay(100);
 while ( time1 == 0 && time2 == 0 ) ;
        delay(100);
    if ( time1 != 0 && time2 != 0 && time2 > time1 )
    {
        data = 0.1 / ((time2 - time1) / 1000000.0); // v = s / t
    }
//    Serial.println(data)// Если у Вас нет дисплея - комментарим все строки работы с библиотекой LiquidCrystal (lcd), // раскомментируем верхнюю - Serial.println - скорость будет отображаться в окне Arduino IDE
  lcd.setCursor(6, 1);
  lcd.print(data);
    time1 = 0;
    time2 = 0;
}
voidsensor_1(){
    if ( time1 == 0 )
    {
        time1 = micros();
    }
}
voidsensor_2(){
    if ( time2 == 0 )
    {
        time2 = micros();
    }
}
In short, the principle of operation is with the PULLUP command on 2.3 pins the pull-up voltage is turned on (with internal resistors of 20-50 kΩ).
The span of the bullet makes a short circuit detected by interrupts (sensor FALLING) as the most rapid arduino commands.
Knowing the time difference and the distance between the sensors, the bullet velocity is calculated.
The order of sensors is IMPORTANT - the first one is for pin 2!
Everything.
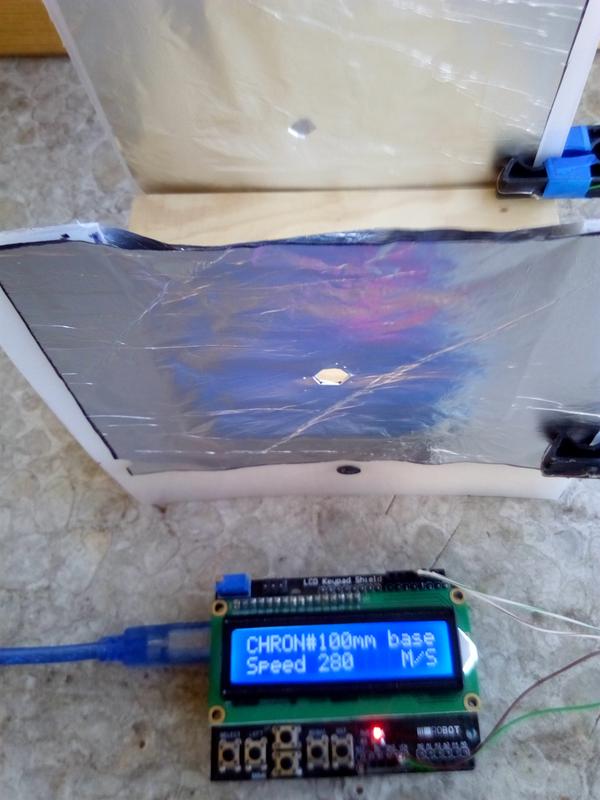
Someone will argue that energy is spent on breaking through the foil, and the real speed of the bullet will be higher!
At first, everything seemed to be so!
Compared with the speed measured one and a half years ago by the device with optical sensors (280m / s) - the device on the foil gave out 260!
Energetically - this is 22Joule v 19! - loss immediately treshki!
But as soon as I reduced the base to 100mm, the "foil" began to show the correct result - why - a mystery!
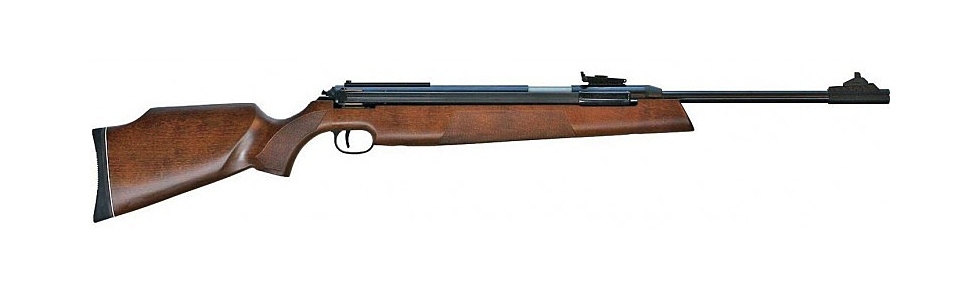
Bullets used Luman FT 0.56gram, devices based on the same microcontroller, the base in both cases is 100mm, one rifle
Now about the stability of the testimony - out of 5 shots, the “release” is only one at a time, the numbers of the others - converge.
Yes, and last, ask - why in the age of electronics reinvent the wheel?
It's very simple - the answer is a shotgun!
When measuring the speed of charge on the flight - no problem - any device will do!
But at a distance the fraction tends to be scattered (the standard target for checking the talus is 75x75cm).
Now imagine the option of measuring the speed of a charge at 35 meters - if even a Chinese device for $ 50 is blown apart, it will be insulting.
Exit - either to "book" the case and sensors (enough boards 40mm), or use disposable.
There is something to measure and why - a ban on hunting with lead on reservoirs is not far off (after Europe), it will be necessary to use steel shot, in stores for such cartridges there will be queues (or a high price).
When self-collecting cartridges, one does not want to use the old-fashioned methods of evaluating the effectiveness of entering a dry pine board.
Apt for you shots, and to hunters - Not Down, Not Per!
To new meetings on Habré, Andrey.