DIY digital eyepiece for a microscope
In my school years, I really liked to examine different objects under a microscope. Anything - from the insides of a transistor to various insects. And now, I recently decided to indulge in a microscope again, after subjecting it to small alterations. That's what came out of it:
Under the microscope is the KC573RF2 microcircuit (ROM with UV erasure). Once upon a time, a test program for the Spectrum was recorded on it.
An old MBS-1 microscope with a warm lamp illumination, which I later converted to an LED .
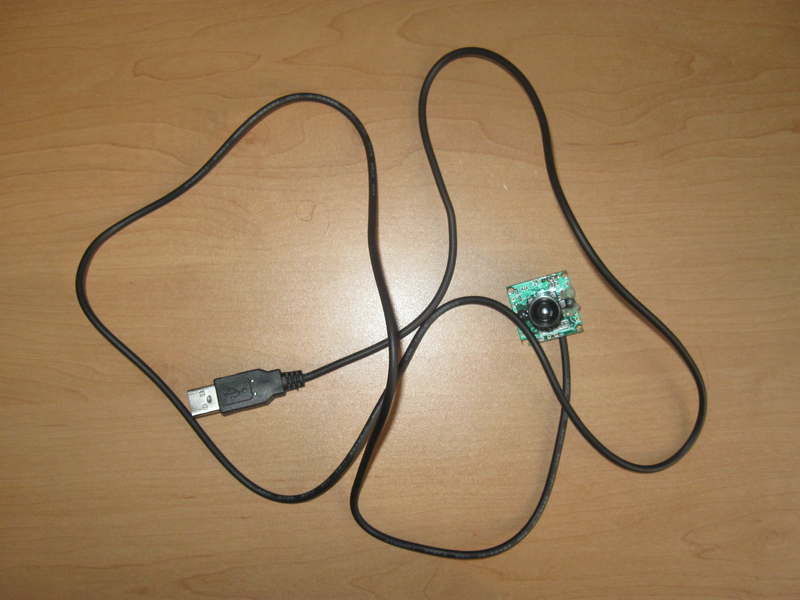
The webcam of the famous Chinese company Noname, which neither Win7, nor MacOSX, nor Ubuntu wanted to recognize (although there was a driver for XP).
I wanted to be able to share with others what is visible through the eyepiece of the microscope.
If you try to solve the problem “on the forehead” - to put the camera on the eyepiece of the microscope, then nothing good will come of it: it’s very difficult to find a point where at least something is visible, the camera is constantly trying to adjust the exposure, the visible area is very small (in the video from the first version of the eyepiece is visible). So I decided to go the other way
The image that the human eye sees in geometric optics is called an imaginary image, and the image that can be projected onto the screen is called a real image.
The camera perceives an imaginary image, converts it into a real one using a lens and projects it onto a matrix.
As my experiments have shown, in a microscope the opposite is true: the image before the eyepiece is valid (since I was substituting a sheet of paper I saw what was under the microscope), and after the eyepiece it is imaginary (because I can see it with the eye).
Therefore, if you remove the lens from the camera and the eyepiece from the microscope, the image will immediately be projected onto the webcam matrix.
More details about geometric optics - here .
I disassemble the camera:
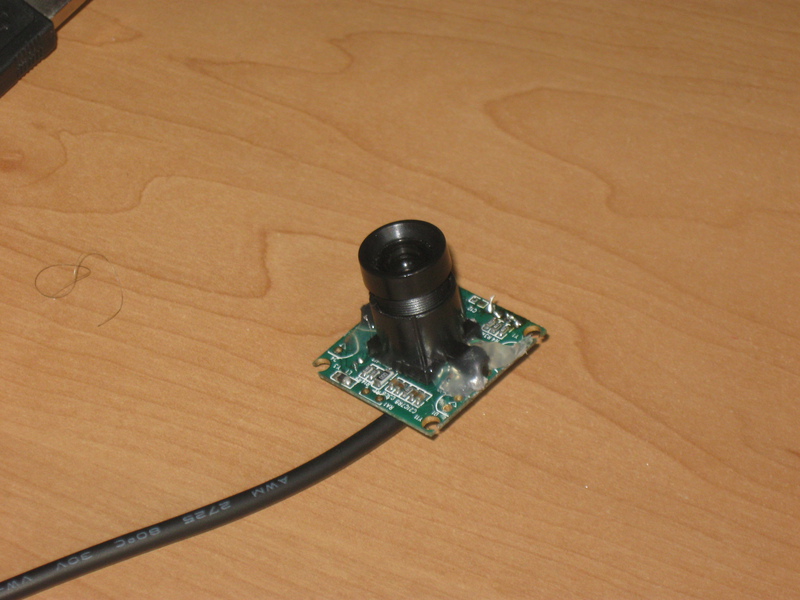
I remove the lens:
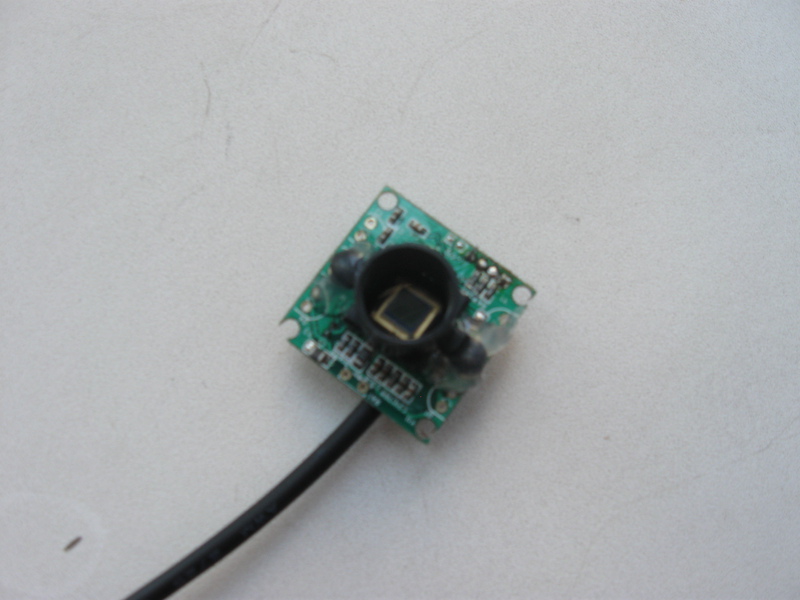

The first test:
To make a thing eternal, you need to rewind it with a blue electrical tape ...
I make a tube that will be inserted into the microscope in place of the eyepiece:
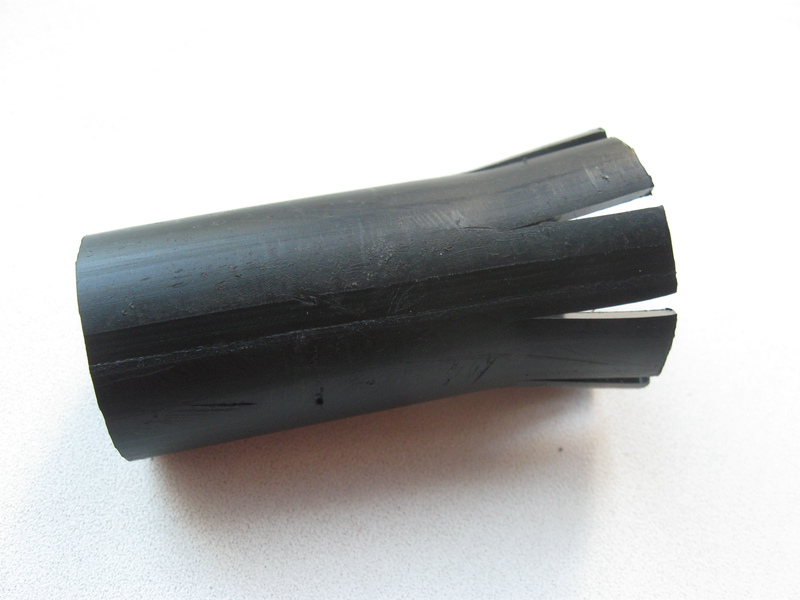

The tube is slightly smaller in diameter than necessary, so one end had to be “expanded” a little.
I fix the tube with hot-melt adhesive on the camera without a lens: I


insert instead of one of the eyepieces:
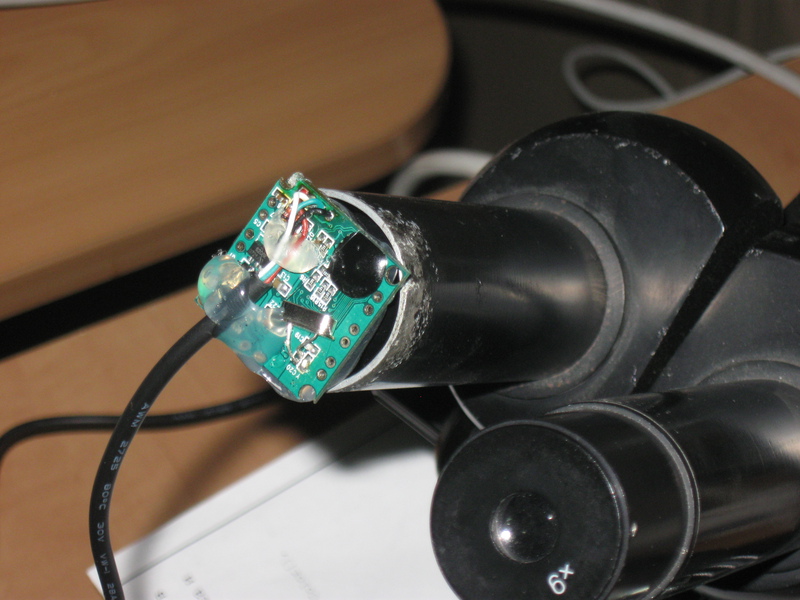

Done!
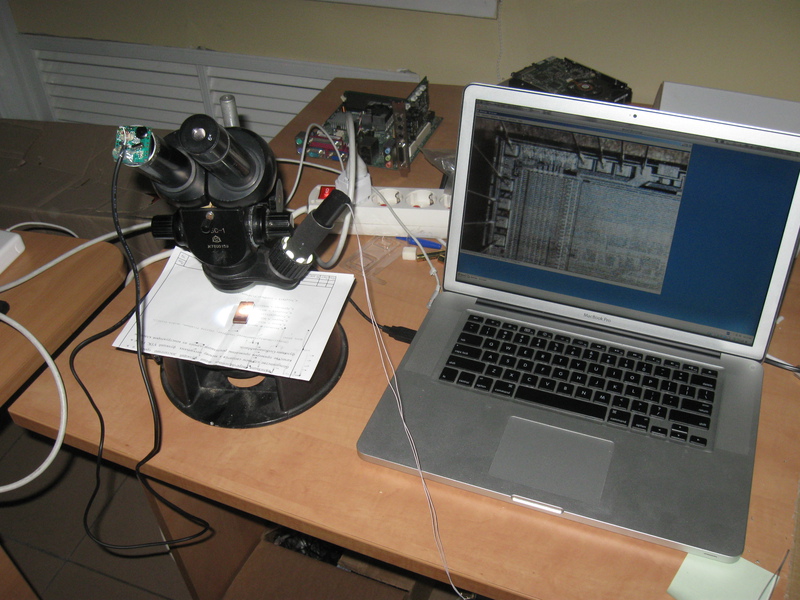
Below are a few videos that came out using this lens:
Eye of the fly
eInk screen from PocketBook 301+
IPod retina screen
Nokia 6021 screen
The surface of the
PS CD : I came across an article in which there is a link on how to do a similar thing. Also, you can make a microscope from a webcam .
Under the microscope is the KC573RF2 microcircuit (ROM with UV erasure). Once upon a time, a test program for the Spectrum was recorded on it.
What i had
An old MBS-1 microscope with a warm lamp illumination, which I later converted to an LED .
The webcam of the famous Chinese company Noname, which neither Win7, nor MacOSX, nor Ubuntu wanted to recognize (although there was a driver for XP).
What did you want
I wanted to be able to share with others what is visible through the eyepiece of the microscope.
If you try to solve the problem “on the forehead” - to put the camera on the eyepiece of the microscope, then nothing good will come of it: it’s very difficult to find a point where at least something is visible, the camera is constantly trying to adjust the exposure, the visible area is very small (in the video from the first version of the eyepiece is visible). So I decided to go the other way
Bit of theory
The image that the human eye sees in geometric optics is called an imaginary image, and the image that can be projected onto the screen is called a real image.
The camera perceives an imaginary image, converts it into a real one using a lens and projects it onto a matrix.
As my experiments have shown, in a microscope the opposite is true: the image before the eyepiece is valid (since I was substituting a sheet of paper I saw what was under the microscope), and after the eyepiece it is imaginary (because I can see it with the eye).
Therefore, if you remove the lens from the camera and the eyepiece from the microscope, the image will immediately be projected onto the webcam matrix.
More details about geometric optics - here .
From theory to practice
I disassemble the camera:


I remove the lens:


The first test:
To make a thing eternal, you need to rewind it with a blue electrical tape ...
I make a tube that will be inserted into the microscope in place of the eyepiece:


The tube is slightly smaller in diameter than necessary, so one end had to be “expanded” a little.
I fix the tube with hot-melt adhesive on the camera without a lens: I


insert instead of one of the eyepieces:


Done!

Below are a few videos that came out using this lens:
Eye of the fly
eInk screen from PocketBook 301+
IPod retina screen
Nokia 6021 screen
The surface of the
PS CD : I came across an article in which there is a link on how to do a similar thing. Also, you can make a microscope from a webcam .
