Setting up your D-Link DPH-300S phone
Recently, we connected a D-Link DPH-300S phone. Today, the client asked me to post this instruction on the site, I decided to post it here as well, maybe this instruction will be useful to someone.
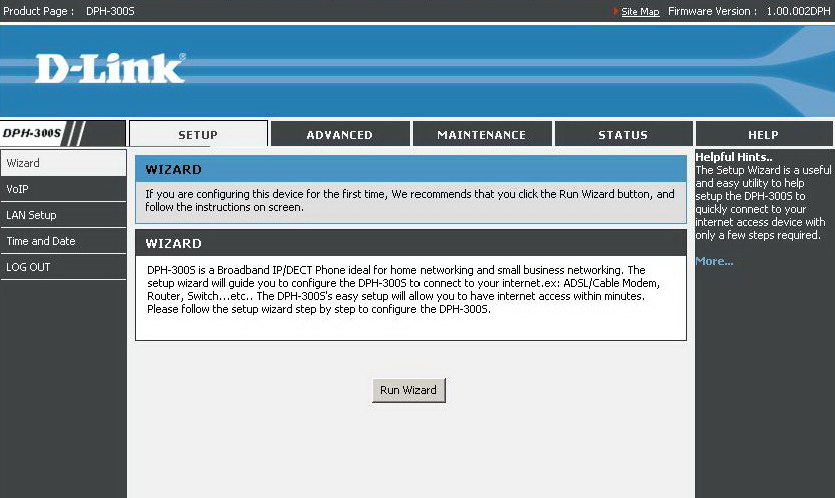
This phone allows you to make calls both over the Internet (SIP) and through a telephone line connected to it. For calls through the telephone line, after connecting the power supply, connect the telephone wire to the LINE telephone jack on the back of the base unit. For calls via Web3Tel, you must configure this unit to connect to the Web3Tel server. This setting is done through the browser. Connect the device to the local network, LAN1 connector. If there is a DHCP server in the network, the device will receive a network address. The received address can be found through the menu on the telephone receiver Menu -> System INFO -> My IP. By typing this address in the browser and entering the username / password admin / admin, the device configuration web-interface will open.
In the menu Setup -> VoIP -> Server Configuration, set the following parameters:
After entering the parameters, press the APPLY button.
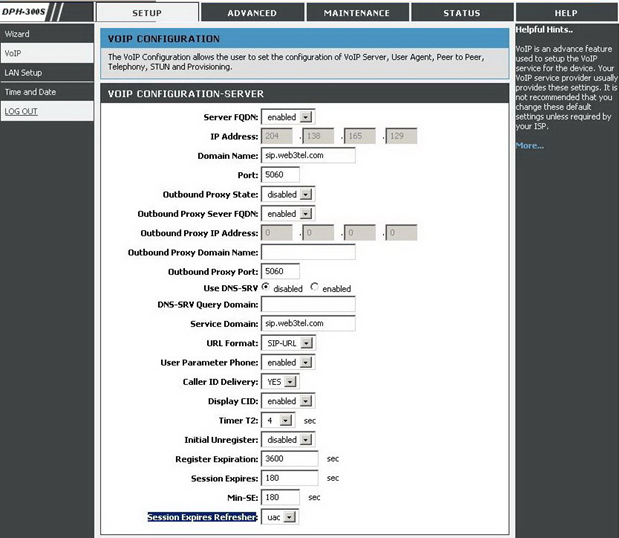
In the Setup - VoIP - Server Configuration menu, set
• Server FQDN: Enable.
• Domain Name: sip.web3tel.com
• Port: 5060
• Outbound Proxy State: disable
• Outbound Proxy Sever FQDN: Enable
After entering the parameters, press the APPLY button.
After completing the configuration and saving the parameters, the device must be rebooted. In the Maintenance - System menu in the restart device block, click the Reboot button. After the device is rebooted, registration will occur and VoIP Ready will appear on the handset.
This phone allows you to make calls both over the Internet (SIP) and through a telephone line connected to it. For calls through the telephone line, after connecting the power supply, connect the telephone wire to the LINE telephone jack on the back of the base unit. For calls via Web3Tel, you must configure this unit to connect to the Web3Tel server. This setting is done through the browser. Connect the device to the local network, LAN1 connector. If there is a DHCP server in the network, the device will receive a network address. The received address can be found through the menu on the telephone receiver Menu -> System INFO -> My IP. By typing this address in the browser and entering the username / password admin / admin, the device configuration web-interface will open.
In the menu Setup -> VoIP -> Server Configuration, set the following parameters:
- Server FQDN: Enable.
- Domain Name: sip.web3tel.com
- Port: 5060
- Outbound Proxy State: disable
- Outbound Proxy Sever FQDN: Enable
- Outbound Proxy Domain Name: -leave blank-
- Outbound Proxy Port: 5060
- Use DNS-SRV: disable
- DNS-SRV Query Domain: -leave blank-
- Service Domain: sip.web3tel.com
- URL Format: SIP URL
- User Parameter Phone: Enable
- Caller ID Delivery: YES
- Display CID: Enable
- Timer T: 4 sec
- Initial Unregister: disable
- Register Expiration: 600
- Session Expires: 180
- Min-SE: 180
- Session Expires Refresher: uac
After entering the parameters, press the APPLY button.
In the Setup - VoIP - Server Configuration menu, set
• Server FQDN: Enable.
• Domain Name: sip.web3tel.com
• Port: 5060
• Outbound Proxy State: disable
• Outbound Proxy Sever FQDN: Enable
After entering the parameters, press the APPLY button.
After completing the configuration and saving the parameters, the device must be rebooted. In the Maintenance - System menu in the restart device block, click the Reboot button. After the device is rebooted, registration will occur and VoIP Ready will appear on the handset.