Lego film camera
Why not?
I really like Lego constructor, cameras and programming. I decided to combine these three hobbies and assemble an automatic film camera from Lego. I wanted the camera to do everything herself: the user only had to insert the film, point it at the target and press the button.
In this post I would like to talk about how I made an automatic camera from Lego, how it was programmed and what came of it.
Pinhole camera
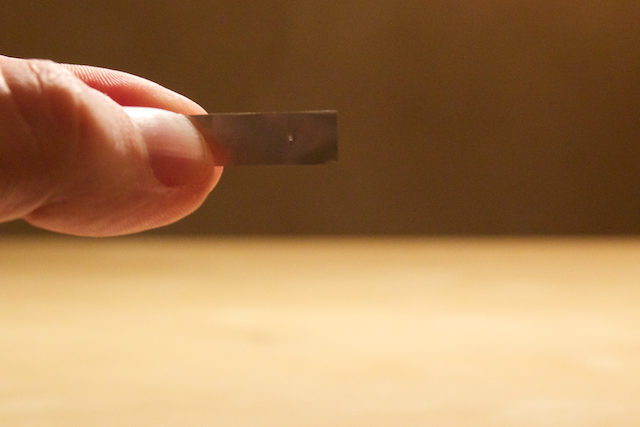
I started from the beginning, with a pinhole camera. This is the basis of any camera: through a hole, light enters the film (or sensor) and leaves an image there. I decided to make a hole in a piece of foil. Using one of the mini drills, I made a hole with a diameter of about 0.3 mm.
Now it was necessary to assemble a light-tight chamber in which the film would be located. The calculators from Mr. website helped me a lot . Pinhole . They allowed us to calculate the optimal size of the camera. Everything is very simple: with a hole size of 0.3 mm, the distance from the hole to the film should be somewhere around 60 mm.
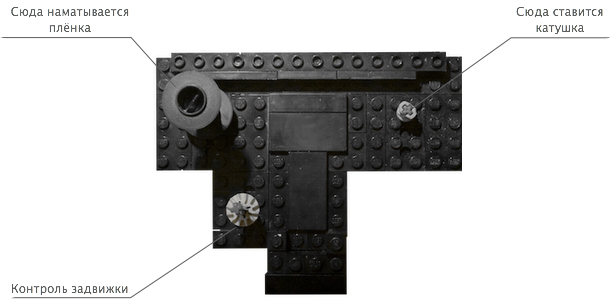
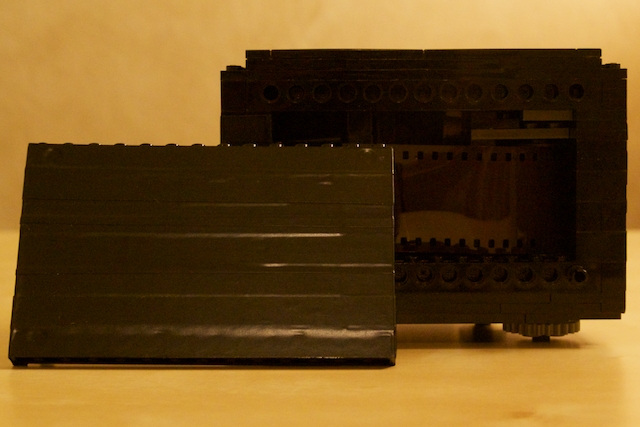
The principle of operation is very simple: the user inserts a new cassette with a film, the film is immediately rewound to a free reel. With each new shot, the film is wound back into the cassette. When all the frames are snapped away you just need to get the used cassette. Here are a couple of snapshots of the build process:
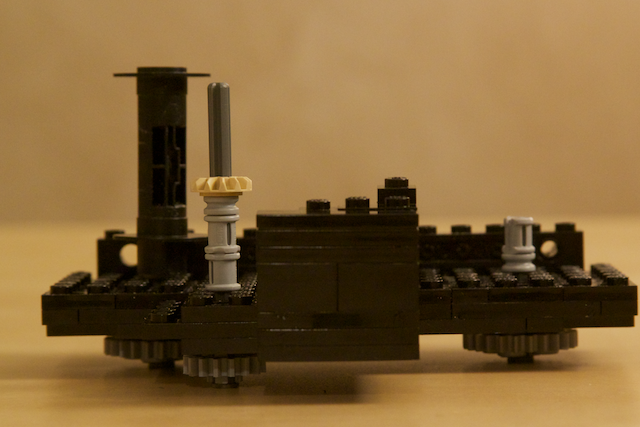
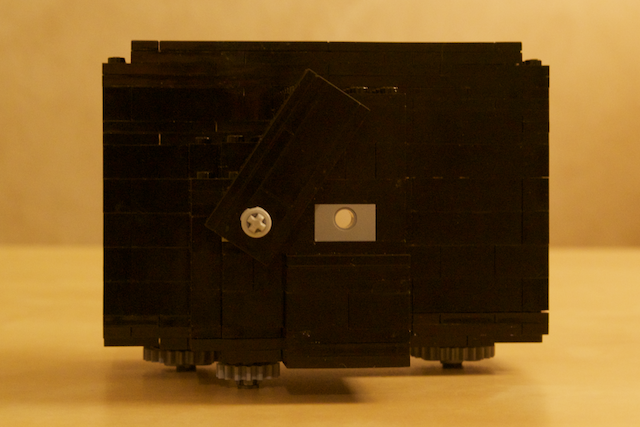
I wanted the pinhole camera to provide three interfaces: control the main coil (which the user set), control the free coil (where the film is unwound) and control the valve. It looks like this:

In the future, the motors of the automation module will twist these three gears. In the meantime, I had to make sure that the camera was not transmitting light. I dragged my design to a darkroom. I decided to use photo paper to search for light holes. Photo paper is sensitive to light: a black spot appears where light came in. I stuffed photo paper into my pinhole camera, brought it into the light, waited a few minutes, and developed the paper. The entire surface was covered with black scars. It took me several hours to find all the holes and wrap them with electrical tape. Here's what happened:

The pinhole camera was over. Honestly, a lot of amateurs themselves assembled such devices. So while I was on a relatively well-trodden path. However, I did not find a single amateur project that went further and decided to automate my camera.
Automation
Lego bricks were also in my childhood. However, the Lego Mindstorms kit I bought only recently. The kit contains three motors, a pair of buttons, a light sensor and a programmable module. Everything you need for a modern camera.
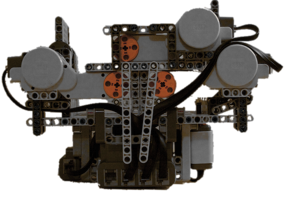
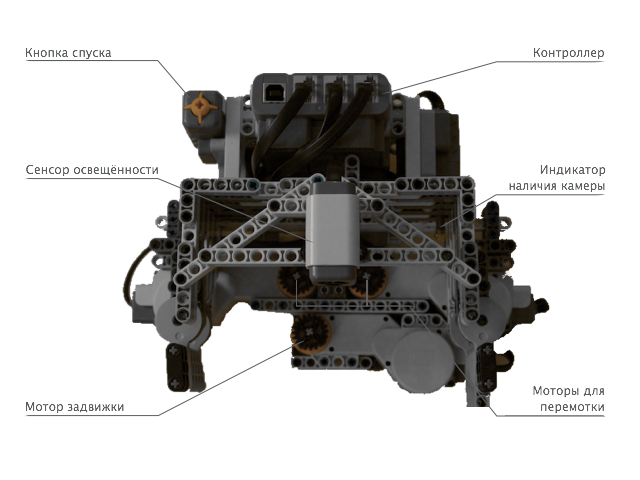
The automation module must contain three motors - two for controlling the rewind and one for controlling the shutter, - a shutter button, an ambient light sensor and a sensor that determines whether a pinhole camera is inserted. The last sensor is quite important: it determines the moment when the camera is just inserted and you need to rewind the film. It should have turned out something like this:
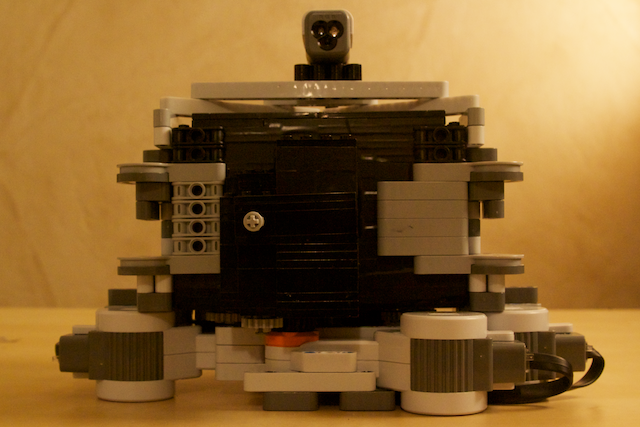
There was a constant lack of specific details. The BrickLink website came to the rescue . On it, I found absolutely all the details and was able to buy them through PayPal. I must say that the prices were very reasonable. Soon, the automation module was assembled. The pinhole camera was neatly inserted into the automation module:
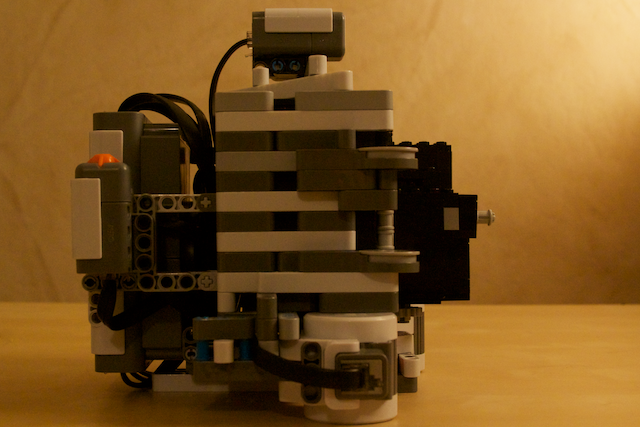
Iron, or rather, plastic was ready. It remains only to program this matter.
The code
The programmable module (controller) is controlled by the Lego operating system. The module can be programmed in a visual development environment: to drag operator bricks, to make block loops, etc. I really did not like this guinea. So the first thing I did was flash the module with Lejos . Programs for it can be written on a somewhat trimmed Java. What is needed for our adventure.
I posted the camera code on http://code.google.com/p/legocamera/ .
The program contains several interesting features:
Logic for calculating film rewind angle
It turned out to be much more difficult to rewind the film than it seemed to me at first. Coils with a film are very similar to a spiral. That is, the angle by which you need to rotate the reel in order to rewind 40mm film depends on the amount of film already wound. To make the calculation, I had to use an equation of the second order. You don’t code this every day. Who cares is the logic in the FilmTransportUtils file .
Valve Speed Calculation
And then a trap was waiting: the Lego sensor returns the level of illumination with a number from 0 to 1023. I could not find out how this number relates to any physical quantities. So I had to build compliance with the method of scientific poking. I rented a light meter and went for a walk. I made a measurement with a Lego sensor, recorded a testimony, then I made a measurement with a device. The result is a pretty decent match table. It seems to me that it can be clarified, but for beta it will do. If you are interested in seeing, welcome to ExposureUtils .
User interface
I really wanted to dynamically update information about the camera: is there a pinhole camera, exposure meter value, number of frames, current task, etc. An additional thread, a bit of magic, and, it seems to me, it turned out almost like in adults:
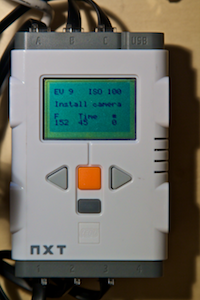 | 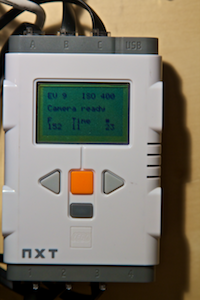 | 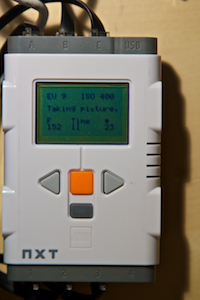 |
Result
Everything was ready. Here is a video demonstrating the camera:
And here are the resulting photos. Hydrant: A
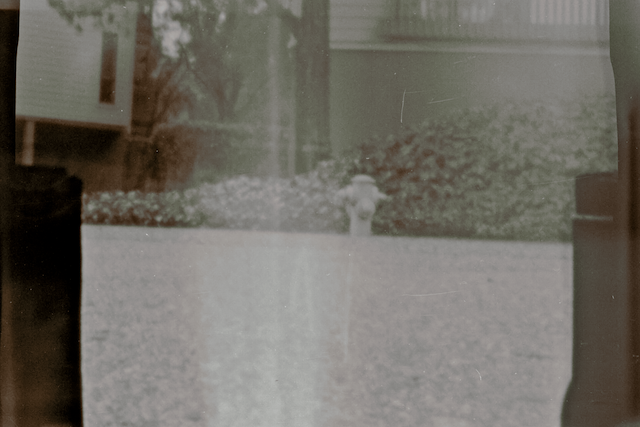
neighbor moves:

I’ll shoot on my camera further: it’s so simple, I pressed a button and you're done!