DIY: Shambler, The making of
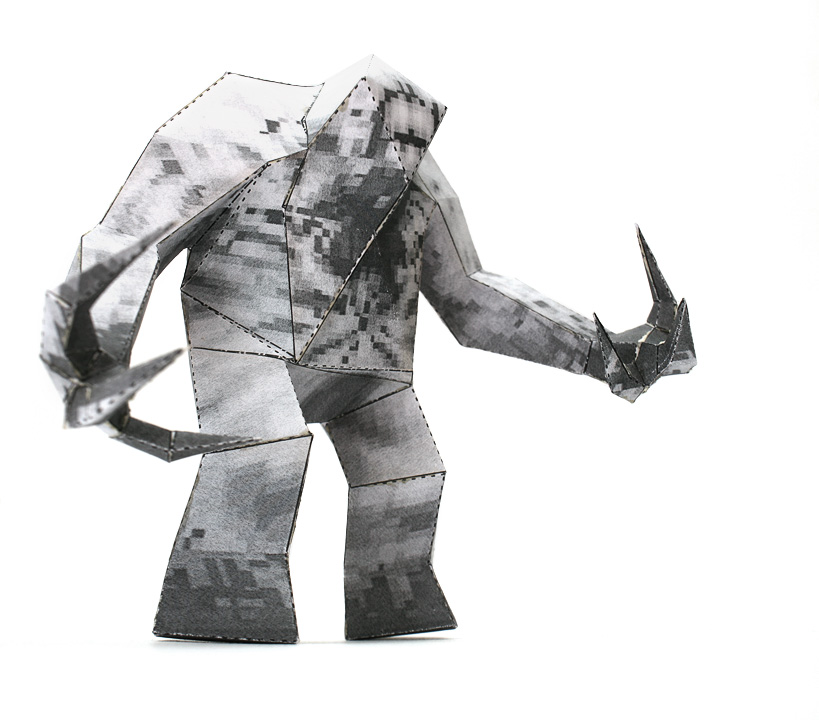
Shambler is one of the characters of my favorite quake game. One weird comrade came up with the idea of taking a 3d model directly from the game and making a pattern on it so that it would be possible to assemble such a model from paper. The pattern is color, it takes only three sheets of a4, you can take it here, along with a small manufacturing guide. I used the Moment glue, stationery and manicure scissors, a nail file to press the glued edges. It turned out that with such small sizes, the paper is quite durable material and holds its shape perfectly. I absolutely do not like any such classes, but the assembly of this model was more like a logical task: often you just have to twist the parts in your hands to understand what generally should fit and in what sequence it is easier (generally possible) to assemble. In general, photos of the process in order under the cut.
upd: transferred to "I'm crazy."
By the way, yes, if someone tells me which topic blog this applies to, move it there.

This is how Shambler looked in the game.

Partially assembled left hand and part of the pattern that has remained untouched.

It’s a good idea to keep partially assembled parts, especially fingers, signed: it’s very easy to get confused, and then it’s very difficult to figure out which part to stick to.

This looks like a cut out bent finger.
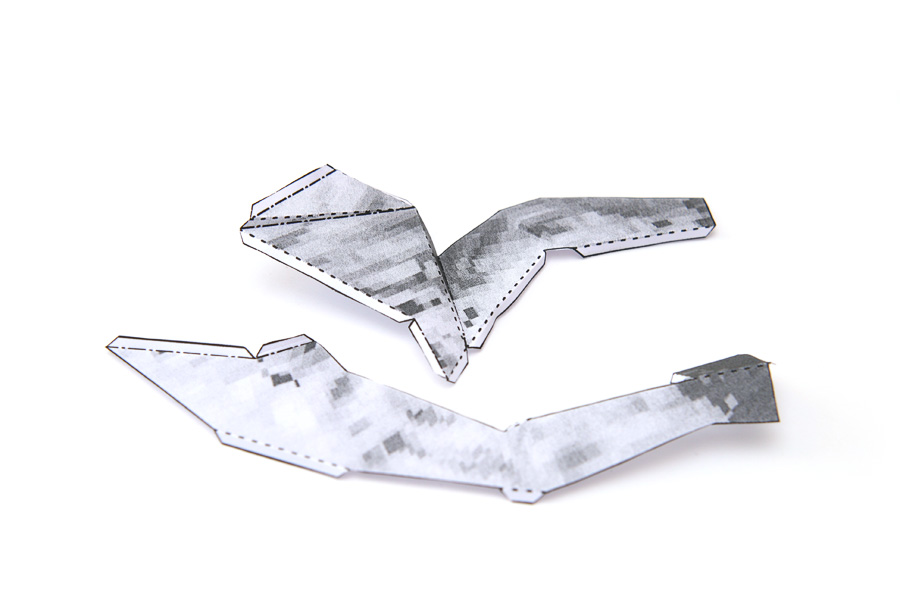
Cut out parts of the hand. It is better to work through all the bends before gluing, I used one of the scissor blades for this. After such processing, the assembled part looks like a polygon model, which is good. Otherwise, the paper simply bends, does not look like a 3d model, which is unacceptable.
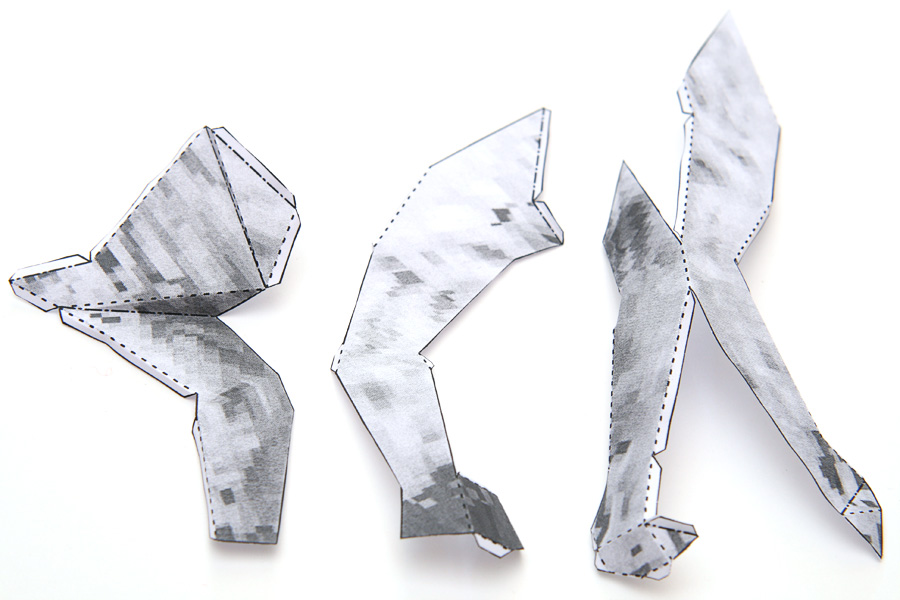
The three components of the right hand. The hands are different in design, even the fingers on them are all different. It is worth paying attention to the crease on the left part, as a result, it will be on Chumbler's stomach. If it is not carefully worked out before the start of assembly, then the parts will never converge.

Two parts of the hand are glued together, you can collect the whole arm.
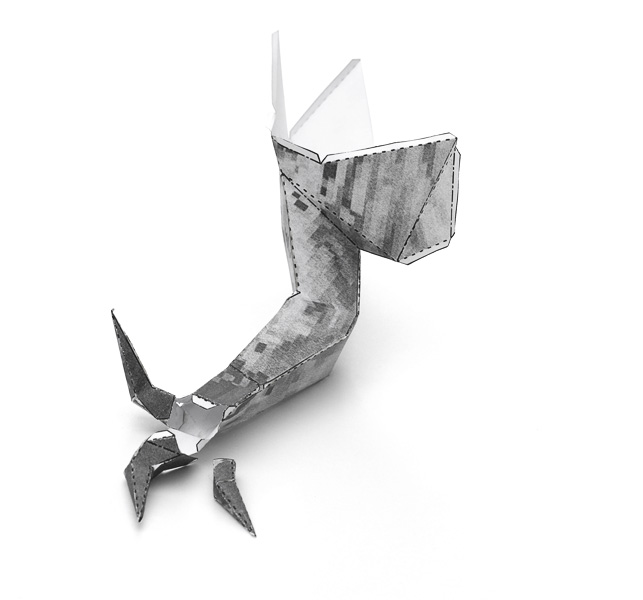
Gathering your fingers is the worst. They are small, it is not clear what should be approached and it is absolutely inconvenient to glue, especially the last finger is unclear how to hold so that it sticks well. Maybe it was necessary to stick them until the final hand collection ... Well, maybe.

Hands assembly. Surprisingly, it worked out. This seems to be the end of the third or fourth day. In total, the process took a week of leisurely classes in the evenings.
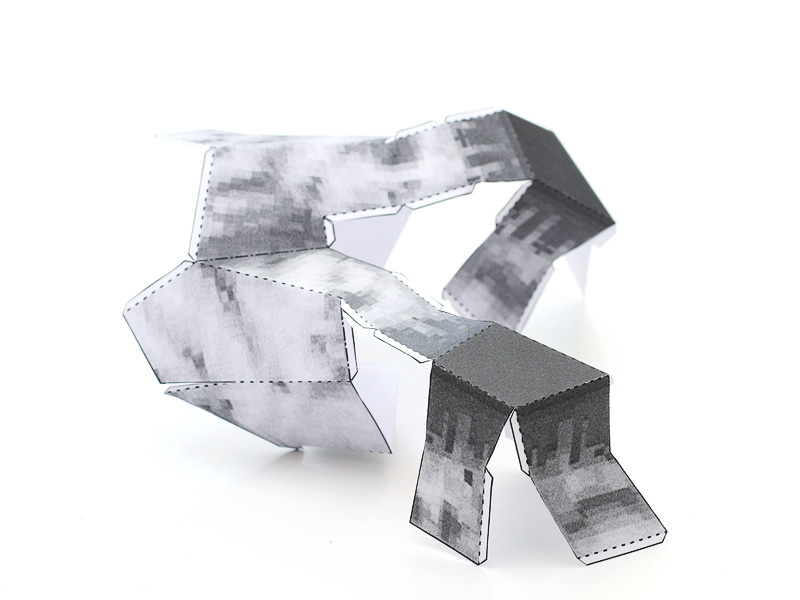
The lower part of the body is cut in one piece.
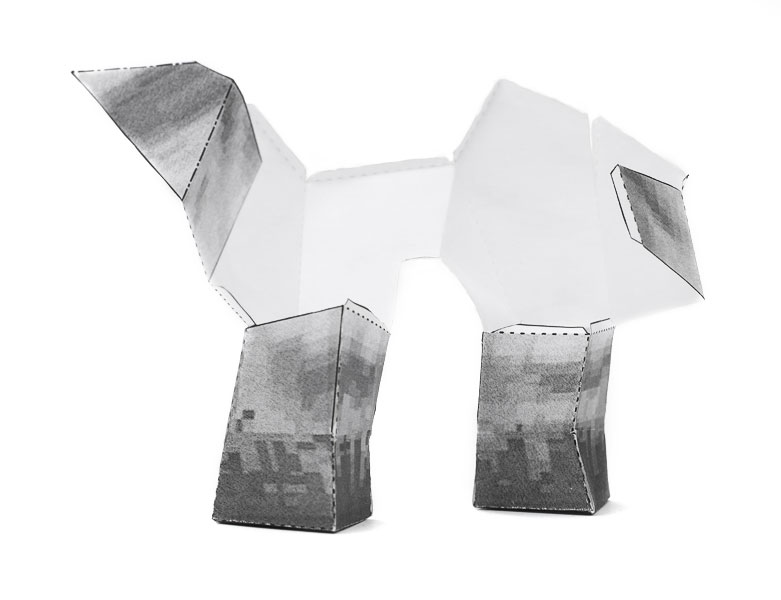
Partially glued lower part of Chambler.

Inside each foot lies 20 cents. For weight, and just like that, the center of gravity of the model was already underfoot, and the model did not roll over without it. At the same time, you can evaluate the scale.

Attention to the folds on the stomach and side, I don’t understand why they were, probably this was the case in the original 3d model, but there was trouble with them ...


Everything is ready for the end of the assembly.


That kind of joy now lives on my column. If anyone is going to do it - do not forget to show what happened to you.
