Milk and Smartphone 3D Scanner

Instructables website contains instructions on how to build the simplest and cheapest 3D scanner out of available tools. The author of the project GotMesh spied on the idea of using milk from colleagues from the Milkscanner project , who used it to create complex 3D models even before 3D printing went to the masses. The new method is much simpler, automated with the help of a script and OpenCV, and also optimized specifically for 3D printing of the scanned item.
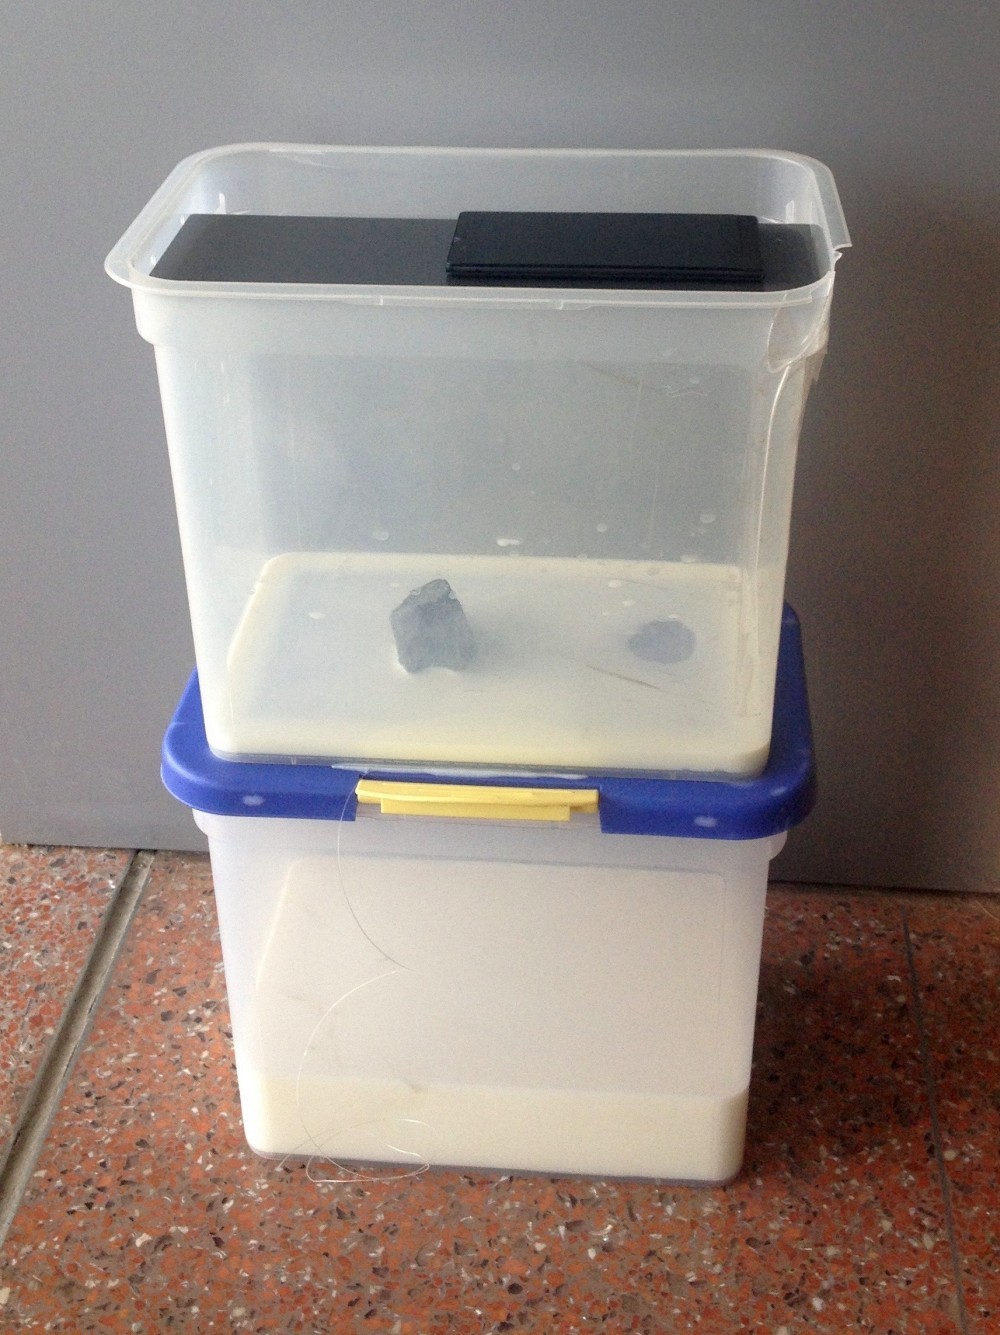
The essence of the method is that milk slowly flows out of the container, revealing the contours of the object.
A small hole is drilled in the containers for the flow of milk, and in the upper container you need to make a holding device for the smartphone. The process is filmed on the camera of the smartphone / camera / etc., In the time-lapse mode, that is, frame-by-frame shooting.

Then the photos taken are copied to a separate folder on the computer. The Python script handles photos using the OpenCV library to convert a set of photos into a set of vertices — a file in .xyz format. The script repository is here .
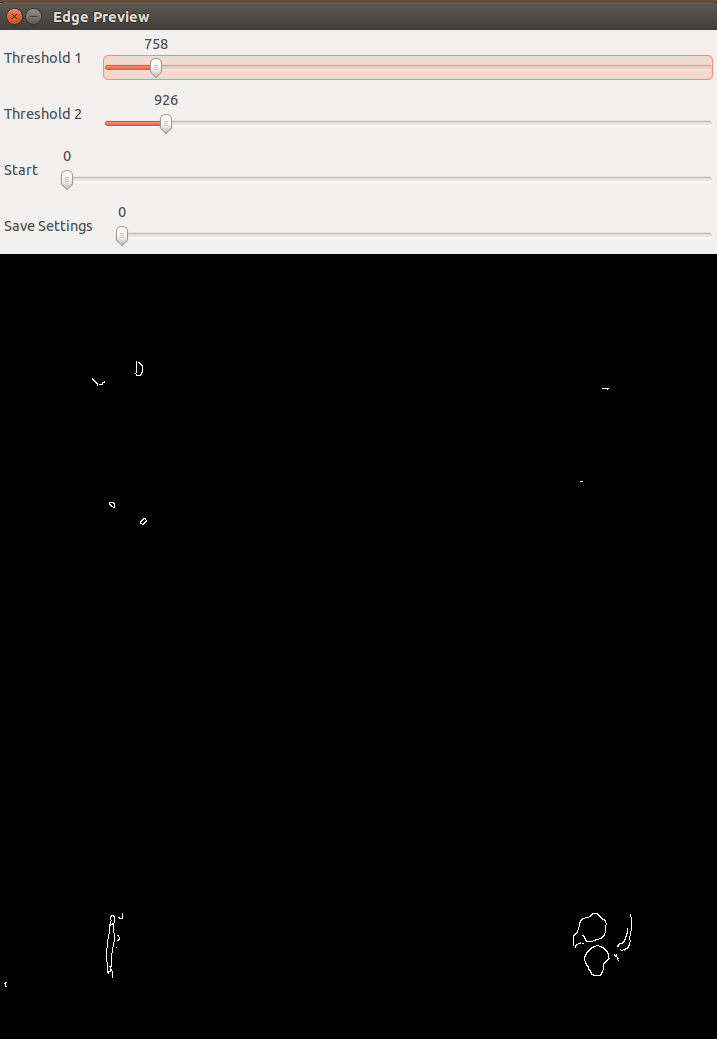
Black screen with white outlines on the screen displays the operation of the Canny Boundary Detector - Canny functionin opencv.

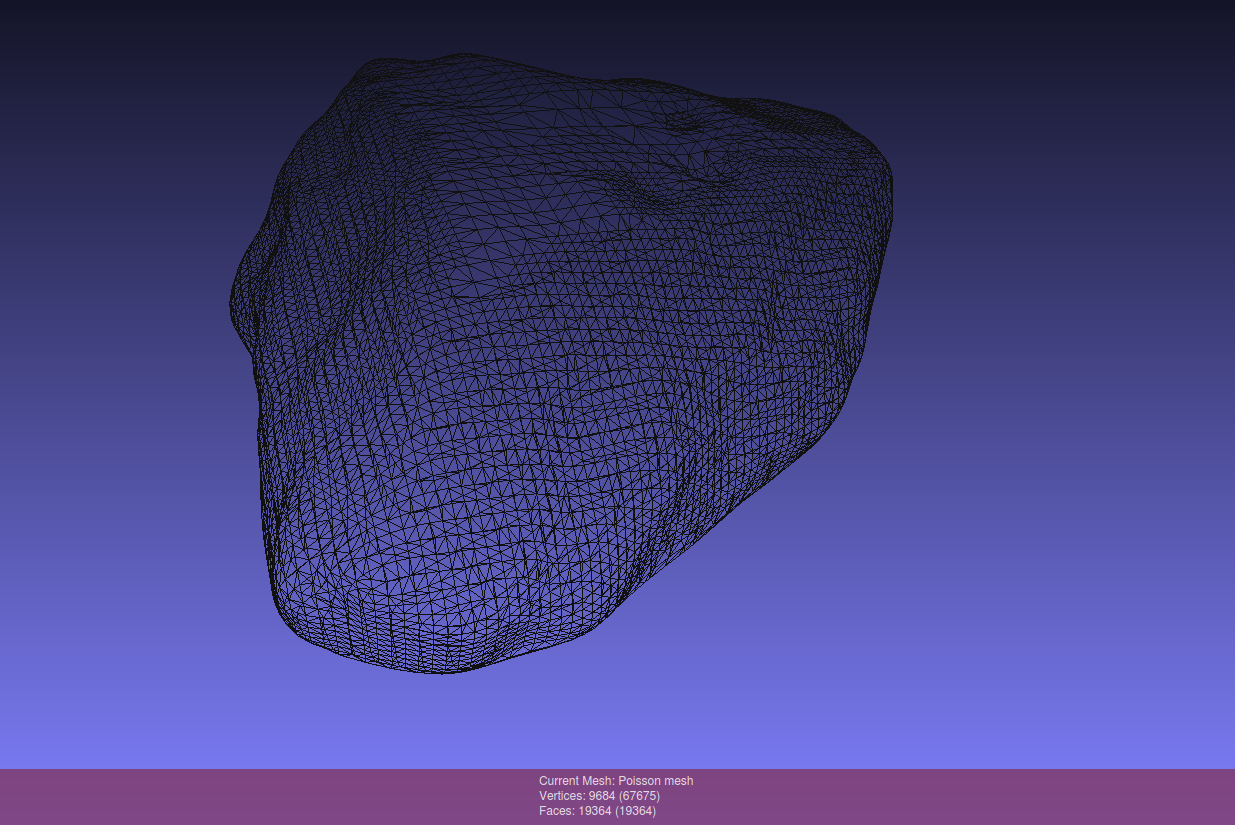
The created file is converted to a full-fledged 3D model .stl in the MeshLab program . Before this, you can clear the model of unnecessary artifacts by removing unnecessary vertices (Edit -> Select Vertexes).

And that's all. Indeed, there is nowhere easier. If you feel sorry for money for 5 liters of milk, you can take any other opaque liquid. The main thing is that it is different in color from the scanned item. But the author says that he tried many liquids, including diluted paint, soda, and food coloring, and realized that milk is best suited.
The cost of such a scanner is equal to the cost of two plastic containers, that is, less than 12 dollars . Well, the containers themselves are reusable.
