Nixie clock or warm lamp light in your house
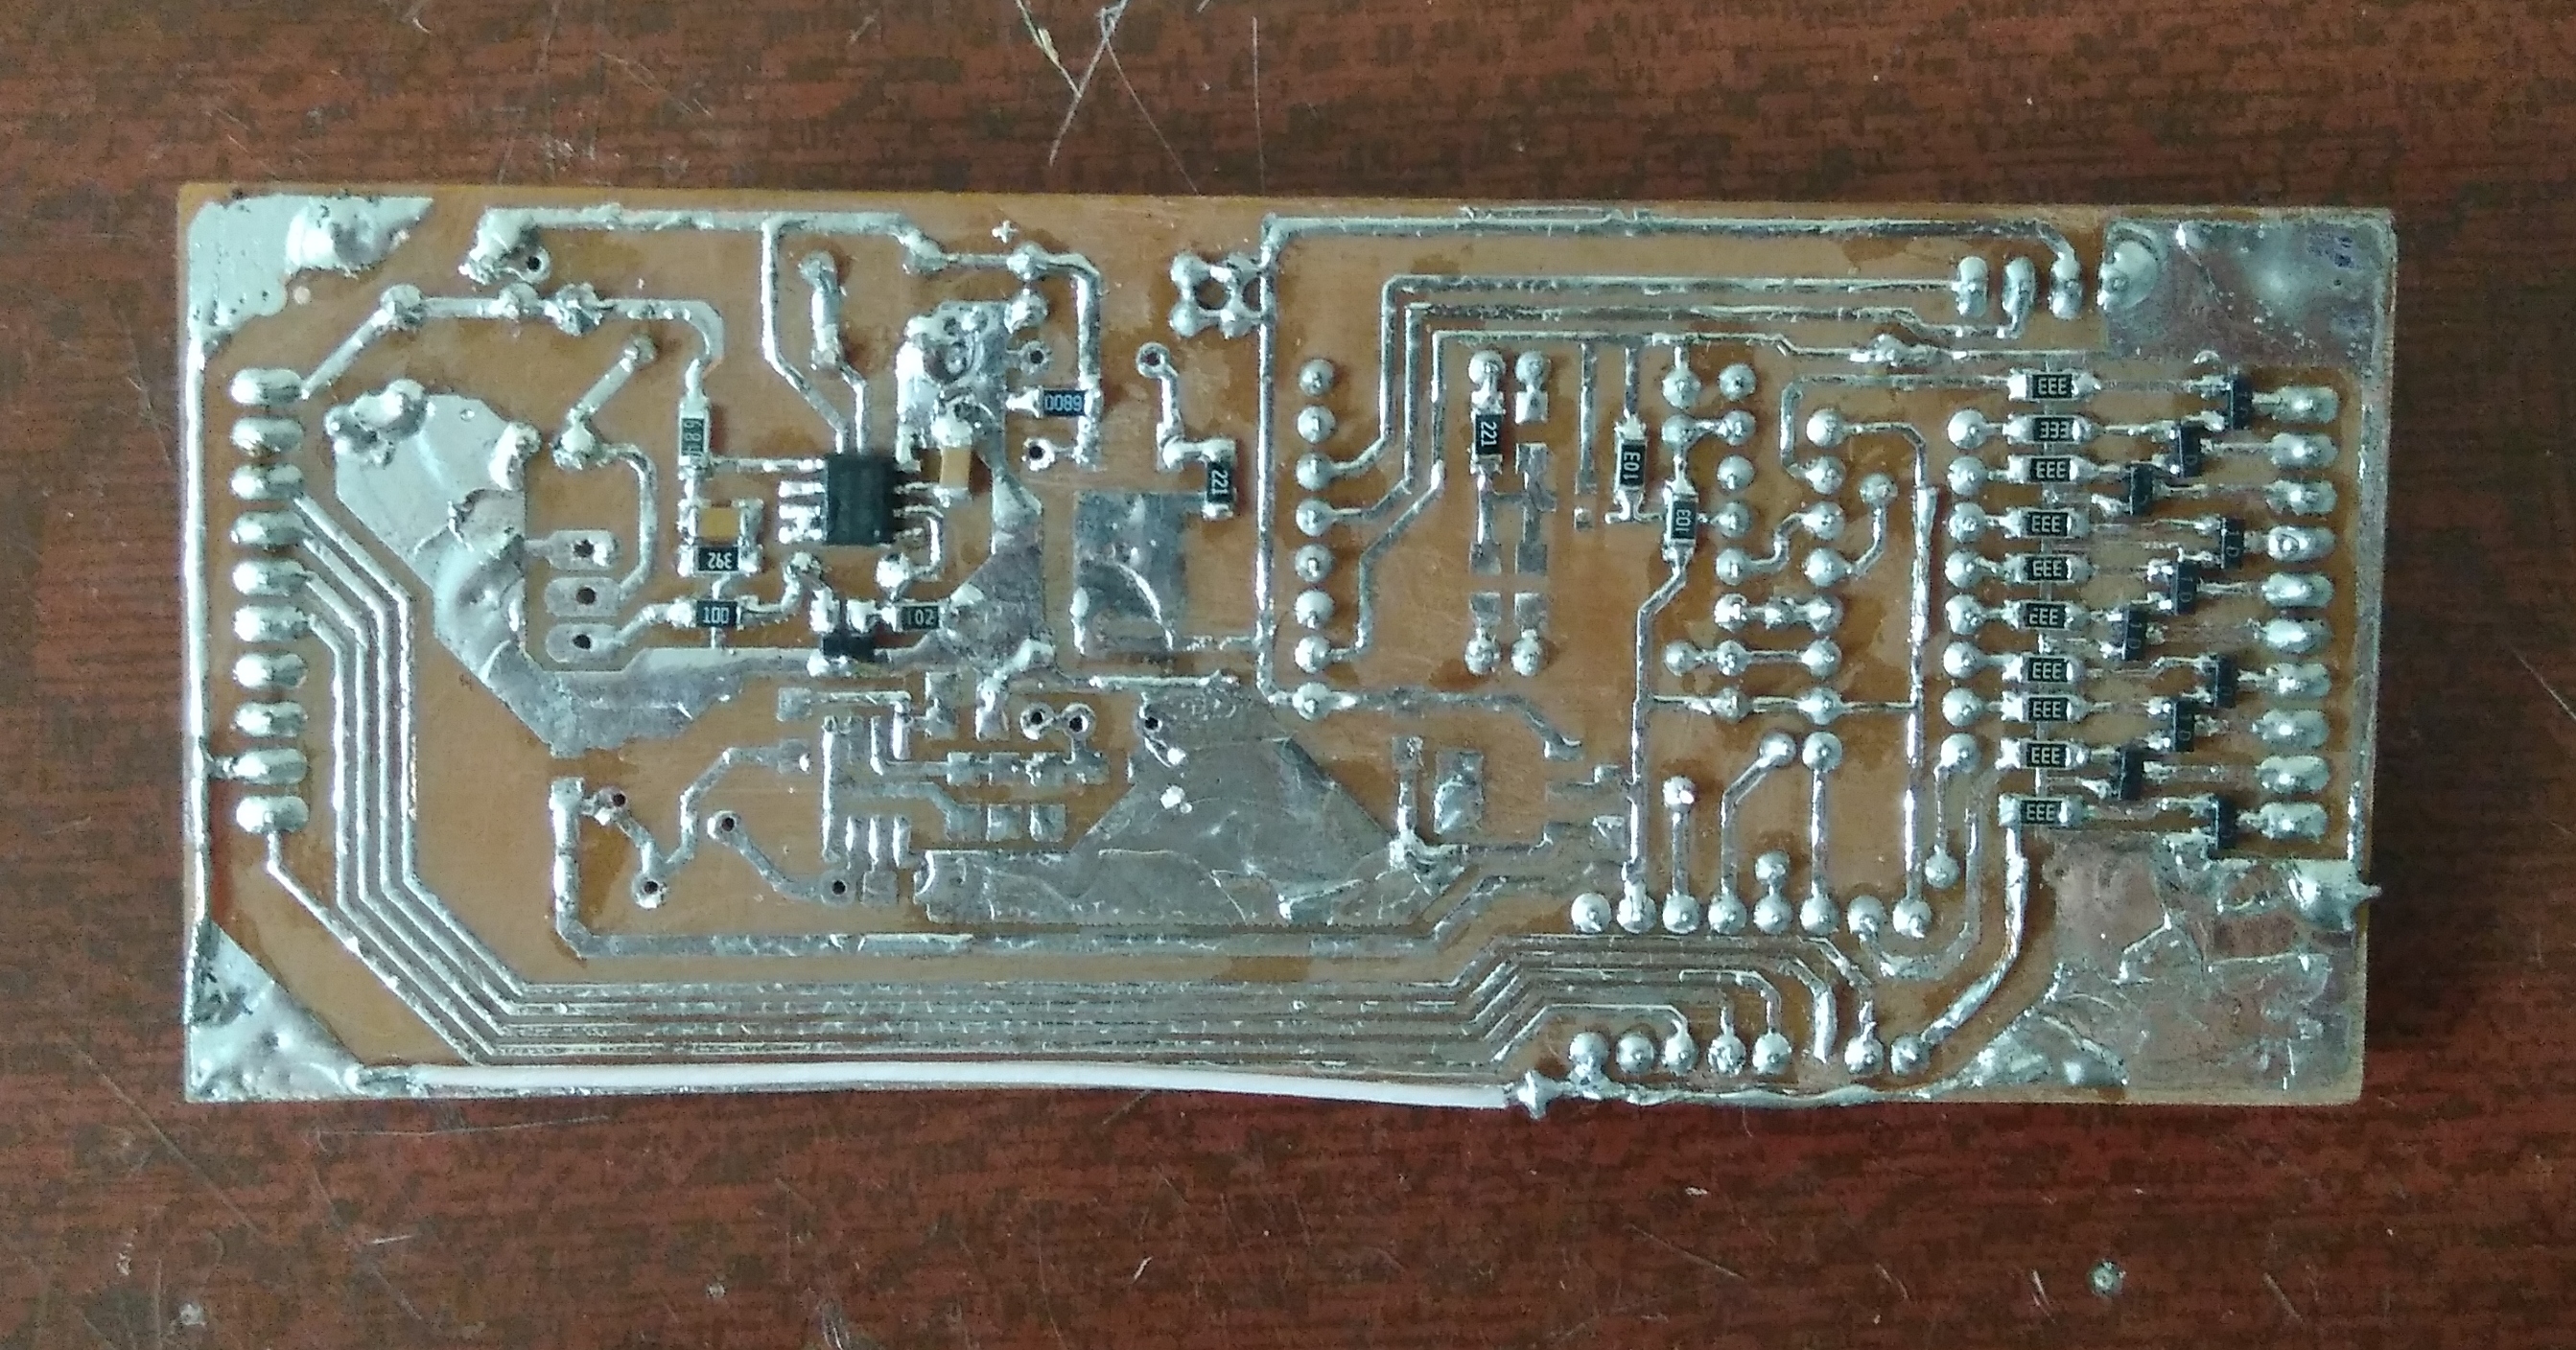
It all started at the moment when at work in one of the boxes with old radio parts such an craftwork was found. Who made it - history is silent, whether it worked reliably is also not known.
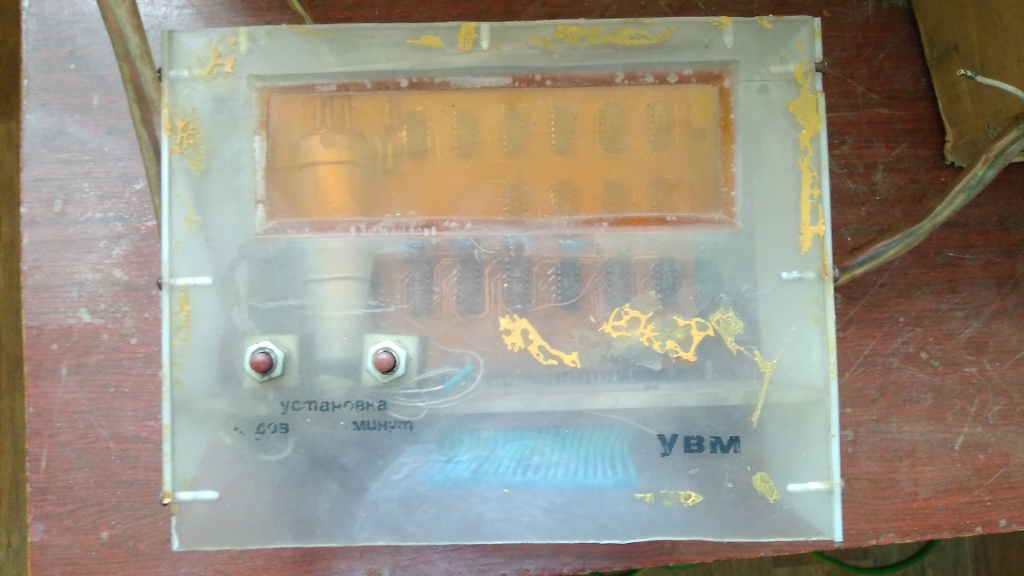
And then the idea arose of making such a device, especially since the projection at my projection clock at home safely failed. You just look at it, it's wonderful!

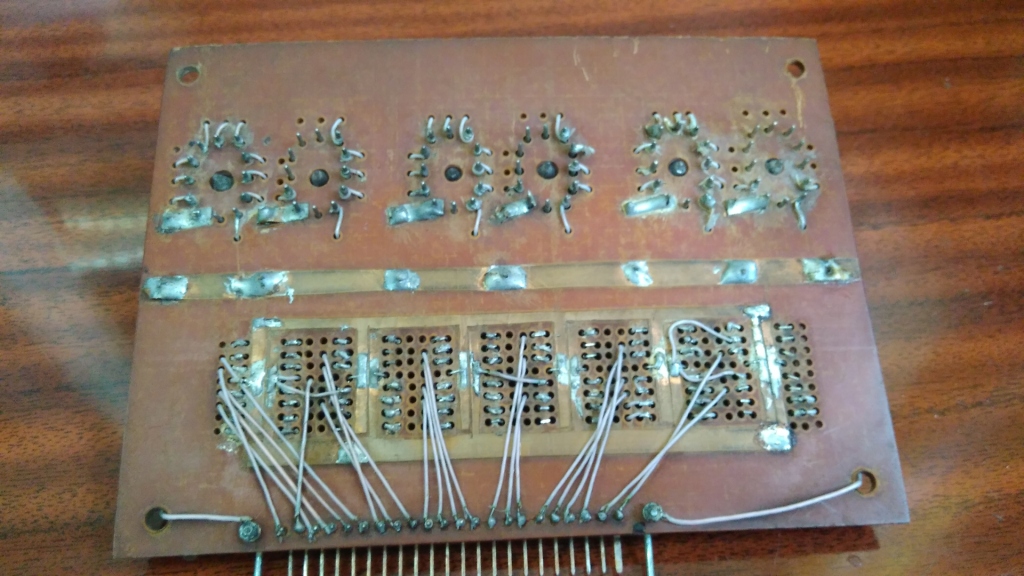

If you think this is terrible, imagine that you live in the 80s, you do not have MK, there is no fiberglass, there is no CNC, there is no exact tool, etc. but there is a great desire and knowledge.
A lot of time passed from the idea to the realization, at first the lamps were ordered on Avito, I took IN12b, IN1, INS-1, IN-8-2, IN-14. Next, I looked at ready-made solutions on this topic, mainly it concerned the high-voltage part (BB). The circuitry of all watches is elementary, for example, a popular circuit from one of the sites, it has all the necessary parts, change to fit the existing elements.

I read on the forums that for the high-voltage DC-DC, the microcircuit max1771 is well suited, took 5 pieces, prepared the board while it was driving. Oh, and I was tormented with her, the datachinker knew by heart. It’s a very capricious chip, it’s not cool, of course, but it’s very demanding on the board layout, it hasn’t grown together with me. But I did make a watch on it, I didn’t bother with the case, I just printed a segmented case on the printer. Lamps In-14, Arduino Nano, DC-DC on max1771, time module on DS3231, dynamic indication, LED backlight.

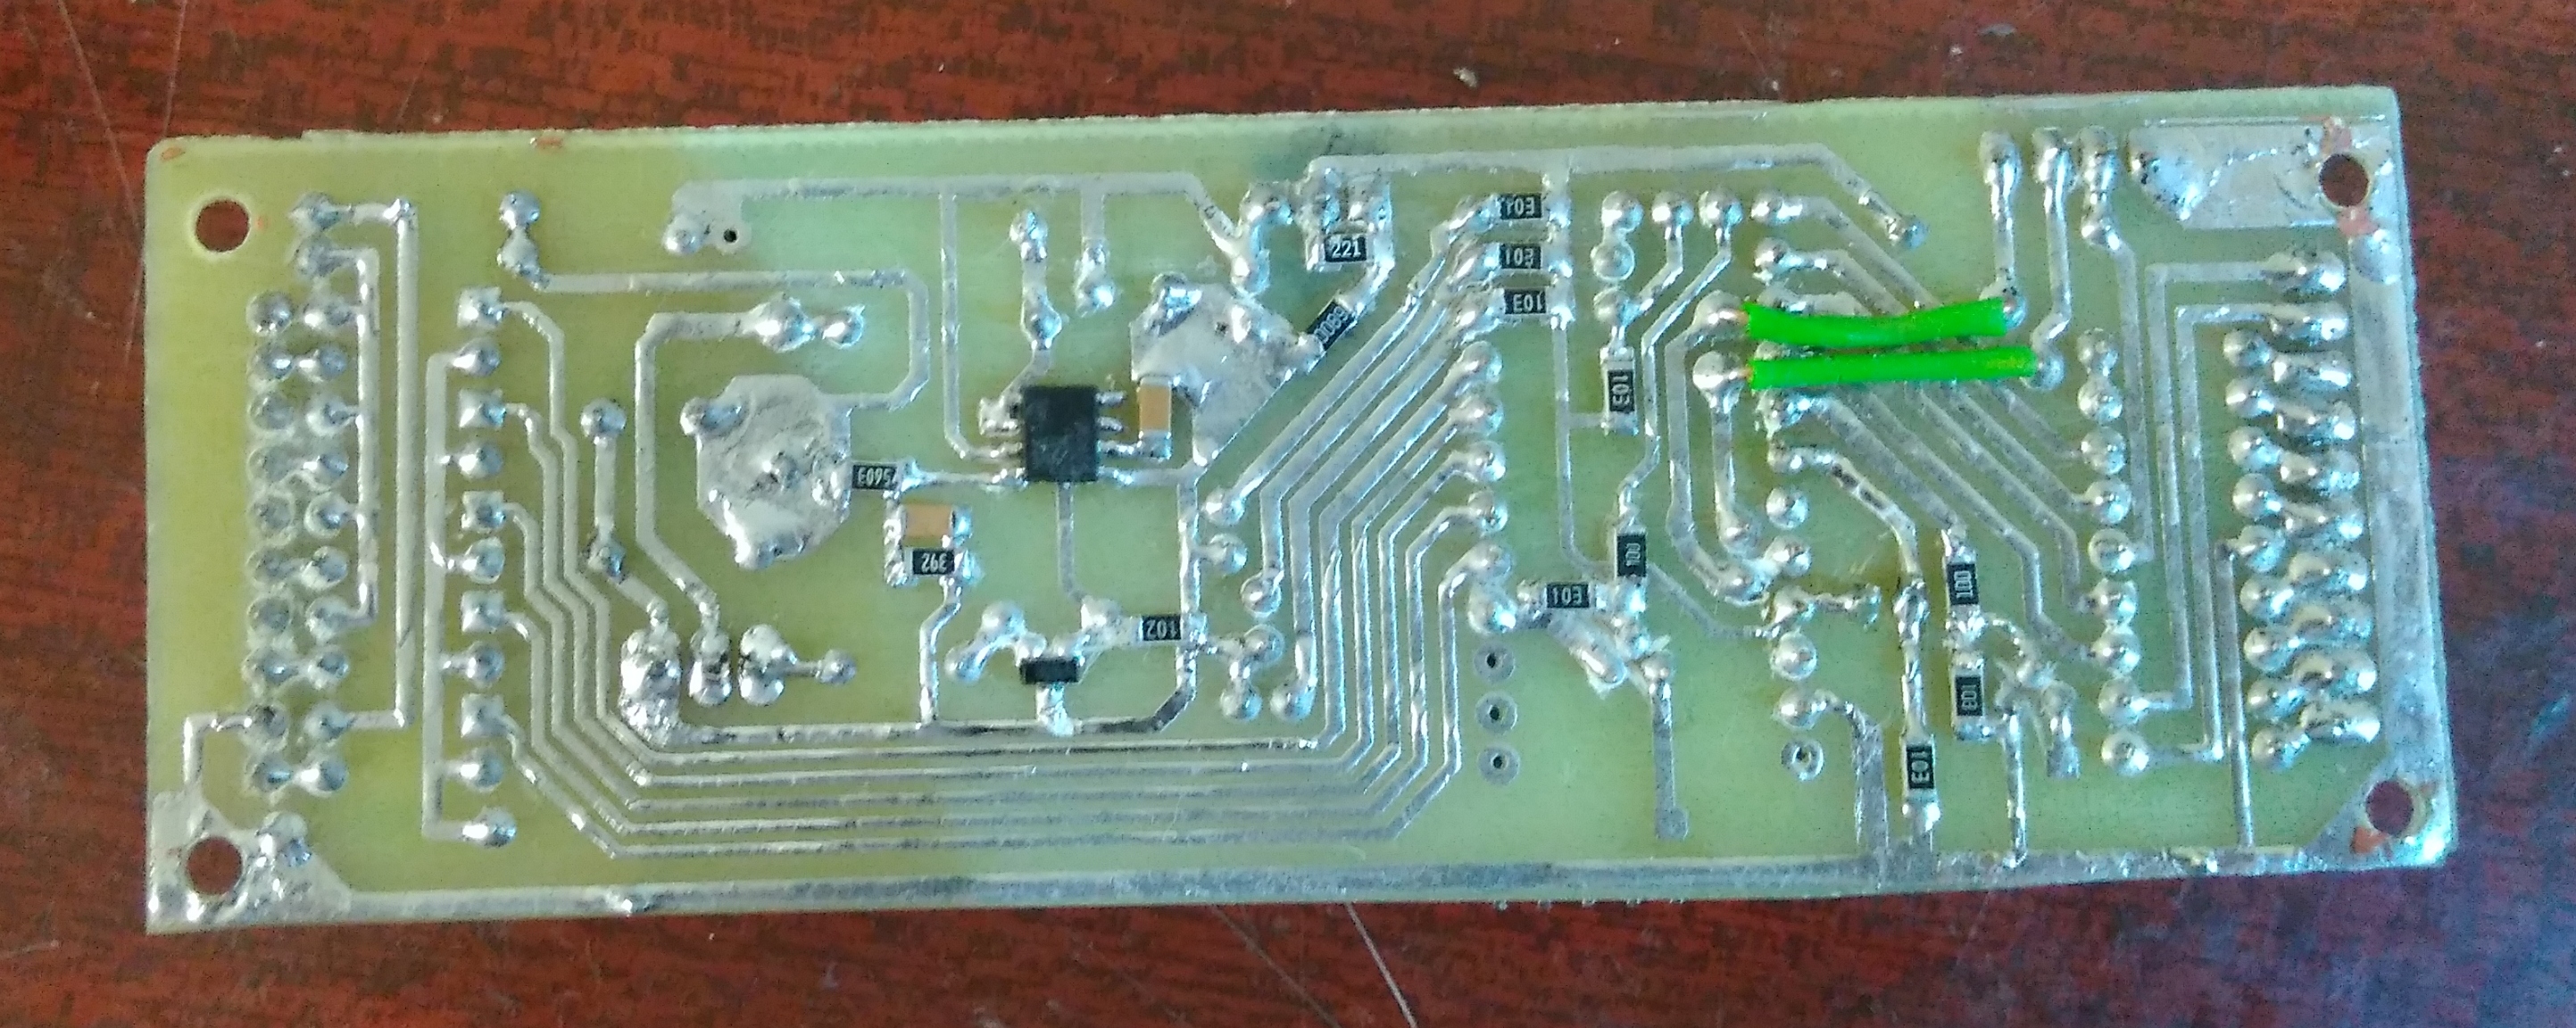
All my watches have temperature control: if the temperature rises to the threshold, the watch goes into idle mode - the indicators turn off until the temperature drops. Overheating was not noticed during operation. There is also a function of counteracting cathodic poisoning of lamps, with a frequency of once an hour, all numbers on all indicators are run. The disadvantage is that the time adjustment is made only through the UART port. Not everything is okay with the board either, I decided that connecting with jumpers will work, the device works, but it’s more difficult to debug and repair.
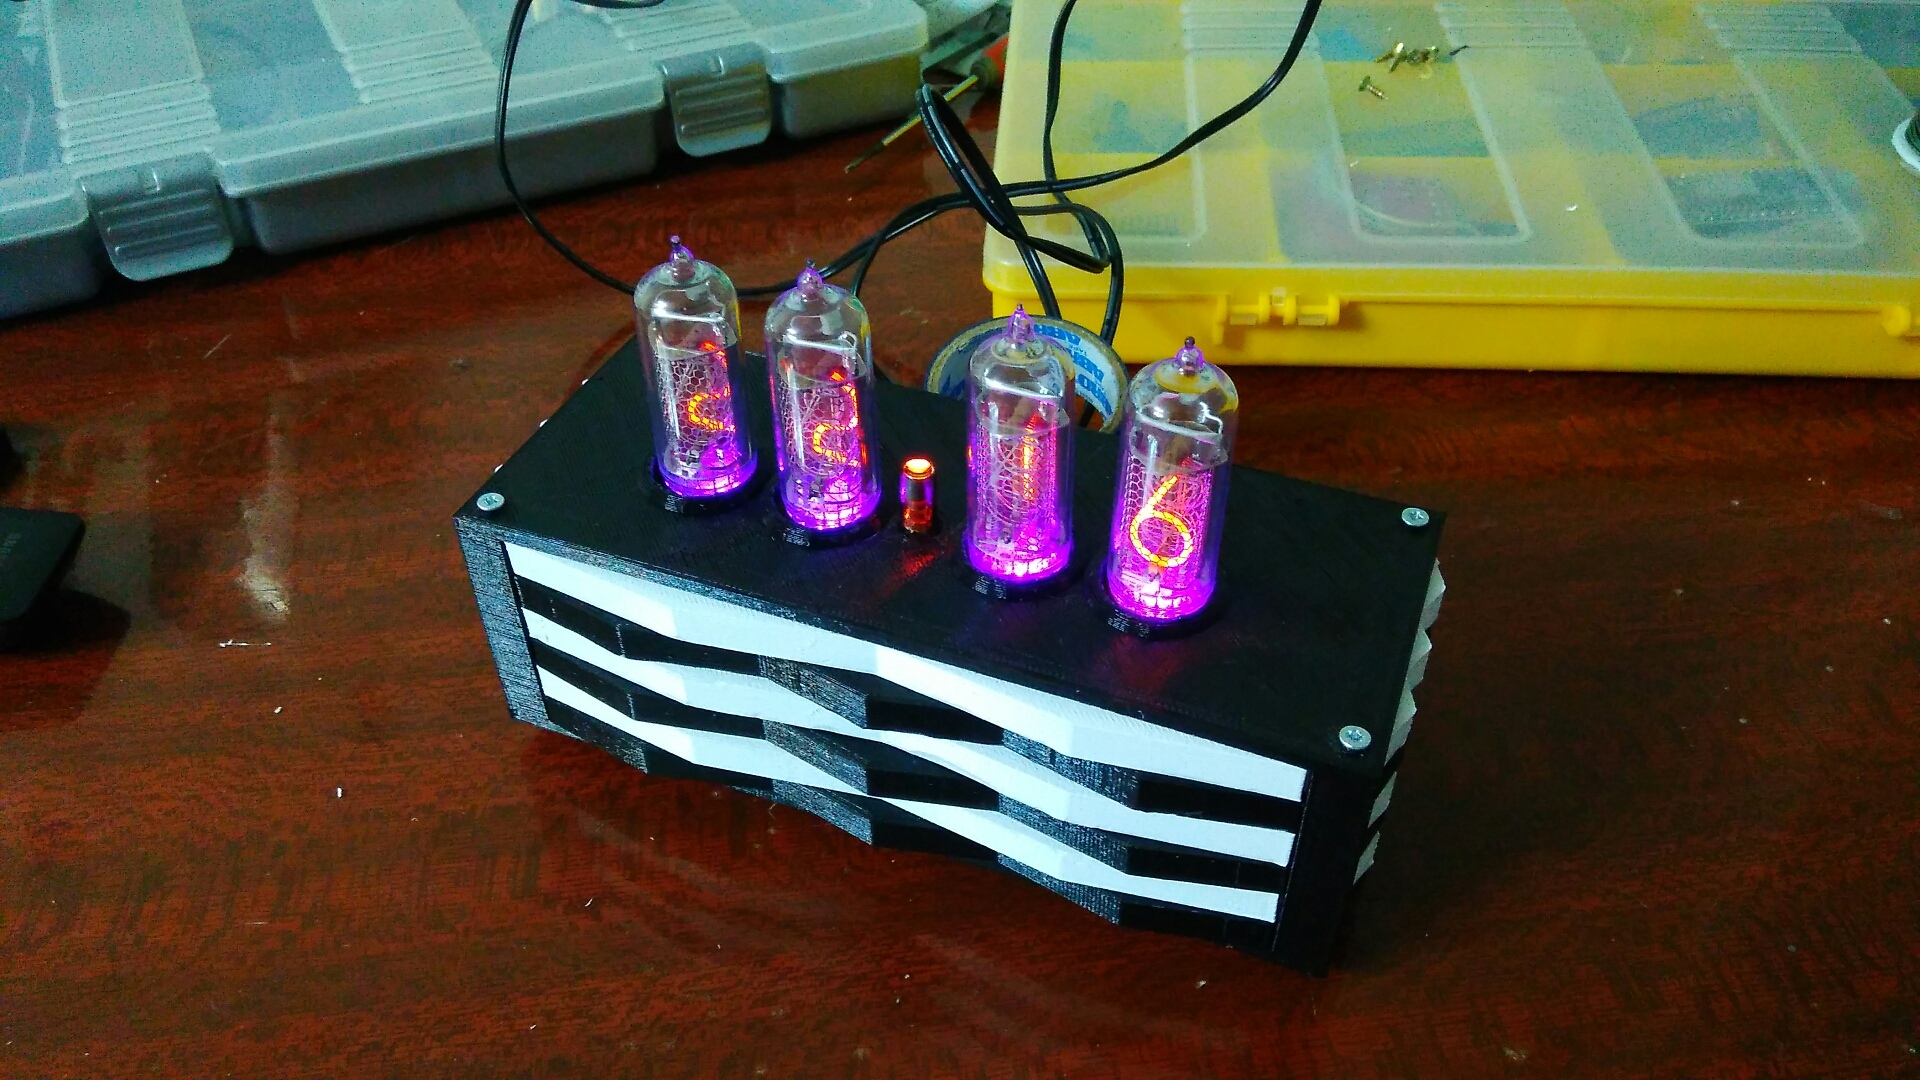
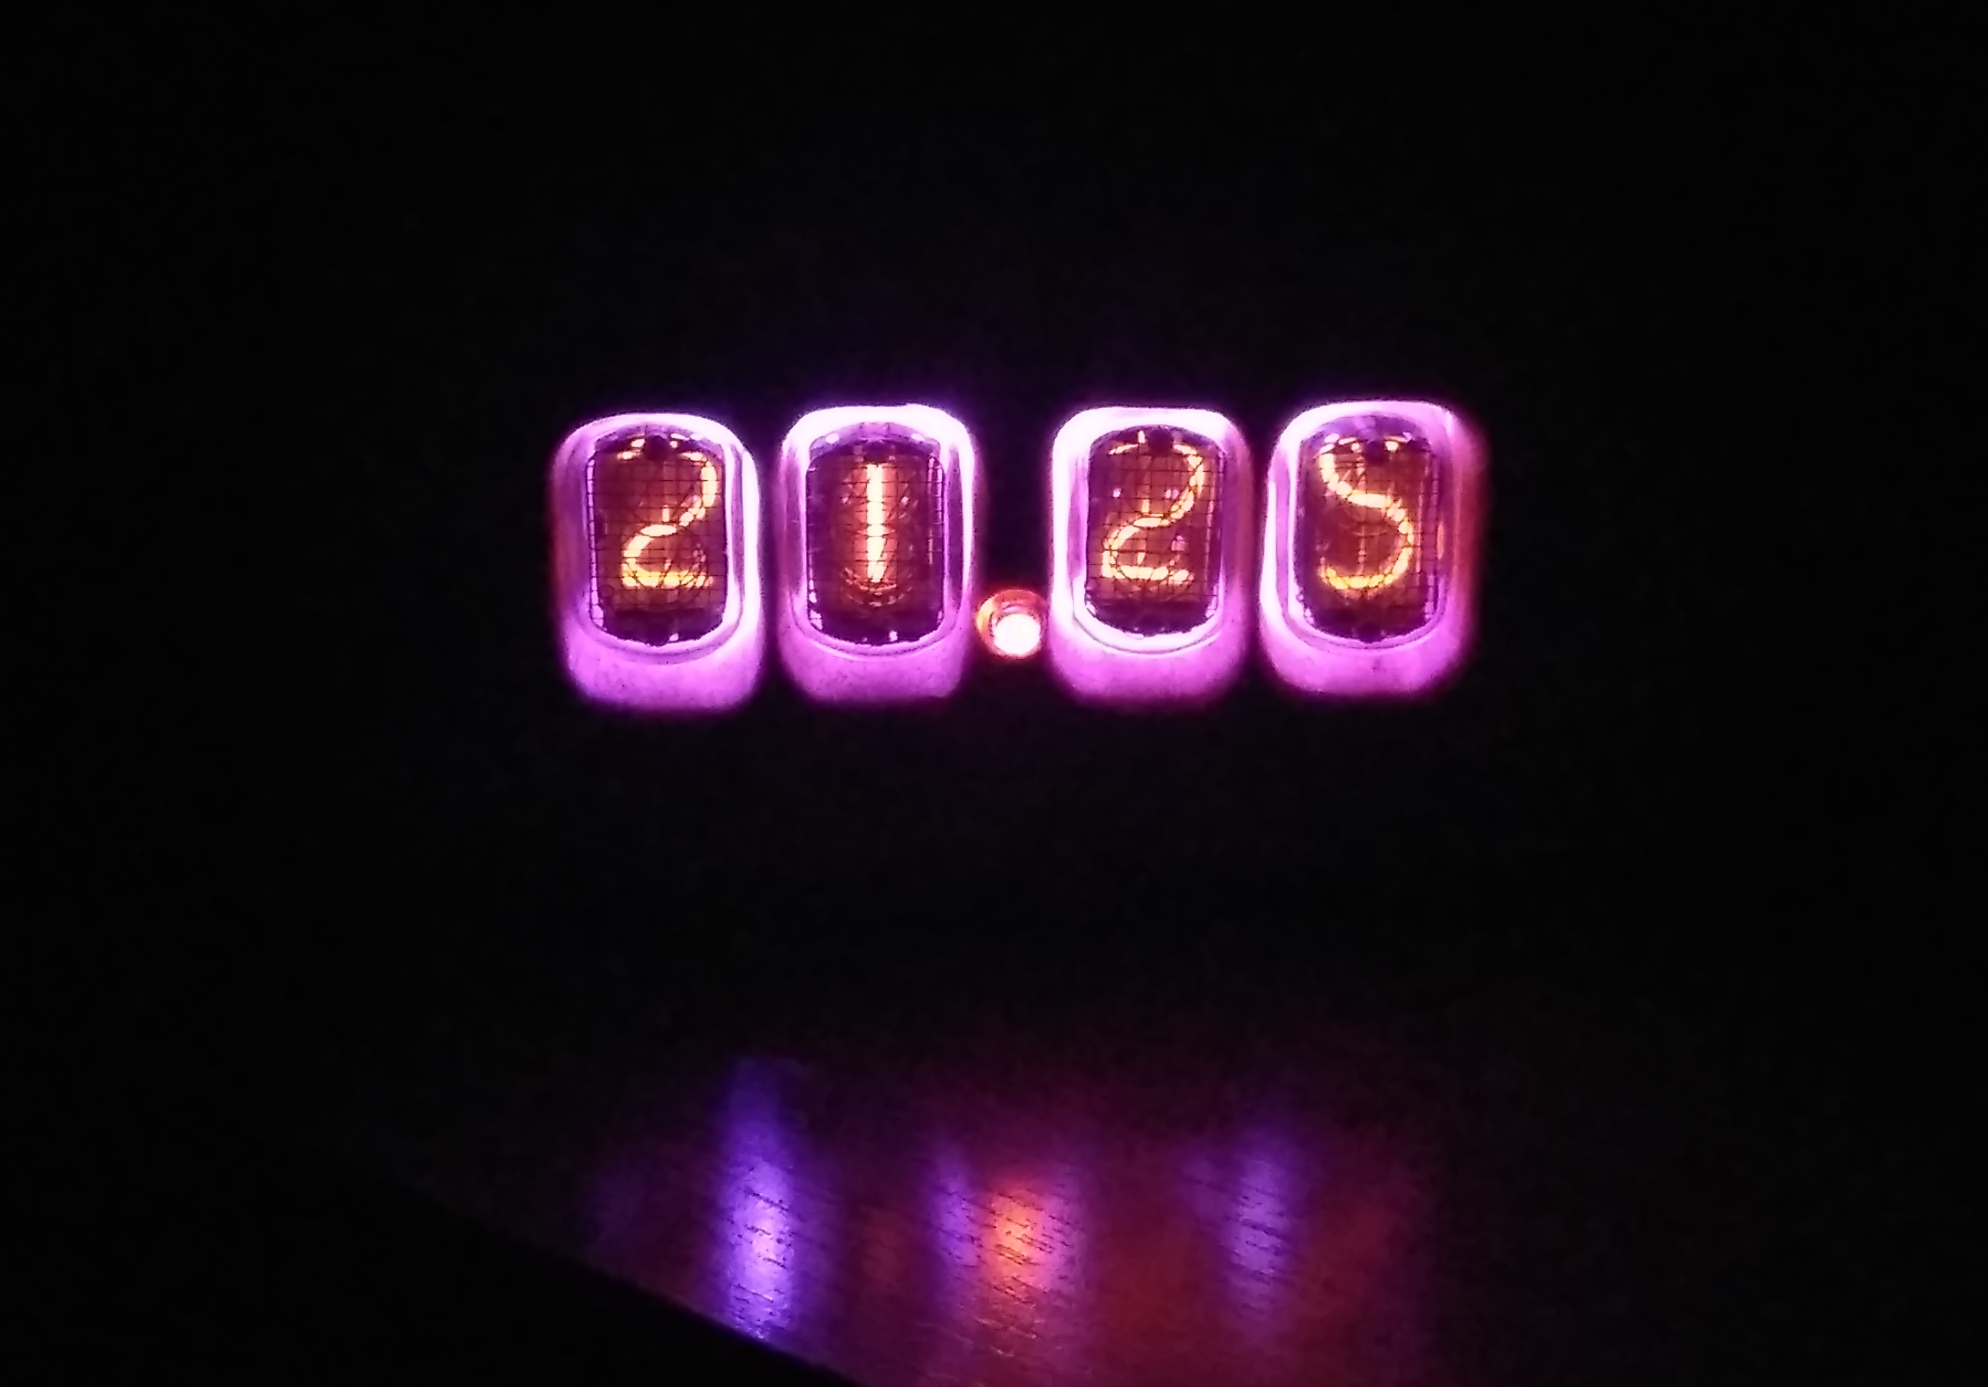
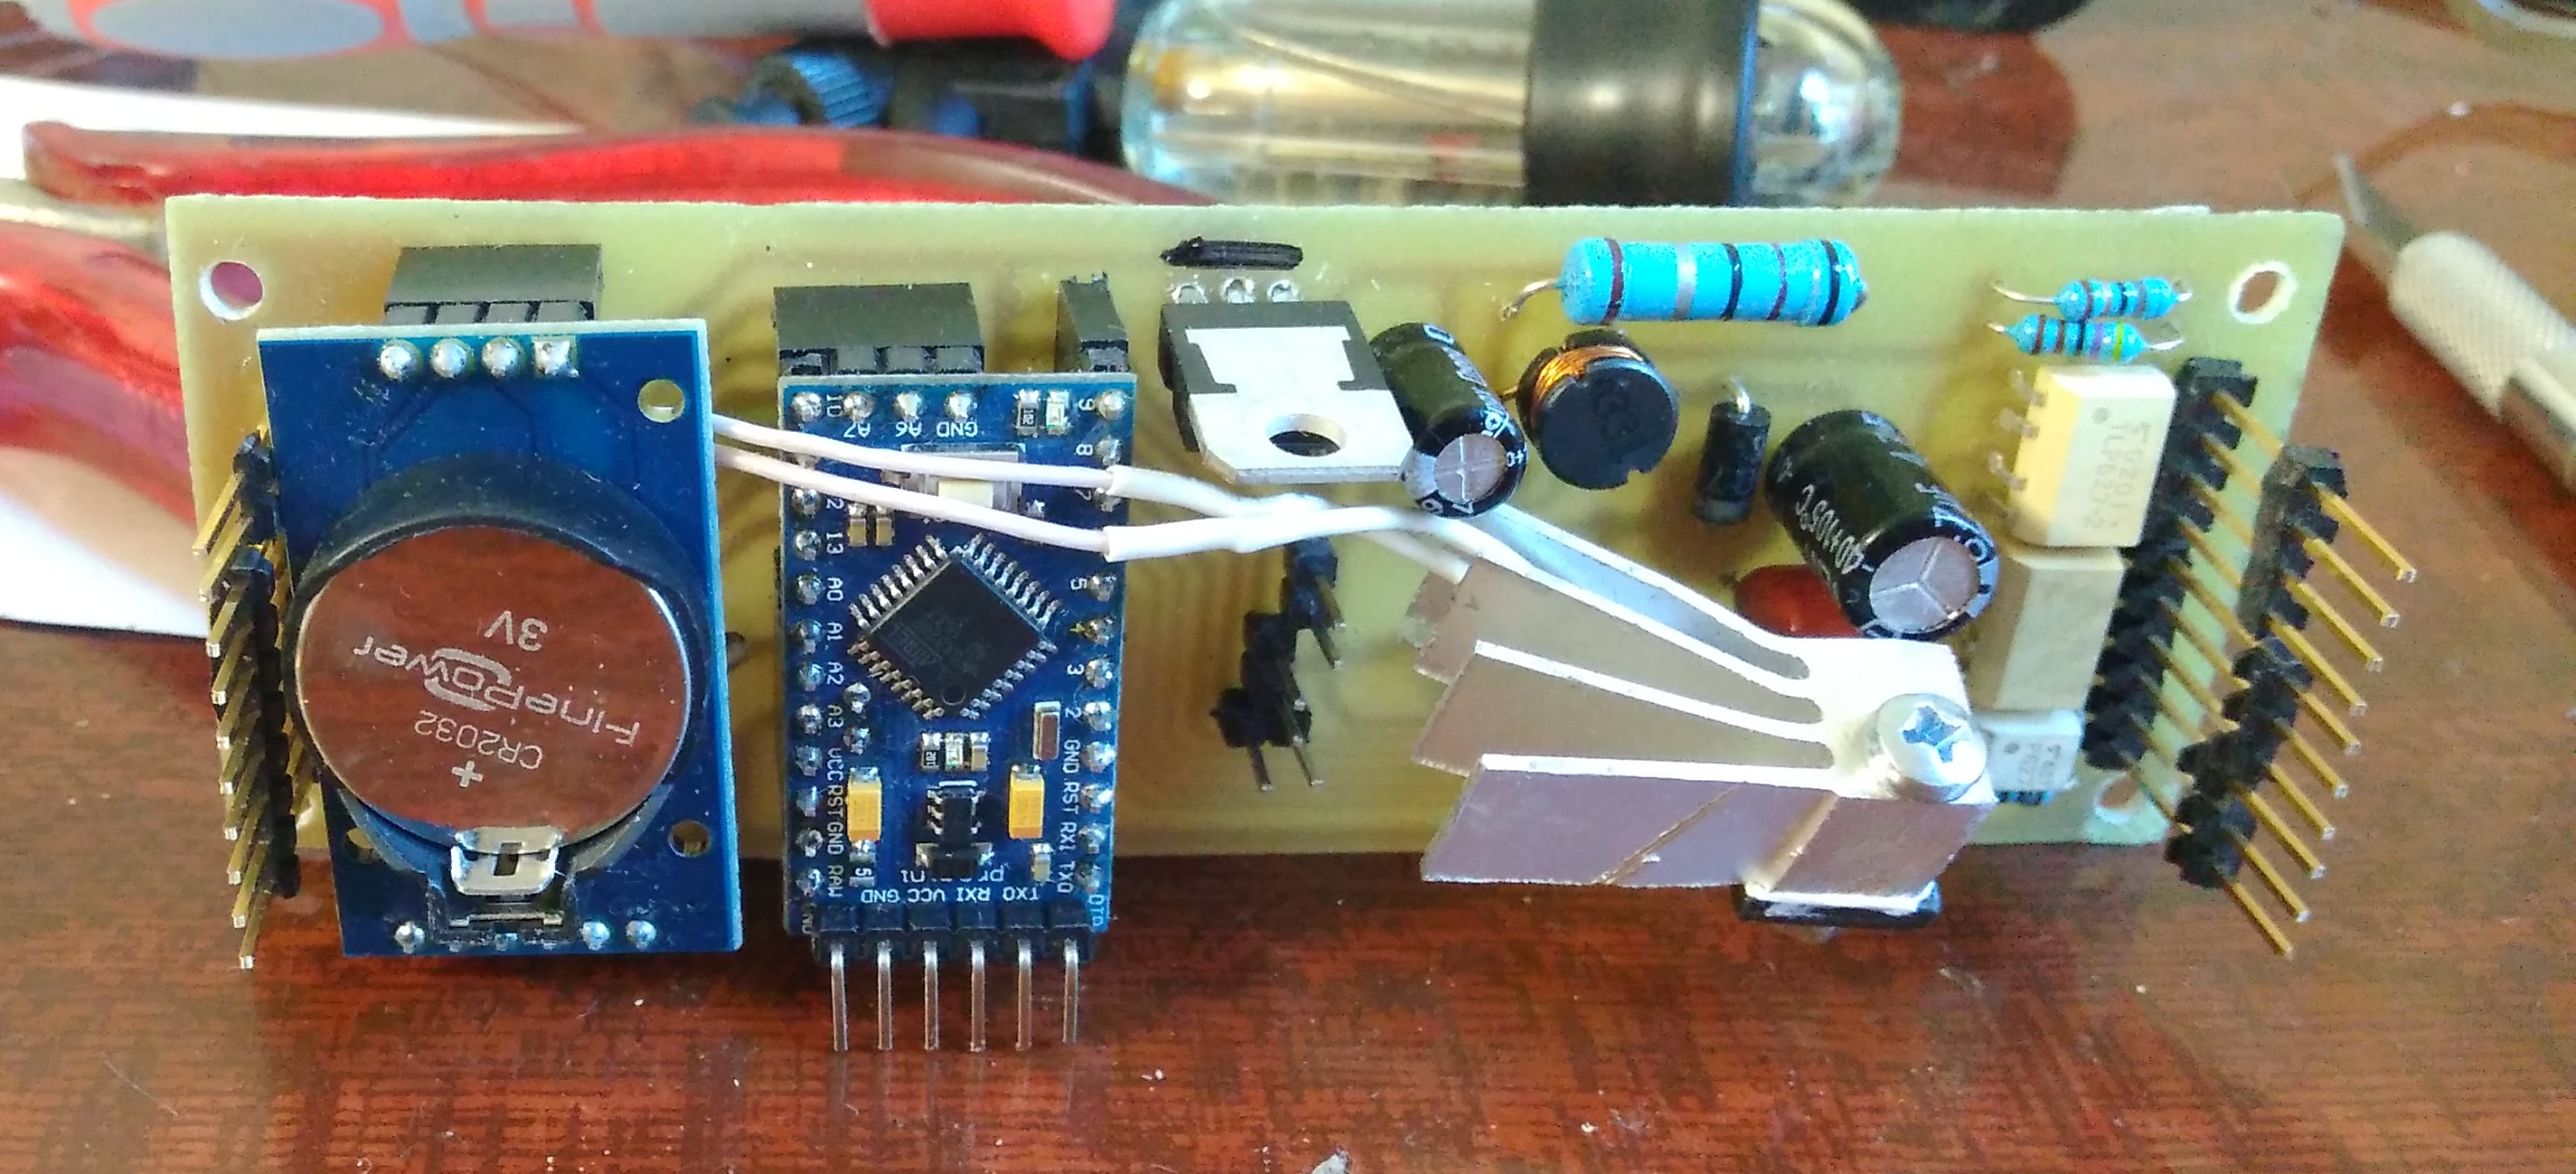
Next, I decided to get confused, and make an aesthetic case, for this a clock on IN-12 lamps was chosen, it would be better if I made them in a printed case. To reduce the size of the board, I used Arduino ProMini, DC-DC I made on the popular and old MC34063 (this is trouble-free mikruha, simple as a corner of the house and cheap). Also in this iteration, I decided not to use transistor switches, and replaced them with TLP627 high voltage optocouplers.
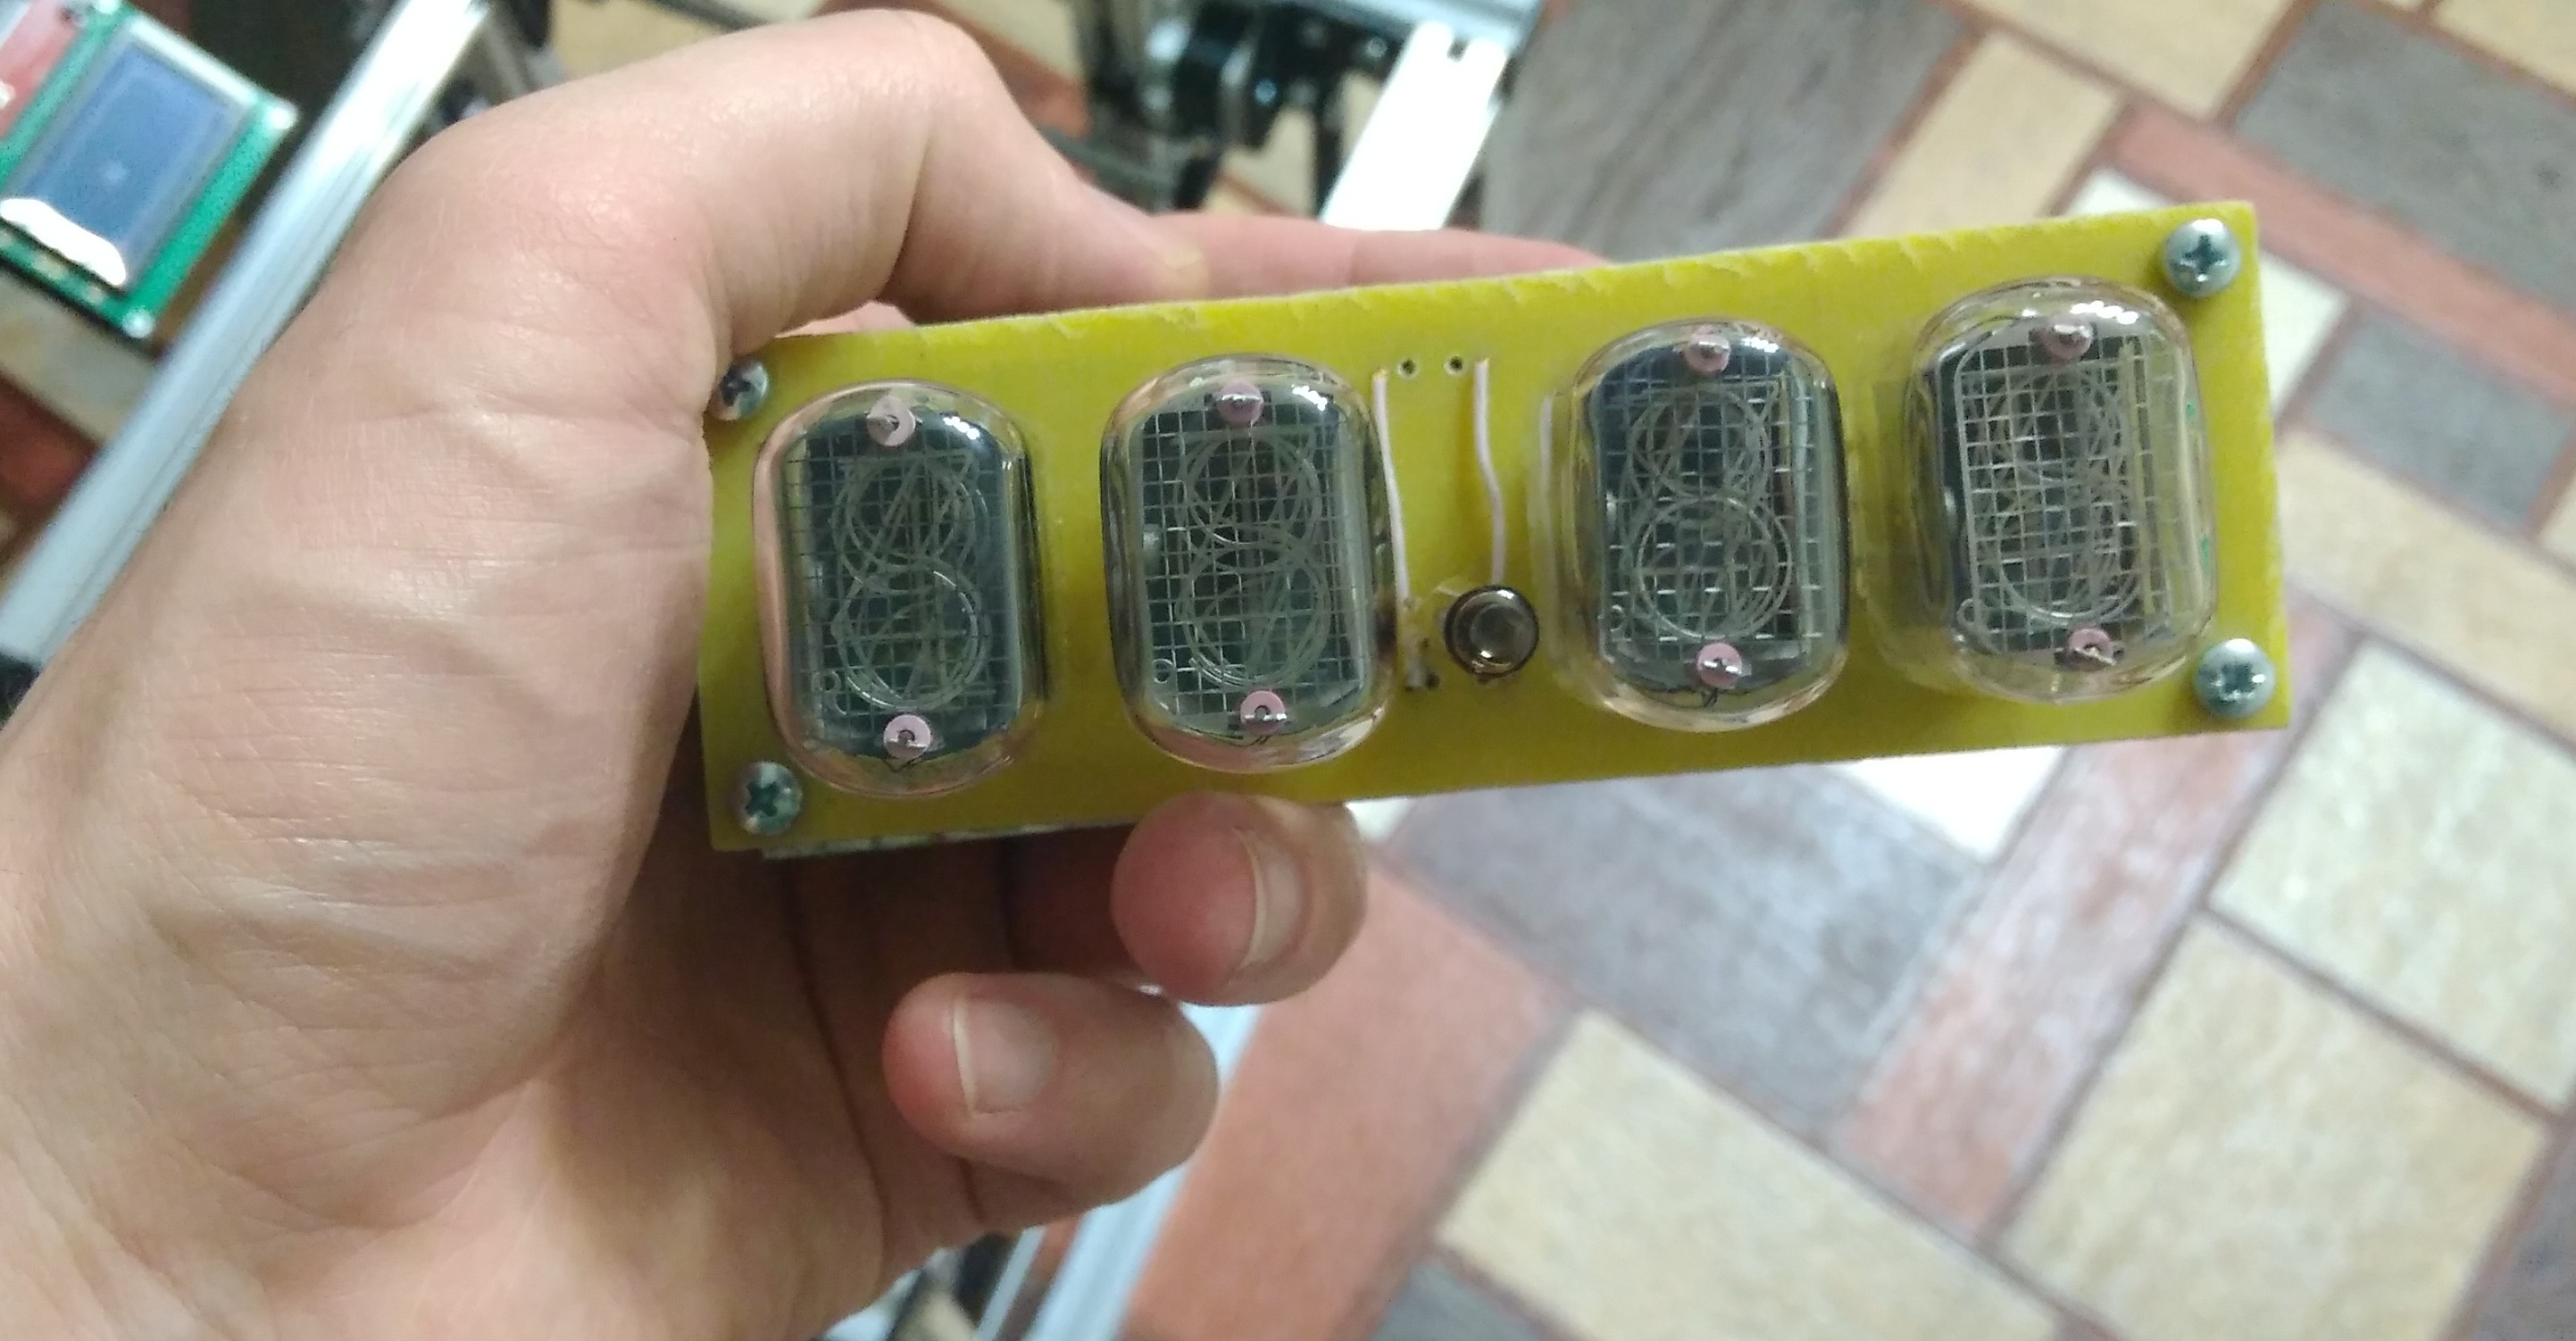

Time adjustment occurs via UART or buttons on the back of the watch. I could not find / adapt ready-made libraries for my watches, so I had to write the “menu” to adjust the time myself.
The body was made of birch end cut. I had to torment myself with the case: the lamps have an oblong-rounded shape, it was not possible to select a forstner drill for them or choose a milling cutter due to hard conclusions, and also because of the difference in the size of the lamp bulb. Therefore, I had to drill 2 holes and then use the rasp and file to give the desired shape, because of this there are some flaws in the accuracy of the fit.

In general, the lamps were not very liked, it is clear why they are so cheap and sold in such quantities. Due to the fact that they are designed for horizontal execution, their angle of view is not very impressive, and it is also more noticeable that the cathodes are located at different "depths" in comparison with the same IN-14.
Given the shortcomings of the previous iterations, I made 3 version of the clock. Solutions with an explosive part and brains are the same as in option 2: Arduino ProMini, MC34063, TLP627, k155id1, IN-14 lamps. The case was made canonical of wood, this time ash, which he took from a friend. The watch turned out to be rather miniature.

The board has backlighting and airflow, but it is not physically implemented. Practice has shown that with illumination at night the numbers are worse, at least not with my 100% vision. Blowing was also not needed, since the transistor remains cold. The time is set using the buttons on the back of the watch. Now I have 3 hours at GRI at home, you can start distributing.
But this experiment and getting a pleasant experience in design and implementation are not finished. I have already prepared 4 hours iteration, this time I want to abandon the buttons in favor of the settings using the web server and smartphone. To do this, I prepared just such a board for the next hours, until I decided which particular lamps will be used, but most likely IN1.

I made an overview of all my watches in a video, with a demonstration of the insides and design errors.
Links to resources are here .
And then the idea arose of making such a device, especially since the projection at my projection clock at home safely failed. You just look at it, it's wonderful!
If you think this is terrible, imagine that you live in the 80s, you do not have MK, there is no fiberglass, there is no CNC, there is no exact tool, etc. but there is a great desire and knowledge.
Iteration 1
A lot of time passed from the idea to the realization, at first the lamps were ordered on Avito, I took IN12b, IN1, INS-1, IN-8-2, IN-14. Next, I looked at ready-made solutions on this topic, mainly it concerned the high-voltage part (BB). The circuitry of all watches is elementary, for example, a popular circuit from one of the sites, it has all the necessary parts, change to fit the existing elements.
I read on the forums that for the high-voltage DC-DC, the microcircuit max1771 is well suited, took 5 pieces, prepared the board while it was driving. Oh, and I was tormented with her, the datachinker knew by heart. It’s a very capricious chip, it’s not cool, of course, but it’s very demanding on the board layout, it hasn’t grown together with me. But I did make a watch on it, I didn’t bother with the case, I just printed a segmented case on the printer. Lamps In-14, Arduino Nano, DC-DC on max1771, time module on DS3231, dynamic indication, LED backlight.
All my watches have temperature control: if the temperature rises to the threshold, the watch goes into idle mode - the indicators turn off until the temperature drops. Overheating was not noticed during operation. There is also a function of counteracting cathodic poisoning of lamps, with a frequency of once an hour, all numbers on all indicators are run. The disadvantage is that the time adjustment is made only through the UART port. Not everything is okay with the board either, I decided that connecting with jumpers will work, the device works, but it’s more difficult to debug and repair.
Iteration 2
Next, I decided to get confused, and make an aesthetic case, for this a clock on IN-12 lamps was chosen, it would be better if I made them in a printed case. To reduce the size of the board, I used Arduino ProMini, DC-DC I made on the popular and old MC34063 (this is trouble-free mikruha, simple as a corner of the house and cheap). Also in this iteration, I decided not to use transistor switches, and replaced them with TLP627 high voltage optocouplers.
Time adjustment occurs via UART or buttons on the back of the watch. I could not find / adapt ready-made libraries for my watches, so I had to write the “menu” to adjust the time myself.
The body was made of birch end cut. I had to torment myself with the case: the lamps have an oblong-rounded shape, it was not possible to select a forstner drill for them or choose a milling cutter due to hard conclusions, and also because of the difference in the size of the lamp bulb. Therefore, I had to drill 2 holes and then use the rasp and file to give the desired shape, because of this there are some flaws in the accuracy of the fit.
In general, the lamps were not very liked, it is clear why they are so cheap and sold in such quantities. Due to the fact that they are designed for horizontal execution, their angle of view is not very impressive, and it is also more noticeable that the cathodes are located at different "depths" in comparison with the same IN-14.
Iteration 3
Given the shortcomings of the previous iterations, I made 3 version of the clock. Solutions with an explosive part and brains are the same as in option 2: Arduino ProMini, MC34063, TLP627, k155id1, IN-14 lamps. The case was made canonical of wood, this time ash, which he took from a friend. The watch turned out to be rather miniature.
The board has backlighting and airflow, but it is not physically implemented. Practice has shown that with illumination at night the numbers are worse, at least not with my 100% vision. Blowing was also not needed, since the transistor remains cold. The time is set using the buttons on the back of the watch. Now I have 3 hours at GRI at home, you can start distributing.
But this experiment and getting a pleasant experience in design and implementation are not finished. I have already prepared 4 hours iteration, this time I want to abandon the buttons in favor of the settings using the web server and smartphone. To do this, I prepared just such a board for the next hours, until I decided which particular lamps will be used, but most likely IN1.
I made an overview of all my watches in a video, with a demonstration of the insides and design errors.
Links to resources are here .