Remote-controlled Auto Watering
Today we will talk about home automation, because it’s nice to rest somewhere in a warm and beautiful place to watch how your flowers are watered. This is the second system in my apartment, the first is watering my pets, and in this I have already fixed all the shortcomings of the first iteration .
When designing the system, I started from the following principles:
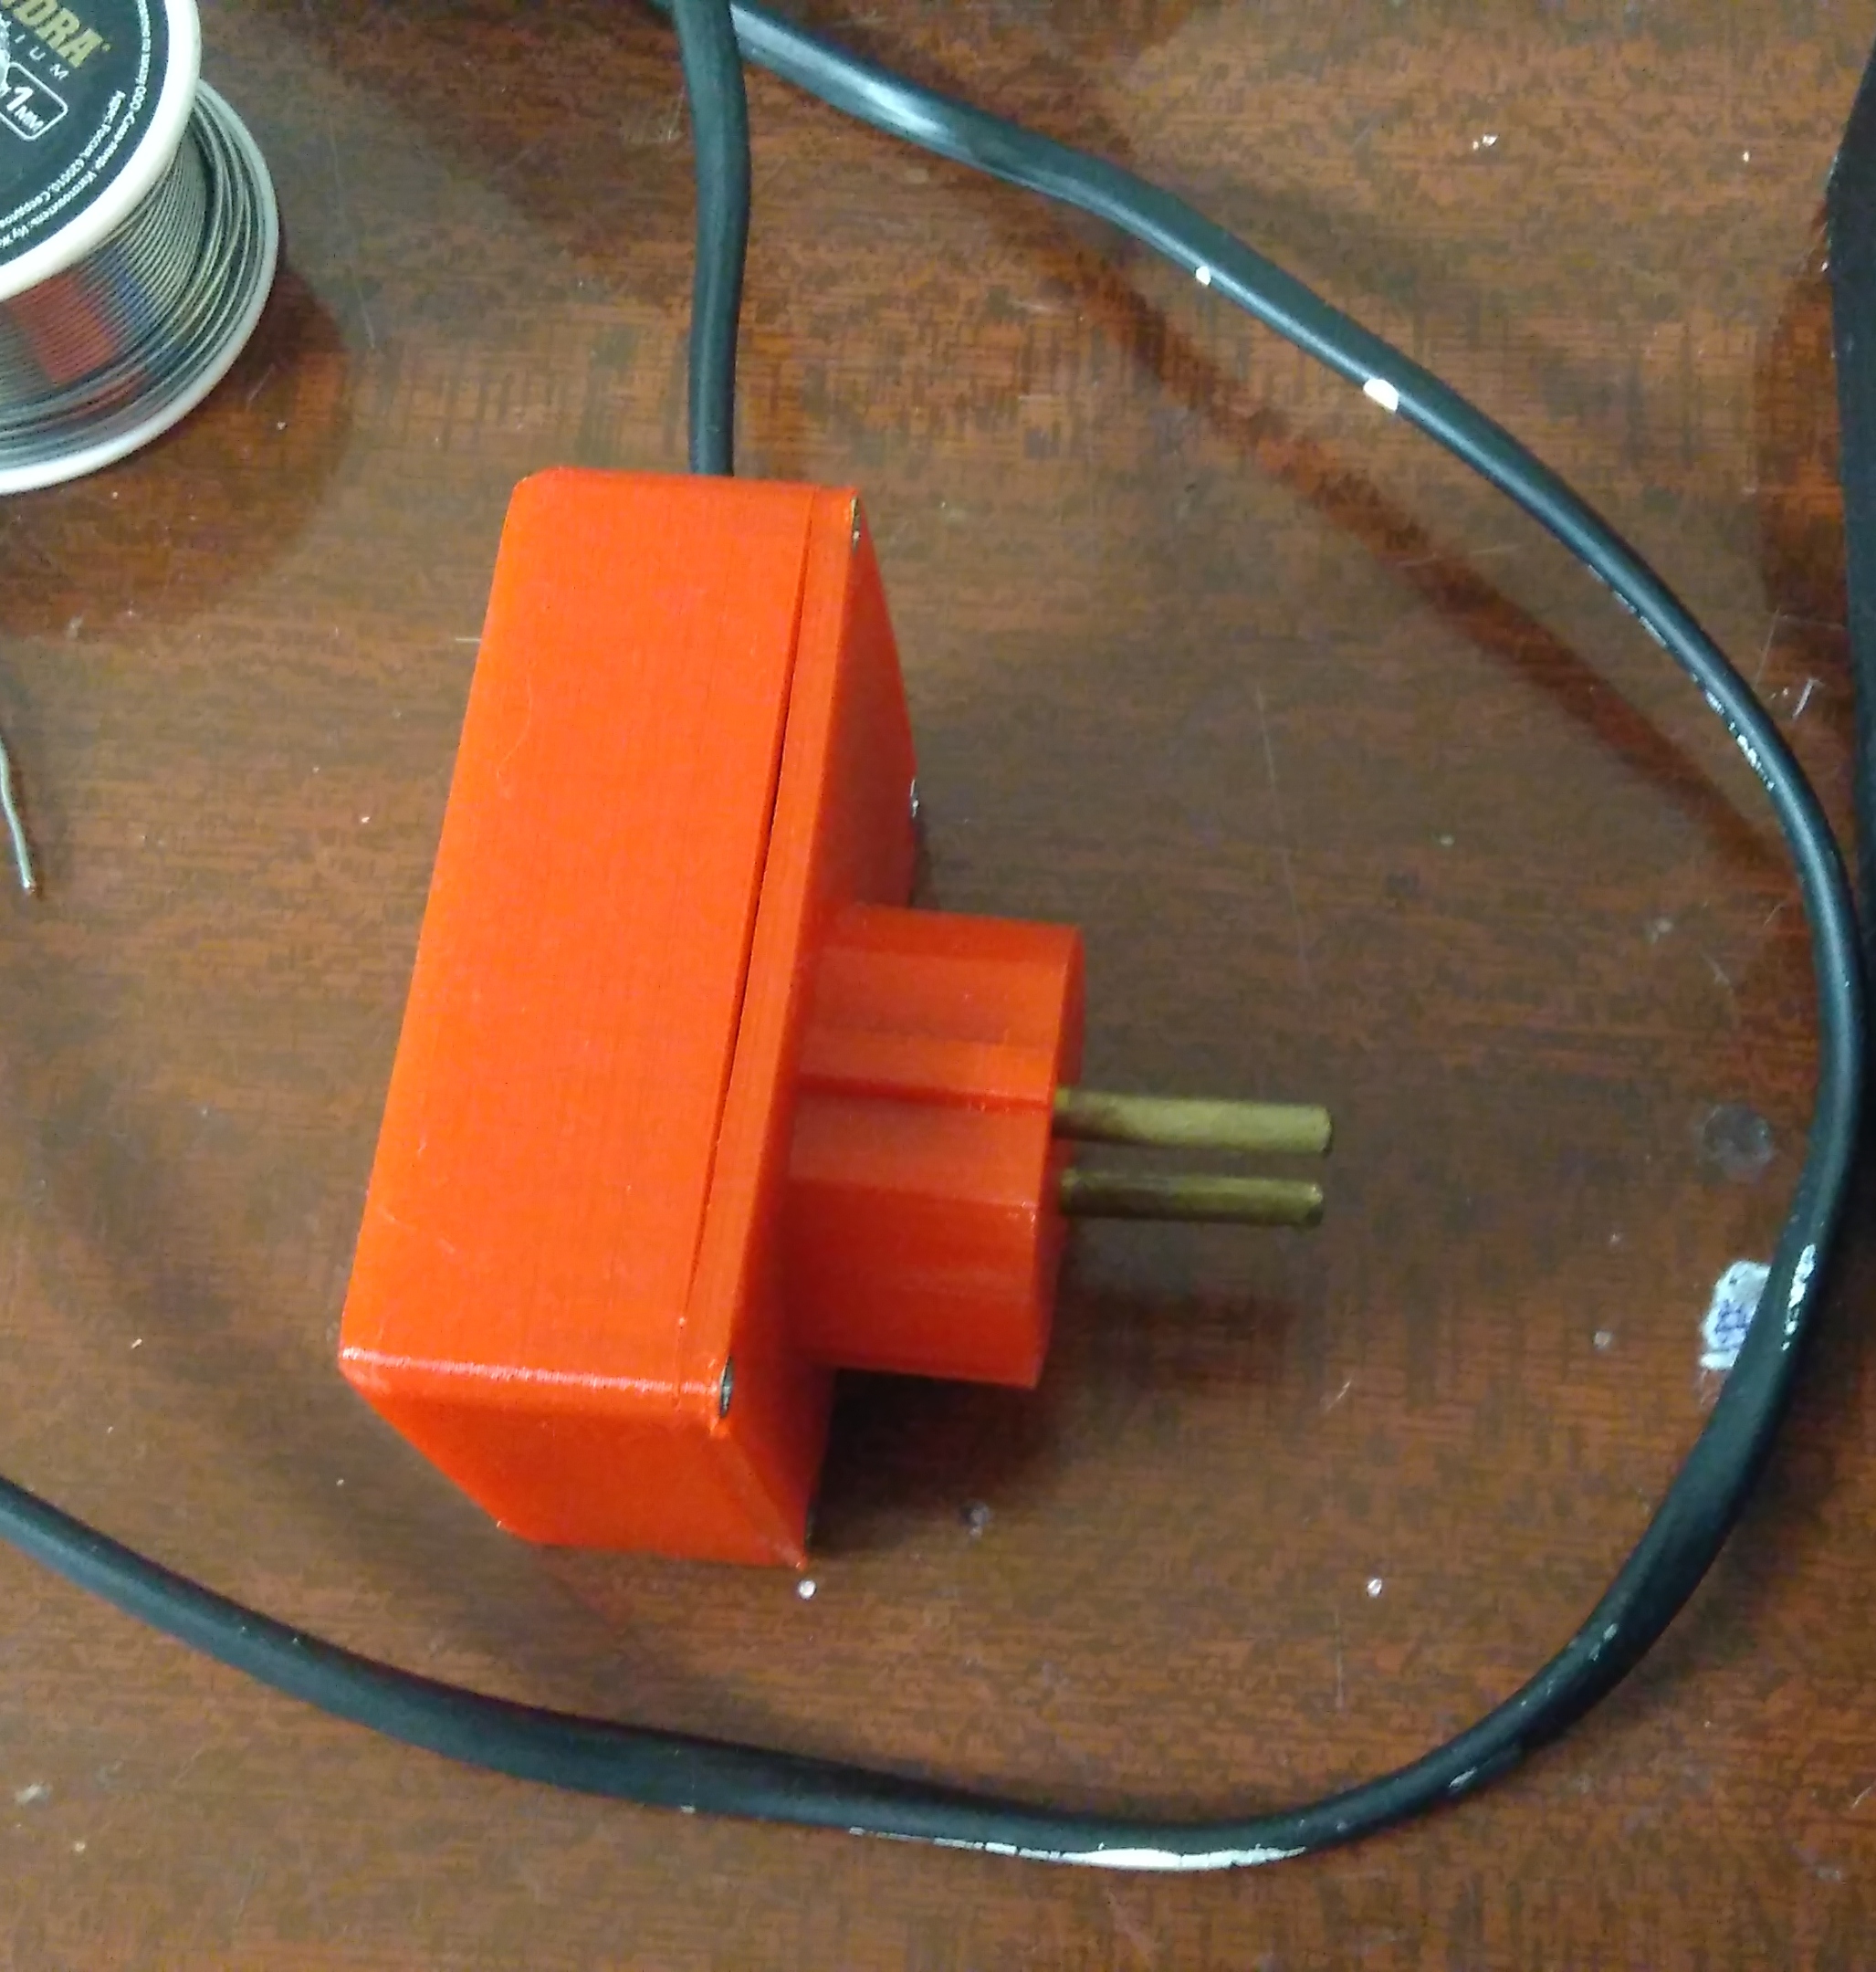
As the cases I used 3D-printed models of my own manufacture. Since the WiFi module is powered by 5 volts, and the valve and pump from 12, I took the PSU from the Chinese driver for LED backlight (sold without a case, used) on 12v and 2.5A. I used this solution in many of my products: I buy the cheapest fork, get the knives from there and put it in my printed case.
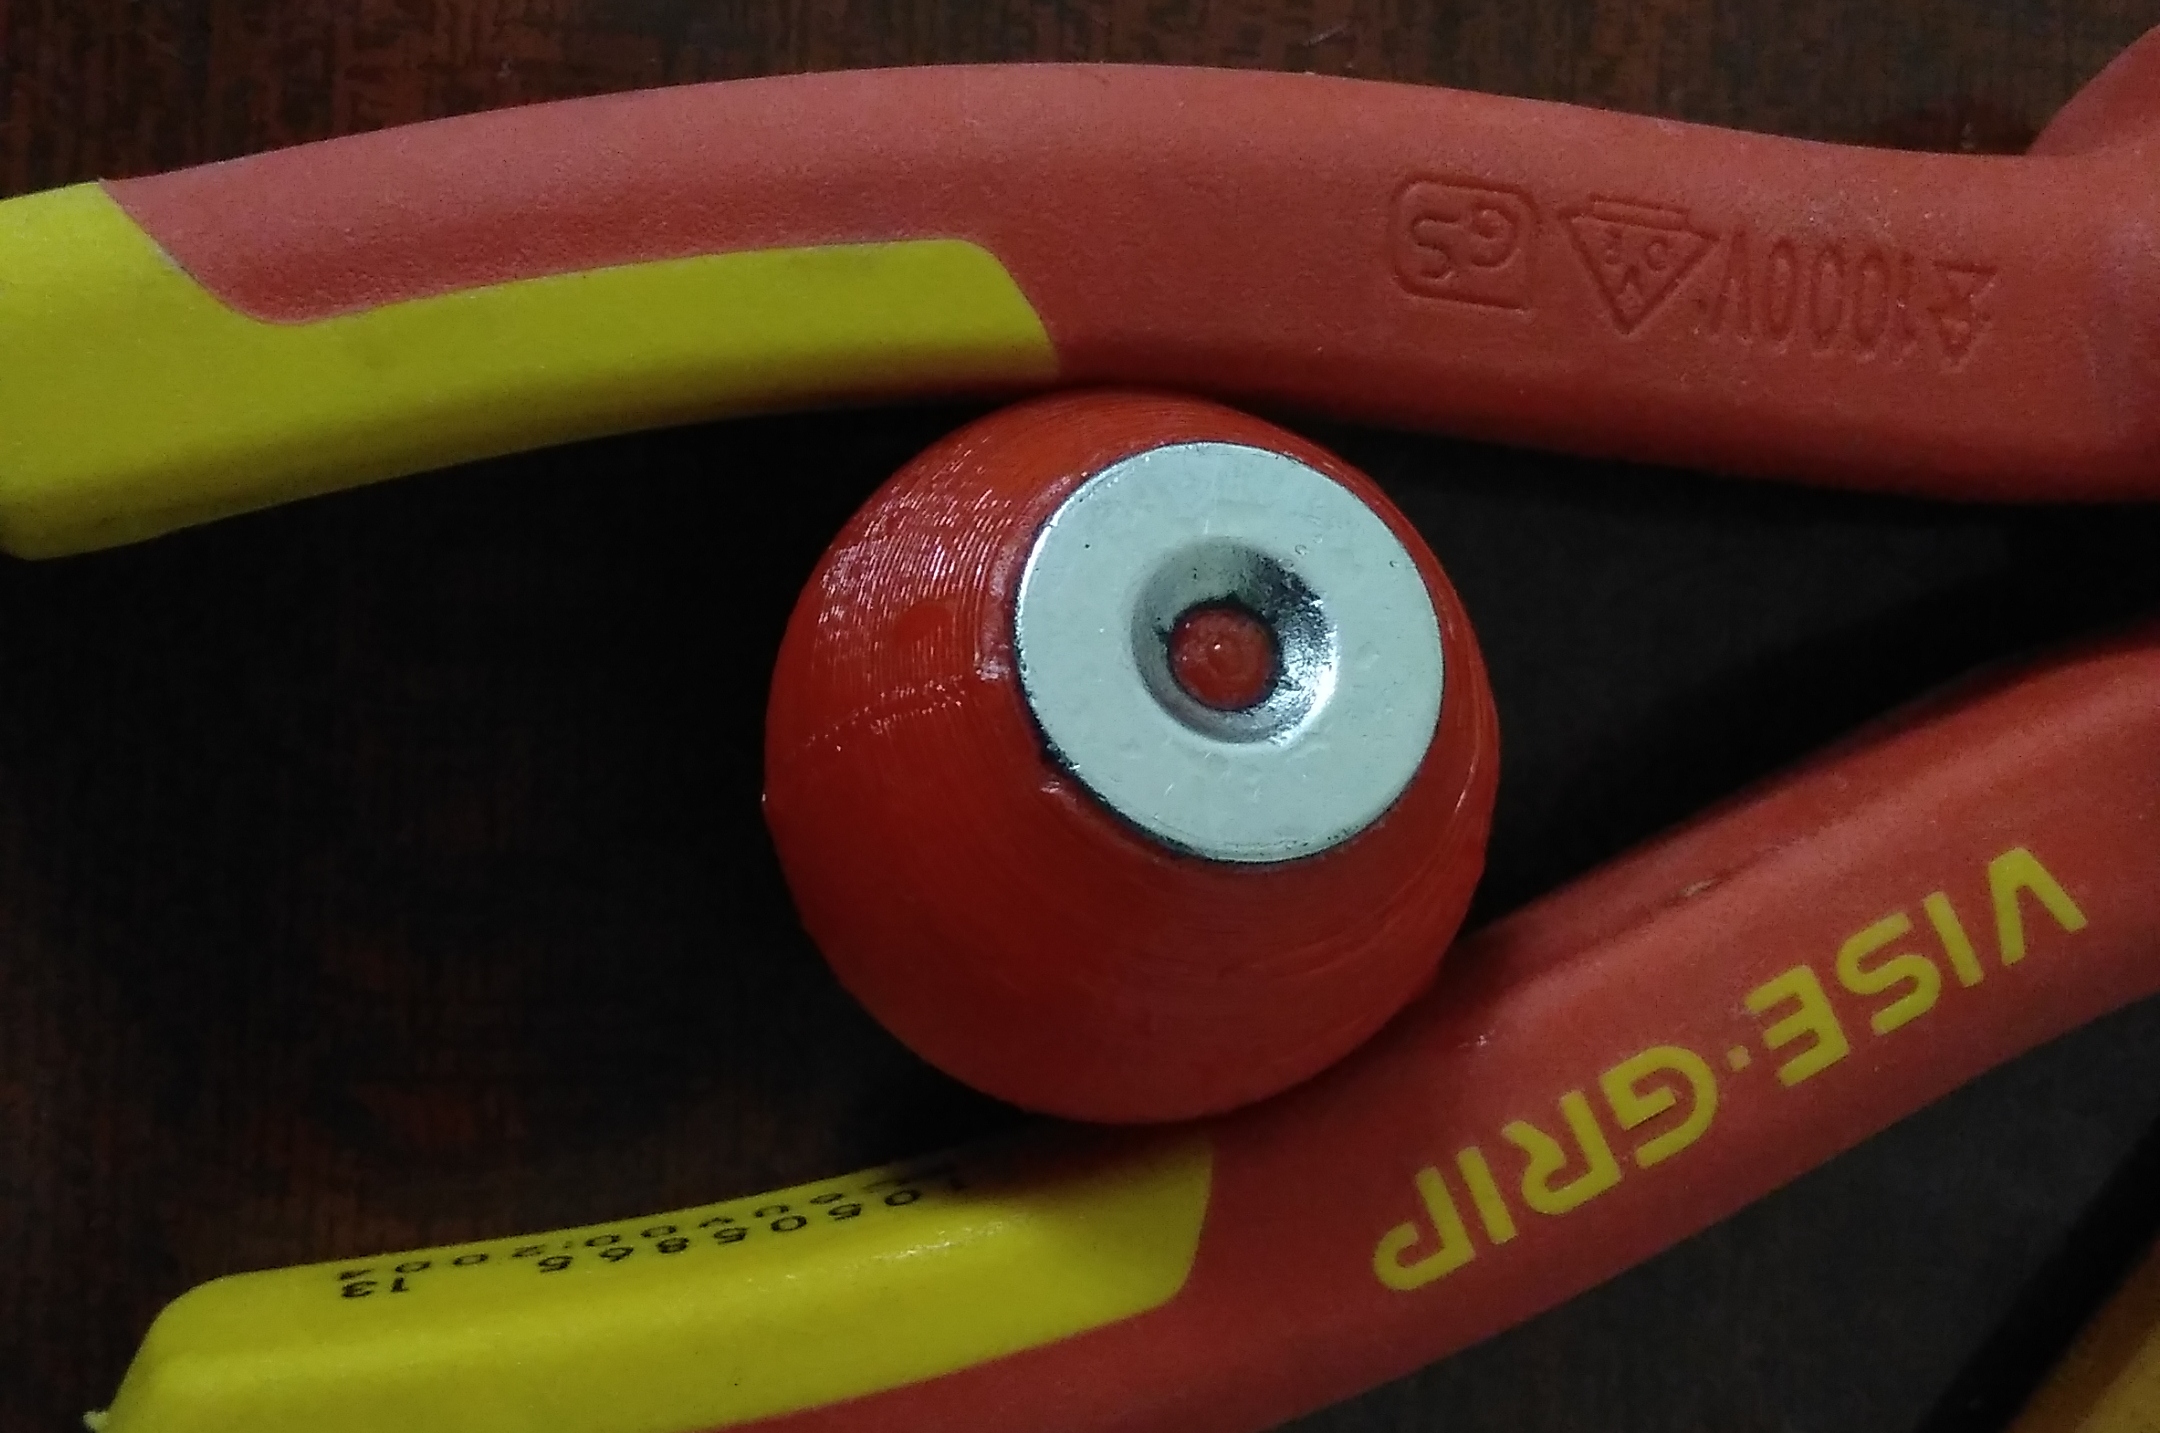
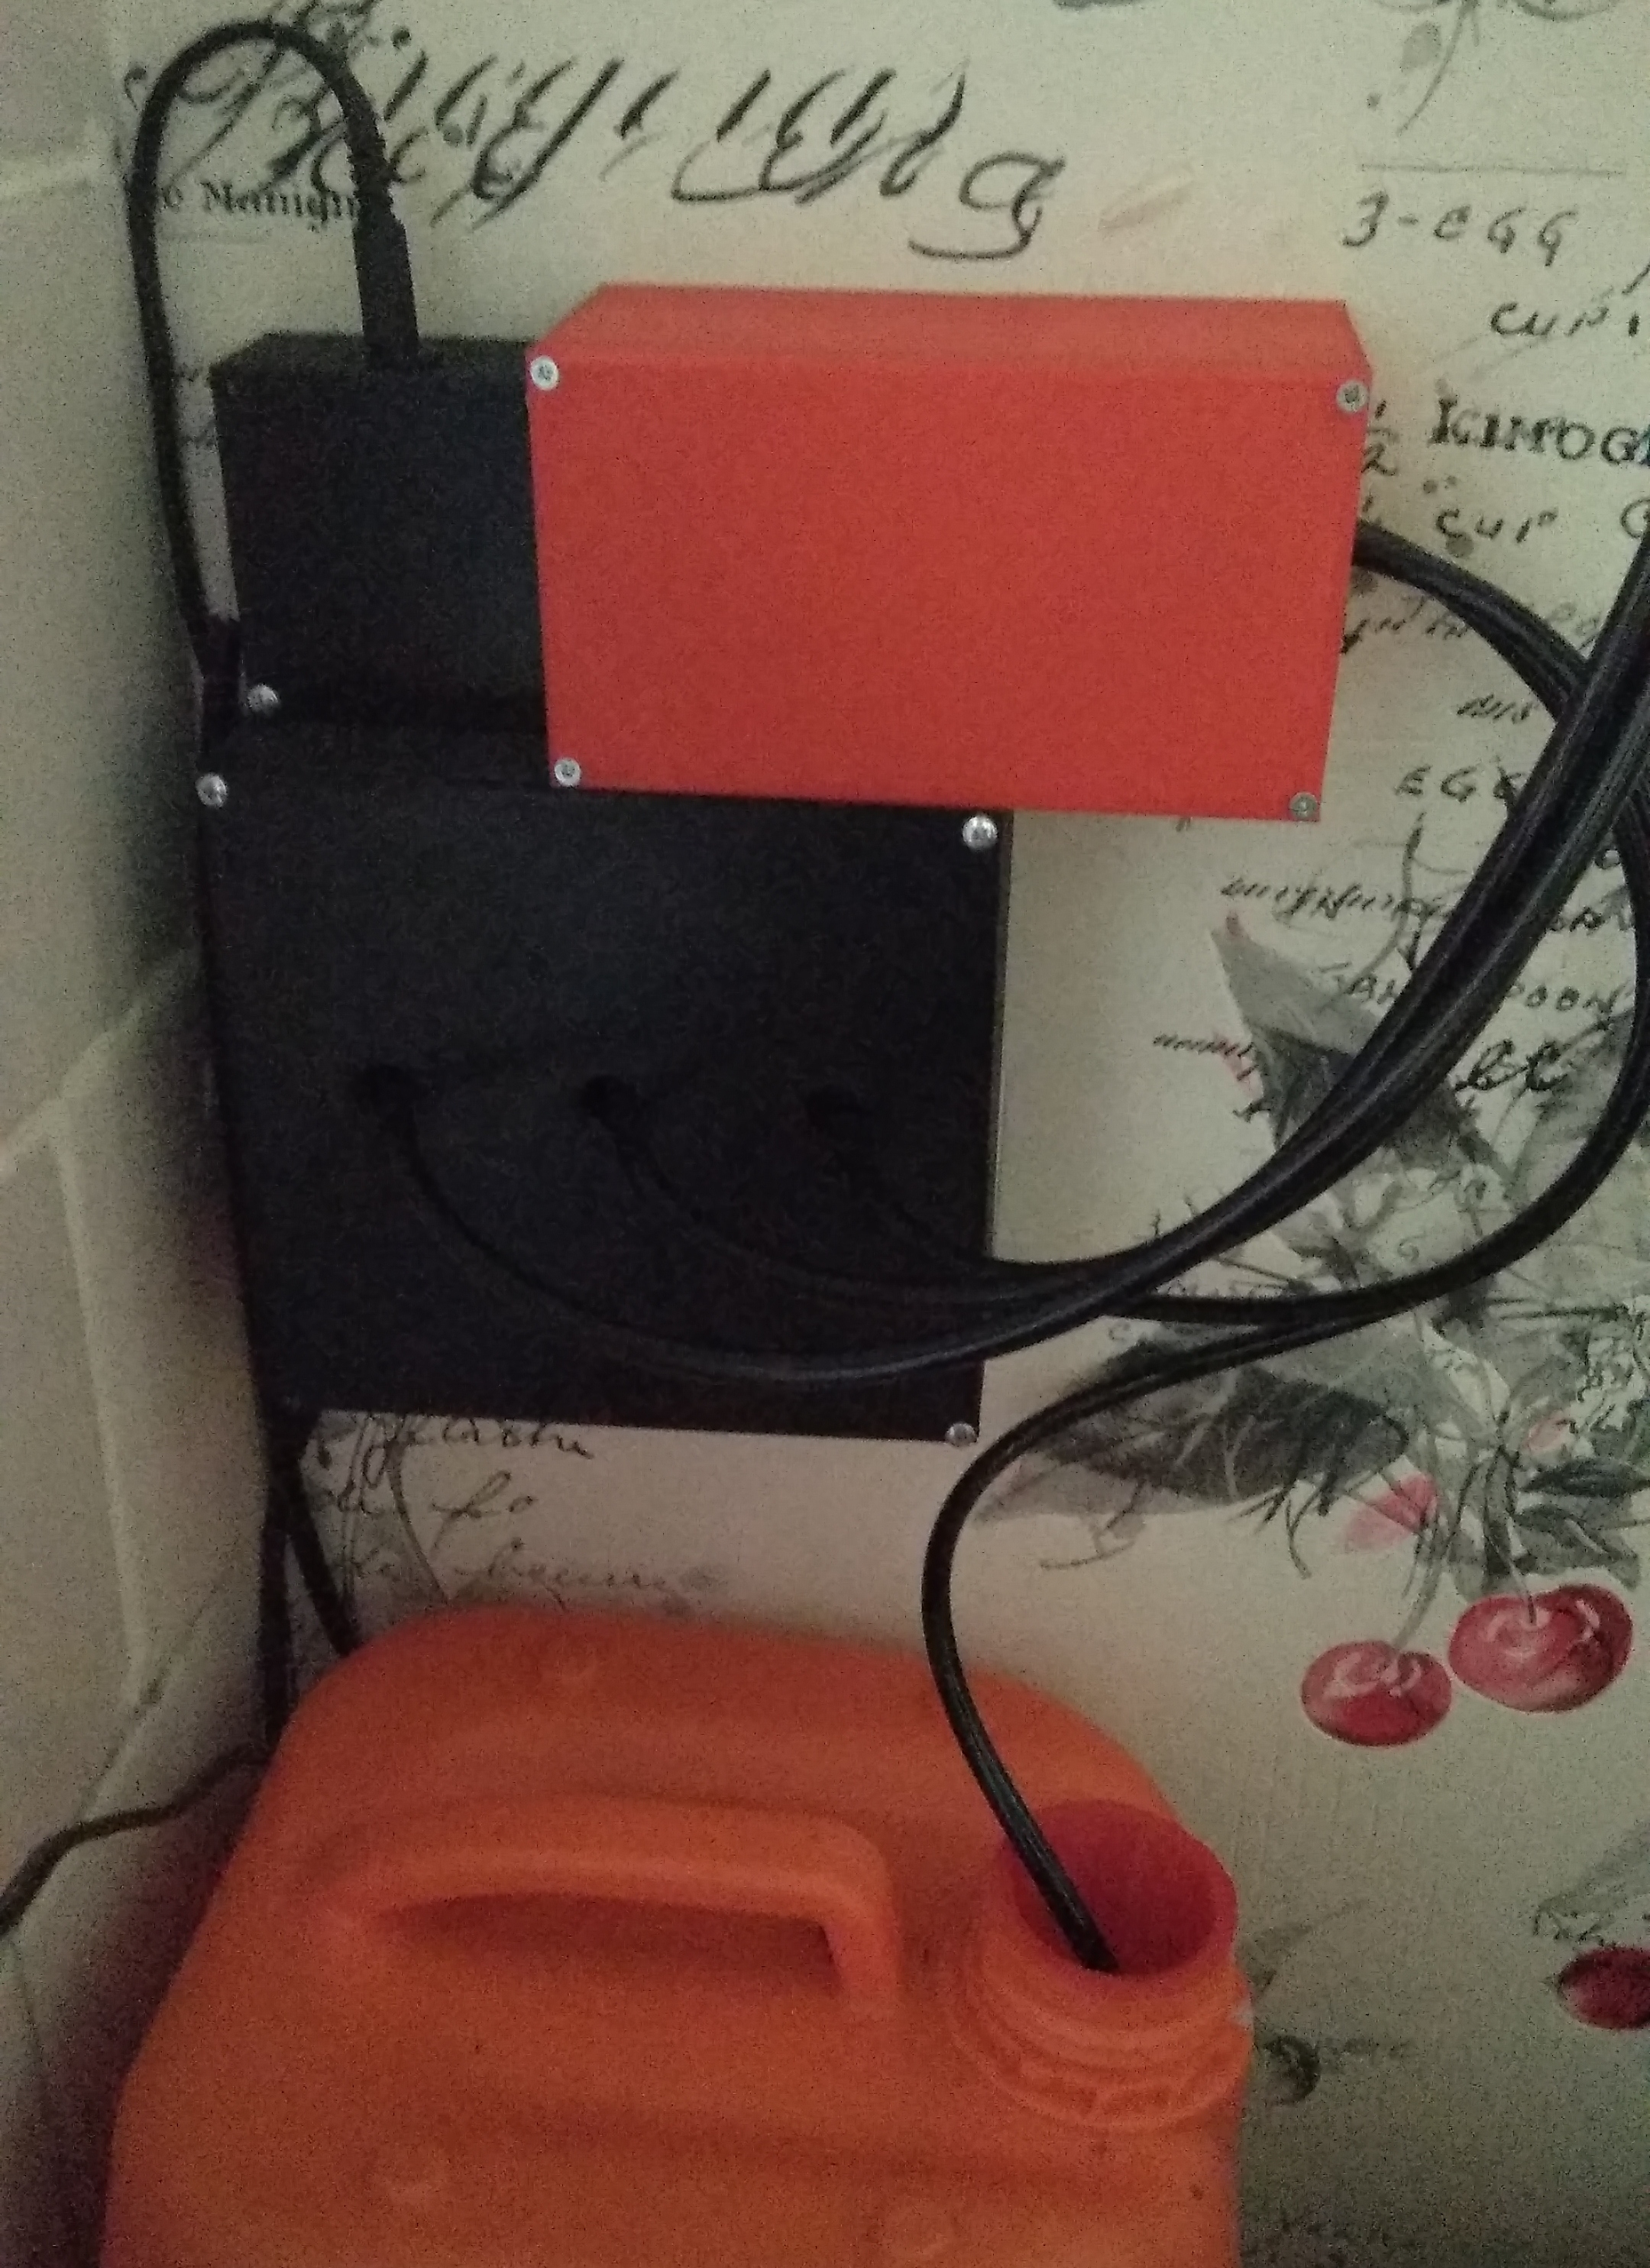
A PVC canister is used as a container, in my case it is orange, because it had fire protection. The level in the tank is controlled only to a minimum, this is realized with the help of a neodymium magnet and a reed switch. The reed switch is glued to the bottom of the canister, and the magnet glued to the float moves along the segmented tube made of plastic.

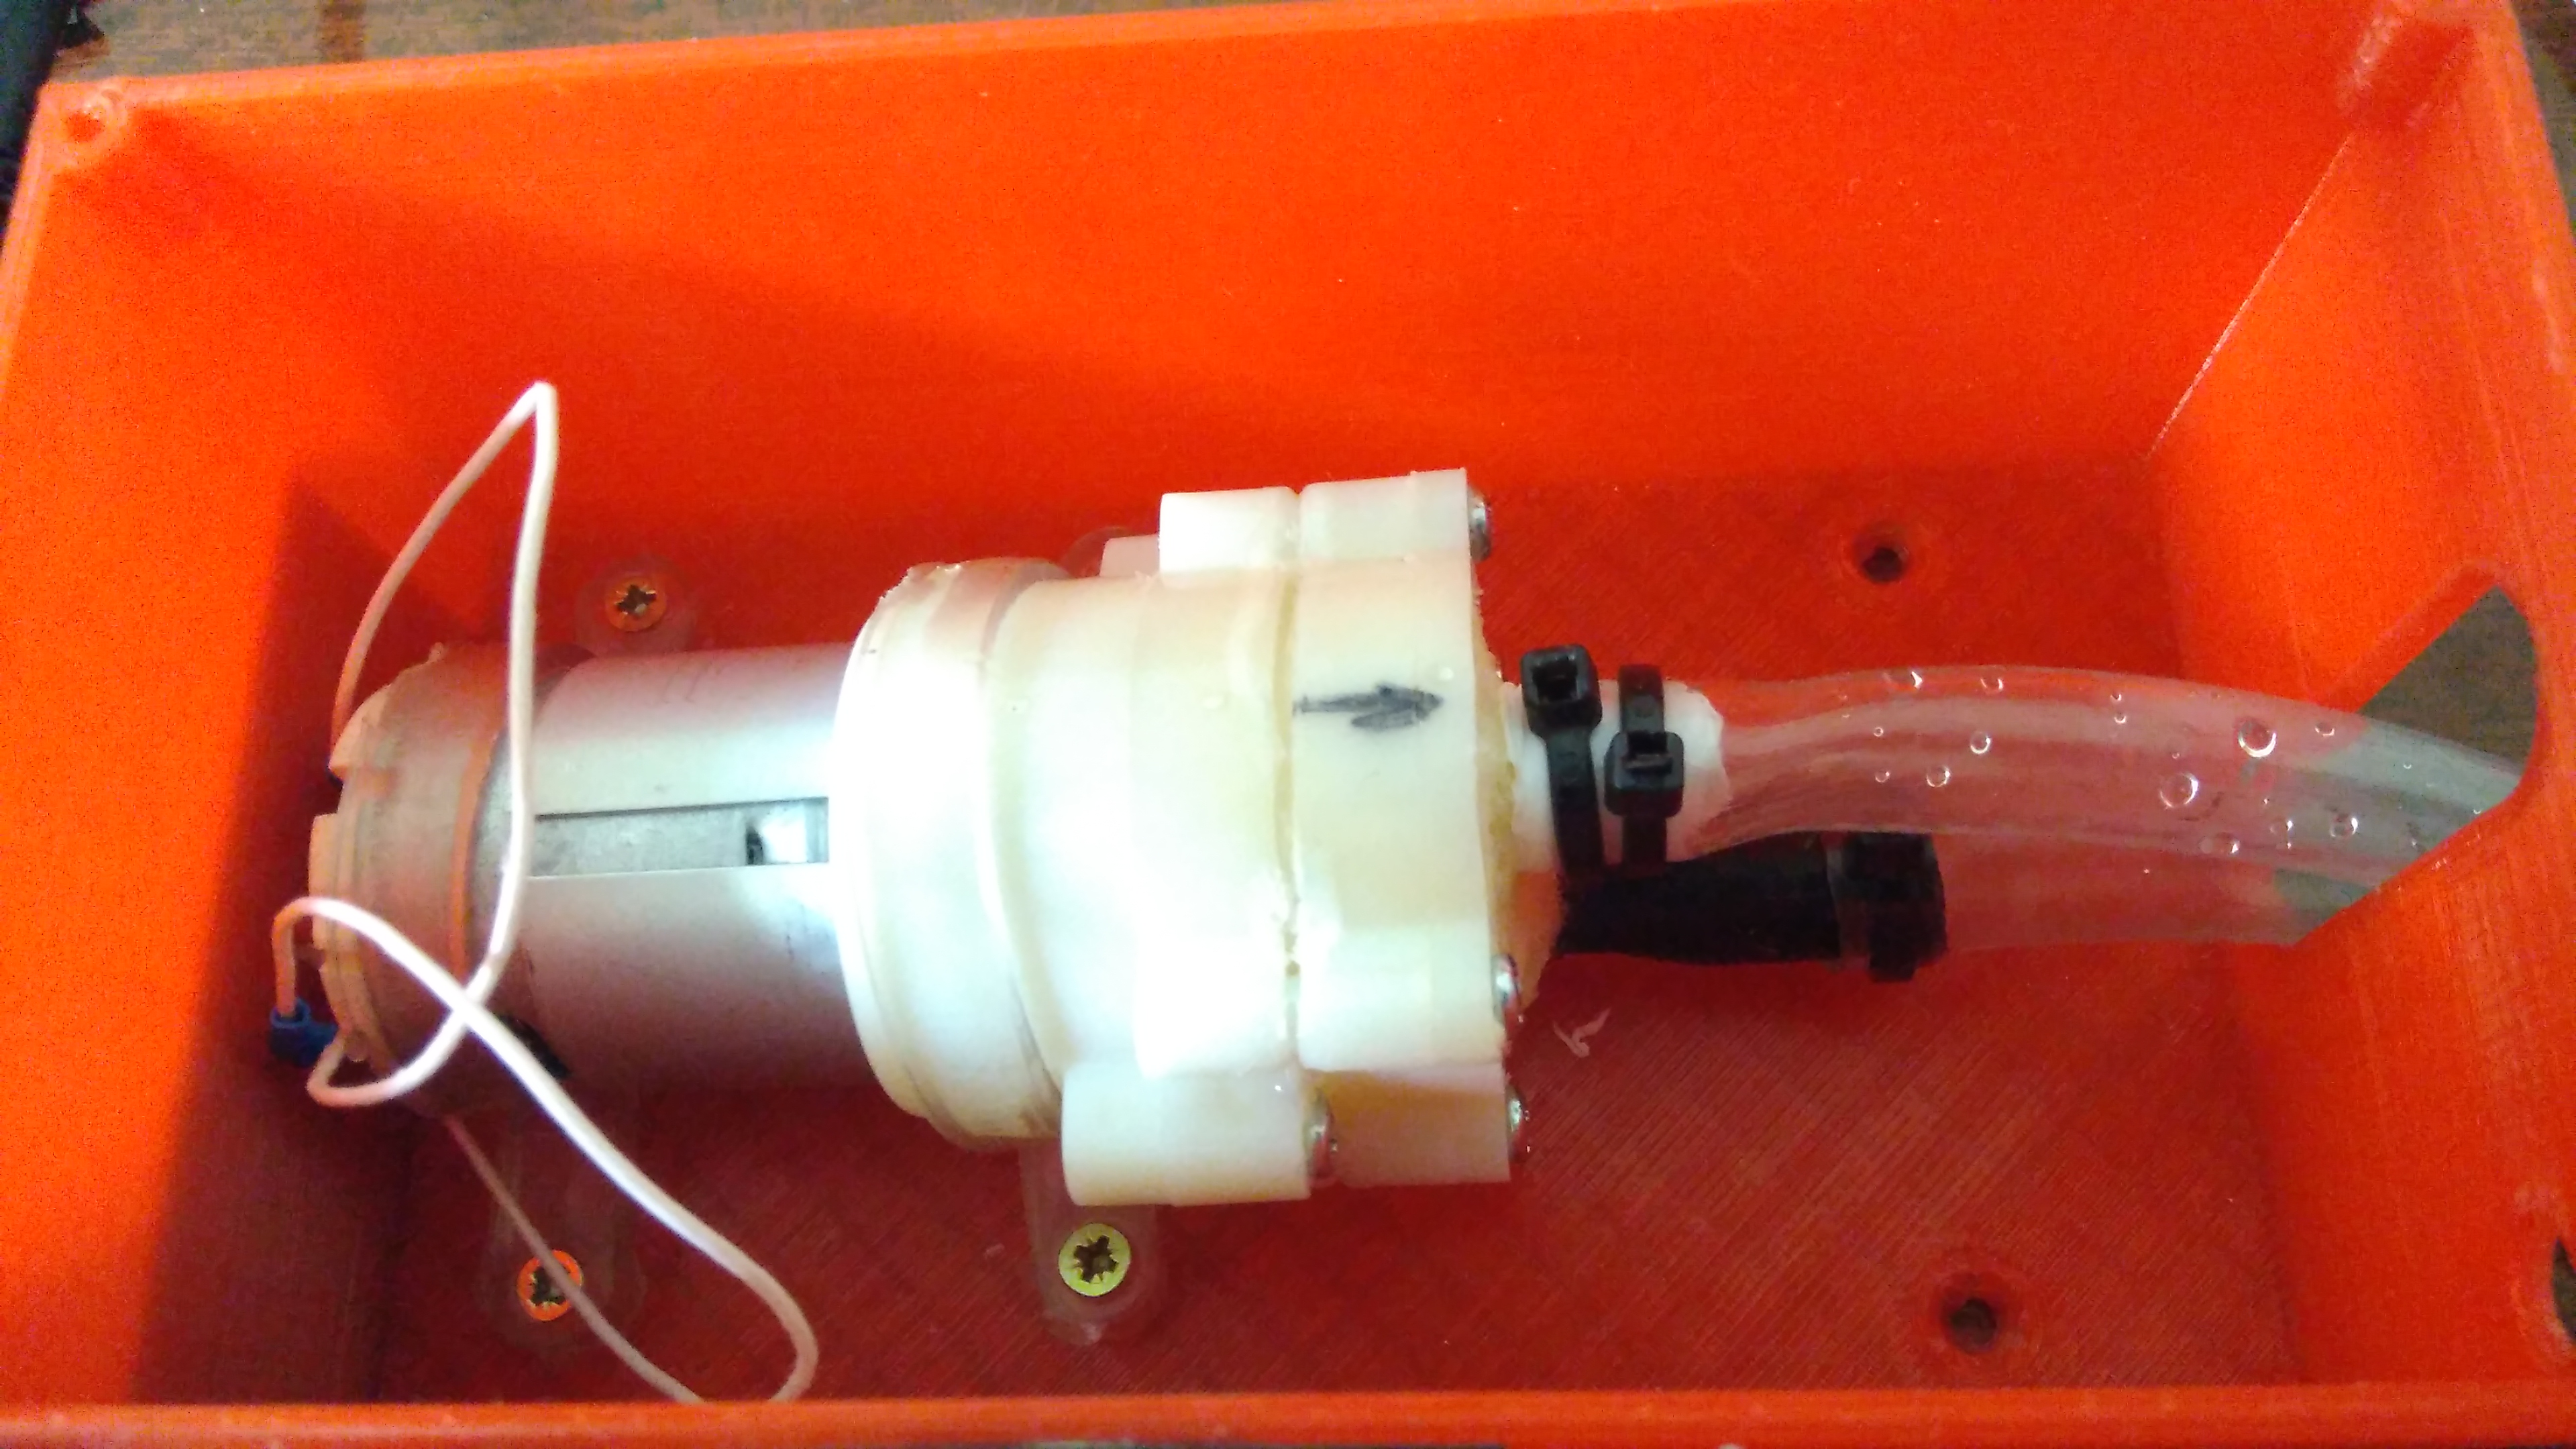
I use diaphragm pumps, they are convenient in that there is no need to fill the circuit with water. The only inconvenience in these pumps is the flanges, they are too large in diameter relative to those irrigation systems that can be purchased in China. There are still questions about the resource of these pumps, but they work for 1-2 minutes a week. In the photo below, I used a silicone hose, but later I had to abandon it, because I had to change the valve. The pump consumes about 120mA.
The valve originally wanted to use such, but as it turned out, each consumes about 3.5A, so I had to abandon them.
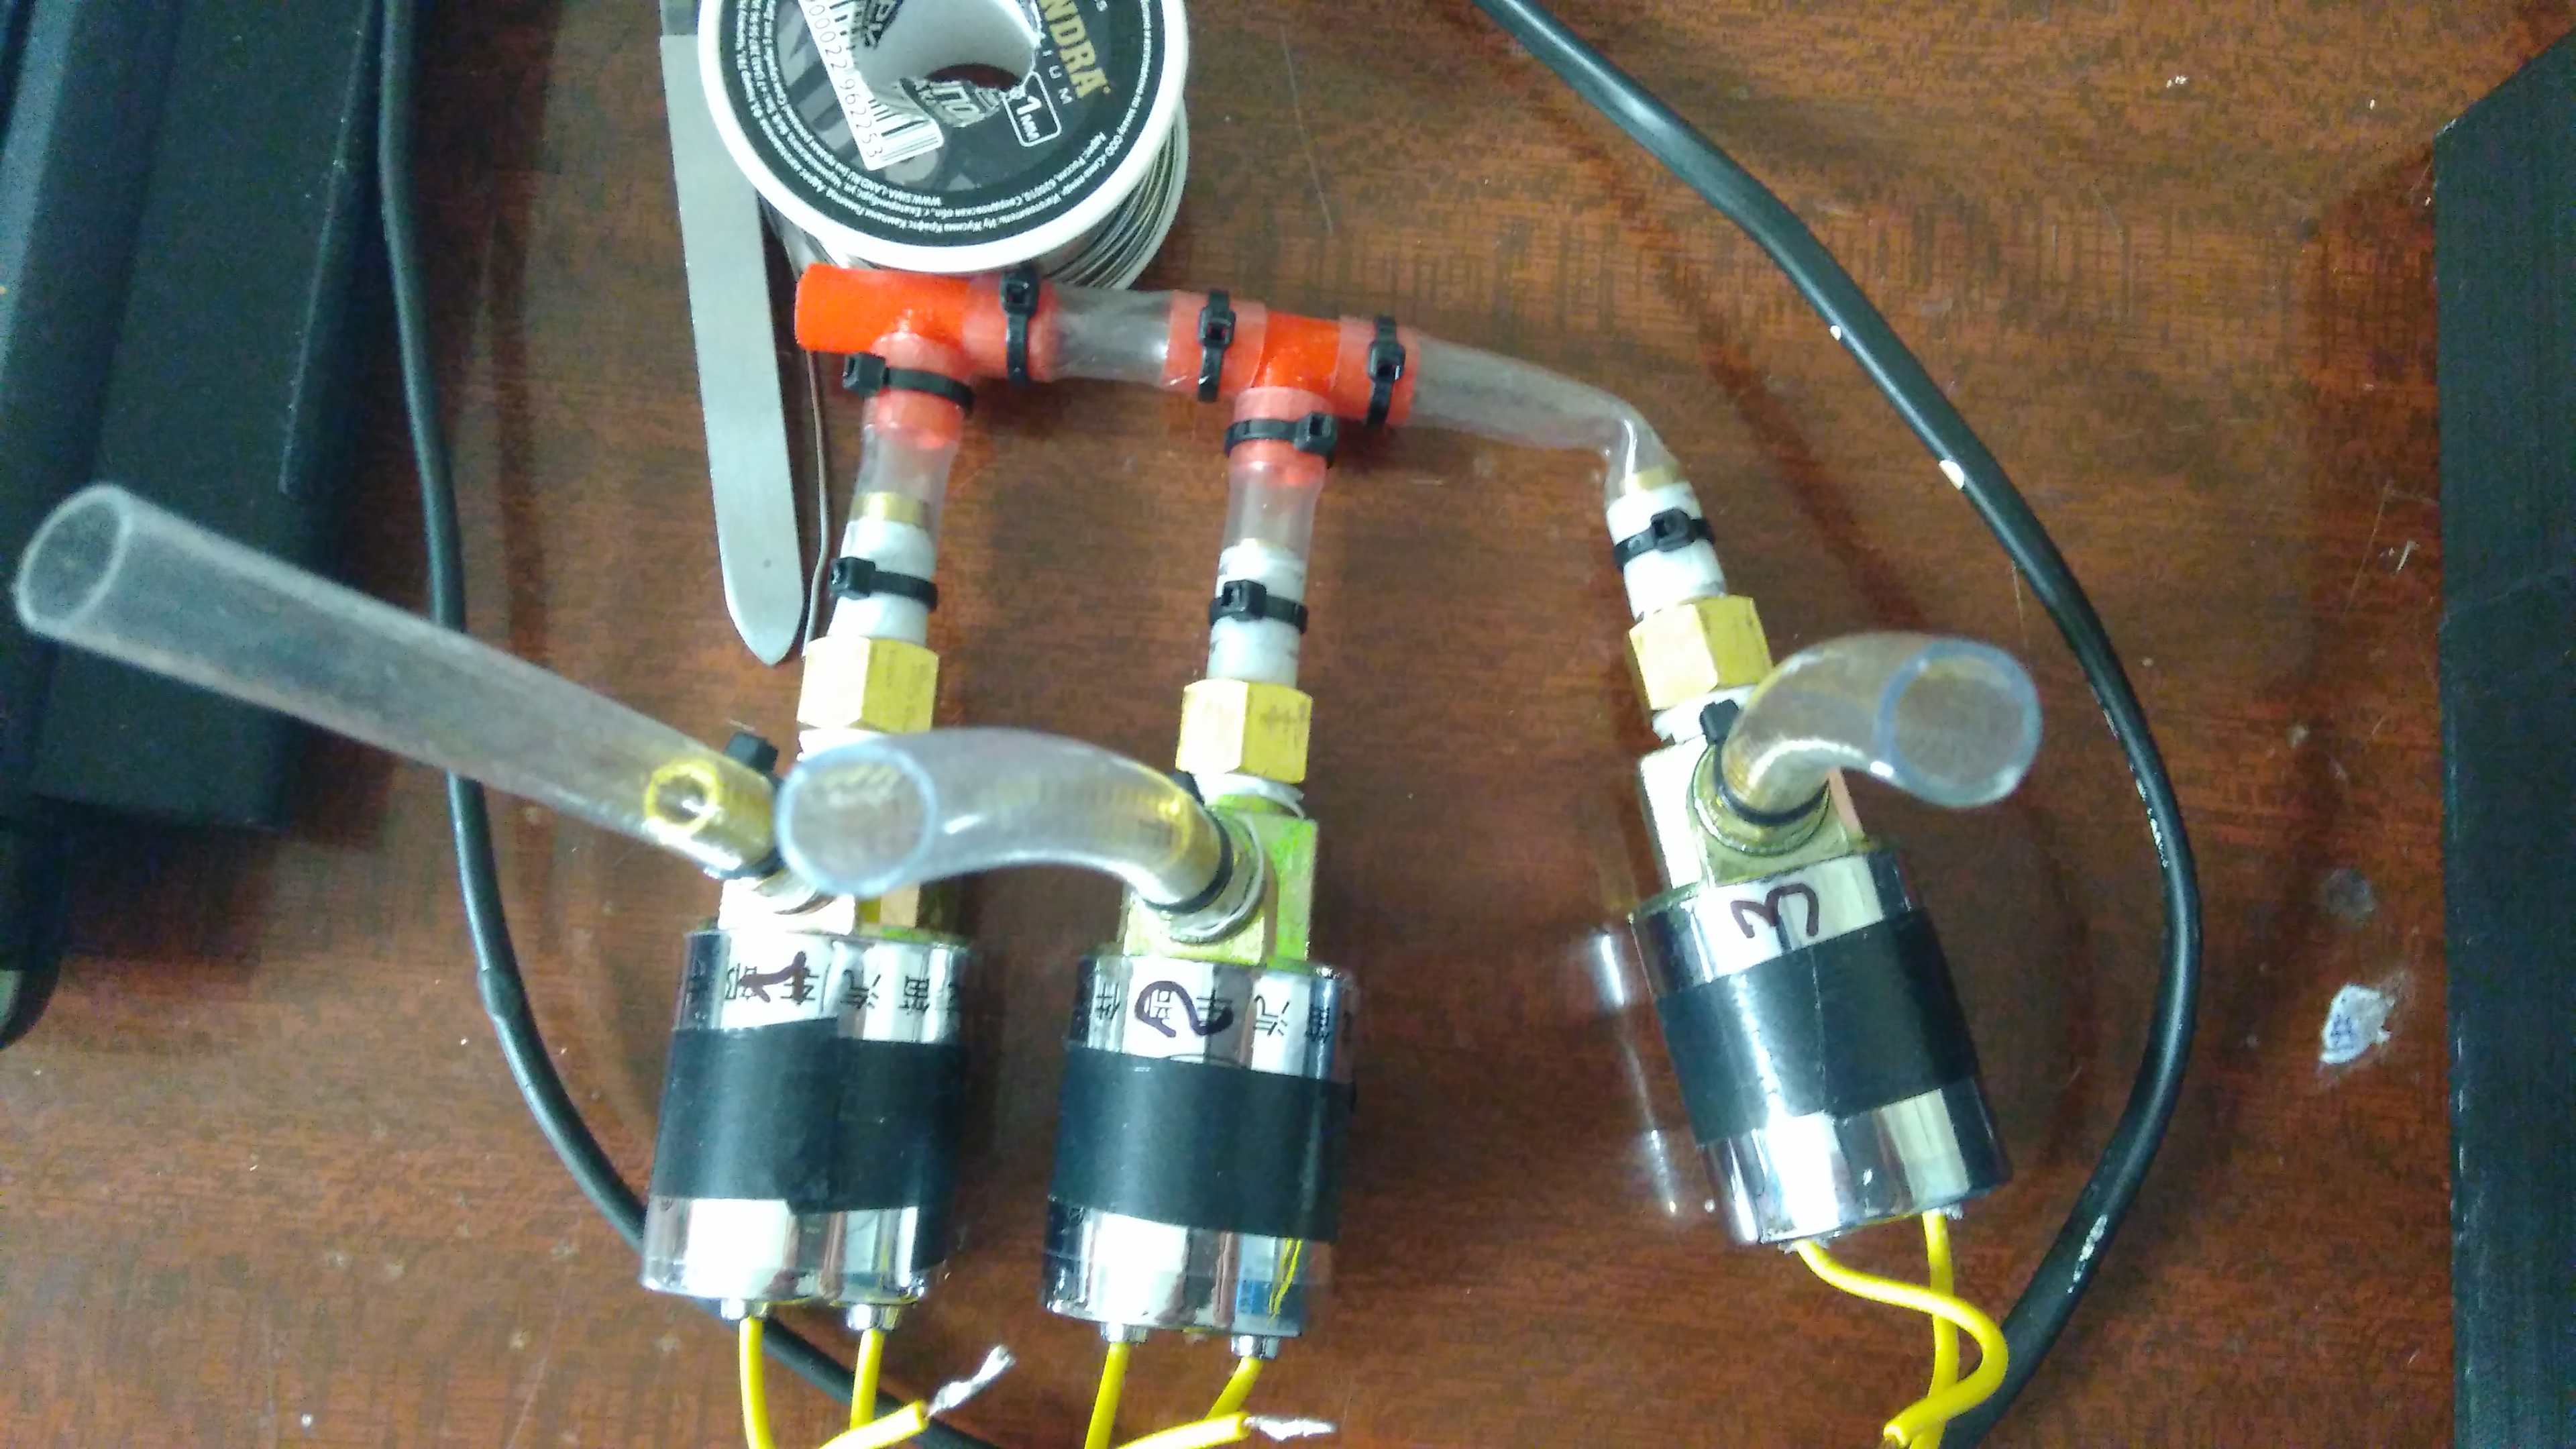
As a result, the valves were taken the same as in the previous project. They are smaller and have a good reputation, consumption of about 80mA.
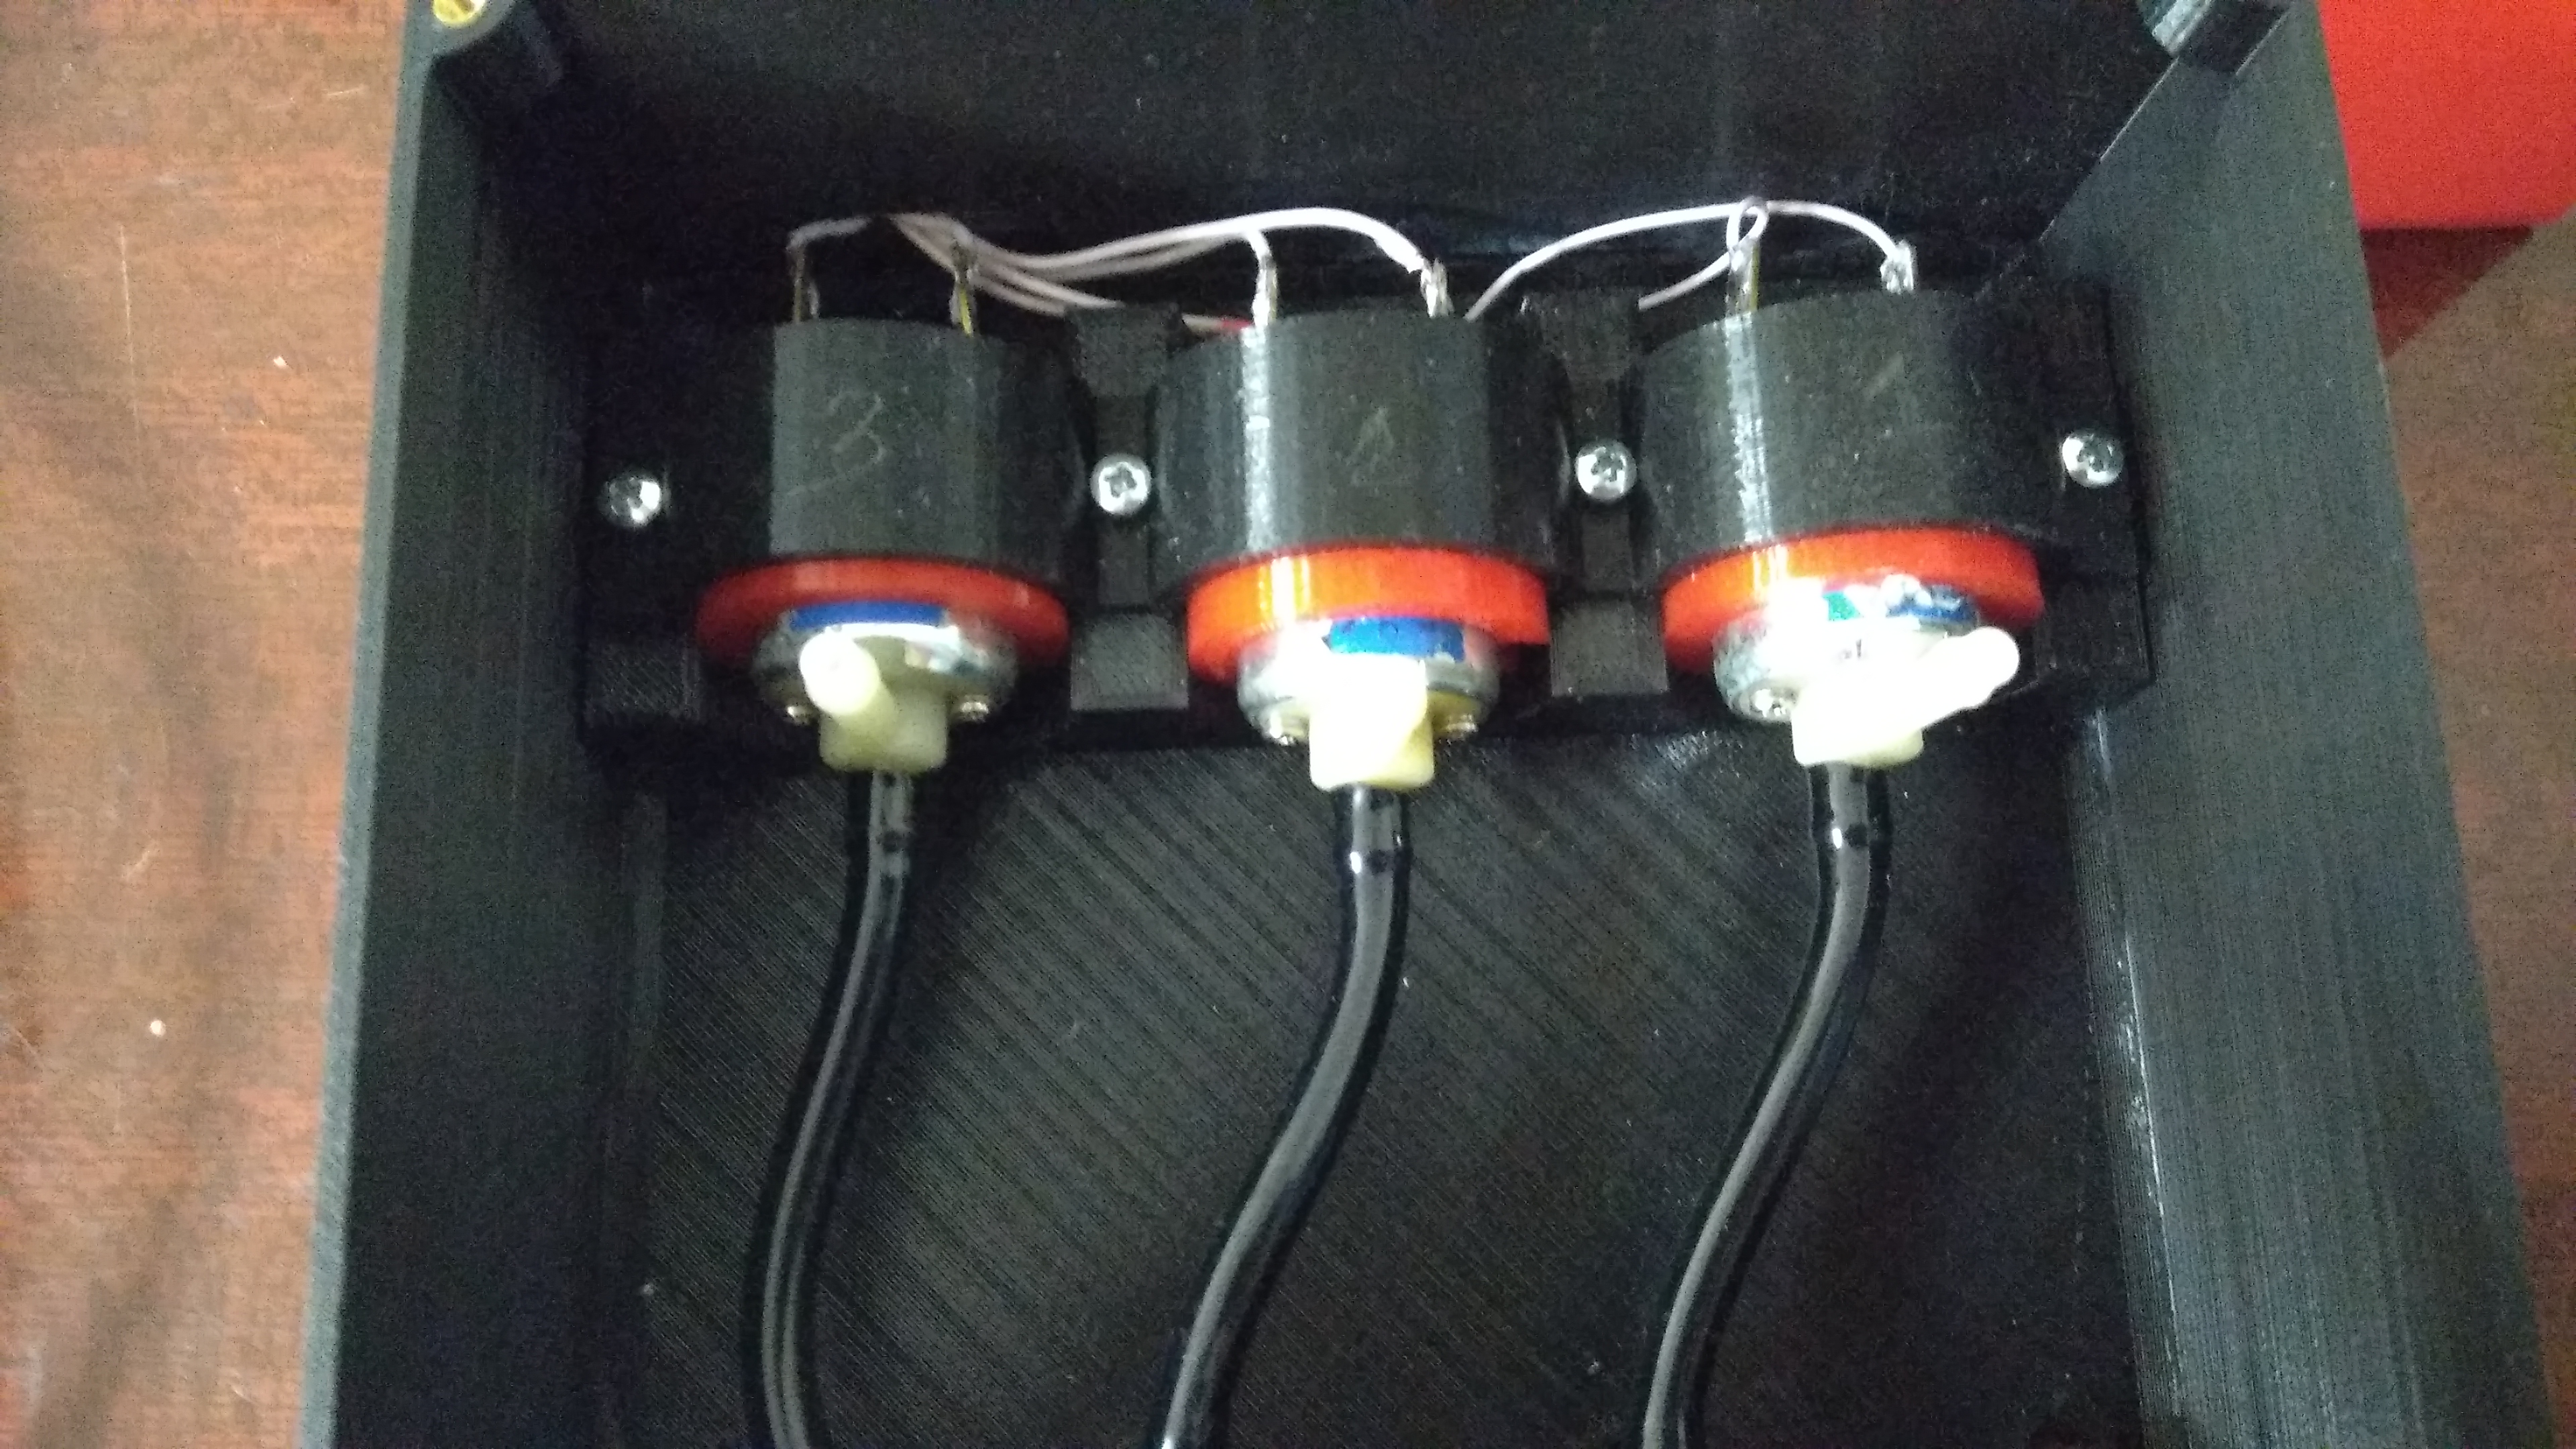
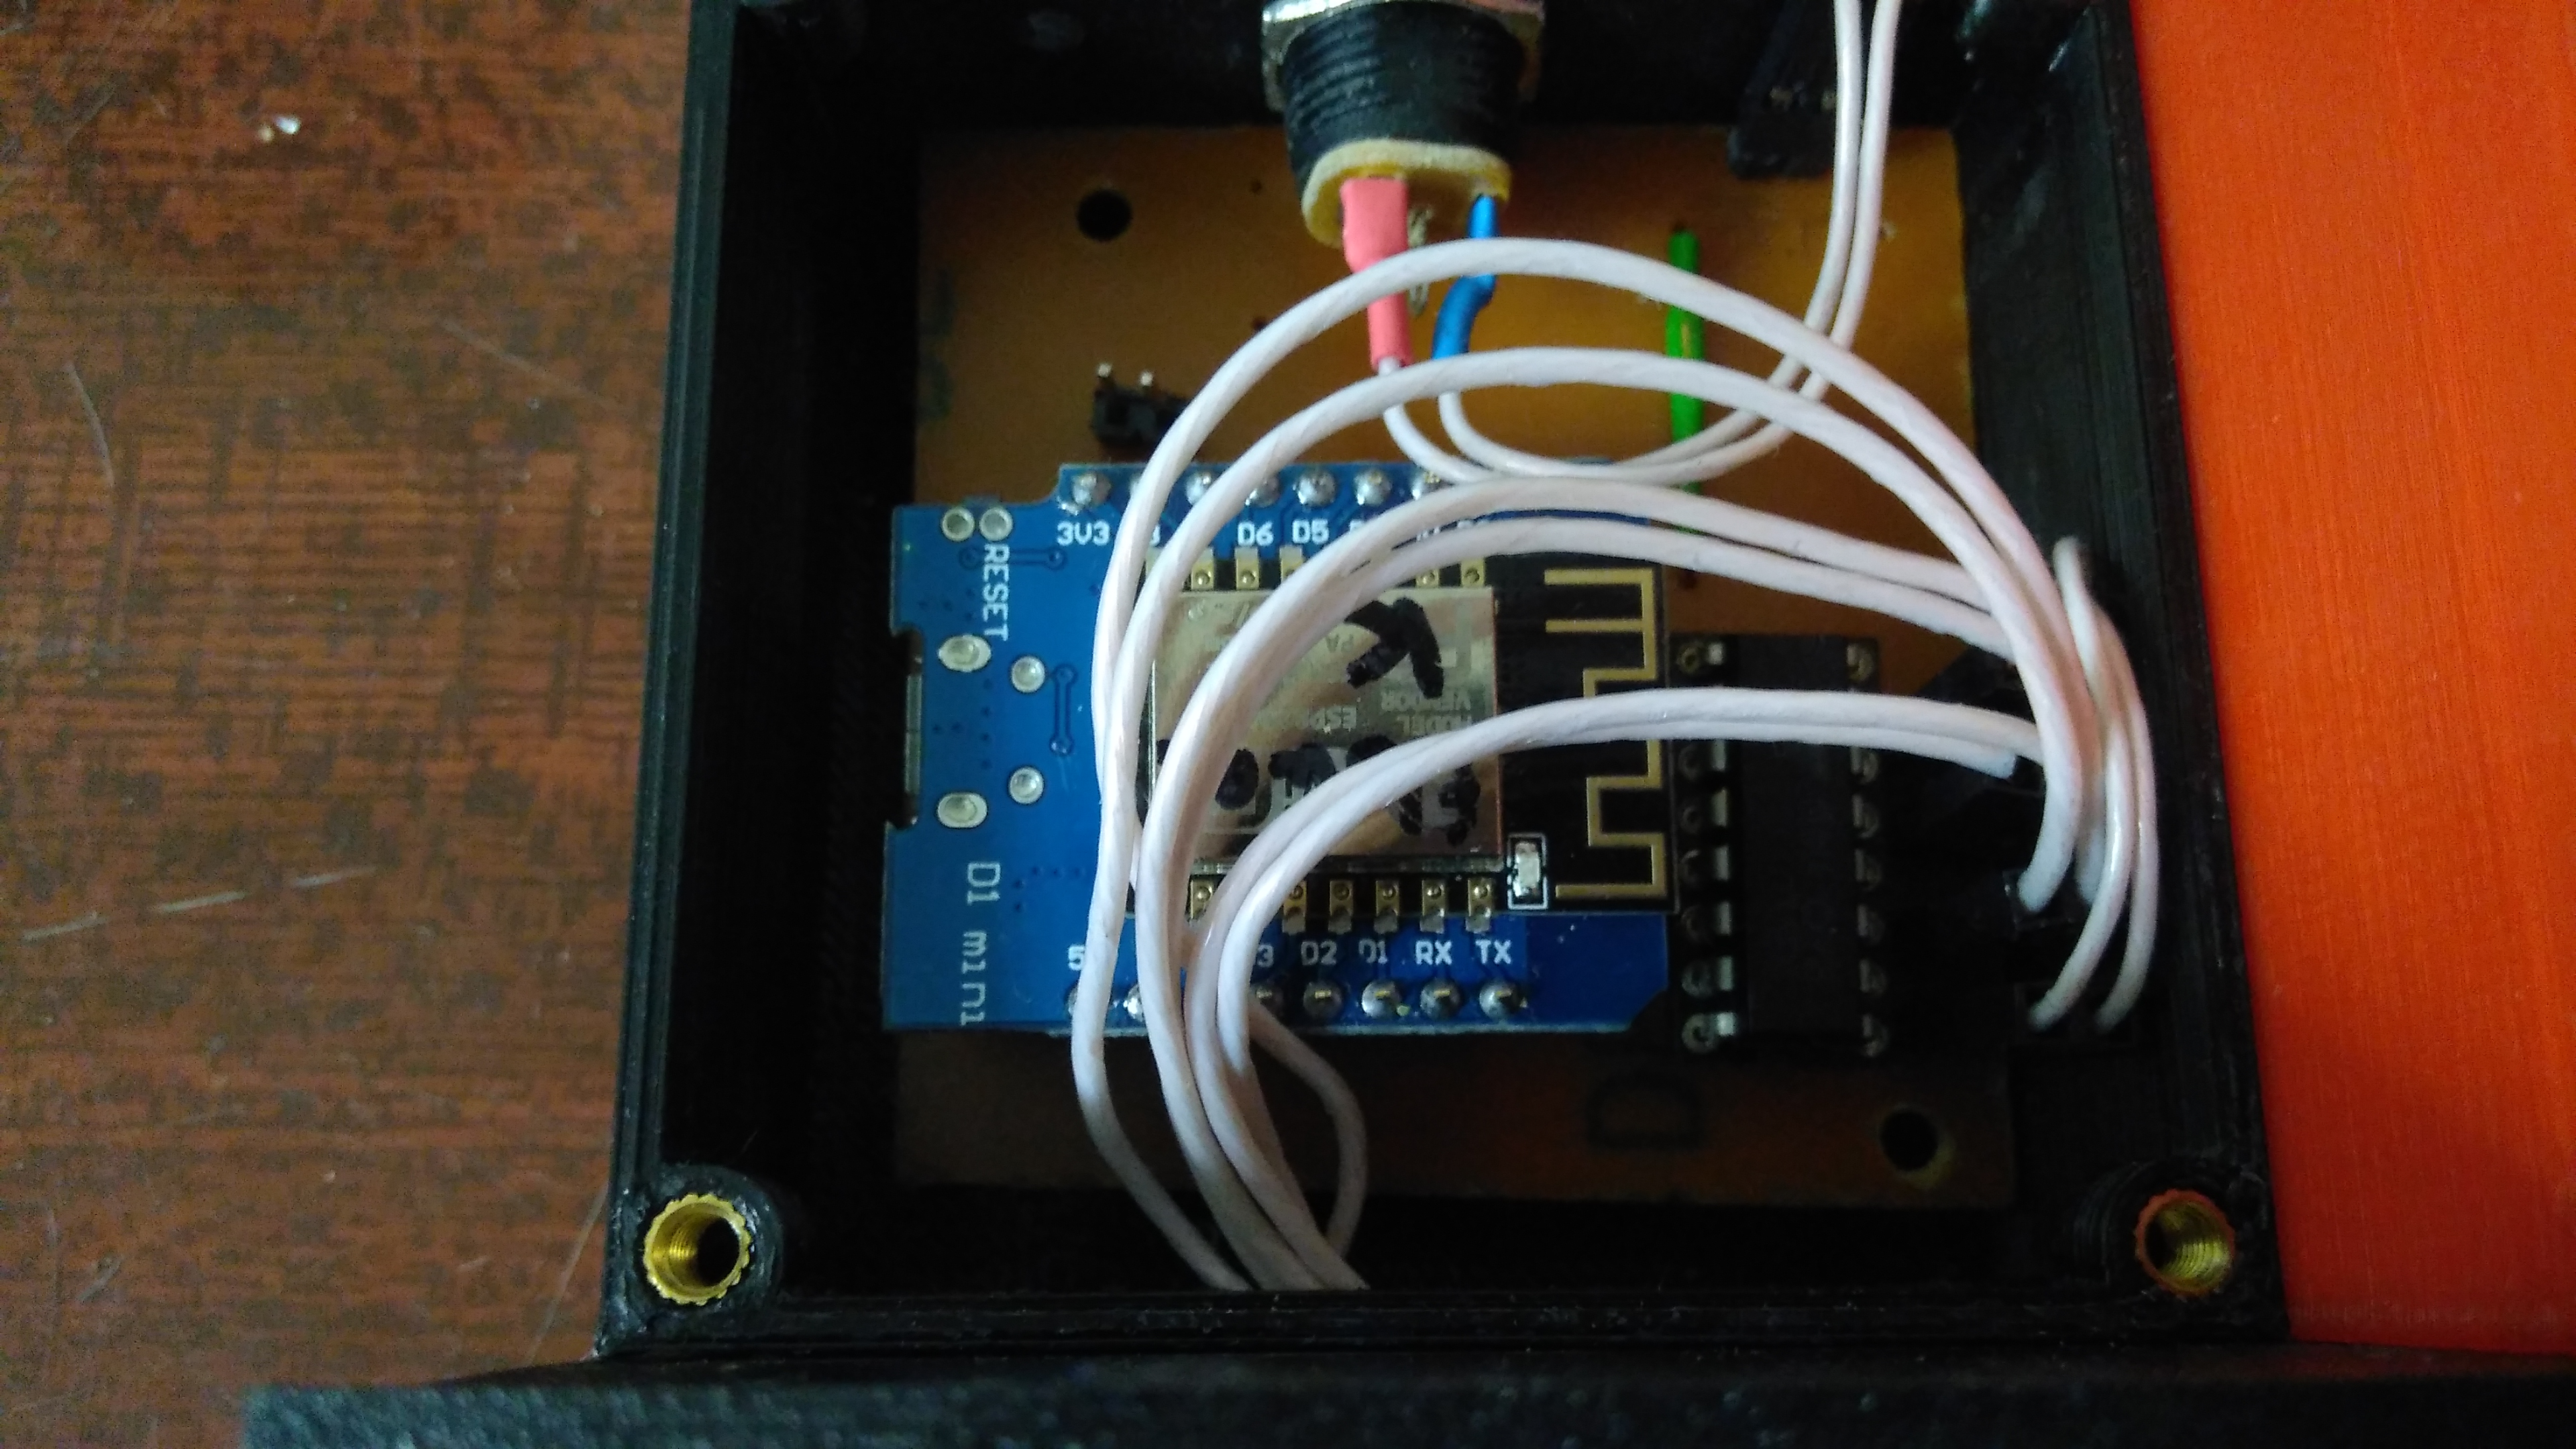
As the governing body was to take the Chinese Wemos D1 mini. The scheme is trivial, so I didn’t even draw it, right away in the sprint and on the textolite. I somehow didn’t immediately get involved with breadboard boards, so I try to do everything with boards, it’s more aesthetically pleasing and easier to debug.
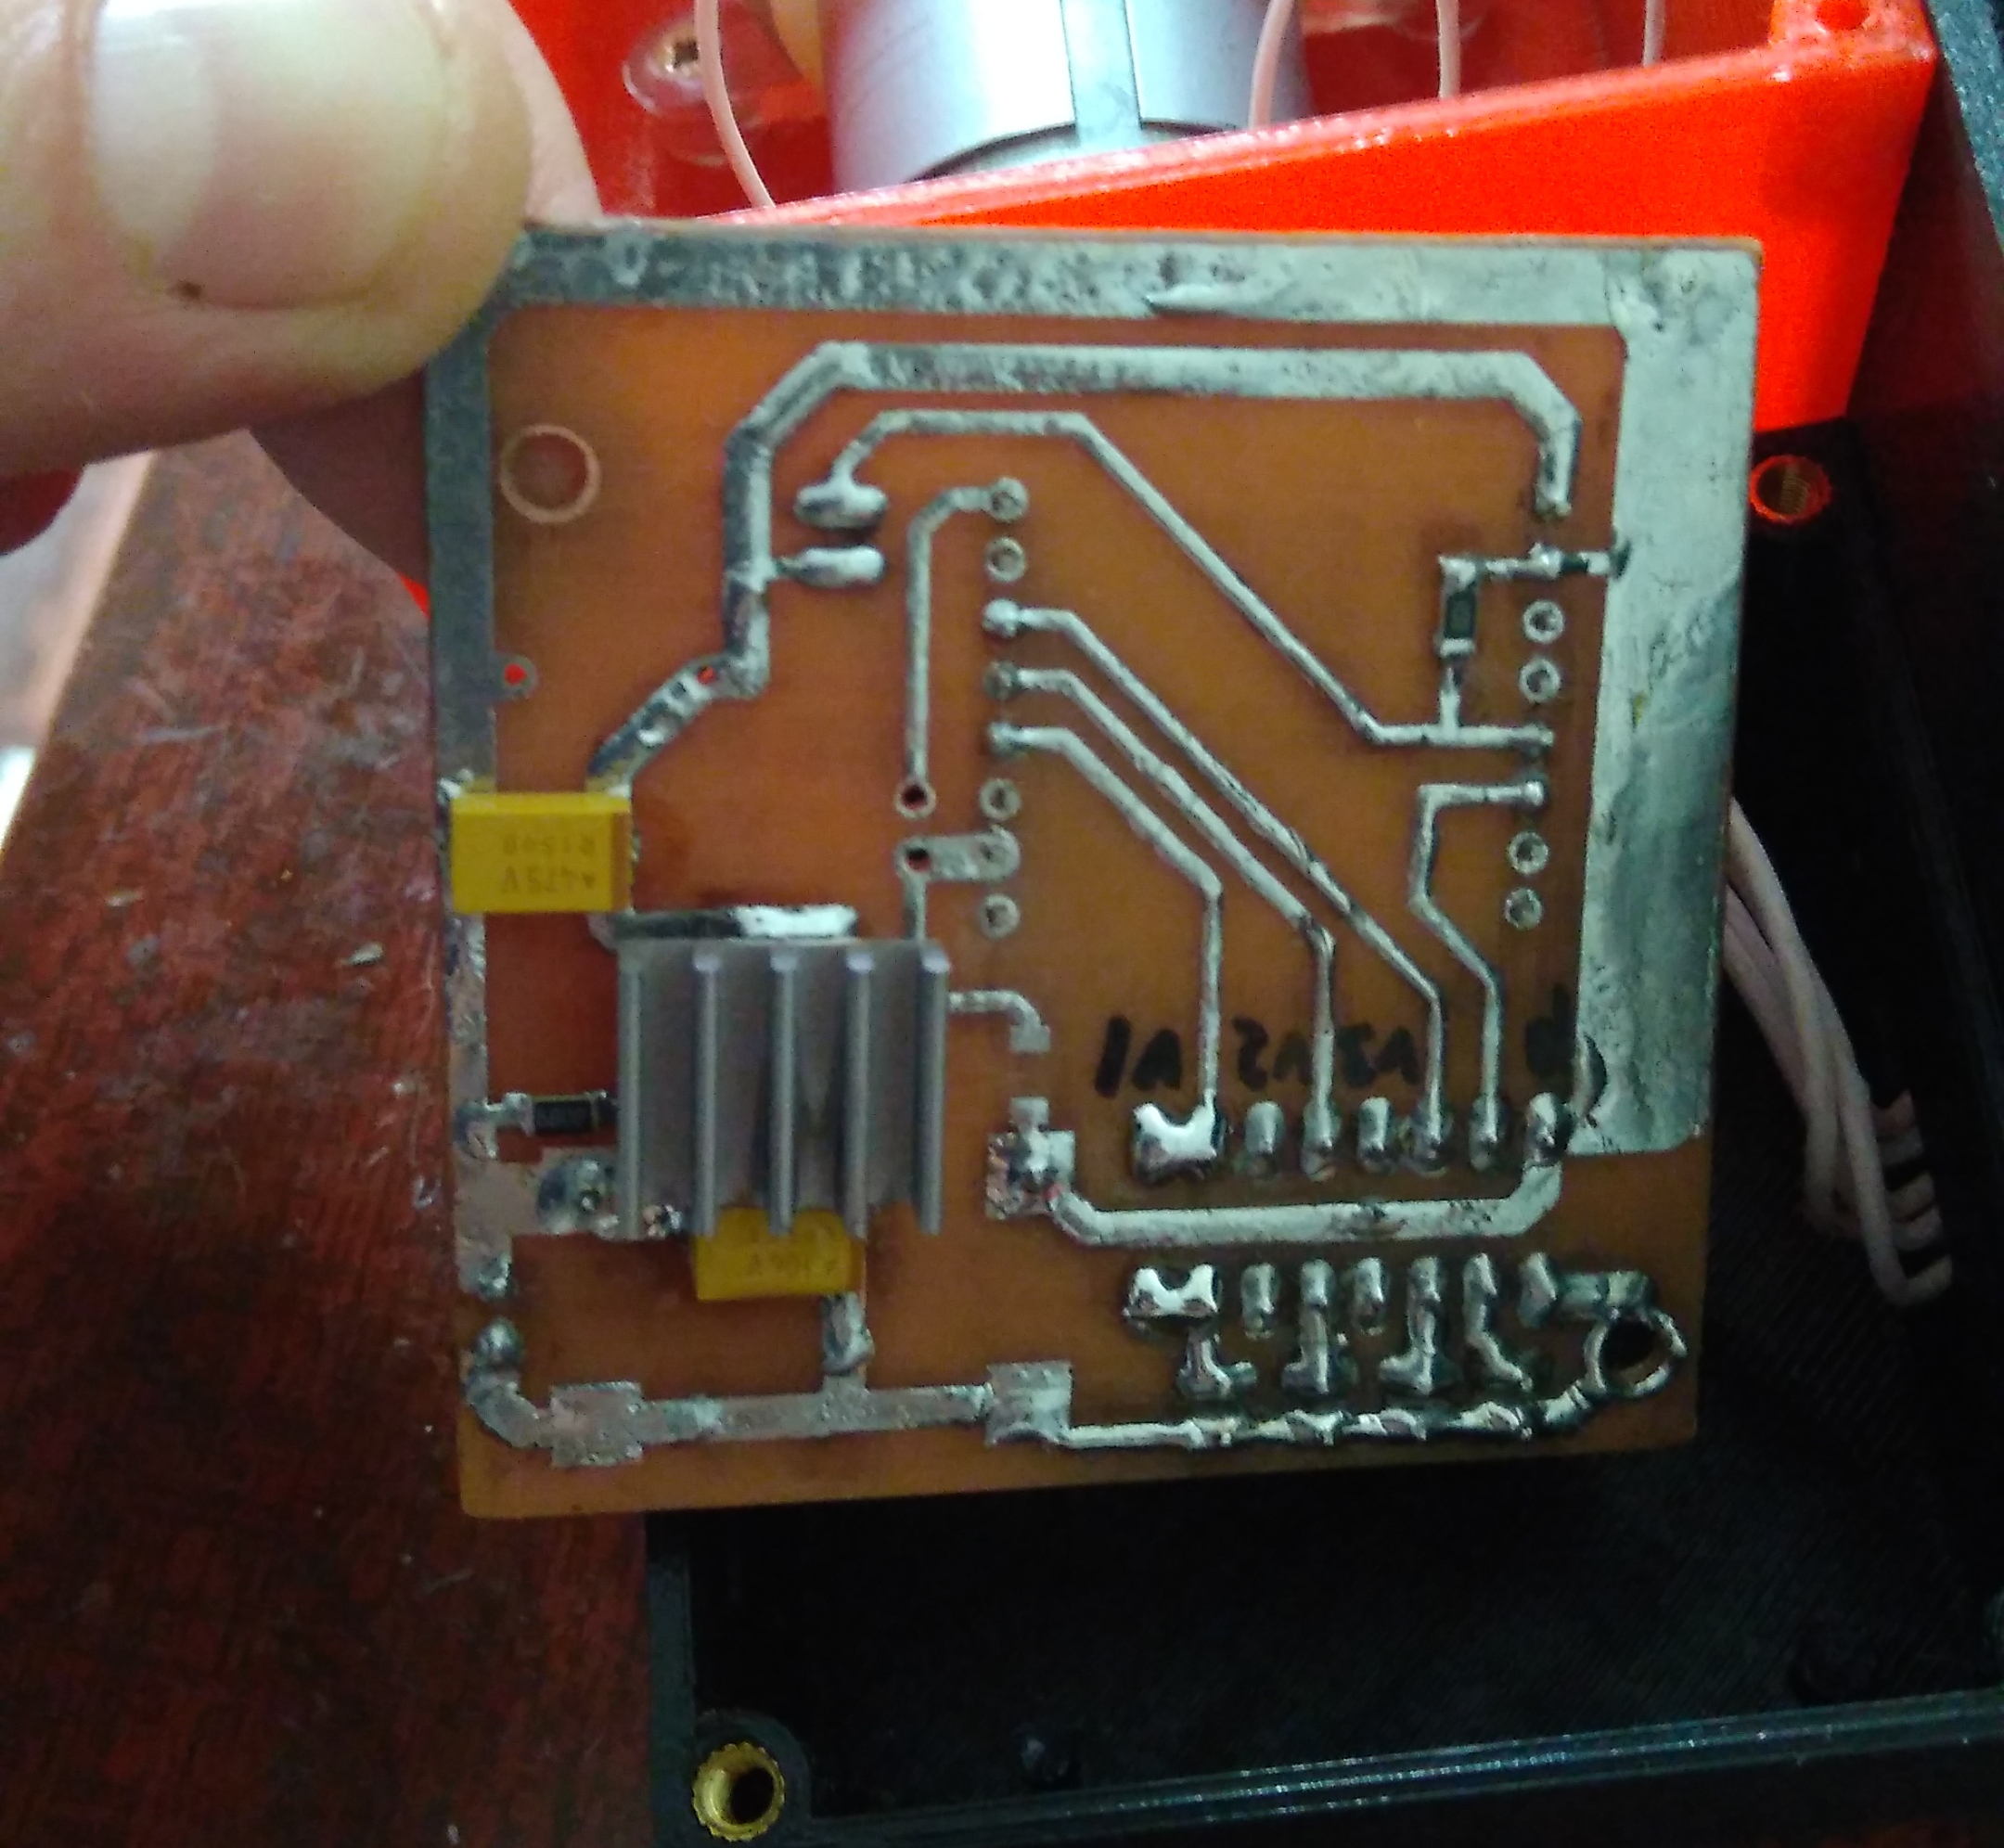
The level presses one of the legs of the controller to + power, the pump and valves are controlled through the assembly of Darlington ULN2003. I used the LM317 stabilizer to power the controller - this was a so-so solution, the stabilizer heats up, glued the radiator to hot glue.
As a result, it turned out that all this is in the corner of the kitchen, so there are no red buildings or an orange canister.
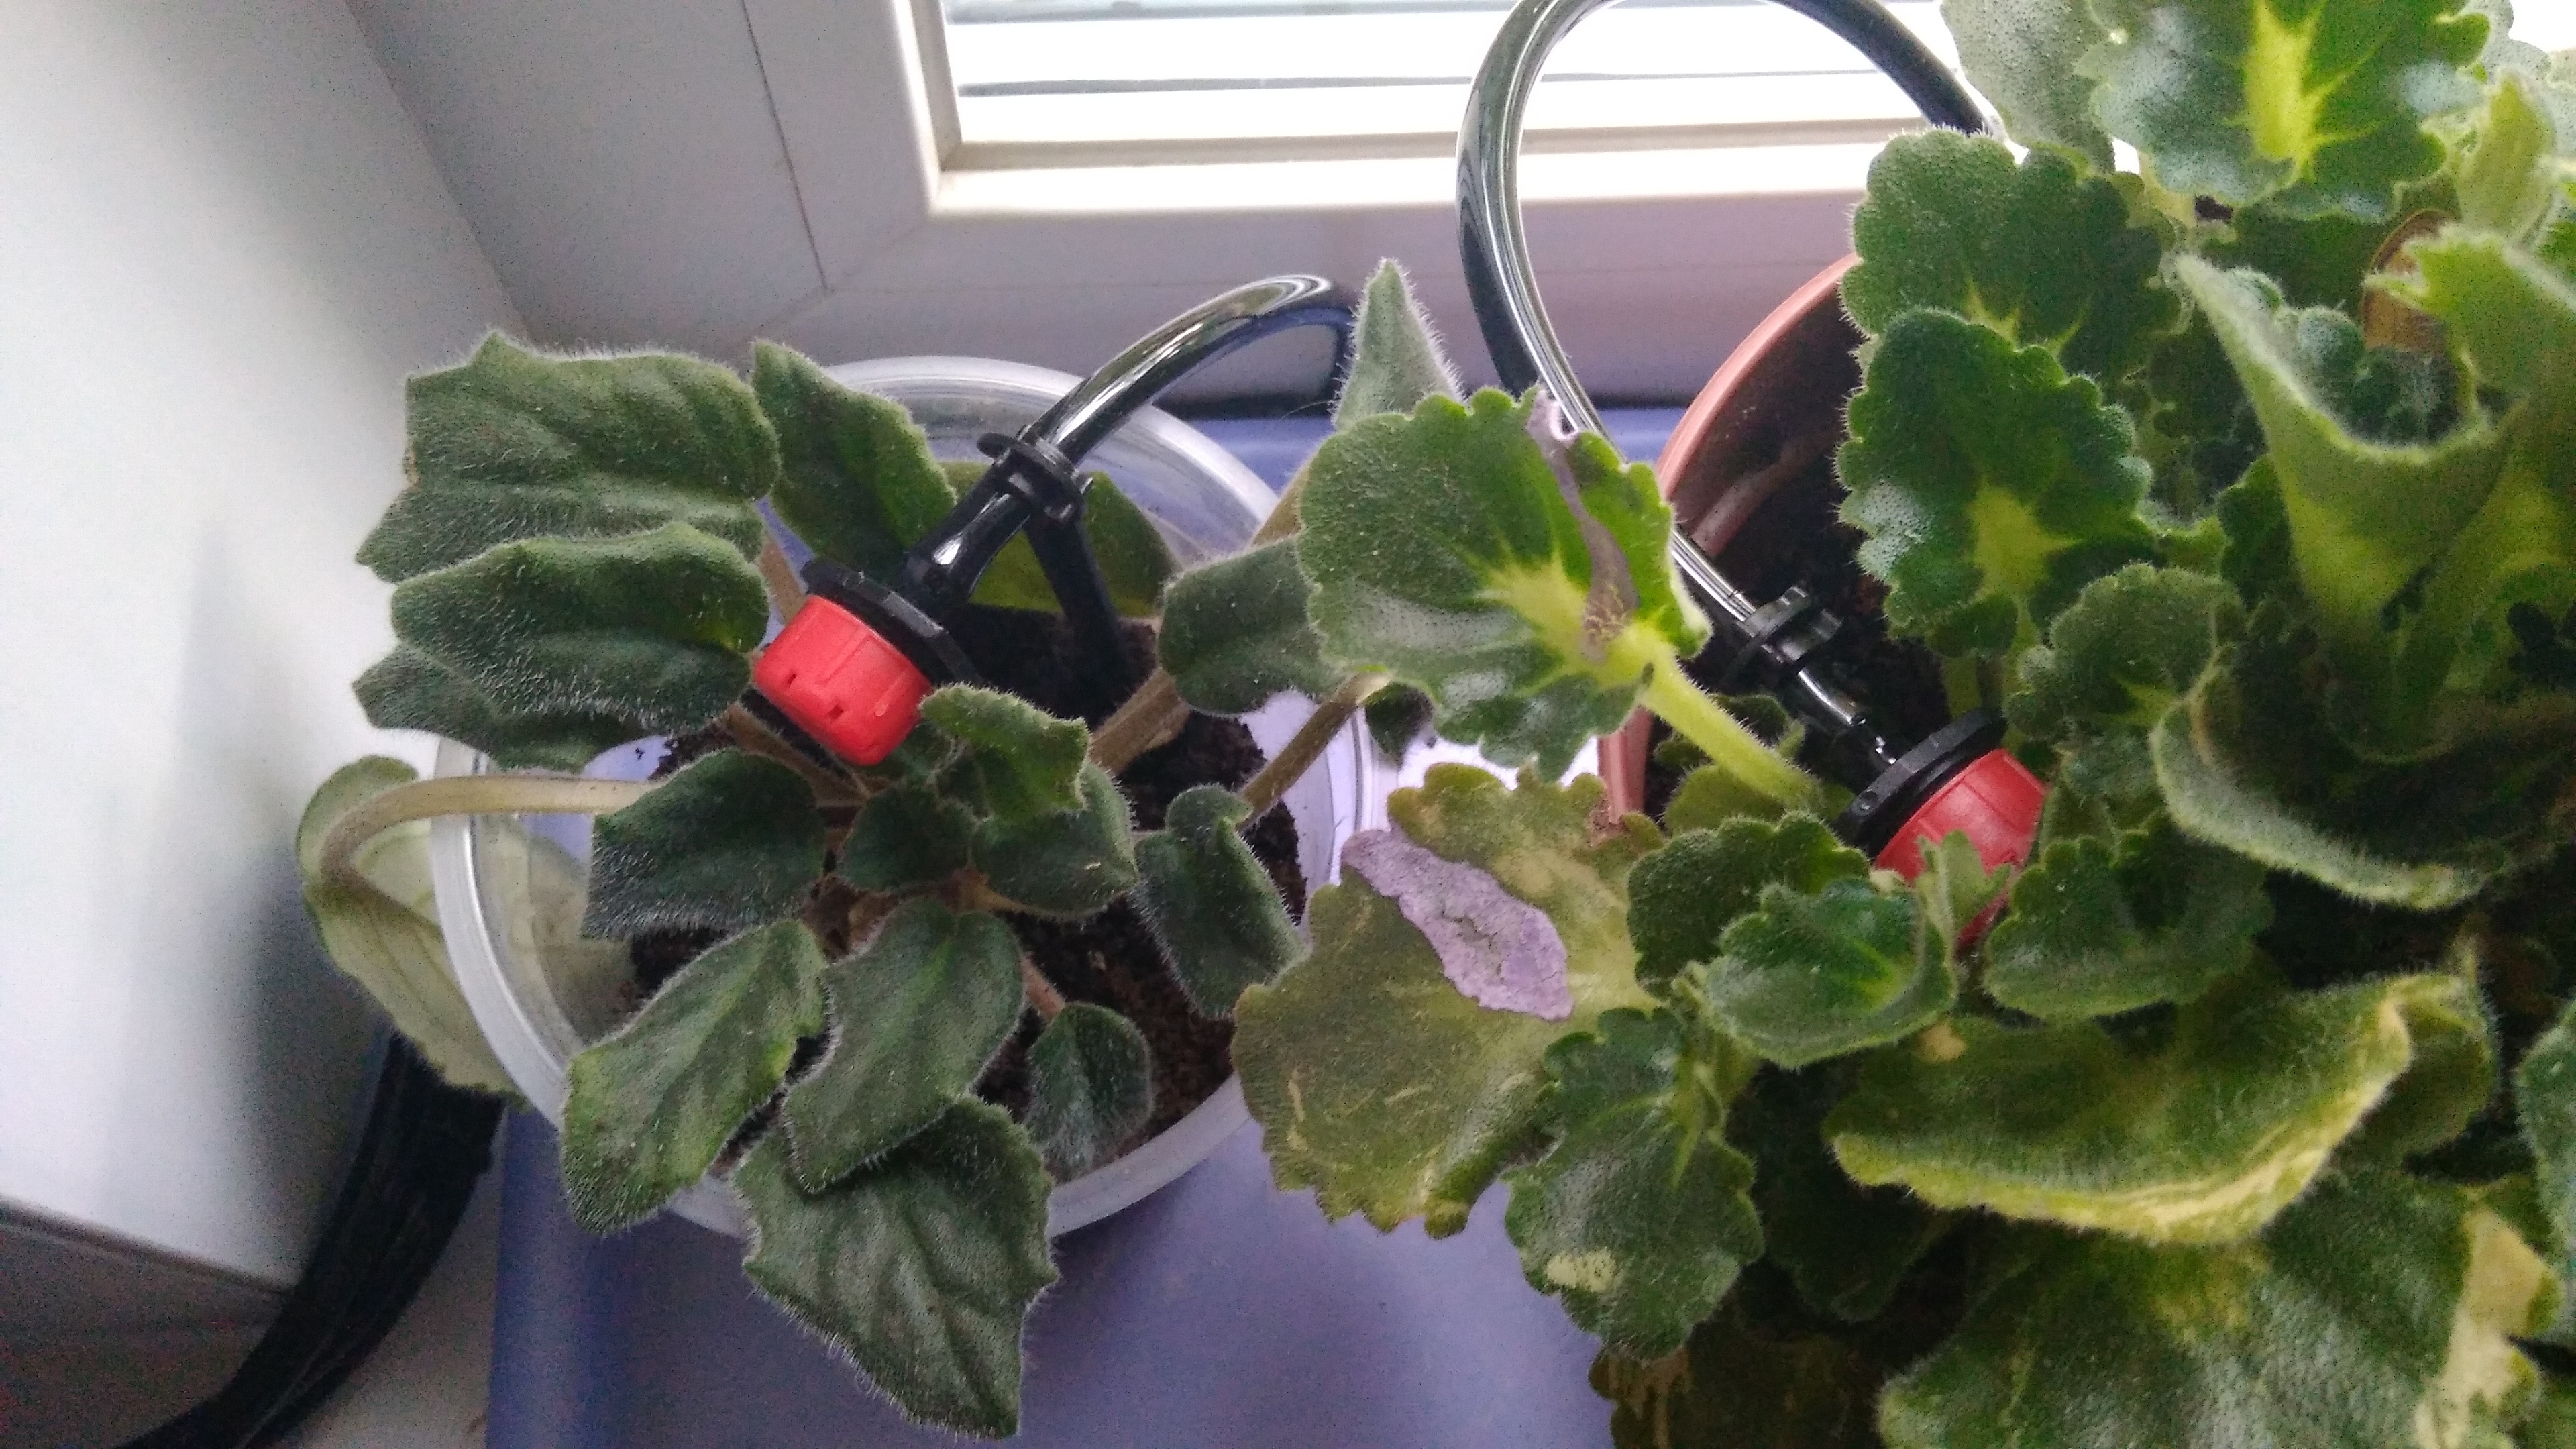
PVC hoses, although they stand out against the white plastic window, I like more than transparent silicone.
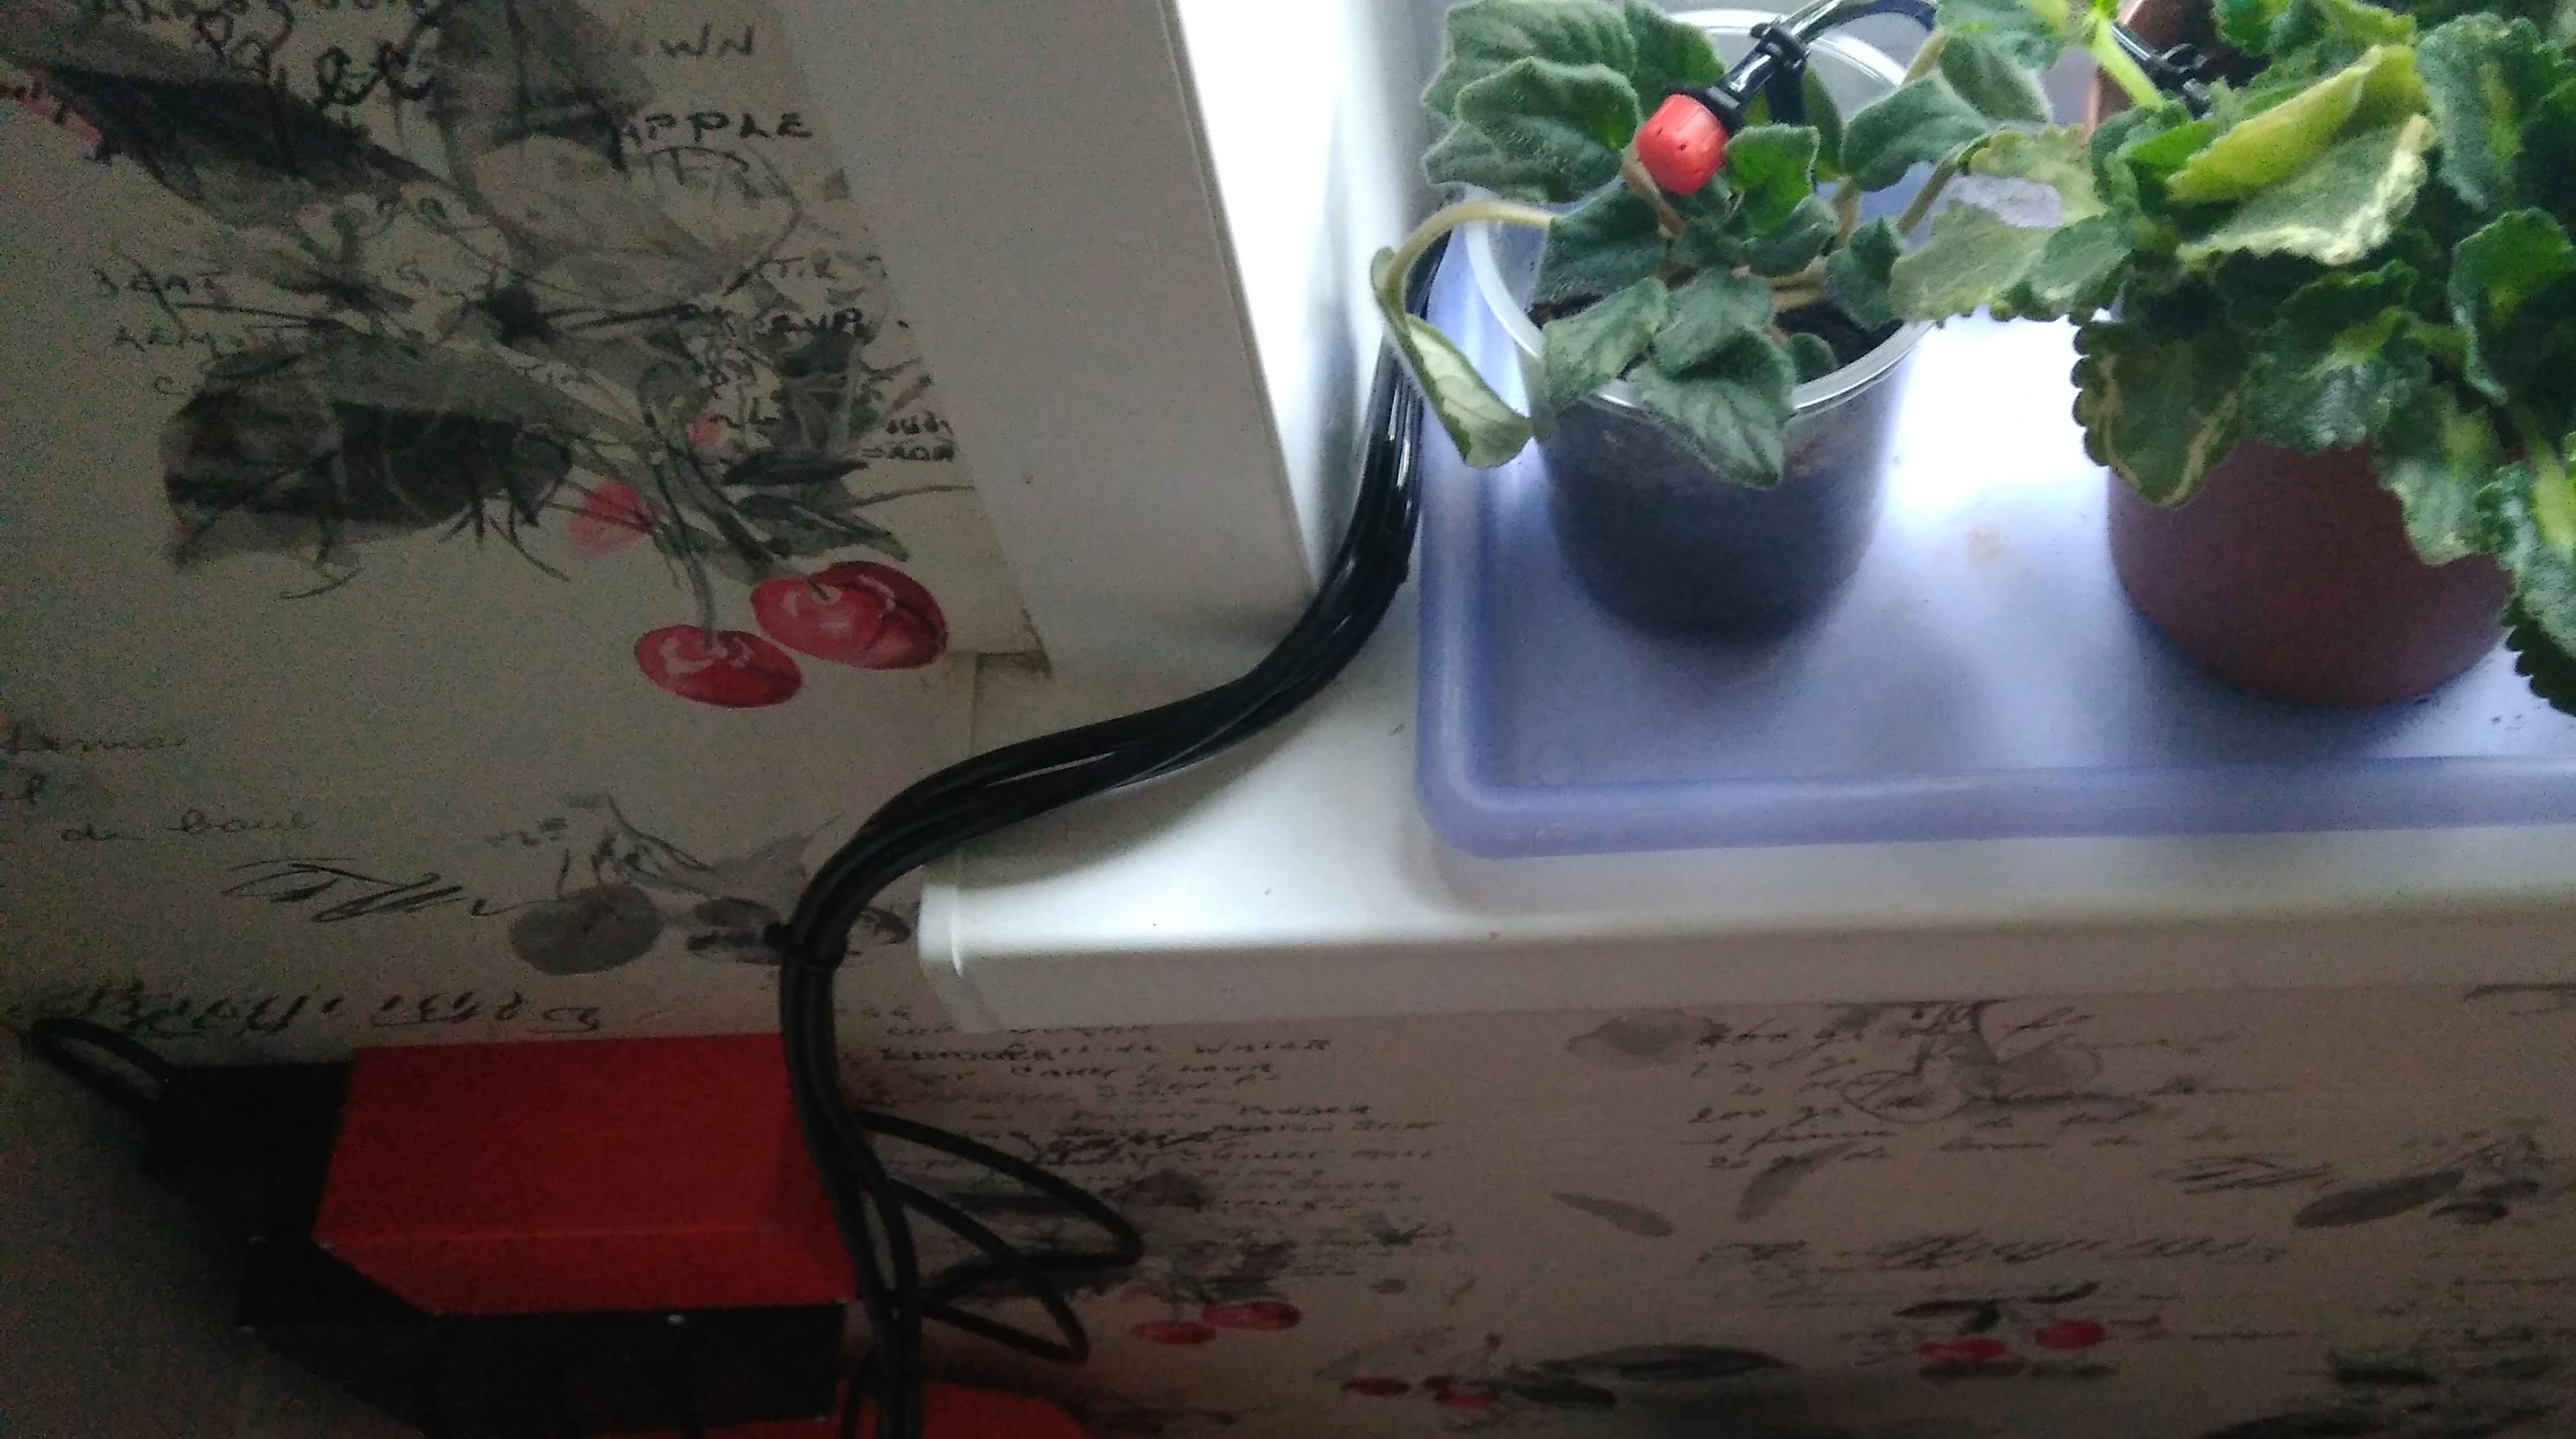
At the first stage, it is necessary to divide the flowers into several groups, in my case 3. This allows you to more flexibly configure watering. Next, you need to use the drip nozzle to set the required water level, the difficulty is that all the nozzles are connected by a bus, and the setting at one time significantly affects the rest. The amount of water supplied to the hose is regulated by the pump run time in seconds.
In order for everything to work, I used the NTP Client + MQTT bundle, the first one allows me to get the exact time from the server when I turn it on and then synchronize it once a week, and the second allows me to control the irrigation process, the settings and get the controller status. If you have a VPN server in your apartment, you can connect to your home network from anywhere and see what state the system is in. All watering parameters are stored in the EEPROM.
A short overview video:
Resource Link

Concept
When designing the system, I started from the following principles:
- Cheap and cheerful - I do not want to spend a lot of money on a system that irrigates 15 inexpensive flowers. I do not have a greenhouse.
- Autonomy - it should work on its own, but this does not exclude the presence of manual control.
- Convenience - watering is done using a smartphone. Sockets are convenient, but not in this case.
- Flexibility - the flowers are basically all different with different flower pots, so you need to water them with different intervals and different amounts of water.
- Remoteness - you can control from anywhere in the world where there is Internet and a smartphone.
Implementation
As the cases I used 3D-printed models of my own manufacture. Since the WiFi module is powered by 5 volts, and the valve and pump from 12, I took the PSU from the Chinese driver for LED backlight (sold without a case, used) on 12v and 2.5A. I used this solution in many of my products: I buy the cheapest fork, get the knives from there and put it in my printed case.

A PVC canister is used as a container, in my case it is orange, because it had fire protection. The level in the tank is controlled only to a minimum, this is realized with the help of a neodymium magnet and a reed switch. The reed switch is glued to the bottom of the canister, and the magnet glued to the float moves along the segmented tube made of plastic.


I use diaphragm pumps, they are convenient in that there is no need to fill the circuit with water. The only inconvenience in these pumps is the flanges, they are too large in diameter relative to those irrigation systems that can be purchased in China. There are still questions about the resource of these pumps, but they work for 1-2 minutes a week. In the photo below, I used a silicone hose, but later I had to abandon it, because I had to change the valve. The pump consumes about 120mA.

The valve originally wanted to use such, but as it turned out, each consumes about 3.5A, so I had to abandon them.

As a result, the valves were taken the same as in the previous project. They are smaller and have a good reputation, consumption of about 80mA.

As the governing body was to take the Chinese Wemos D1 mini. The scheme is trivial, so I didn’t even draw it, right away in the sprint and on the textolite. I somehow didn’t immediately get involved with breadboard boards, so I try to do everything with boards, it’s more aesthetically pleasing and easier to debug.

The level presses one of the legs of the controller to + power, the pump and valves are controlled through the assembly of Darlington ULN2003. I used the LM317 stabilizer to power the controller - this was a so-so solution, the stabilizer heats up, glued the radiator to hot glue.

As a result, it turned out that all this is in the corner of the kitchen, so there are no red buildings or an orange canister.

PVC hoses, although they stand out against the white plastic window, I like more than transparent silicone.

Customization
At the first stage, it is necessary to divide the flowers into several groups, in my case 3. This allows you to more flexibly configure watering. Next, you need to use the drip nozzle to set the required water level, the difficulty is that all the nozzles are connected by a bus, and the setting at one time significantly affects the rest. The amount of water supplied to the hose is regulated by the pump run time in seconds.
Software
In order for everything to work, I used the NTP Client + MQTT bundle, the first one allows me to get the exact time from the server when I turn it on and then synchronize it once a week, and the second allows me to control the irrigation process, the settings and get the controller status. If you have a VPN server in your apartment, you can connect to your home network from anywhere and see what state the system is in. All watering parameters are stored in the EEPROM.
A short overview video:
Resource Link
