Unreal Engine hotkeys that will make level designer life easier
- Transfer
Hotkeys use everything. Trite Ctrl + C and Ctrl + V, and how many times did Ctrl + Z help out? Well, what about Alt + F4? And if you recall the number of negative reviews, when in the new MacBook Pro added a touchbar and cut a number of command keys?
I saw a good guide to useful hotkeys and some tips in the Unreal Engine that will definitely make life level designers easier. Translation under the cut.
My name is Jakub Pander. I am a game and level designer in Carbon Studio, where we create VR games for almost all possible platforms. In this article, I will share what I learned over three years of working with Unreal Engine 4 and tell you how to optimize a designer’s workflow using hot keys and other useful tricks.
The idea for the article came about when I started writing follow-ups for my students who were prototyping their very first levels on Unreal Engine. Due to lack of experience, some of them struggled with basic actions and asked: “How to place blocks in pixel perfect grid”, “Can I move half a level a little higher”, “Do I need to copy this element in parts” and others. From the very beginning of my acquaintance with Unreal, I tried to find any freedom of action that would help me more effectively perform the most elementary tasks. During the search process, every useful shortcut or tooltip got into my virtual notebook, which had been growing for several months.
I divided shortcuts into two categories: Basic and Advanced. Basic ones will be useful for everyone who starts working with UE4, and for those who already have little experience. Expanded will suit those who want to use UE4 more effectively.
You can change or add keyboard shortcuts yourself: Edit> Editor Preferences> Keyboard Shortcuts.
Choosing, grouping, and arranging assets (mostly meshes) are basic tools that make your work easier. Further the most useful commands.
Basic:
This allows users to organize assets in clusters for future use or arrange parts of a level.
Unlocking allows you to move or delete individual assets. The lock reunites the entire group.
Turns on / off the selection of groups or individual assets in them.
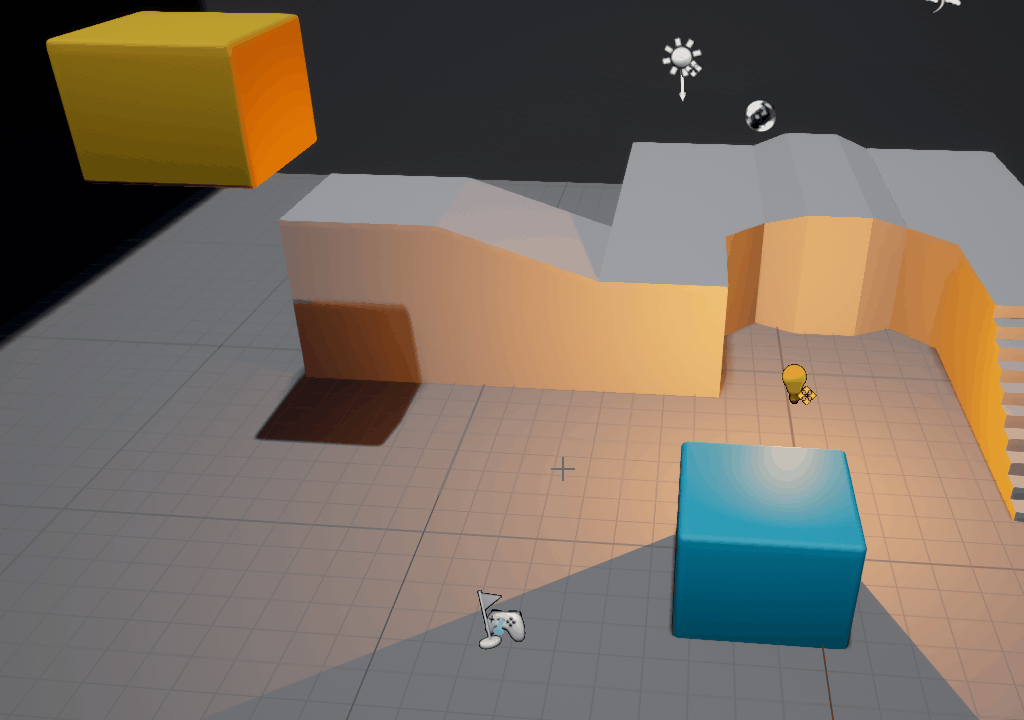
Have you forgotten what level your asset is? Press "M" and the engine will set the asset level as current.
This is probably known to all. It may seem redundant, except when you first hide unnecessary resources, and then press Ctrl + A. Shortcut is conveniently combined with Select by class.
Extended:
Also in the PCM> Select menu there are many useful options, thanks to which you can immediately select objects that meet certain criteria (select similar ones, choose with the same material, invert the selected and other).
Want to choose all the blueprints of your doors and nothing else? Can. Can I select everything using the material M_SelectMe? Of course. But I want to choose everything except door blueprints! No problem. Do this:
This is useful in cases where you need to select more objects with common elements (to be the same blueprints, use the same material, be everything else, but not the right object).
Transformation is the bread and butter of level design in UE4. If you master this, you can speed up the work by 200 percent.
Basic:
A smooth transition from scaling (“R”), then moving (moving - “W”) the object to rotation (“E”) is important. As a level designer, you will do this all the time, so there is no need to change the transform to anything other than pressing the desired shortcuts or spacebar.
In this example, I need to move the object to the left, but not to the left of the world, but to the left of the objects. This is convenient when the rotation of the object (or everything else) is not connected with the outside world.
This chair should be on the floor, right? No need to manually move it. Just click End and you're done.
If the chair intersects with something, then End may not lower it. In this case, the Shift + End command will help, which lowers the object not at the anchor point, but along the lower border. You can find other useful snap functions: RMB> Transform> Snap / Align.
Extended:
Want to create a perfectly fitted maze? Snap and resize snappings:
Remember the correct scale of objects so that they can be positioned correctly.
Sometimes it can be difficult to place an object, even if its axis is in the right place. Then why don't we move the axis? We can place it where we just clicked (Alt + SCM) or where we want by dragging it with SCM. You can also snap the axis to the vertexes, which is very useful for modularity (V + SCM).
Attaching Actor will be useful in several situations. Just remember that both objects must have the same Mobility (static / moveable) setting. It's not obligatory. But a problem may arise if you try to move the mobile object already in the game, to which the static object is attached.
Here I will describe some orientation methods that will come in handy when viewing, editing, and demonstrating your levels.
Basic:
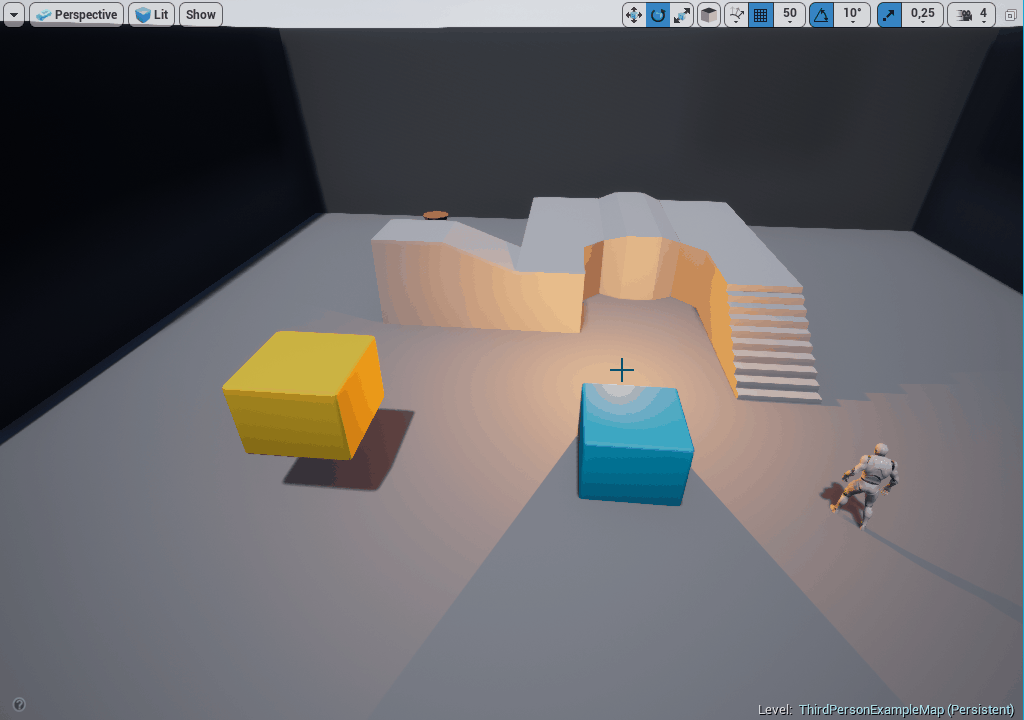
Have you found or selected an object inside the world outliner, and you think that it is so far away that you will have to scroll to it for more than a few seconds? Press F. You will focus on the selected subject and immediately move the camera closer.

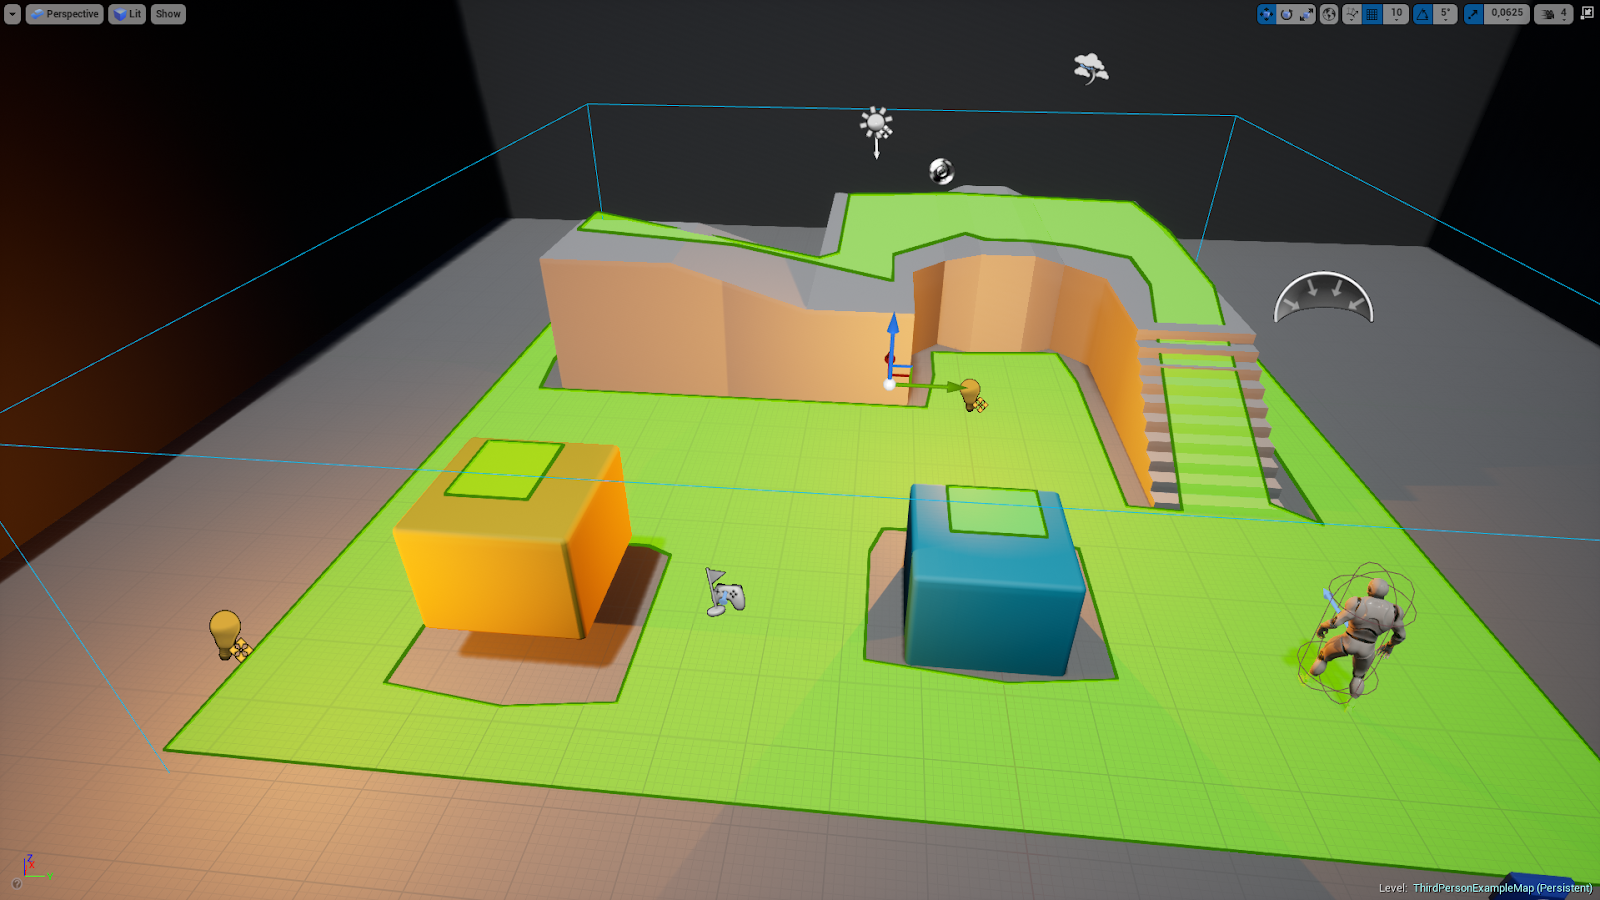
Pressing G hides all the useful tools in the viewing area (grids, turns, outlines, icons, and much more). Perfect to see a clean gaming level.

You have built a huge level in which moving from start to finish takes longer than you would like. Make this process easier and place a few checkpoints with Ctrl + 1-9 and return to them in 1-9. For example, Ctrl + 1 can be placed at the beginning of the level, 2-8 will be important places, and 9 will be the end.
The level will be played, tested, demonstrated and tested in full screen mode much more conveniently.
Tip: Shift + F11 calls the editor on top of the taskbar.
Extended:
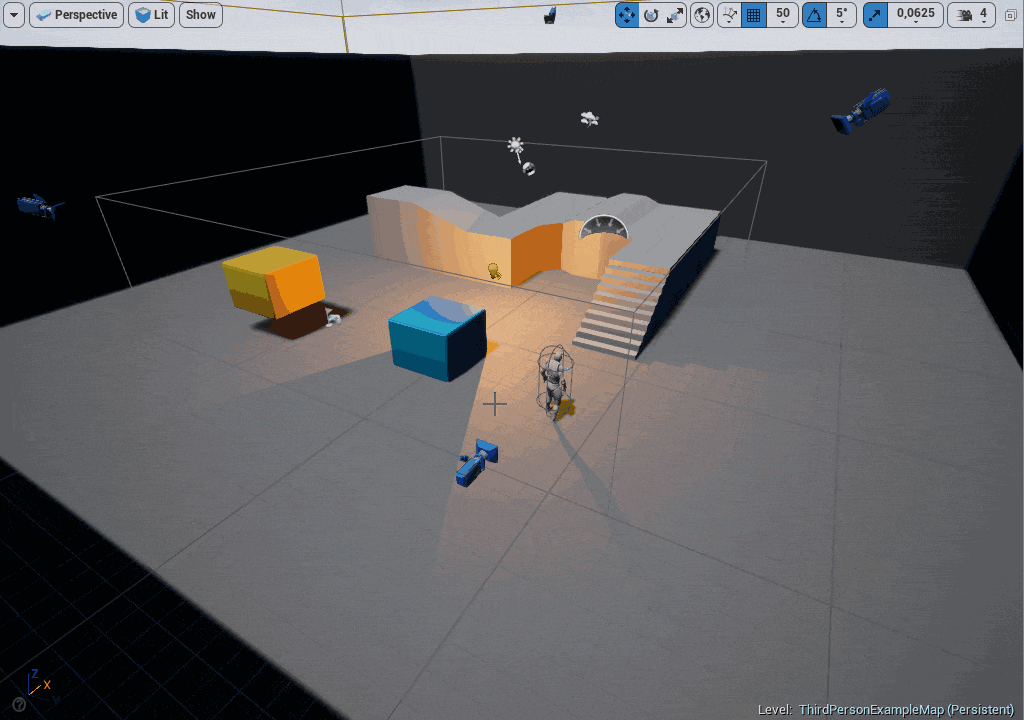
Have you ever encountered a situation where you need to click on a mesh in the viewing area, but instead something else is accidentally selected? Or maybe you want to click on a specific translucent window, but the cursor selects the object behind it? Perhaps this is the fault of the Translucent Selection. Using the T button, you can turn the selection of translucent objects on and off. Now you can click on glass, water, rays and others.
Useful in absolutely different situations.
In projects using Unreal navigation, it is important to note whether any objects at the level can block the path of the AI or players.
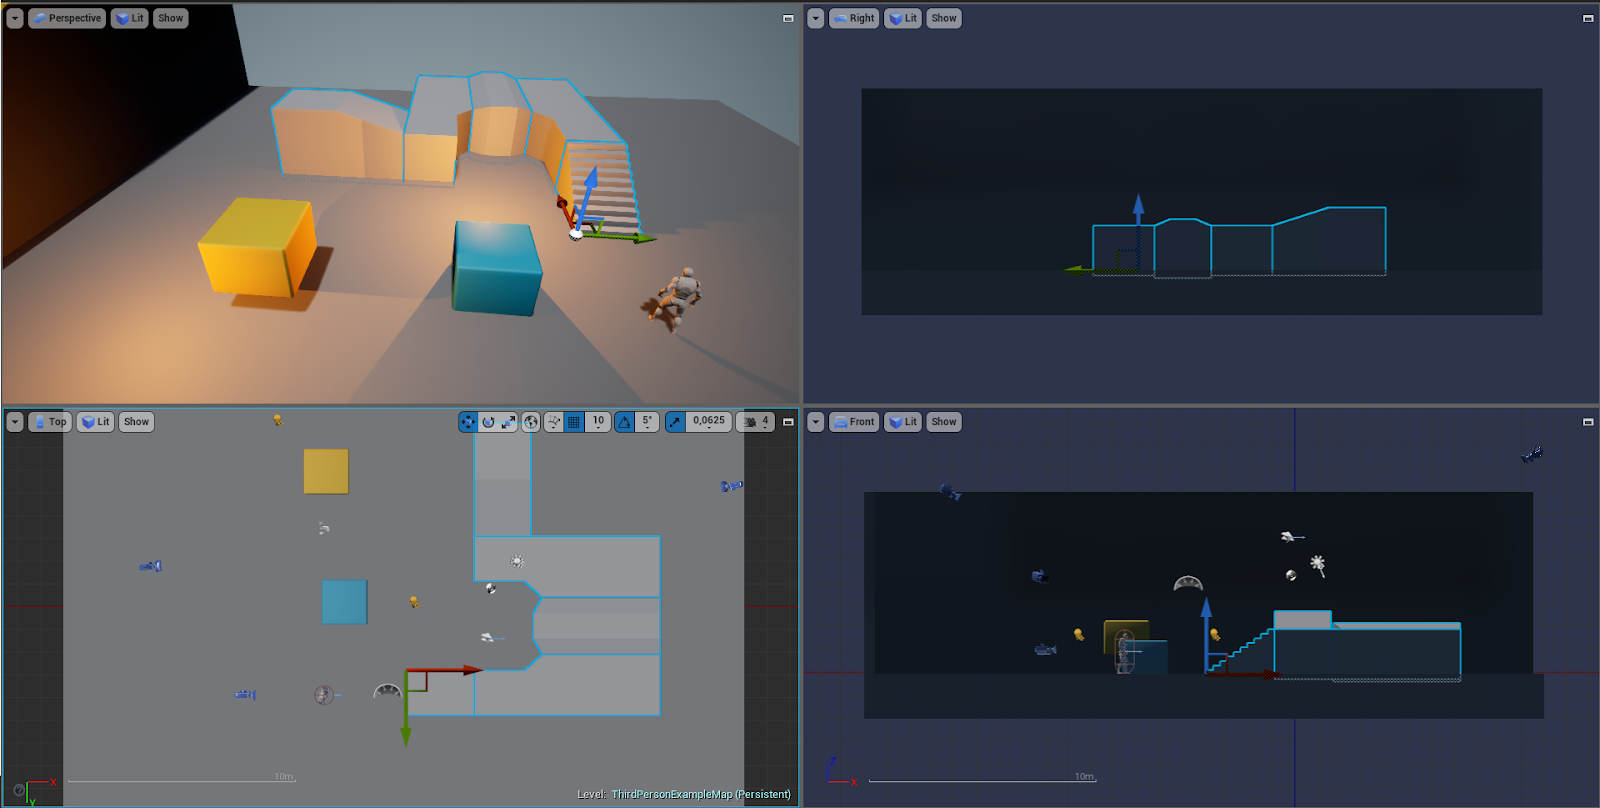
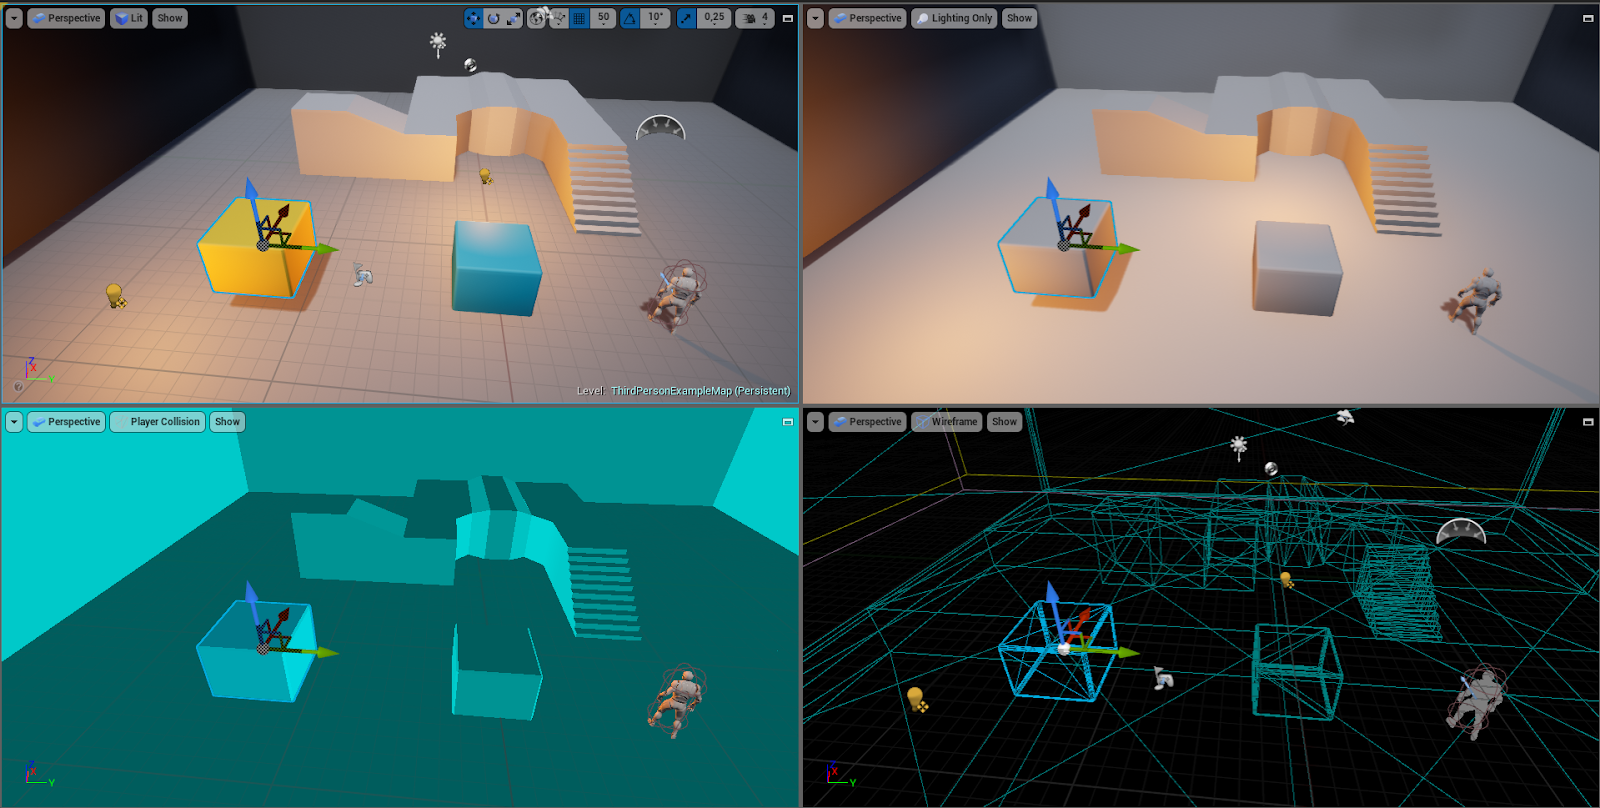
If you need architectural precision when creating levels, looking from different perspectives can help. You can also assign a “space” to maximize and minimize viewports - in the settings of hotkeys is called Maximize Viewport. This is very useful and convenient when doing level design.
For me, this trick was most useful when I wanted to put the camera in the right place. Snapping the selected object to the camera changes not only its location, but also rotation. Therefore, the camera will point exactly where you are looking in the viewing area.
Here are a few shortcuts that do not fit into the previous sections. But they are also very useful.
This shortcut will be useful for finding the selected asset and its folder.
Although this command does not have a default shortcut, I suggest creating your own in the editor settings. This will allow you to automatically search for the selected object on the blueprint level and show where it refers to.
Skip clicking on the arrow to play or simulate the level (or activate the playback function when the arrow is hidden - for example, in full screen mode). I recommend installing your own hotkeys. Personally, I use Alt + Q for playback in VR, Alt + S for simulation, and Alt + P for playback in the editor.
The combination of keys makes opening levels faster and more relaxed.
Check if a particular asset refers to another blueprint, level, material, etc. And quickly find the dependencies.

If you have many open tabs (materials, meshes, blueprints, etc.), you can scroll through them using the Ctrl key.
These hotkeys are a small part of the possible ways to optimize and organize workflow in Unreal Engine, try it. Remember that you can always change the keys in Edit> Editor Preferences> Keyboard Shortcuts. And do not forget to export them as a backup for the following projects.
Most of the hotkeys appear because of the question: “I do (certain actions) so often, can I make it more convenient?”
I saw a good guide to useful hotkeys and some tips in the Unreal Engine that will definitely make life level designers easier. Translation under the cut.
My name is Jakub Pander. I am a game and level designer in Carbon Studio, where we create VR games for almost all possible platforms. In this article, I will share what I learned over three years of working with Unreal Engine 4 and tell you how to optimize a designer’s workflow using hot keys and other useful tricks.
The idea for the article came about when I started writing follow-ups for my students who were prototyping their very first levels on Unreal Engine. Due to lack of experience, some of them struggled with basic actions and asked: “How to place blocks in pixel perfect grid”, “Can I move half a level a little higher”, “Do I need to copy this element in parts” and others. From the very beginning of my acquaintance with Unreal, I tried to find any freedom of action that would help me more effectively perform the most elementary tasks. During the search process, every useful shortcut or tooltip got into my virtual notebook, which had been growing for several months.
I divided shortcuts into two categories: Basic and Advanced. Basic ones will be useful for everyone who starts working with UE4, and for those who already have little experience. Expanded will suit those who want to use UE4 more effectively.
You can change or add keyboard shortcuts yourself: Edit> Editor Preferences> Keyboard Shortcuts.
Hotkeys
Selection
Choosing, grouping, and arranging assets (mostly meshes) are basic tools that make your work easier. Further the most useful commands.
Basic:
- Group and Ungroup (Ctrl + G / Shift + G)
This allows users to organize assets in clusters for future use or arrange parts of a level.
- Unlock and Lock (RMB> Group)
Unlocking allows you to move or delete individual assets. The lock reunites the entire group.
- Toggle group mode (Ctrl + Shift + G)
Turns on / off the selection of groups or individual assets in them.
- Select object's level> set as current (M)
Have you forgotten what level your asset is? Press "M" and the engine will set the asset level as current.
- Select all (Ctrl + A)
This is probably known to all. It may seem redundant, except when you first hide unnecessary resources, and then press Ctrl + A. Shortcut is conveniently combined with Select by class.
Extended:
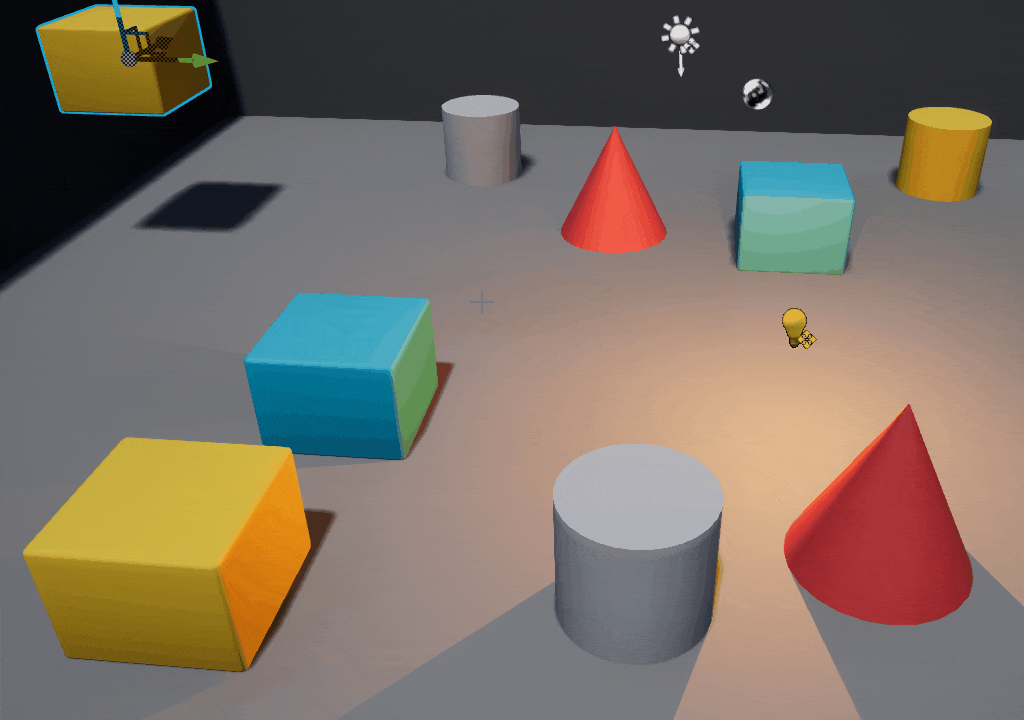
- Select by class and Invert selection (RMB> Select> Select Matching (Selected Class))
Also in the PCM> Select menu there are many useful options, thanks to which you can immediately select objects that meet certain criteria (select similar ones, choose with the same material, invert the selected and other).
Want to choose all the blueprints of your doors and nothing else? Can. Can I select everything using the material M_SelectMe? Of course. But I want to choose everything except door blueprints! No problem. Do this:
- RMB in Content Browser> Asset Actions> Select Actors Using This Asset
This is useful in cases where you need to select more objects with common elements (to be the same blueprints, use the same material, be everything else, but not the right object).
Transform
Transformation is the bread and butter of level design in UE4. If you master this, you can speed up the work by 200 percent.
Basic:
- Cycle transform (space) and Transforms (W / E / R)
A smooth transition from scaling (“R”), then moving (moving - “W”) the object to rotation (“E”) is important. As a level designer, you will do this all the time, so there is no need to change the transform to anything other than pressing the desired shortcuts or spacebar.
- World / Local Transformation
In this example, I need to move the object to the left, but not to the left of the world, but to the left of the objects. This is convenient when the rotation of the object (or everything else) is not connected with the outside world.
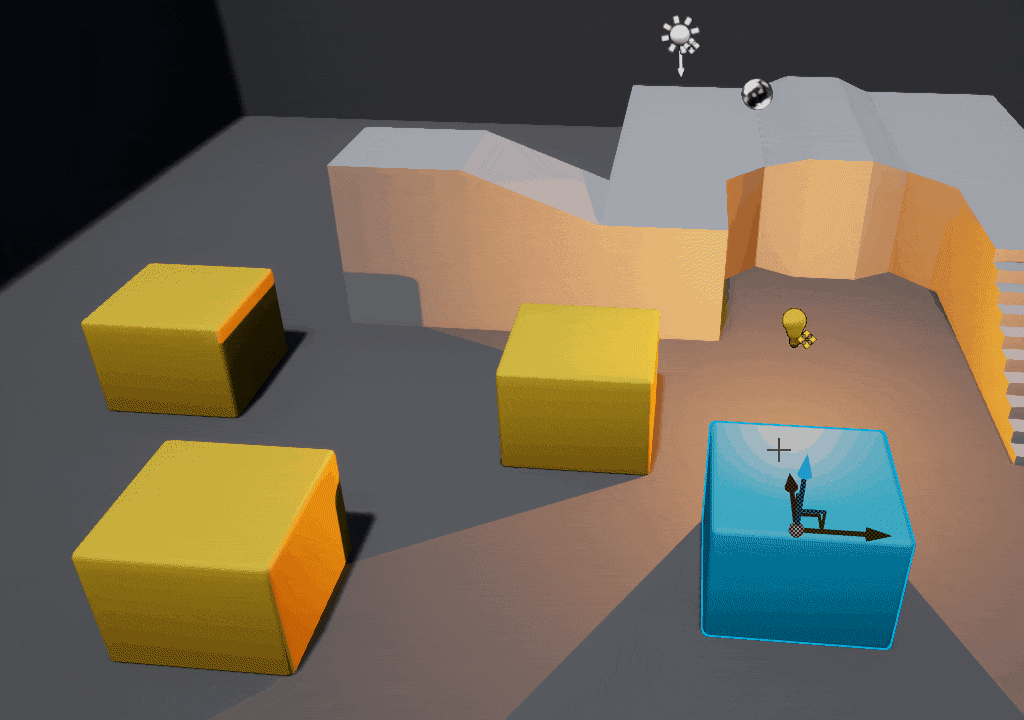
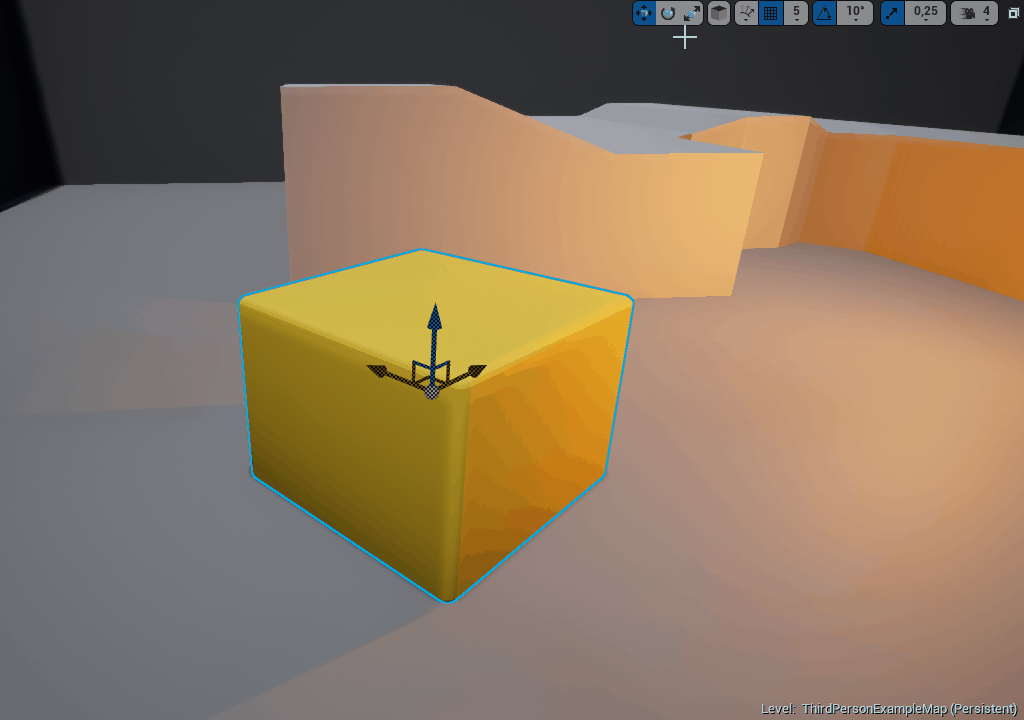
- Snap to floor (End)
This chair should be on the floor, right? No need to manually move it. Just click End and you're done.
If the chair intersects with something, then End may not lower it. In this case, the Shift + End command will help, which lowers the object not at the anchor point, but along the lower border. You can find other useful snap functions: RMB> Transform> Snap / Align.
Extended:
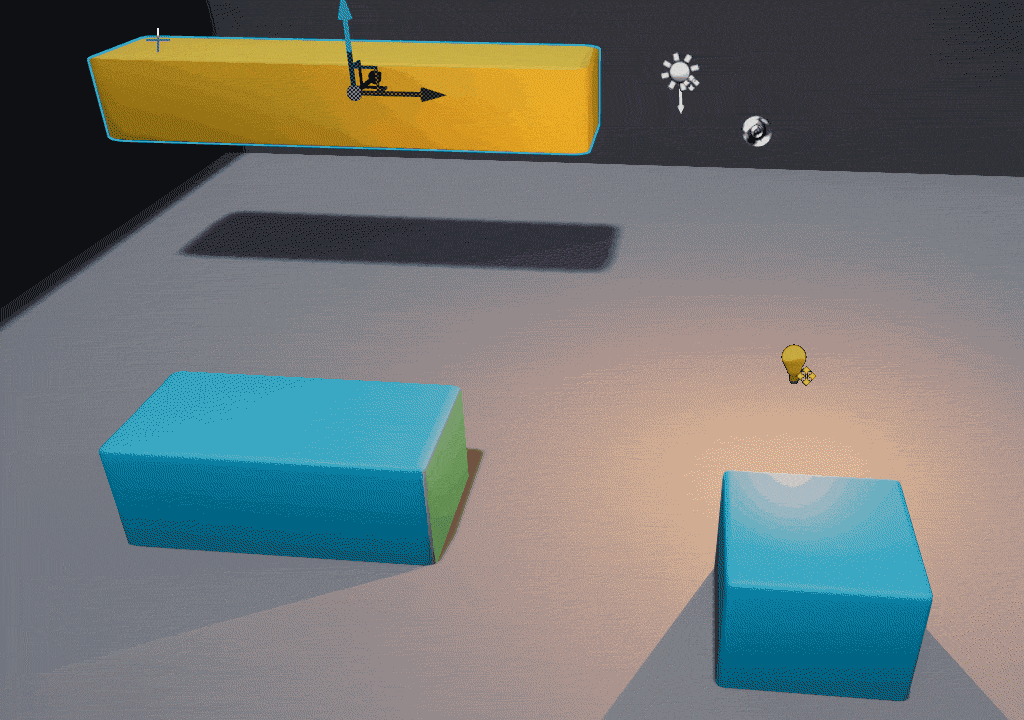
- Snap to grid
Want to create a perfectly fitted maze? Snap and resize snappings:
Remember the correct scale of objects so that they can be positioned correctly.
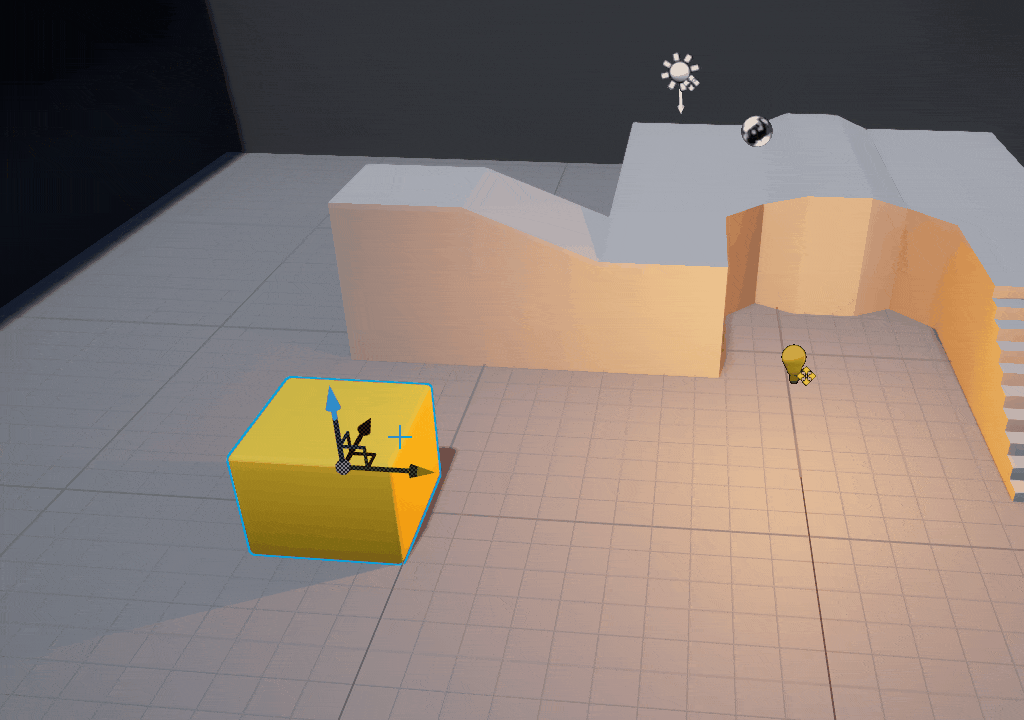
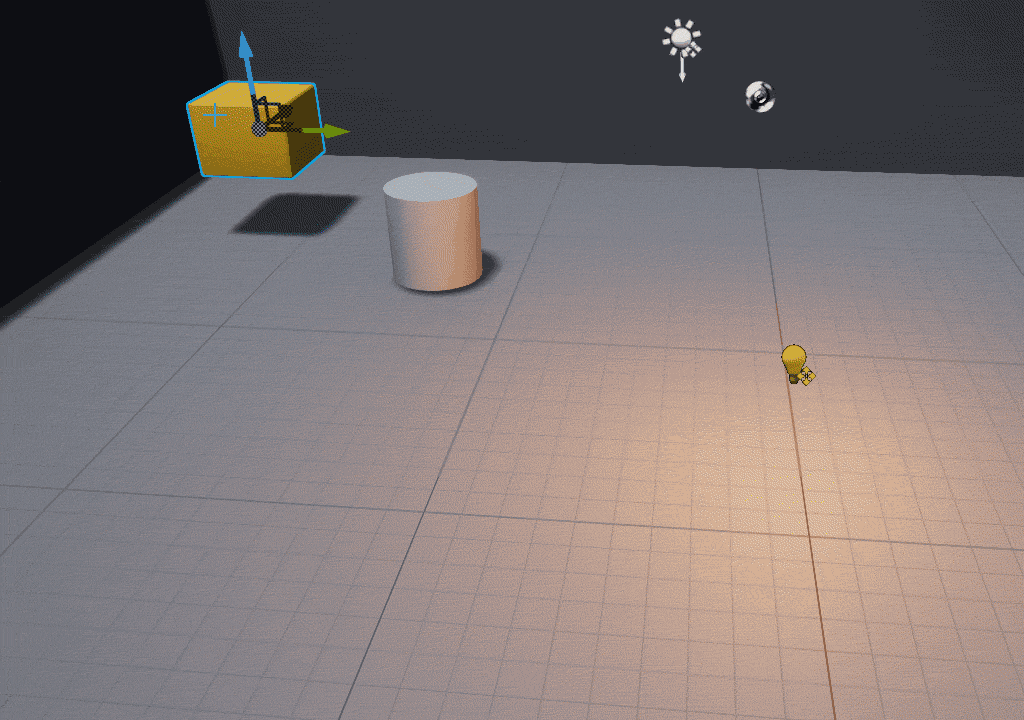
- Set pivot position (RMB> Pivot> Set pivot offset here)
Sometimes it can be difficult to place an object, even if its axis is in the right place. Then why don't we move the axis? We can place it where we just clicked (Alt + SCM) or where we want by dragging it with SCM. You can also snap the axis to the vertexes, which is very useful for modularity (V + SCM).
- Attach actor (RMB> Attach to> Write the name of the object / Select an object)
Attaching Actor will be useful in several situations. Just remember that both objects must have the same Mobility (static / moveable) setting. It's not obligatory. But a problem may arise if you try to move the mobile object already in the game, to which the static object is attached.
Orientation
Here I will describe some orientation methods that will come in handy when viewing, editing, and demonstrating your levels.
Basic:
- Focus (F)
Have you found or selected an object inside the world outliner, and you think that it is so far away that you will have to scroll to it for more than a few seconds? Press F. You will focus on the selected subject and immediately move the camera closer.
- Outlines (g)
Pressing G hides all the useful tools in the viewing area (grids, turns, outlines, icons, and much more). Perfect to see a clean gaming level.
- Set camera (Ctrl + 1-9)
You have built a huge level in which moving from start to finish takes longer than you would like. Make this process easier and place a few checkpoints with Ctrl + 1-9 and return to them in 1-9. For example, Ctrl + 1 can be placed at the beginning of the level, 2-8 will be important places, and 9 will be the end.
- Fullscreen (F11)
The level will be played, tested, demonstrated and tested in full screen mode much more conveniently.
Tip: Shift + F11 calls the editor on top of the taskbar.
Extended:
- Translucent selection (t)
Have you ever encountered a situation where you need to click on a mesh in the viewing area, but instead something else is accidentally selected? Or maybe you want to click on a specific translucent window, but the cursor selects the object behind it? Perhaps this is the fault of the Translucent Selection. Using the T button, you can turn the selection of translucent objects on and off. Now you can click on glass, water, rays and others.
- View Modes (located in the menu of the same name)
Useful in absolutely different situations.
- Show navigation (P)
In projects using Unreal navigation, it is important to note whether any objects at the level can block the path of the AI or players.
- Perspective / side / top / front view (Alt + G / K / H / J)
If you need architectural precision when creating levels, looking from different perspectives can help. You can also assign a “space” to maximize and minimize viewports - in the settings of hotkeys is called Maximize Viewport. This is very useful and convenient when doing level design.
- Snap object to view and view to object
For me, this trick was most useful when I wanted to put the camera in the right place. Snapping the selected object to the camera changes not only its location, but also rotation. Therefore, the camera will point exactly where you are looking in the viewing area.
Other
Here are a few shortcuts that do not fit into the previous sections. But they are also very useful.
- Find asset in Content Browser (Ctrl + B)
This shortcut will be useful for finding the selected asset and its folder.
- Find in Level Blueprint
Although this command does not have a default shortcut, I suggest creating your own in the editor settings. This will allow you to automatically search for the selected object on the blueprint level and show where it refers to.
- Play> Simulate (Alt + P / Alt + S)
Skip clicking on the arrow to play or simulate the level (or activate the playback function when the arrow is hidden - for example, in full screen mode). I recommend installing your own hotkeys. Personally, I use Alt + Q for playback in VR, Alt + S for simulation, and Alt + P for playback in the editor.
- Open level (Ctrl + O)
The combination of keys makes opening levels faster and more relaxed.
- Show references (Alt + Shift + R)
Check if a particular asset refers to another blueprint, level, material, etc. And quickly find the dependencies.
- Tab Navigation (Ctrl + Tab)
If you have many open tabs (materials, meshes, blueprints, etc.), you can scroll through them using the Ctrl key.
Conclusion
These hotkeys are a small part of the possible ways to optimize and organize workflow in Unreal Engine, try it. Remember that you can always change the keys in Edit> Editor Preferences> Keyboard Shortcuts. And do not forget to export them as a backup for the following projects.
Most of the hotkeys appear because of the question: “I do (certain actions) so often, can I make it more convenient?”