Automatic deployment of serverless functions from Git

Using the example of a gitlab bot, I will show how to automate the release process for serverless functions by automatically updating them from the git repository. Moving from games to practical development on serverless.
What kind of gitlab bot?
Imagine that you need to automate the process of reacting to the creation of tasks / bugs in your tracker, for example Gitlab (Issues) or Jira. You may need to automatically add an artist depending on the tags, move the task to a specific milestone, add a comment, or simply close the nasty bug. All this is very easily done using serverless functions. As an example, we will take the addition of a comment (Note in Gitlab terminology) to the newly created Issue.
And since the bot can change frequently, we automate its release using the automatic synchronization function with the git repository, where it lies.
Setting up the environment
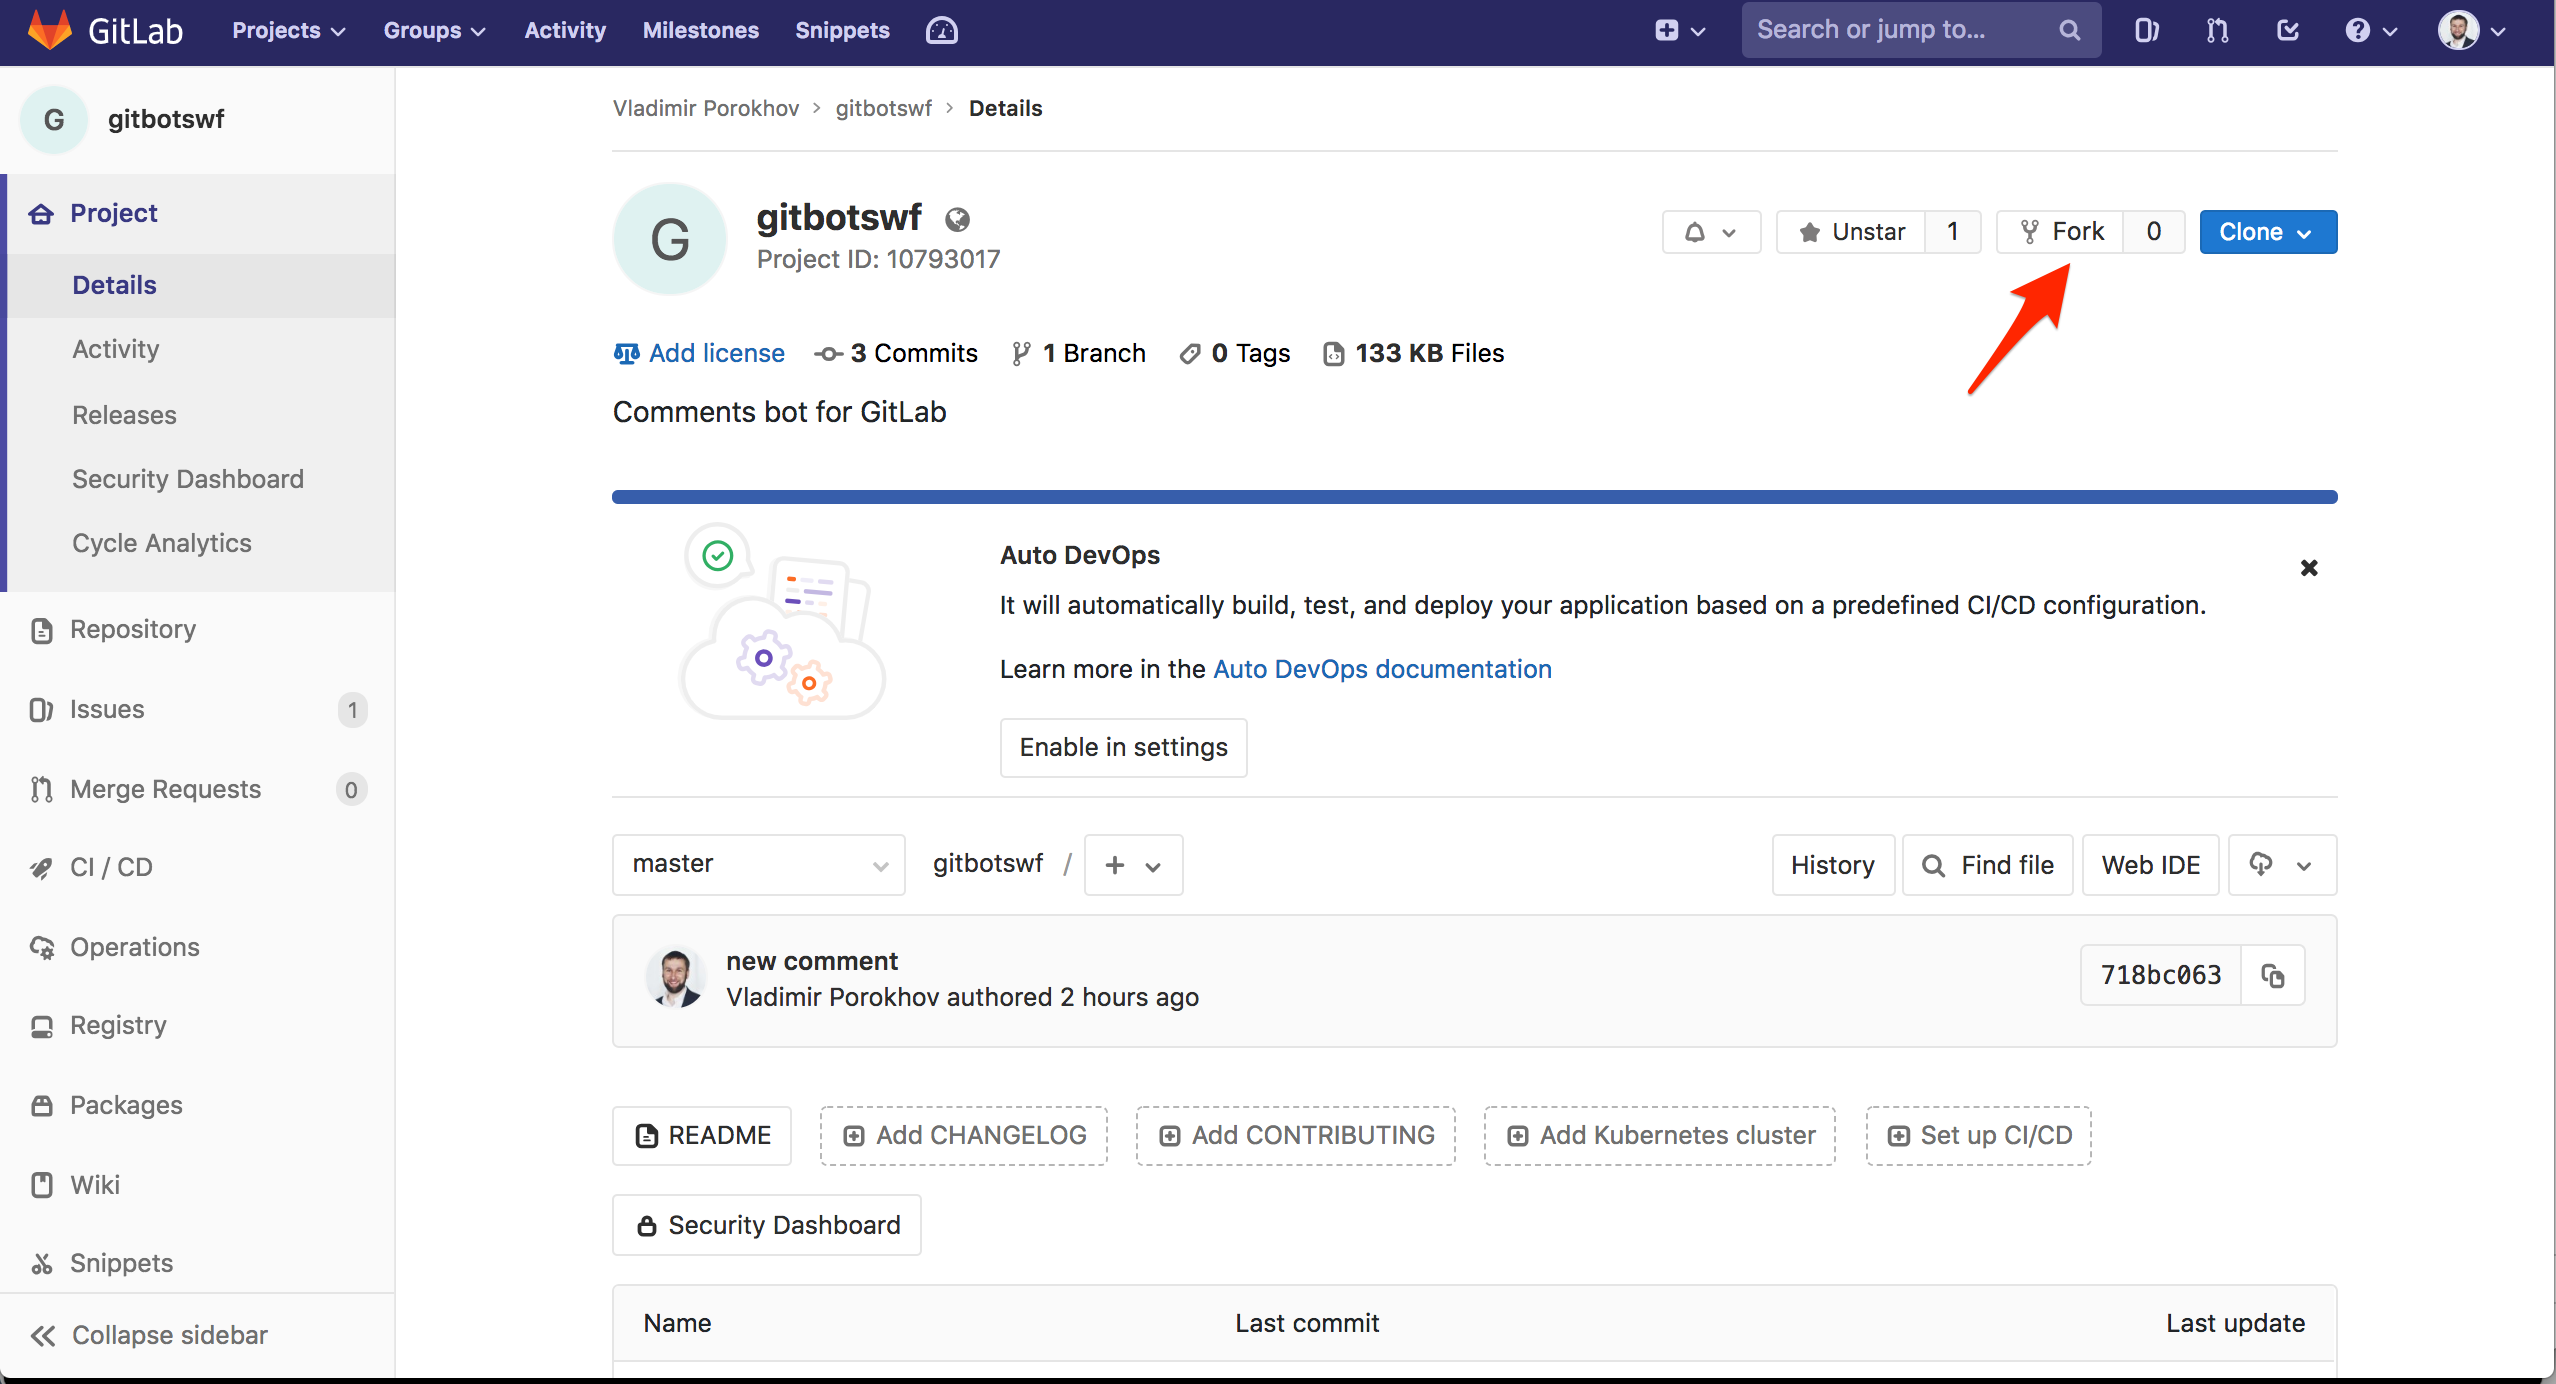
First we need to create a project on Gitlab. If you do not have a Gitlab account, you can create one here . You can create a new public project, for example, by forking my project https://gitlab.com/bbelky/gitbotswf by clicking the Fork button in the upper right corner.

To be able to edit the bot code, you need to clone it locally. In fact, for the purposes of this guide, we can do it online, but we will be closer to real life. Open your terminal and clone the git repository. The link can be found in the upper right corner of your Clone > Clone with HTTPS project . Save it as a Gitlab URL , we’ll need it again.
git clone <link to your repo>
cd gitbotswf/
ls
README.md main.go
There is a main.go file in the cloned repository. This is our bot written in golang. The bot is very simple: it receives a webhook from Gitlab on the event of creating a new task (Issue) and adds a comment (note in Gitlab terminology) to the created task. In main.go there are comments that will help you understand how the bot works. We will not dwell on this in more detail.
Do not close the terminal - later we will need to edit the main.go file .
We also need to create a Gitlab API Token to access the gitlab API.
- Go to your Gitlab profile> Settings > Access Tokens.
- Create a new token with api scope.
- Copy it and save as GITLABTOKEN .
The bot
Time to create the bot itself. Create a serverless function with the code of our robot-based platform serverless Swifty . If you do not have an account on Rusonyx Swifty, then it’s time to create it . We want to automate the process of deploying a new function, so we will do the following sequence: connect our git repository, create a function based on the code from git, and also put the gitlab api token into a secure repository.

- Log in to Swifty and select Repositories
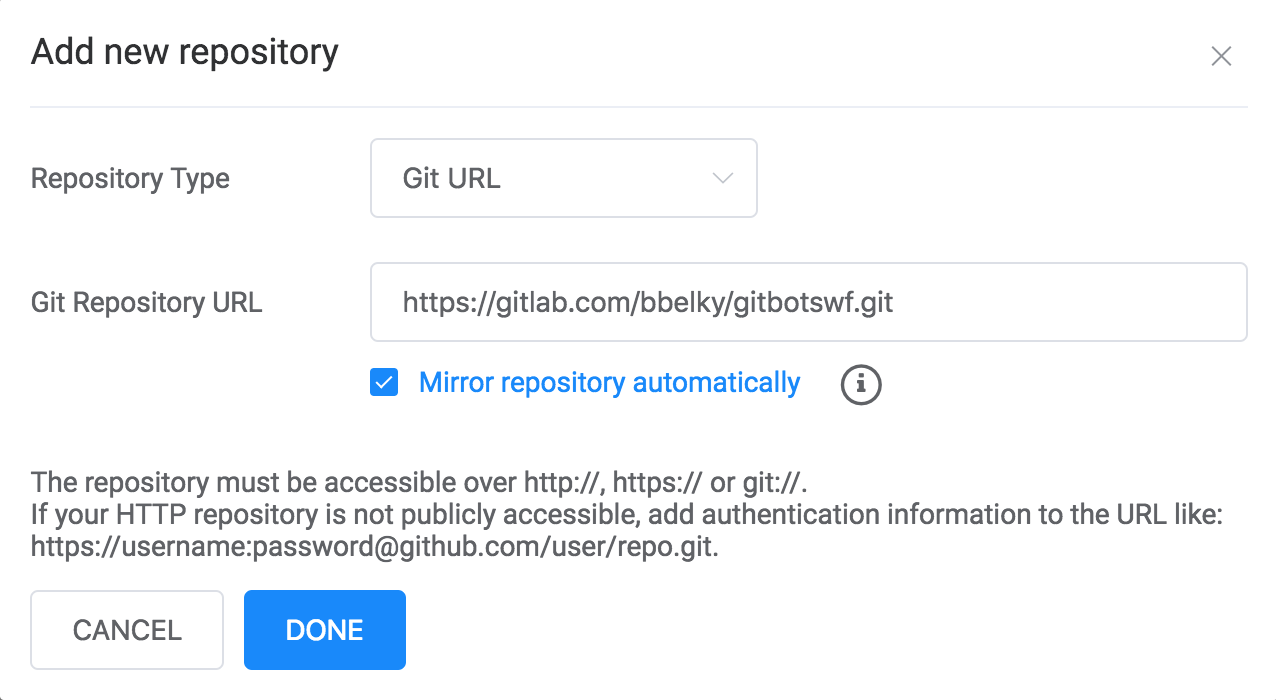
- Click Attach Repo , select the type of Git URL and insert your Gitlab URL .
- Remember to select the Mirror repository automatically option and click Done.

Swifty will now automatically synchronize with your repository (do git pull) every 30 minutes. Now create the function itself:
- Navigate to Functions > New Function > From repo (Templates) tab .
- Select the repository you just added, for example, gitlab.com/bbelky/gitbotswf.git . Now you see files from your repository.
- Select the main.go file , click Next.
- Select the Sync with repository option , enter the gitbotswf function name, and click Create .

Now we need an HTTP API trigger that, when called, will trigger the function:
- Go to the Triggers > Add Trigger > REST API (URL) tab .
- Copy the resulting URL and save it as BOT_URL .

Great, now we have a repository and a function that syncs automatically with it. Now we add our Gitlab API Token to Swifty Accounts, a secure and encrypted storage for passwords and tokens.
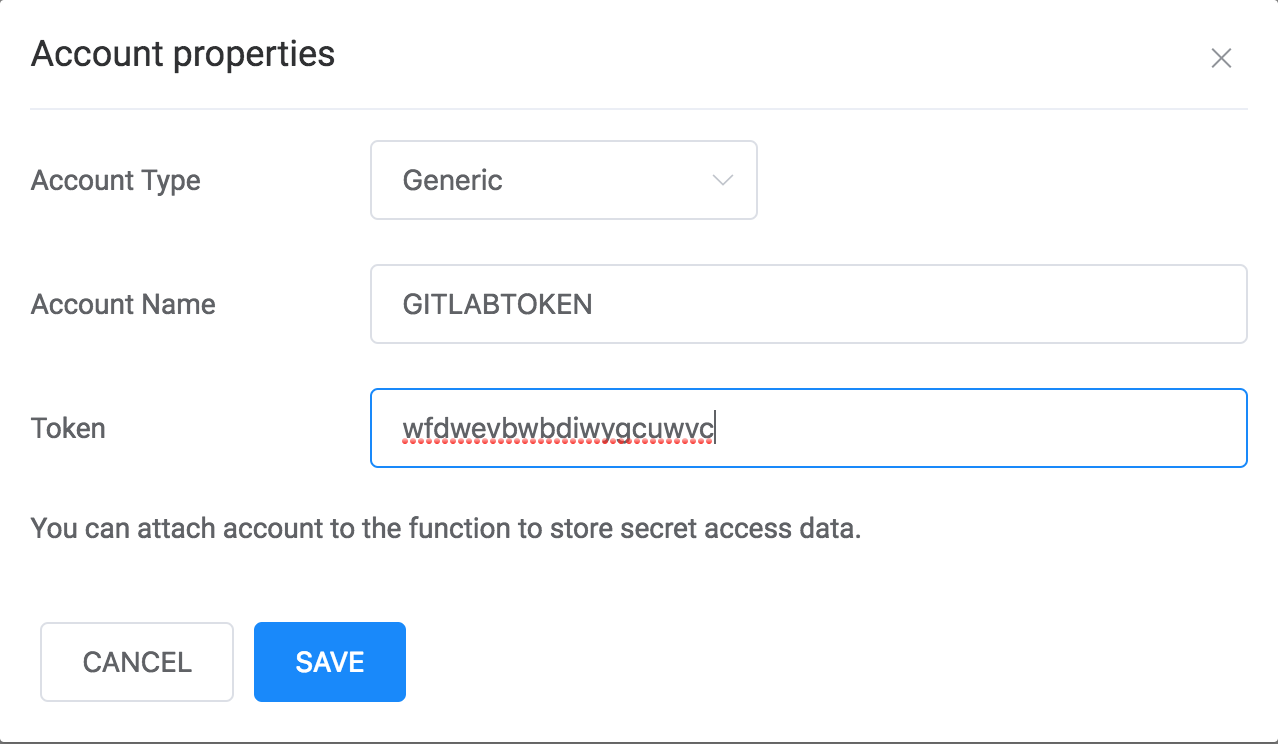
- Go to Accounts > Create Account .
- Select Generic type .
- Set the name GITLABTOKEN and copy your token. Save.

Now add a token to the function:
- Navigate to Functions > gitbotswf > Access function and click Add .
- Choose Accounts , GITLABTOKEN and click Add .
Turn on webhook
In the last step, we need to create a webhook on Gitlab, which will be triggered every time a new Issue is created. Let's go to Gitlab.
- Select your project> Settings > Integrations .
- Add the previously saved BOT_URL to the URL field.
- Check the box for Issues events and click Add webhook .
Test
Go to the project on Gitlab, on the Issues tab and create a new Issue . Check the comments. Aha If everything worked well, then we will see the comment “Thanks for reporting new issue!” . If there was an error somewhere, then ask us here or ask a question in the list .
Update and automatic release of the bot
What if we need to update our bot? Thanks to the integration with git, all you need is to update your code (change the text note, for example), to run the code in Gitlab and Swifty will automatically update your function!
So, open the main.go file in the terminal and change the note variable :
note := "Comments%20changed!"Update git:
git add *
git commit -m "changes"
git push origin master
Go serverless!
