An old friend is better than two new ones. Landscape generator. Part 2
- Tutorial
- Recovery mode

This article originated in my head after we were given a multimedia technology course at the university. “Univer ... pfhhh ..." - this is what my reader will think. Yes, only sometimes there are sensible things. That's why.
The course is supposed to create a virtual landscape in an old VistaPro program. Due to the fact that I had not worked with anything like this before, I can’t say how functional it is. But its big plus is that it is extremely easy to use (and other terragens are sometimes quite nontrivial, which can cause some difficulties. An hour of work may not guarantee success, unlike my antiques), but to master it from and to: you can make out all the functionality in less than a day without knowing anything about it. Small, but still a plus is the very low weight (~ 3 MB). Of course, now there are many similar terragens that outperform VistaPro in functionality.
Here you can find the rest of the parts:
Part 1
Camera
The main options that this section provides are camera rotations, change of dislocation point, change of viewing angles, change of viewing height. Most of the information can be learned from the prompts by moving the cursor to the corresponding part of the interface. In part, we have already considered the possibilities of working with the camera when I described the landscape and the first-person view. You can work with many options from here.
Create a landscape.
Landscape size = Small
Image size = 1280x1024


After that I will slightly smooth out the terrain:


And I will start erosion until the landscape stops changing:


And now I’ll add a few Stretch mountains :


Place camera
Now let's get to work with the camera.
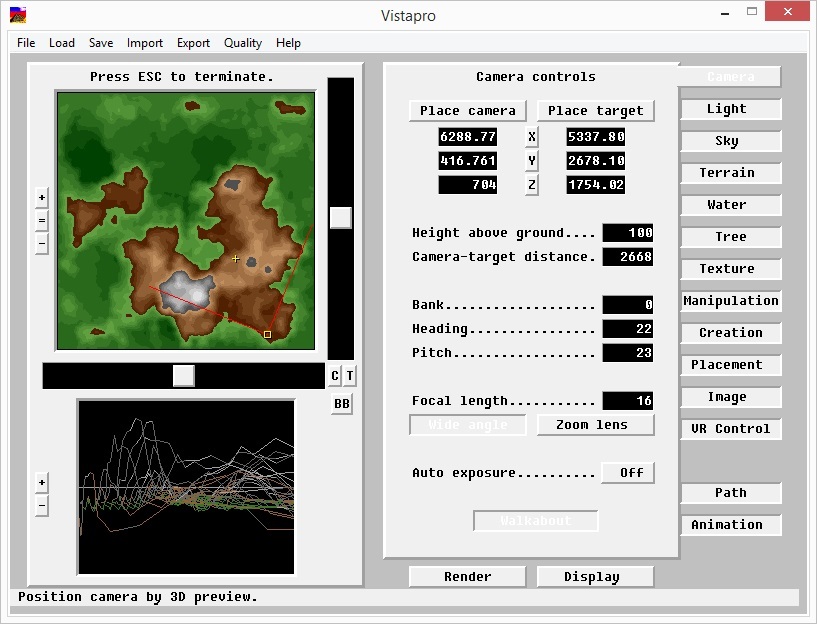
So, when starting VP (VistaPro 4), there is the following camera location: we are in the middle of the border of the south side of the map, exactly in the middle. Our gaze is directed strictly to the north. Now let's move our camera to the side (a little run around our world). For a start we will climb a mountain. To do this, click on the Place camera , and then place the camera at another point:


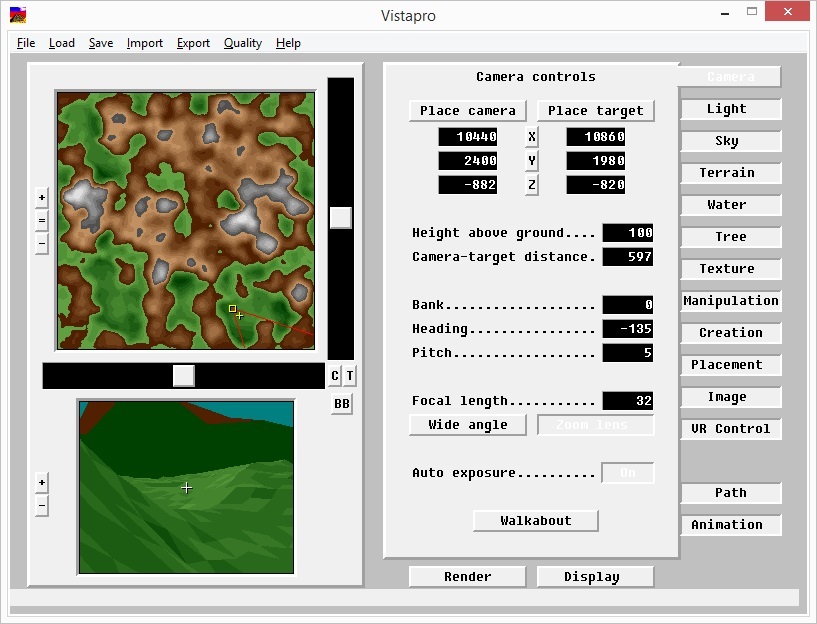
Similarly, go down to the valley:


An attentive reader will notice that some parameters vary depending on how we move the camera. In particular, the coordinates of the camera ( X , Y , Z are those that are on the left), as well as the distance between the camera and the pointCamera-target distance where the camera is directed. The Bank’s viewing angles (rotation of an object around its longitudinal axis or roll), Heading (angular movements relative to the vertical axis, i.e. yaw), Pitch (pitch or angular movement relative to the main (vertical)) are subject to changes . We will talk about these rotations below, as well as everything related to the coordinates.
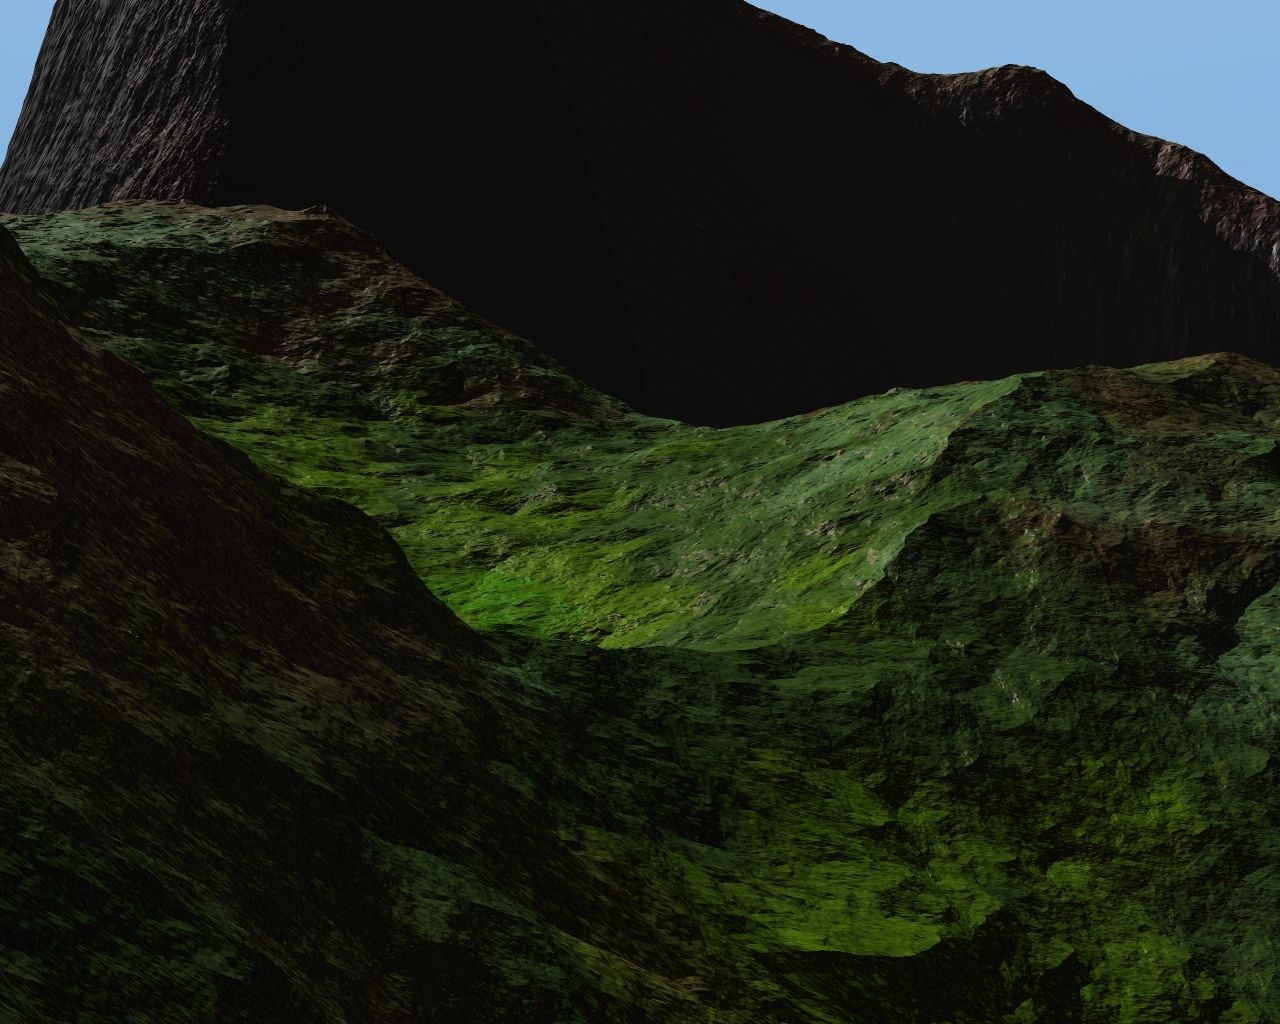
Rendered images are uncomfortable. We constantly look at one and the same point, which means we can often stick into the mountain. Unpleasant.
Place target
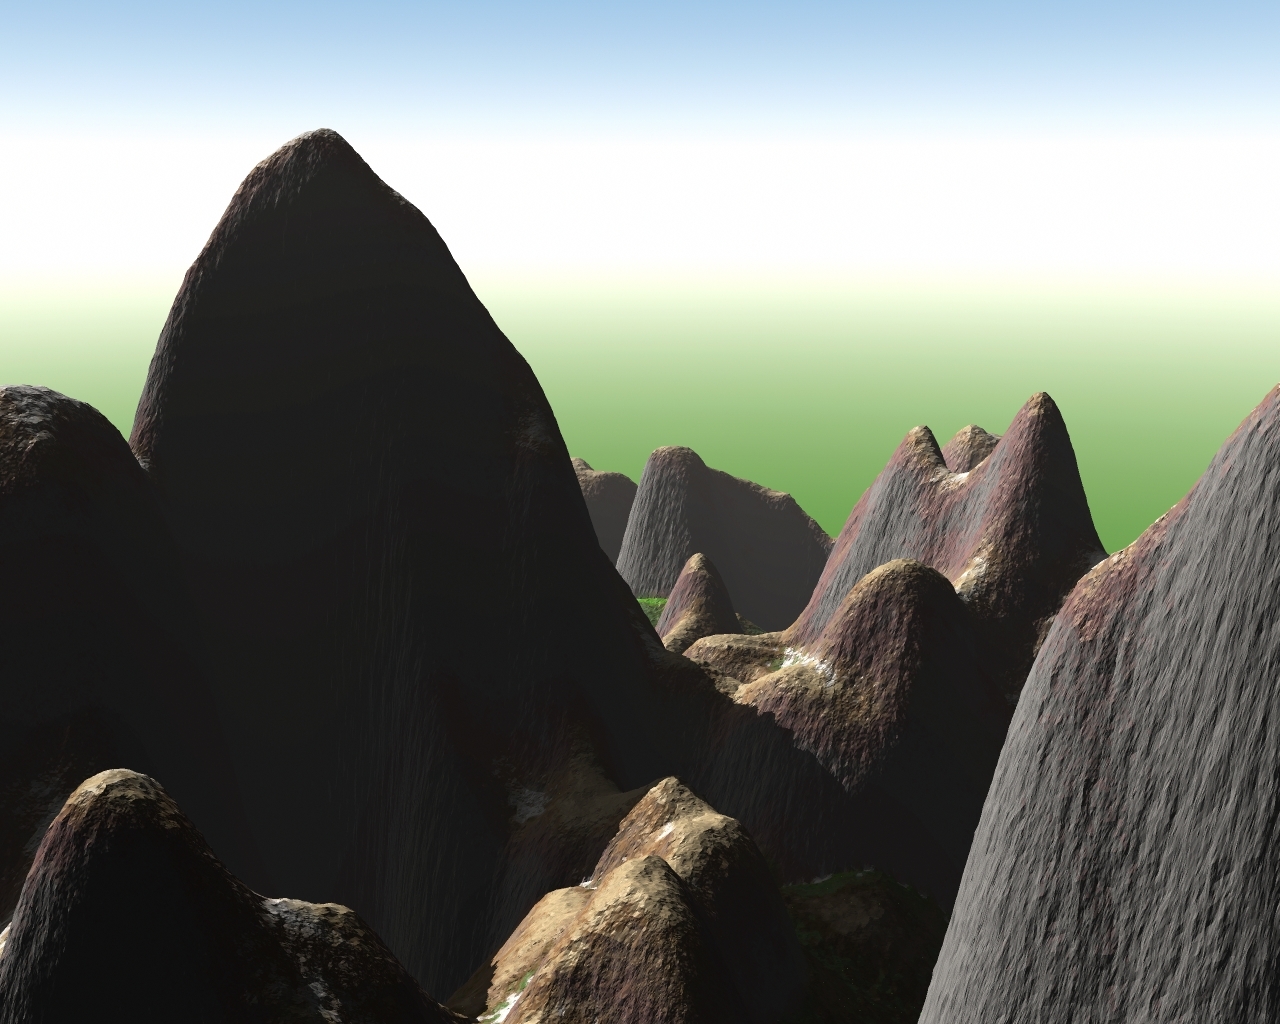
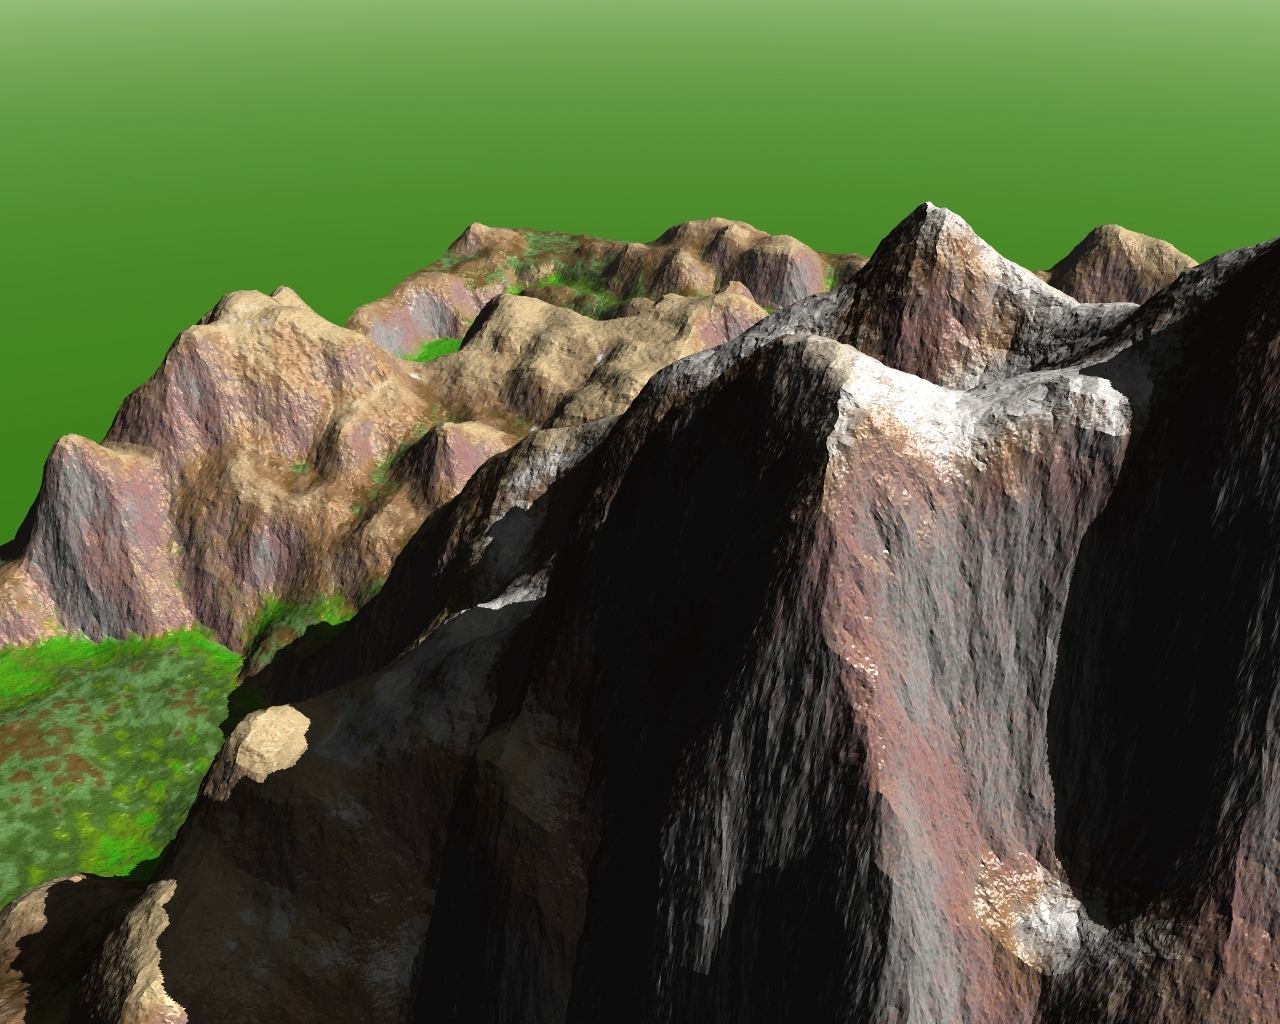
The second degree of freedom of the camera is a change in position of view. Select Place target and poke on the landscape somewhere. Take a look at the mountain, which is slightly west of us:


By the way, you can see that on the map the snow is indicated where it actually is not. Unfortunately, this, in my opinion, a bug with which nothing can be done. Although, perhaps the creators wanted to show the height of the area. In any case, it seems strange to me.
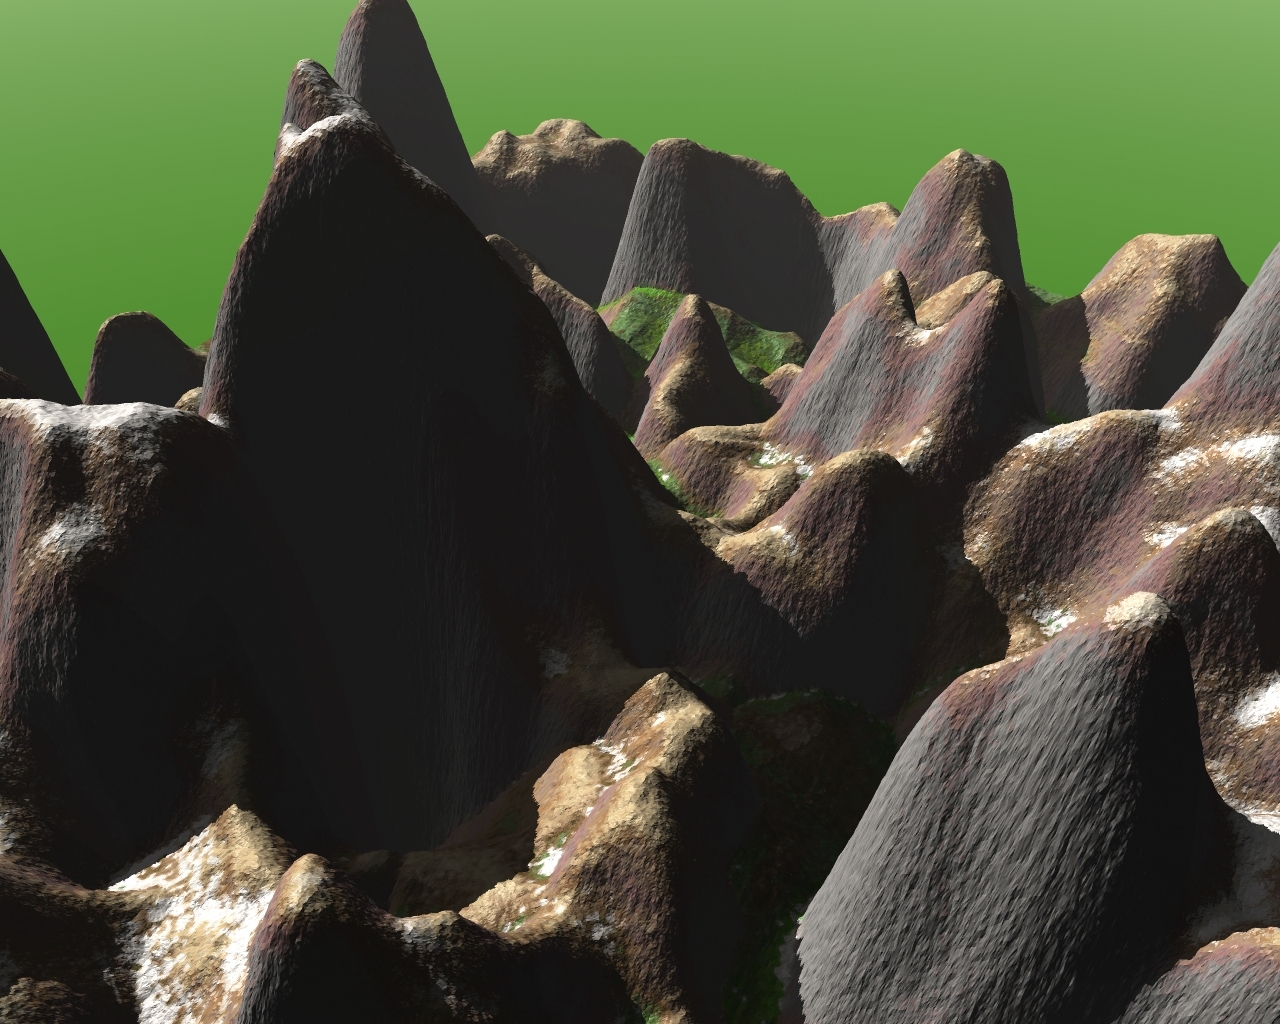
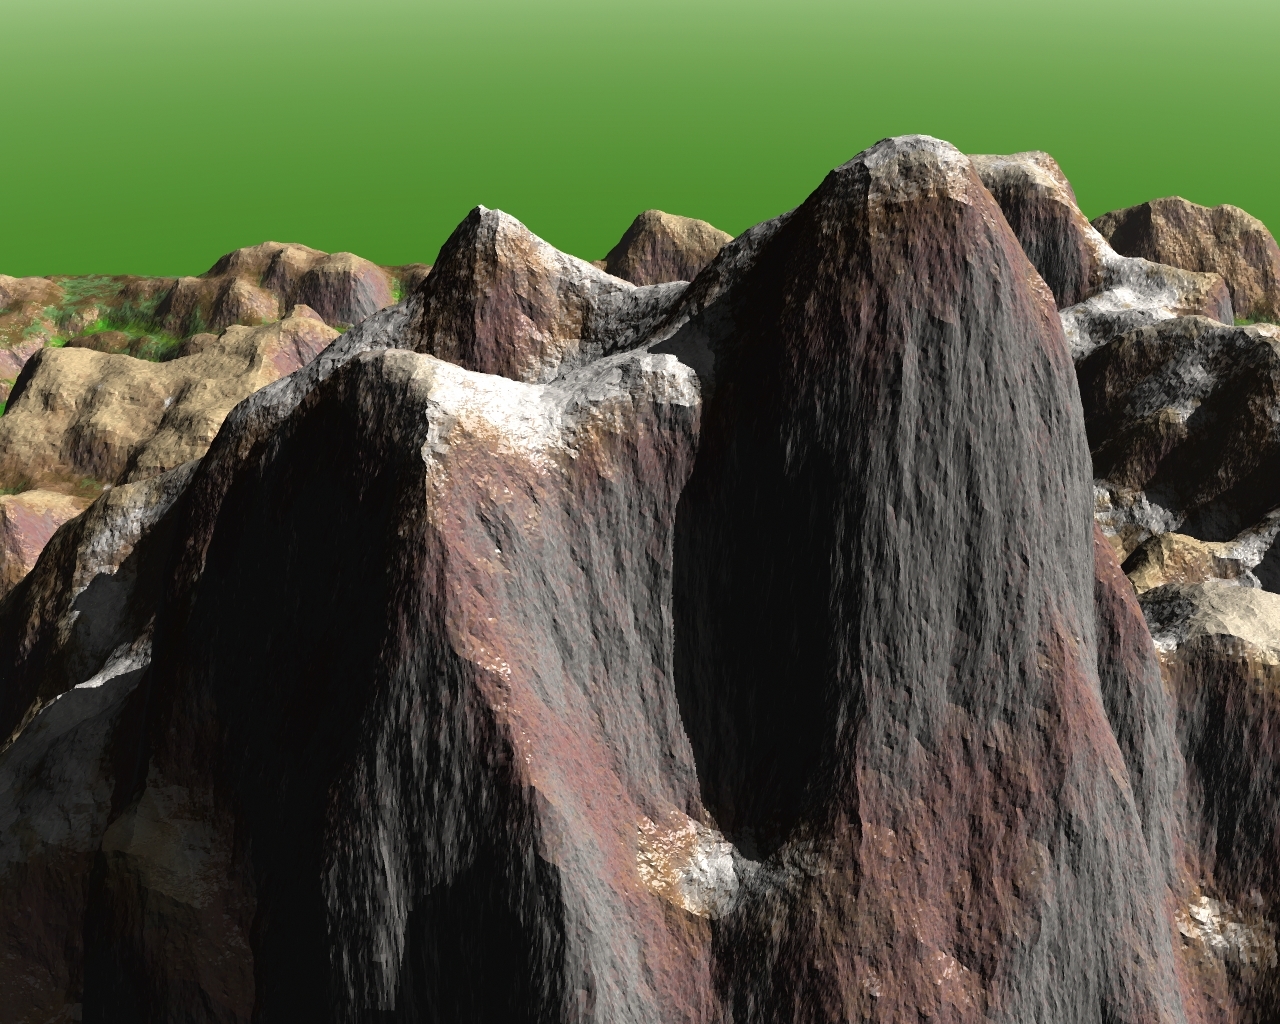
Let's look a little to the east:


And a little more:


By the way, I imposed a little here. On the screenshots in the Place target section, the Z button is everywhere pressed . But since I absolutely did not want to redo the screenshots, and this has practically no effect on anything, I will tell you about this a little later.
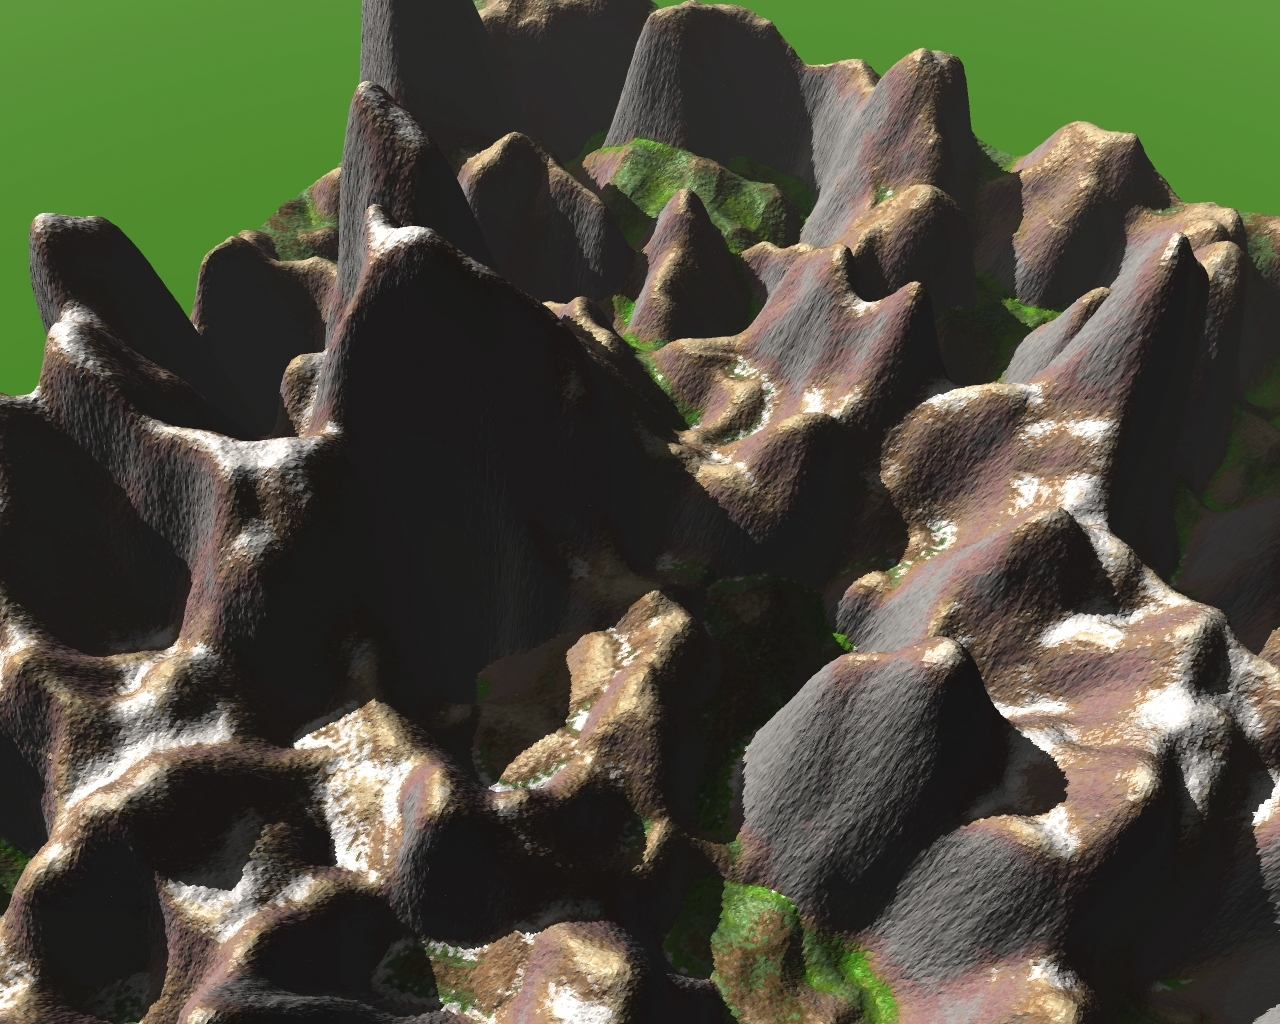
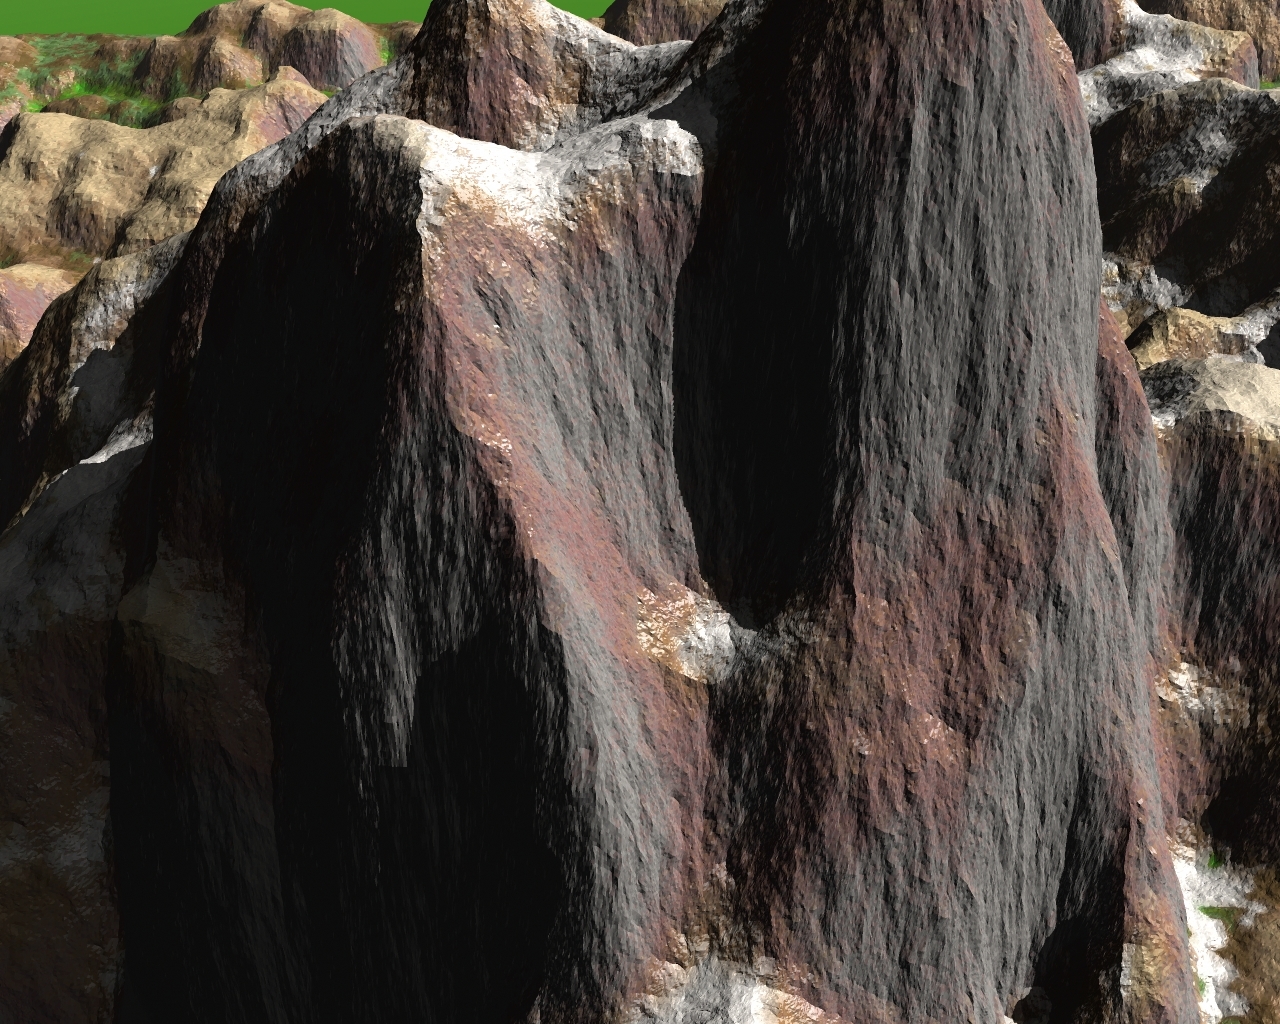
And finally, let's look at our feet (the Z button is no longer pinched !!!), moving the camera a bit so that the border of the map doesn’t climb here:
X, Y, Z
What kind of magical coordinates with which I have plagued !? Very simple. If you hold one of them, then when the state of the camera changes, it simply will not change. For example, hold X and click on the westernmost snow-white mountain:
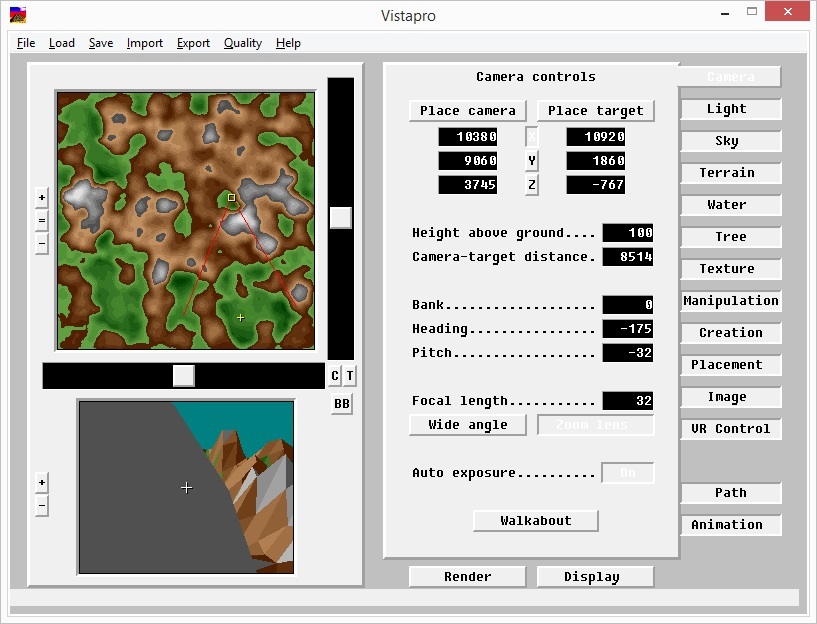
As you can see, along the X axis (horizontal) we have not shifted anywhere.
In the image and likeness, you can play with other coordinates.
You can also select Place camera Place target instead . And again, click on the same vertex. Now the gaze of the camera (yellow plus) did not change the position along the Y axis :

A similar situation. Z
axis changeswill not be visible on the map. Only on the camera screen. To do this, you can compare the screenshots from the previous section:
Rendered:
And, accordingly, you can set the coordinates with pens by entering any numbers in the corresponding field. This can be done for the yellow plus sign or the yellow square (camera view or its position, respectively).
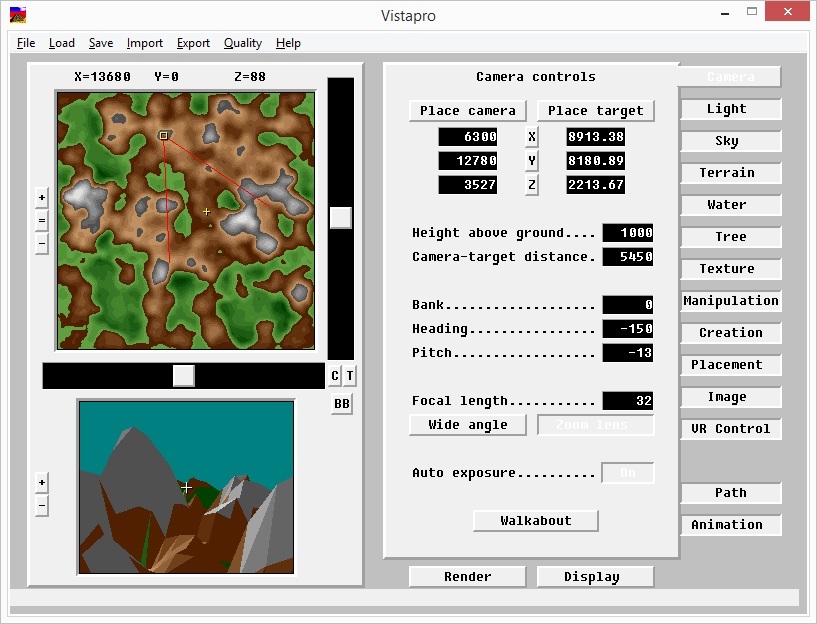
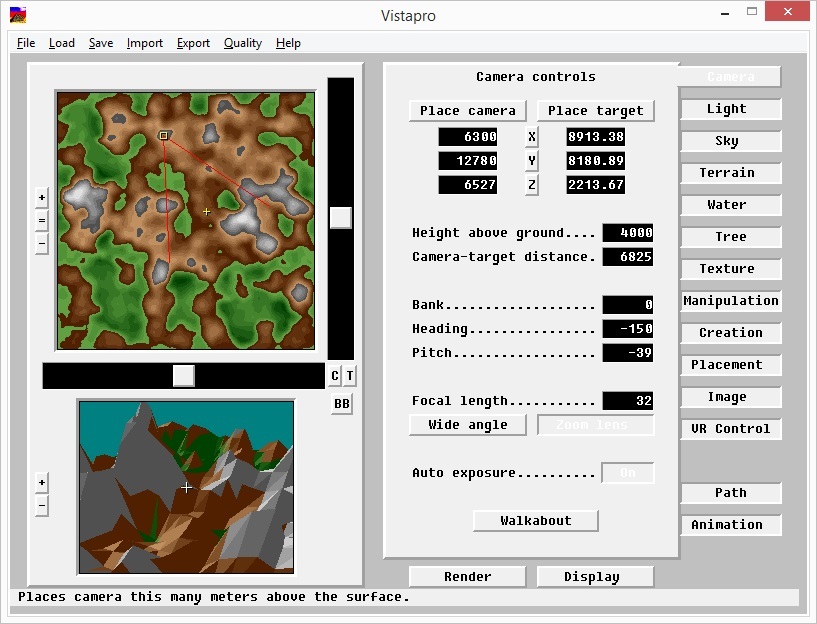
Height above ground
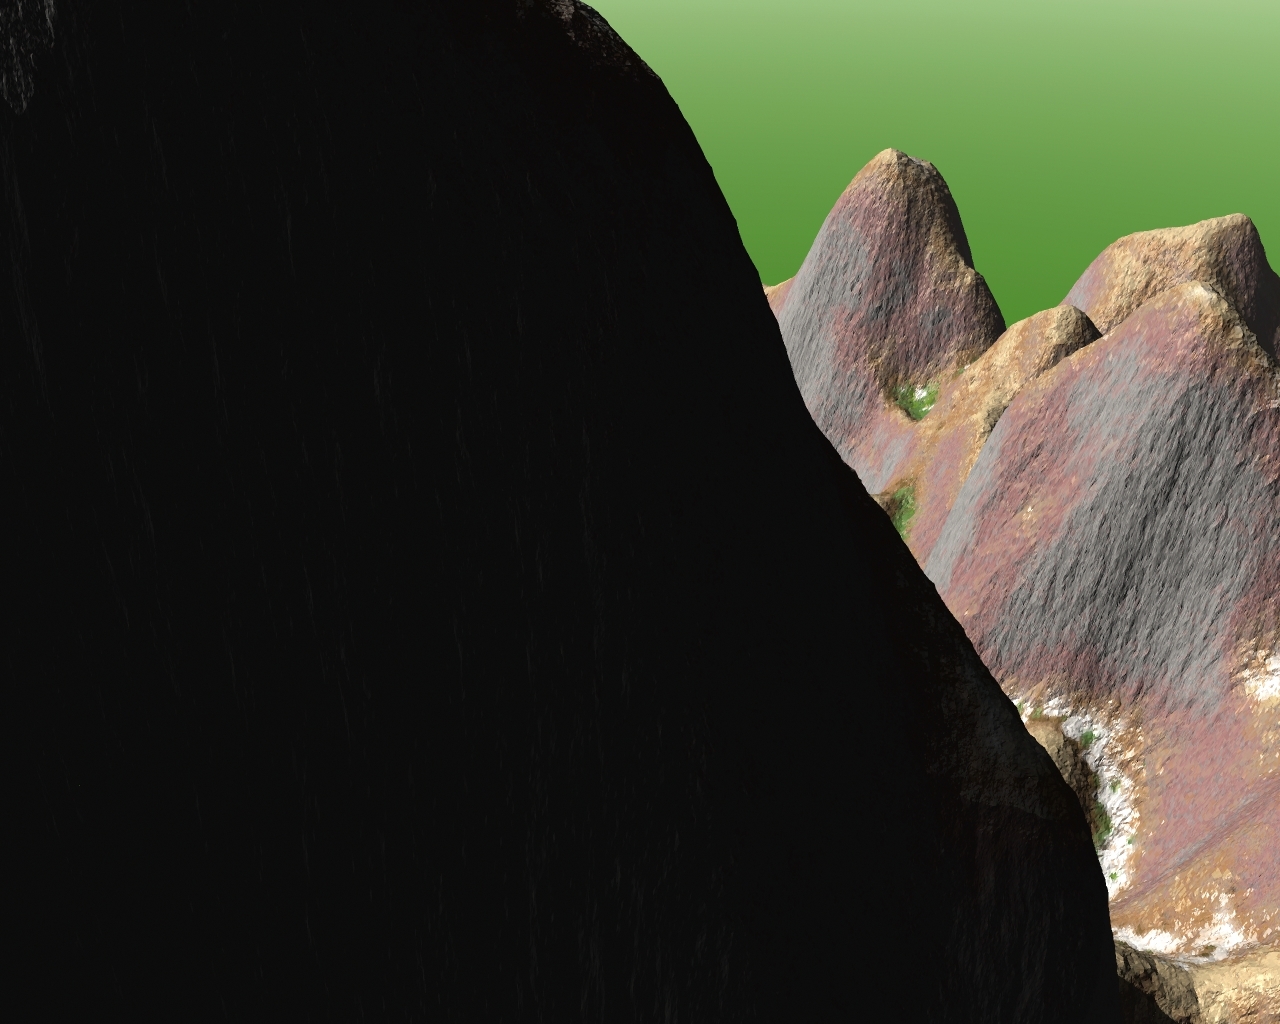
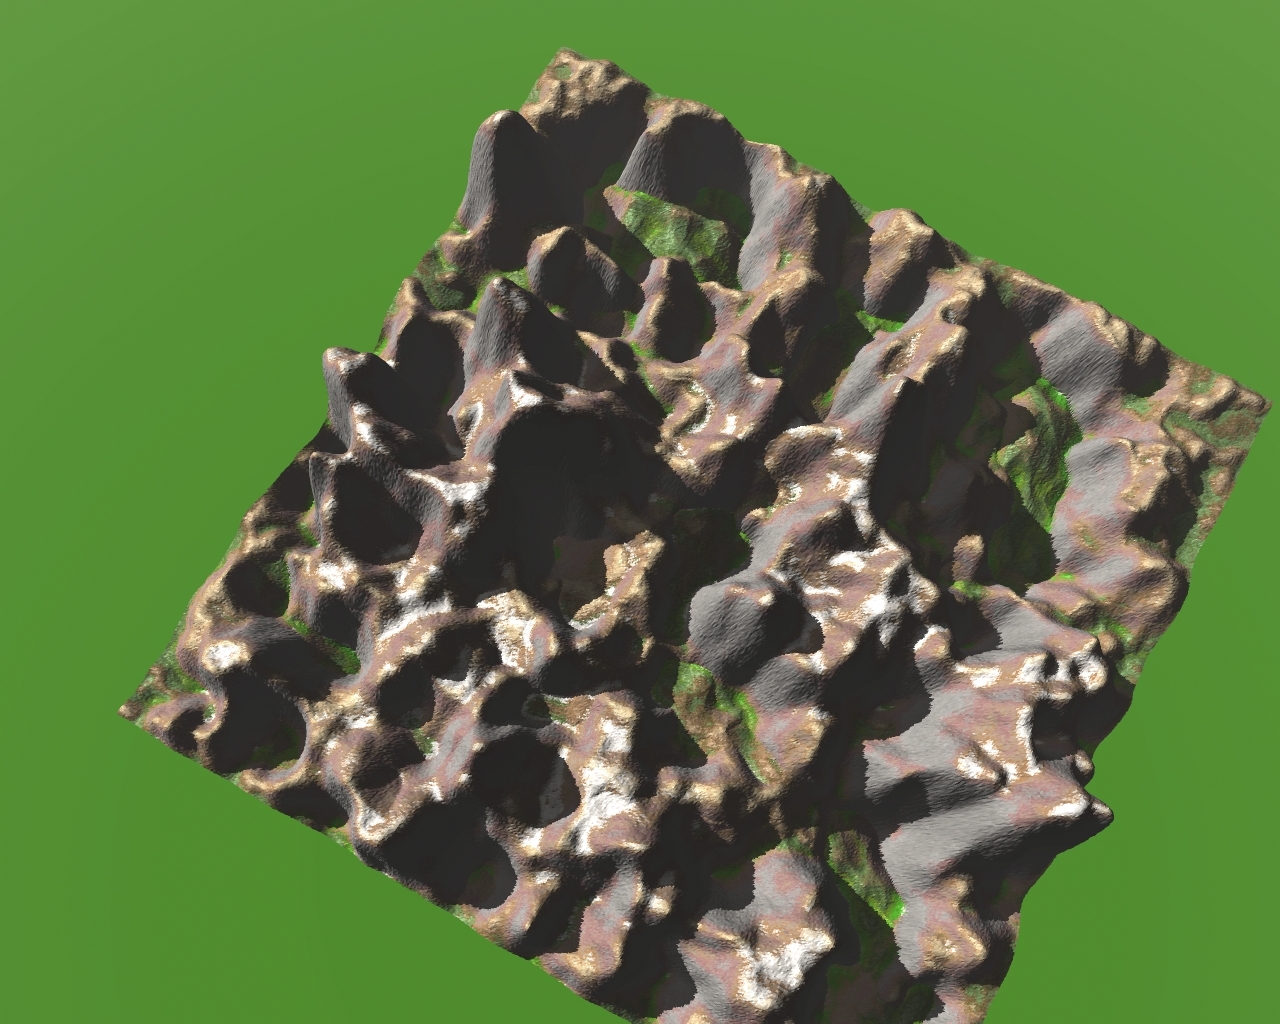
Height above ground. I do not recommend setting 0 or so. The probability of getting into textures is high:


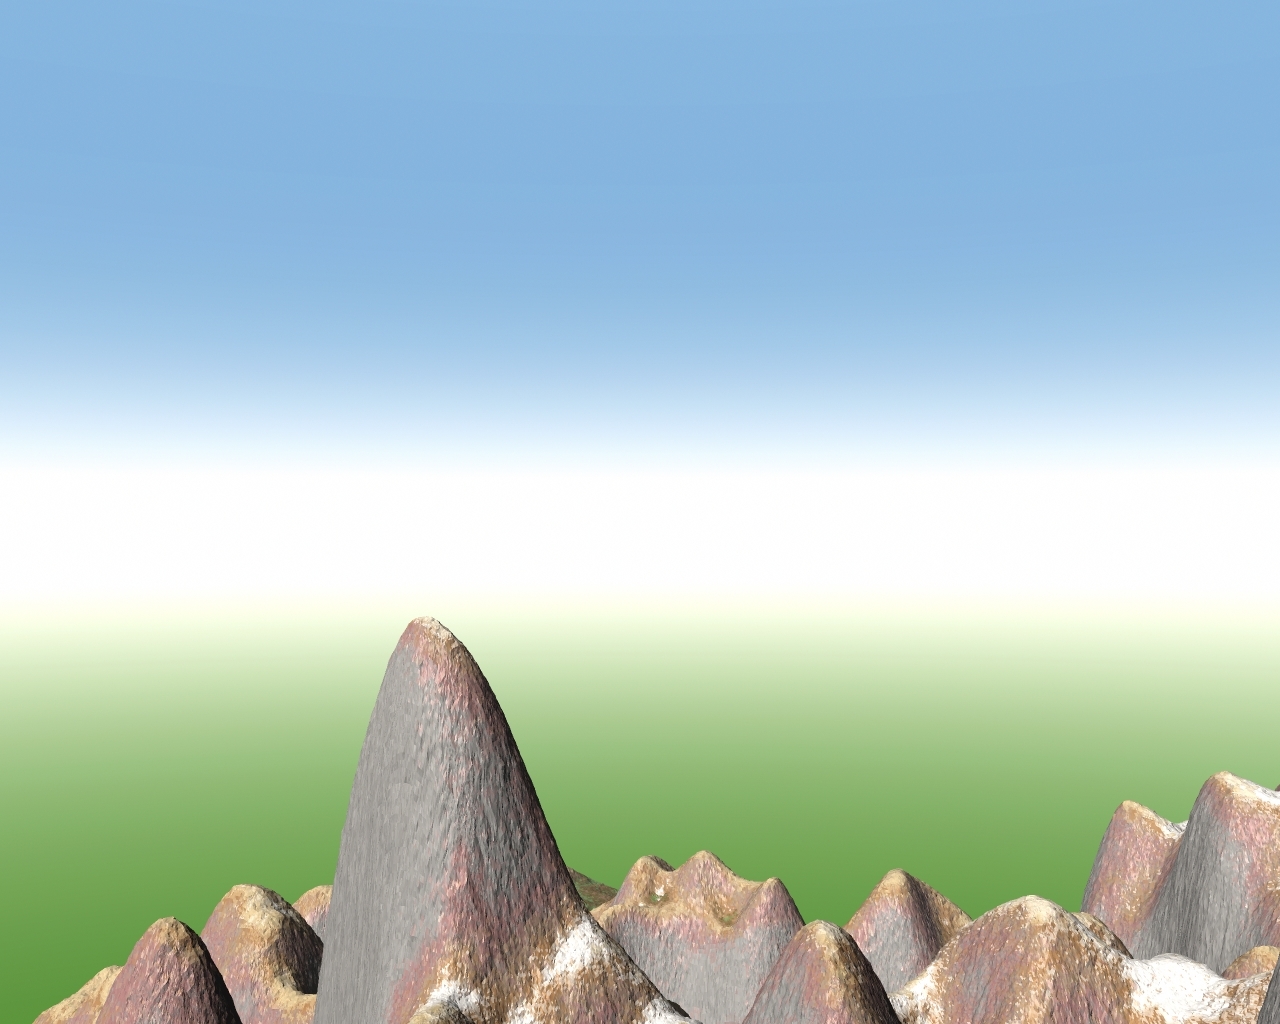
Although, at the top of the mountain, it can look quite normal to itself:


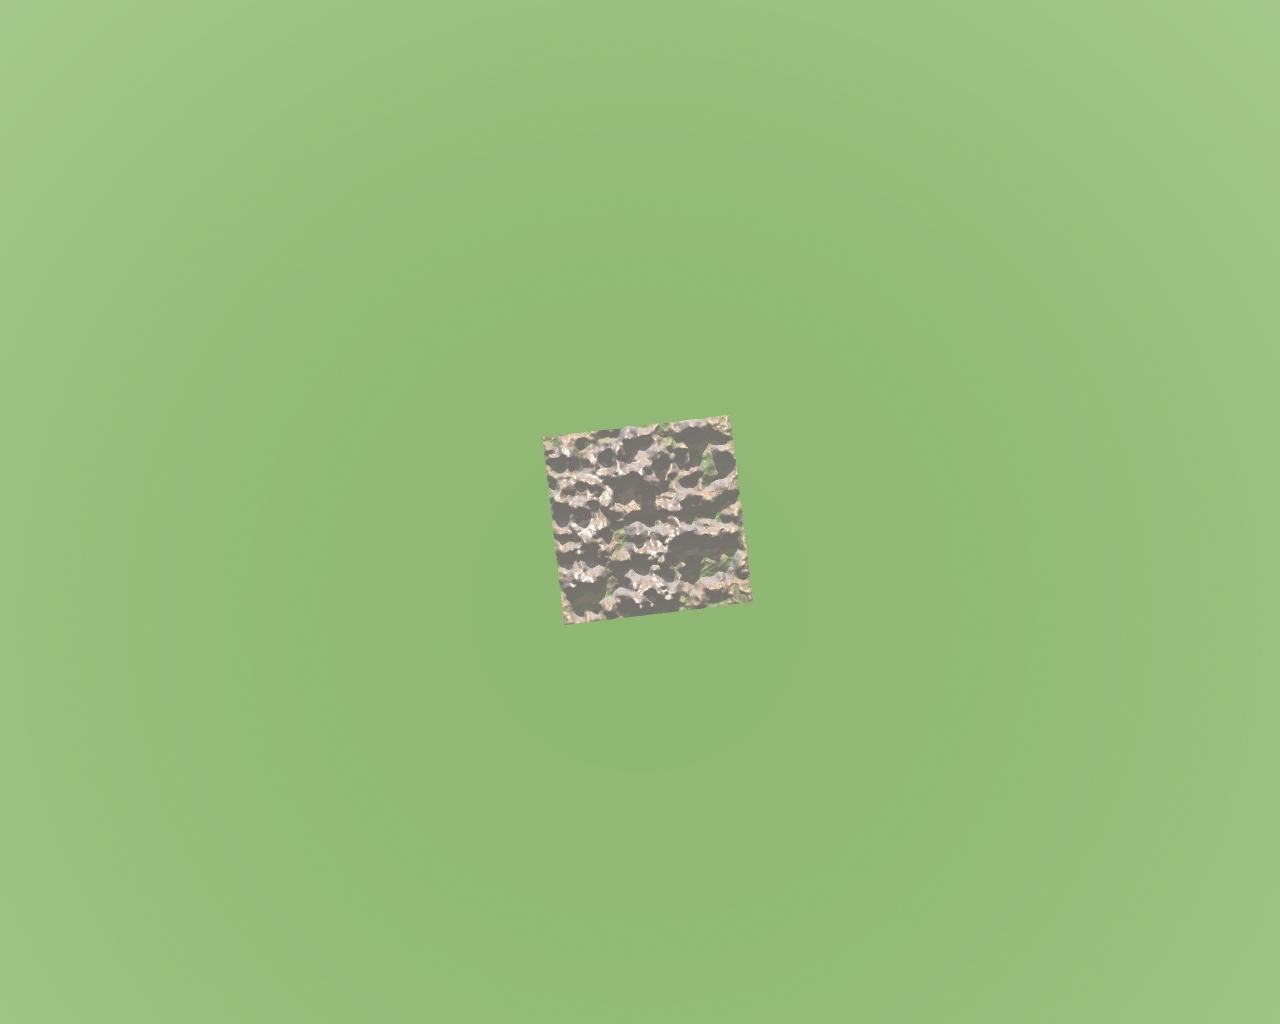
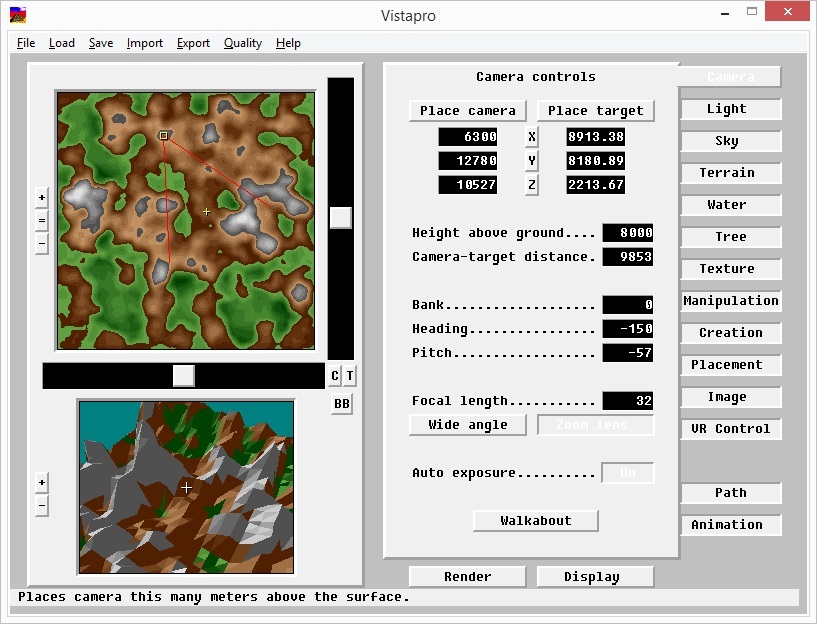
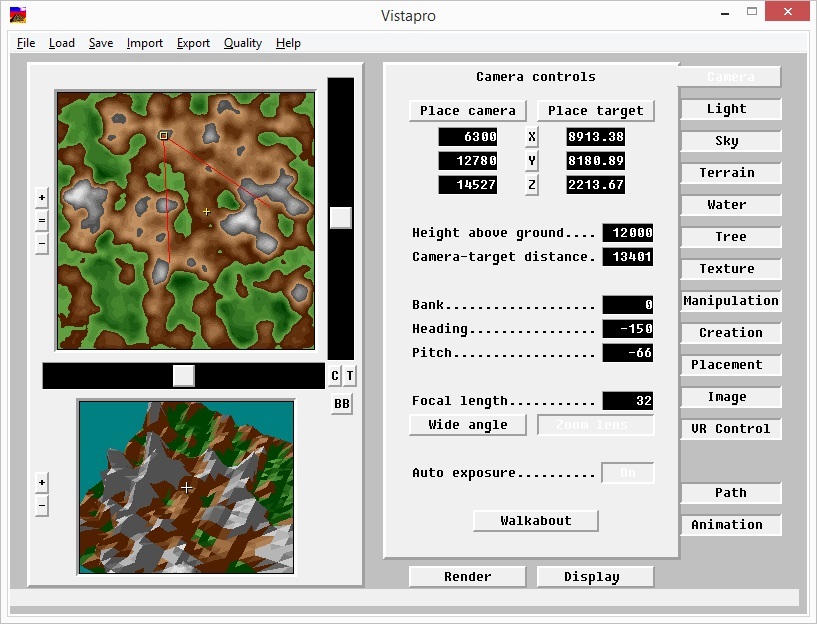
You can fly into space:

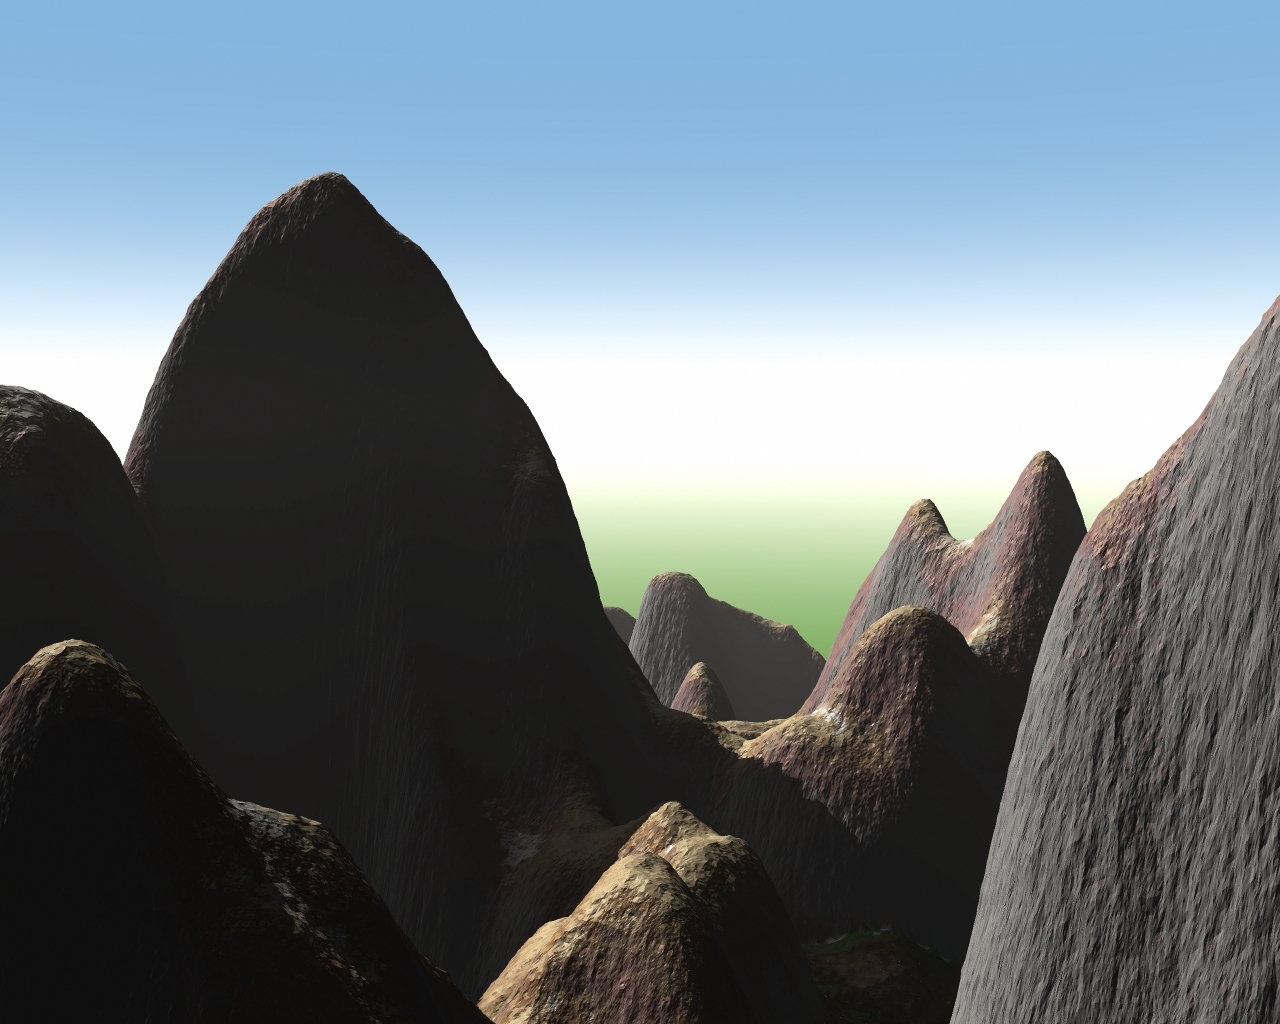
Or be a bird:


Camera-target distance
This contraption defines the Euclidean distance (i.e. the one that is used most often, generally speaking there are other distances, for example, the Hölder metric (Hölder distance)):

between the position of the camera and the point of view of the camera. Thus, if, say, for the case: we
calculate this value, then we get (after discarding the fractional parts, as they will not play a role):

Almost. What a twist. The fractional part still made itself felt. That is OK. Not scary. The fact itself, we have established that there is a Camera-target distance . Let's go back from heaven to earth and play a bit with this setting. Take this position:

Now let's choose 1000. Then 4000, 8000, 12000, 20,000, respectively:

Rendered:
Only the coordinate changesThe Z . But it’s interesting that it seems that we are moving along a curve that looks like a parabola. This is due to the fact that every time the camera’s view in space does not change (i.e., the plus sign is directed in the same direction), but due to a change in the camera’s position, the pitch angle of the Pitch should change.
Bank, Heading, Pitch
Render another landscape.
Landscape size = Small
Image size = 1280x1024


After that I will slightly smooth out the terrain (press Smooth 5 times ):


And I will start erosion until the landscape stops changing ( Erode = 5300):


And now I’ll add some Stretch mountains (10 times):


Bank allows you to rotate around the longitudinal axis. First, turn a small angle (everything is set in degrees) (10 degrees to the left, i.e. tilt to the left):

Now 10 degrees to the right (i.e., -10)


:


Turn a little more: Turn over to one side (i.e. -180):

To the other side:

You can turn a very large angle:


Heading due to this parameter it is possible to make angular movements relative to the vertical axis, i.e. yaw. Unlike the previous corner, the minimap shows that changes are taking place. Here it is noticeable.
One way, at 20:

The other way at -20:

This parameter will also allow rotation at angles of more than 360 degrees (or less than 360 degrees).
Pitch - pitch or angular movement relative to the main (vertical). This parameter sets the offset of the yellow cross on the map. A pointer slides over the surface of the world, pointing to a specific point on it.

Initial position (as in previous examples) -29: Shift:

Also can be moved in the other direction.
Focal length
I already considered this parameter last time. It can be changed not only numerically, but also due to the “+” and “-” next to the camera screen. Therefore, I will not dwell on it.
Here it should only be said that, in addition to manual adjustment, there are also already prepared angles Wide angle and Zoom lens :


Walk about
You can walk around our world without rendering. Navigation is carried out by arrows and mouse. Arrows can rotate around a vertical axis, or move forward and backward. The mouse can carry out the same actions by moving it forward, backward or sideways. To exit the mode, press "Esc" or the right mouse button .