We turn a household router into a hack station
I decided to write an article about my experience in turning a domestic router into a hack station.
An attack on WPS sometimes takes more than 10 hours. What to brute? The choice is not big:
- PC - compatible hardware
- Android - devices
- Specialized devices like WiFi Pineapple
There was a task to brute at work, I did not want to leave the laptop. I decided to try Android smartphone. It turned out that the monitor mode in the Wi-Fi driver refuses to work correctly. He carried out his task with a router.
Before the router, I set the following criteria:
- the presence of OpenWrt / DD-WRT / etc firmware for installing Aircrack-ng, Reaver / Bully
- the presence of a USB port
- a removable antenna (it was required to take the antenna out of the room) The
reality turned out to be not so rosy. There were not many actual devices for sale with such characteristics.
The first router I purchased to turn his hack station was UPVEL UR-326N4G . However, he had to be returned to the store. UPVEL's OpenWrt did not support connecting USB drives. It was also impossible to connect modules for full USB support due to insufficient free space.
I approached the choice of the second router more seriously. Was purchased by ASUS RT-N10UB. At first glance, the only drawback was the lack of OpenWrt firmware for this model. But there were DD-WRT, Tomato, firmware from Oleg. It seems to be not bad. Installed OPKG under DD-WRT, mounted USB Flash. Deployed software Aircrack-ng. I tried to put airmon-ng Wi-Fi in monitor mode. And then I was disappointed, it turned out that his BCM5357 could not go into monitor mode.
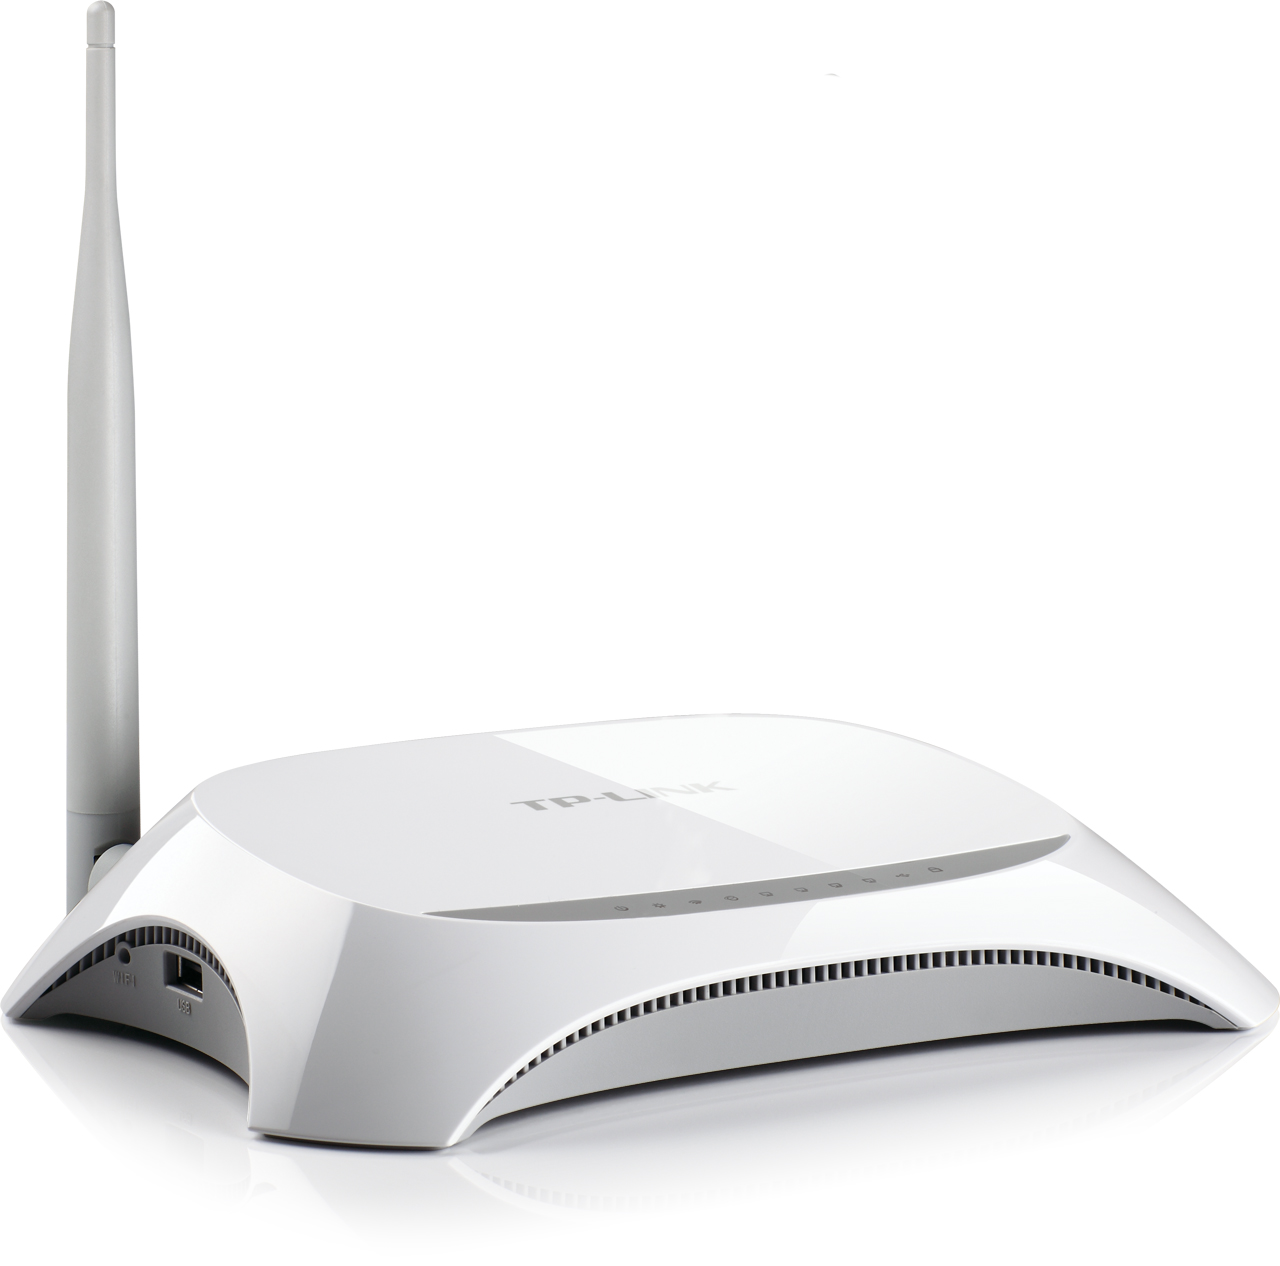
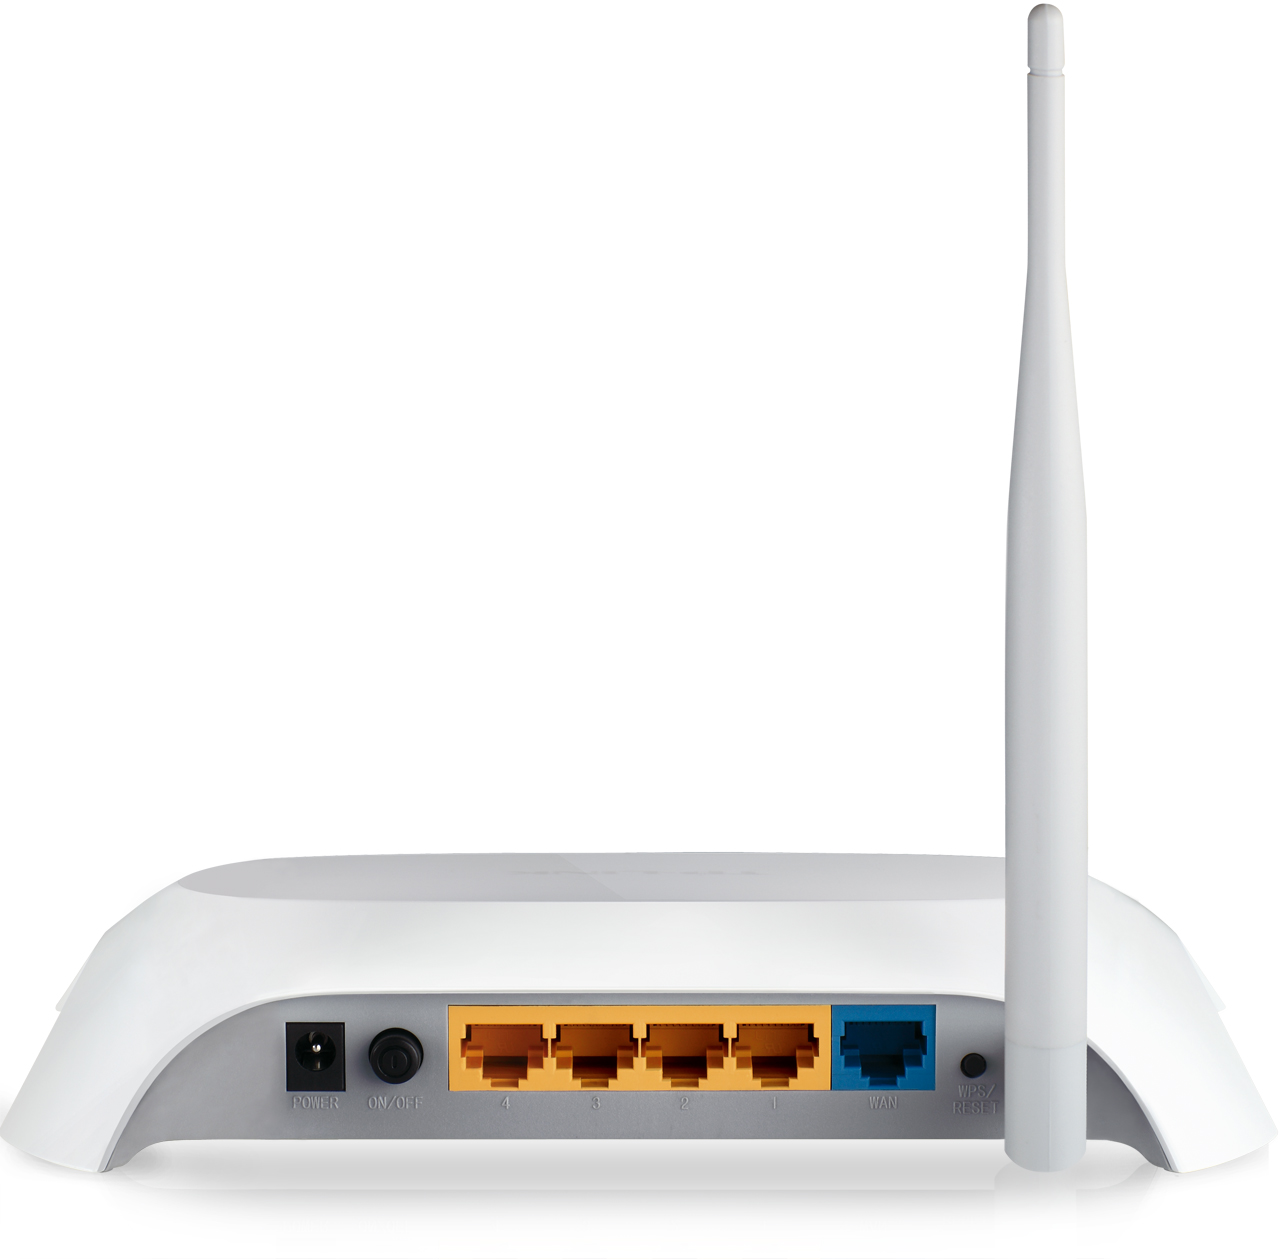
This ASUS RT-N10U B was very difficult to change to another router. DNS is an extremely tight store. And so finally I took the TP-Link TL-MR3220 v2 . It turned out that it uses Atheros AR9331, the same is installed in Pineapple Mark V.
The firmware from the OpenWrt website for TP-Link TL-MR3220 v2 did not have modules for mounting USB drives. I had to look for a modified version: https://app.box.com/s/cqk23ztqlux1zs034896
The installation process is described in detail here (simple installation by OEM method).
So, OpenWrt rolled out, everything is configured by default.
Now we are preparing a USB drive. It is necessary to format the USB flash drive in Ext3 (the most reliable choice of FS, it will not work with FAT).
We connect the USB drive to the router and reboot it. Next, go to the web interface 192.168.1.1. Open the System ⇾ Mount Points tab
Next, as in the screenshots:


Next, open the Network ⇾ Wifi tab, clickEnable on the interface (radio1)
It is necessary to change the default password, otherwise you will not be able to log in through SSH.
Reboot.
Our flash drive will be mounted in / tmp / overlay-disabled
Now about the most important thing, about software. For pentests, we need the following set:
• aircrack-ng
• reaver
• bully
If you want to install the utilities yourself, you need to do the following:
You need to install with the -d usb switch
Example:
opkg install -d usb aircrack-ng
TP-Link software TL-MR3220 v2 is suitable from ar71xx
But for those who do not want to waste time installing or assembling utilities, I offer a ready-made kit that you need copy to the root of the flash drive: https://yadi.sk/d/5WUca8OrhkULA
Versions:
Immediately after entering SSH, you need to apply the following patches:
Please do not kick much in the comments, because everything was done in haste.
How to use these utilities I will not describe here. I will point out only one nuance. In order for airmon-ng to be able to iterate over the channels, do the following:
Thank you for attention!
An attack on WPS sometimes takes more than 10 hours. What to brute? The choice is not big:
- PC - compatible hardware
- Android - devices
- Specialized devices like WiFi Pineapple
There was a task to brute at work, I did not want to leave the laptop. I decided to try Android smartphone. It turned out that the monitor mode in the Wi-Fi driver refuses to work correctly. He carried out his task with a router.
Choosing a Wireless Router
Before the router, I set the following criteria:
- the presence of OpenWrt / DD-WRT / etc firmware for installing Aircrack-ng, Reaver / Bully
- the presence of a USB port
- a removable antenna (it was required to take the antenna out of the room) The
reality turned out to be not so rosy. There were not many actual devices for sale with such characteristics.
The first router I purchased to turn his hack station was UPVEL UR-326N4G . However, he had to be returned to the store. UPVEL's OpenWrt did not support connecting USB drives. It was also impossible to connect modules for full USB support due to insufficient free space.
I approached the choice of the second router more seriously. Was purchased by ASUS RT-N10UB. At first glance, the only drawback was the lack of OpenWrt firmware for this model. But there were DD-WRT, Tomato, firmware from Oleg. It seems to be not bad. Installed OPKG under DD-WRT, mounted USB Flash. Deployed software Aircrack-ng. I tried to put airmon-ng Wi-Fi in monitor mode. And then I was disappointed, it turned out that his BCM5357 could not go into monitor mode.
This ASUS RT-N10U B was very difficult to change to another router. DNS is an extremely tight store. And so finally I took the TP-Link TL-MR3220 v2 . It turned out that it uses Atheros AR9331, the same is installed in Pineapple Mark V.
Hacking
The firmware from the OpenWrt website for TP-Link TL-MR3220 v2 did not have modules for mounting USB drives. I had to look for a modified version: https://app.box.com/s/cqk23ztqlux1zs034896
The installation process is described in detail here (simple installation by OEM method).
So, OpenWrt rolled out, everything is configured by default.
Now we are preparing a USB drive. It is necessary to format the USB flash drive in Ext3 (the most reliable choice of FS, it will not work with FAT).
We connect the USB drive to the router and reboot it. Next, go to the web interface 192.168.1.1. Open the System ⇾ Mount Points tab
Next, as in the screenshots:
Next, open the Network ⇾ Wifi tab, clickEnable on the interface (radio1)
It is necessary to change the default password, otherwise you will not be able to log in through SSH.
Reboot.
Our flash drive will be mounted in / tmp / overlay-disabled
Now about the most important thing, about software. For pentests, we need the following set:
• aircrack-ng
• reaver
• bully
If you want to install the utilities yourself, you need to do the following:
echo "dest usb /tmp/overlay-disabled" >> /etc/opkg.conf
You need to install with the -d usb switch
Example:
opkg install -d usb aircrack-ng
TP-Link software TL-MR3220 v2 is suitable from ar71xx
But for those who do not want to waste time installing or assembling utilities, I offer a ready-made kit that you need copy to the root of the flash drive: https://yadi.sk/d/5WUca8OrhkULA
Versions:
- aircrack-ng - 1.1-3
- bully - 1.0-22
- reaver with pixie support !
Immediately after entering SSH, you need to apply the following patches:
export LD_LIBRARY_PATH=$LD_LIBRARY_PATH:/tmp/overlay-disabled/usr/lib
export LD_LIBRARY_PATH=$LD_LIBRARY_PATH:/tmp/overlay-disabled/lib
export PATH=$PATH:/tmp/overlay-disabled/usr/bin
export PATH=$PATH:/tmp/overlay-disabled/usr/sbin
Please do not kick much in the comments, because everything was done in haste.
Conclusion
How to use these utilities I will not describe here. I will point out only one nuance. In order for airmon-ng to be able to iterate over the channels, do the following:
ifconfig wlan0 down
iw reg set BO
iwconfig wlan0 txpower 27
airmon-ng start wlan0
Thank you for attention!