Receiving satellites via WEBSDR

Many have probably heard that for space exploration there are remote telescopes for observing the sky. Such a telescope allows you to connect to it via the Internet, make observations from it and make discoveries. But telescopes do not limit interest in space and participation in scientific work. There are enough miniature satellites in orbit that also perform various experiments and everyone can participate in this.
To do this, you need to collect a small receiving station to "remove" scientific information from them. Not everyone has the opportunity to install complex antennas on the roof of a rotary device, lay cables, purchase receivers, configure them, and much more. But recently, remote receivers for listening to the air - WEBSDR - have appeared.
WebSDR is a software-independent radio receiver connected to the Internet, which allows a large number of listeners to receive and configure it while simultaneously accessing a website via the Internet.
WebSDR server consists of a PC with Linux operating system, software, a hardware SDR receiver, a high-speed Internet connection, as well as some auxiliary equipment (antennas, cables, low-noise amplifiers). This whole complex allows you to connect and listen to the broadcast.
97% of all WEBSDR receivers (the full list is here http://websdr.org ) operate on HF or broadcast the local VHF channel. But there are receivers that look at the sky and listen to space at the amateur radio frequencies of satellites. Main ones: Microwave WebSDR in Farnham, R4UAB SAT WEBSDR , WebSDR on ZR6AIC in Johannesburg and WebSDR in Central NJ-USA . How can they be used for scientific purposes?
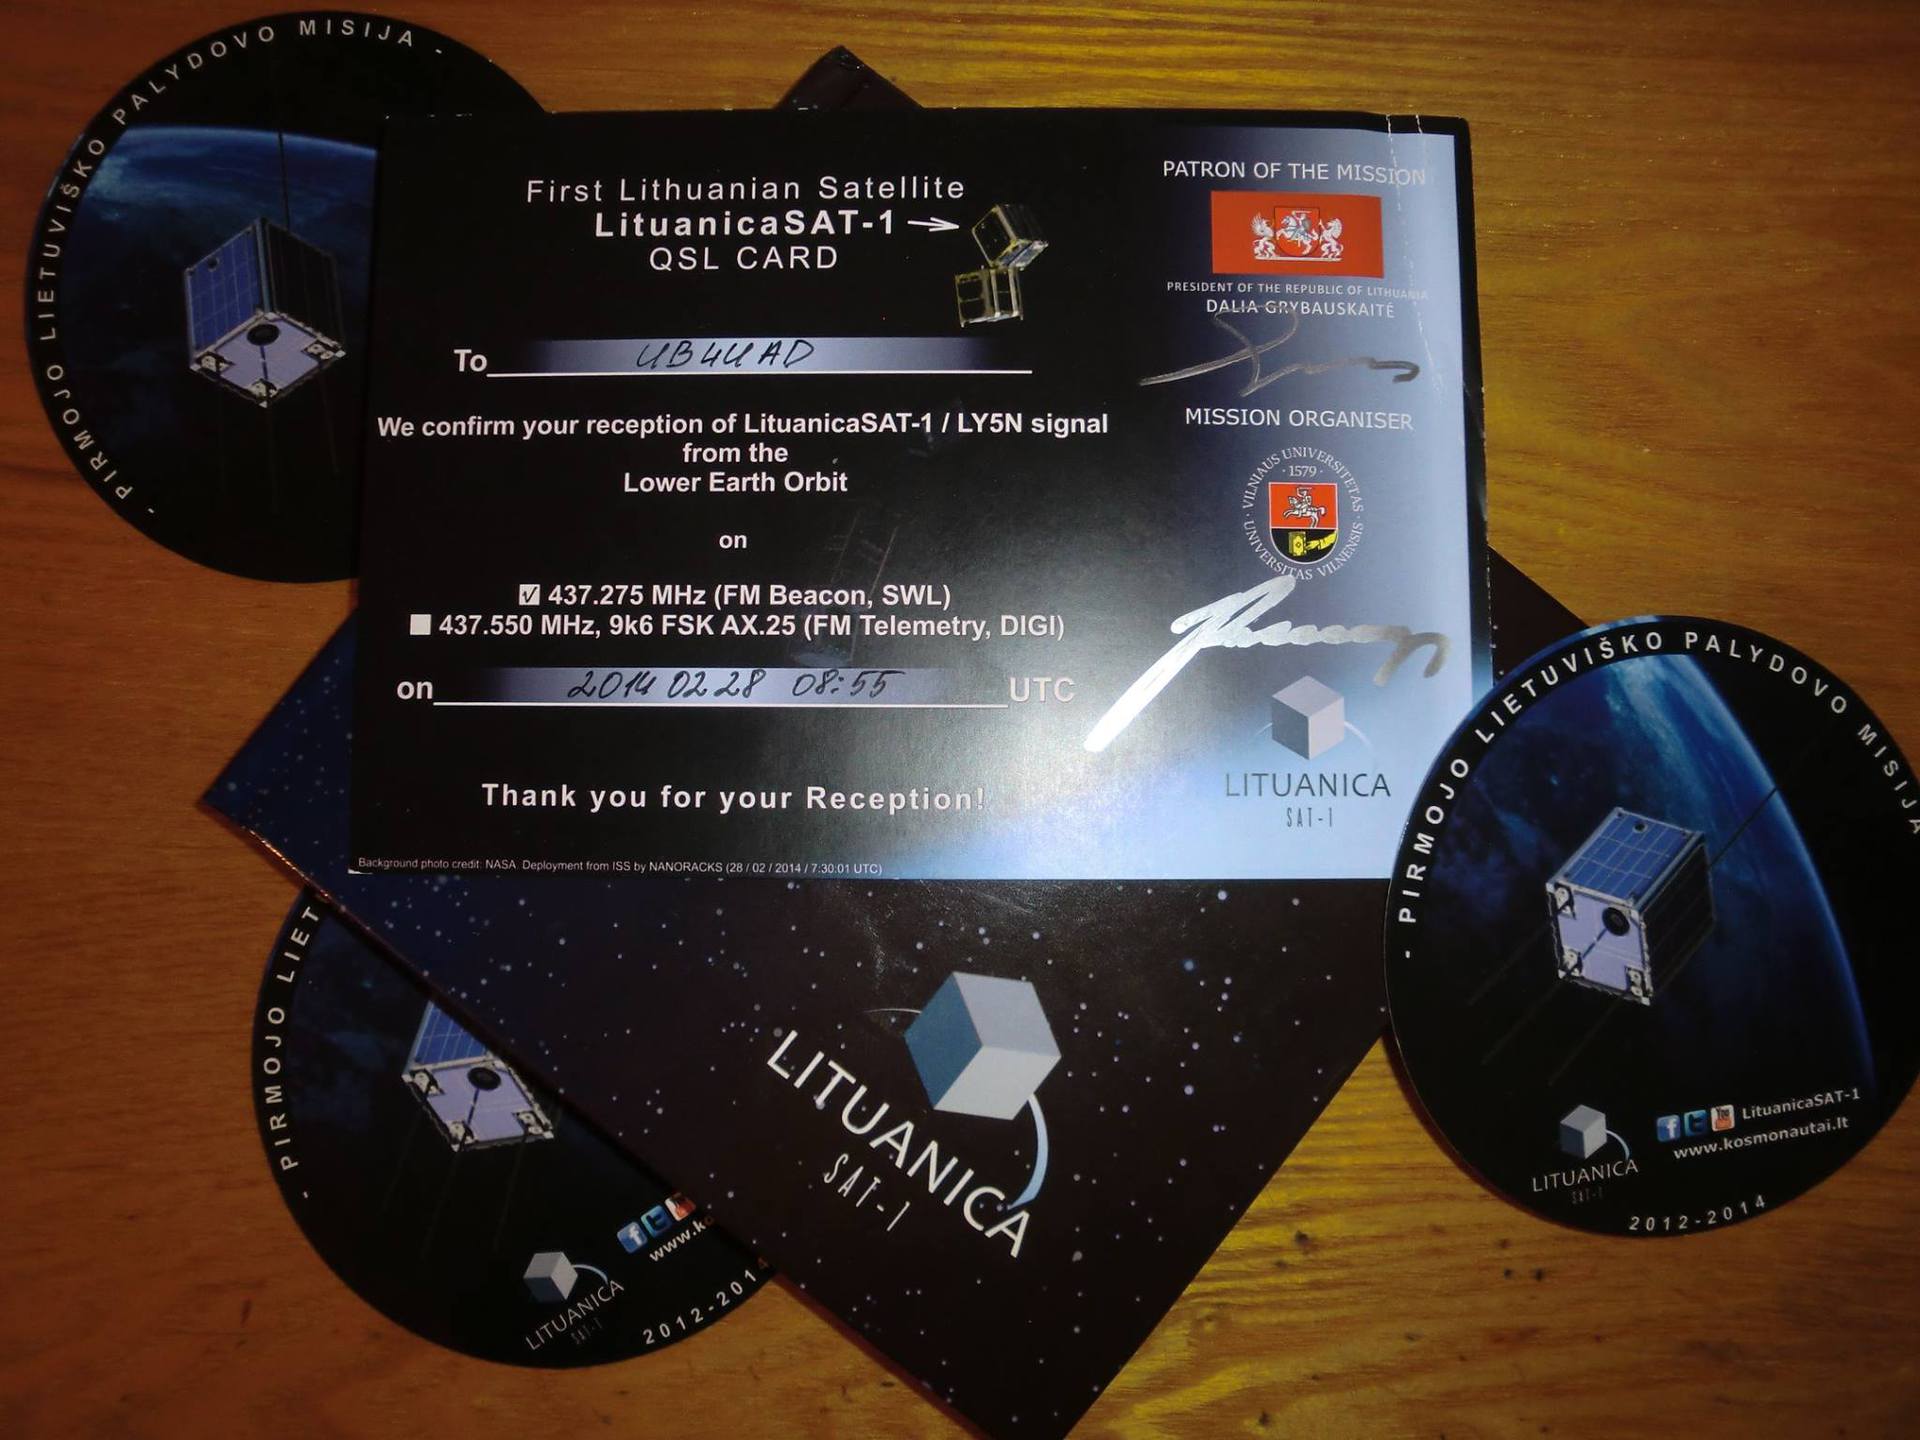
The answer is quite simple - through them to receive telemetry from spacecraft. And what to do with it is up to you. As an example, you can send telemetry to the satellite developer and their scientific team and thereby help the project. Some projects encourage this and send various souvenirs (company stickers, pens, badges, notebooks).

You can accumulate it for yourself and watch how the state of the device changes during the observation period. You can participate in various experiments, take pictures that astronauts transmit via SSTV .
 For these purposes, there is a specially developed software for Windows and Linux. But this is not limited to the reception of pictures and telemetry. Onboard the ISS, they are conducting the Ten-Mayak space experiment. The goal of the Shadow CE is to observe the effects of the scattering of radio waves in artificial plasma formations in space by means of their radio sounding under various geophysical conditions.
In a given region, a plasma jet is emitted from the board of the orbital station and the onboard radio beacon operating in the amateur radio frequency bands, probe signals are emitted, which are timestamps. The probe radiation is received by the ground measuring VHF network. The plasma jet partially shields the antenna of the beacon, creating a region of radio shadow, the boundary of which moves along the surface of the Earth according to the motion of the satellite. When a ground-based receiver enters the radio shadow region, a breakdown occurs (“cut-off” of the signal), and when it leaves the radio shadow, it resumes reception. The duration of each of several CE sessions is approximately 6-8 minutes.
The task of each ground participant in the experiment is to register the “cut-off” and resumption of signal reception by time stamps and then send this information together with a message about their geographical location at the time of reception to the Information Collection and Processing Center (TSSONI). You can find out more on the experiment page . For participation send special cards (QSL) signed by the astronaut. In general, the space is large. But I will not list everything that can be done with a receiver, it will take a lot of time, but we will focus on the example of receiving telemetry from a small UK satellite FUNCube-1 (for others it will be the same).

The FUNCube-1 satellite was launched on November 21, 2013 at 7:10 UTC from the Yasny cosmodrome (Dombrovsky airbase, Orenburg region, Russia) on the Dnepr rocket. It was created and launched as the second half of the “space for students” educational program where the task was to allow everyone to receive information from the board of a real satellite. The device is a 1U cube, that is, a volume of 1 liter, or 10x10 cm. On board there is a repeater (transponder) that can be used to communicate between radio amateurs when it is turned on. Since it consumes energy, for the time when the satellite flies over the illuminated territory it is turned off, and telemetry transmission for reception to students is turned on, which is the main task. The device transmits at a frequency: 145.936 MHz, USB modulation, speed 1200bps BPSK.
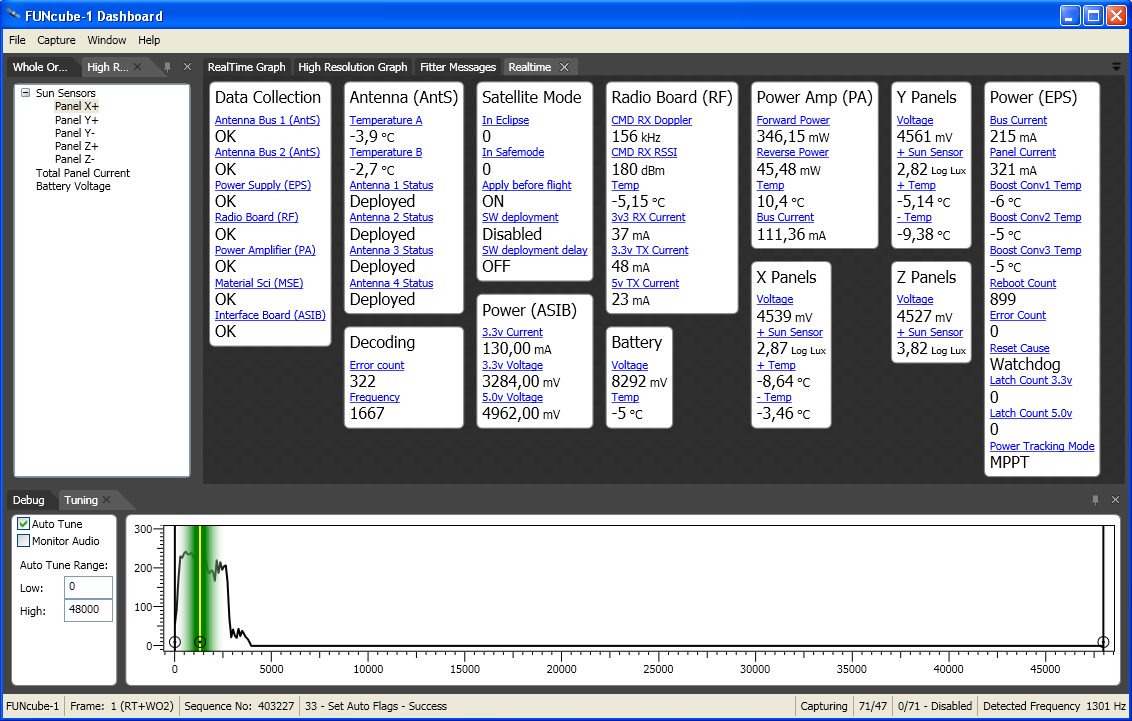
To obtain data from it, the developers developed special software - FUNcube Dashboard Installer v848 .

The program requires Microsoft .NET Framework 3.5. After installing the telemetry decoder, you need to register in the system so that the program automatically sends the data you received to the serverFunCube-1, where all received information from all stations and telemetry is displayed in real time. Registration in the system occurs on the same page, after which you will receive a code that will need to be inserted into the program (File-Settings-Warehouse) for personal identification. We save and reload the program. Now in the operating system you need to enable the "stereo mixer". This is necessary so that the program can take the sound of the signal from the satellite and decode it.
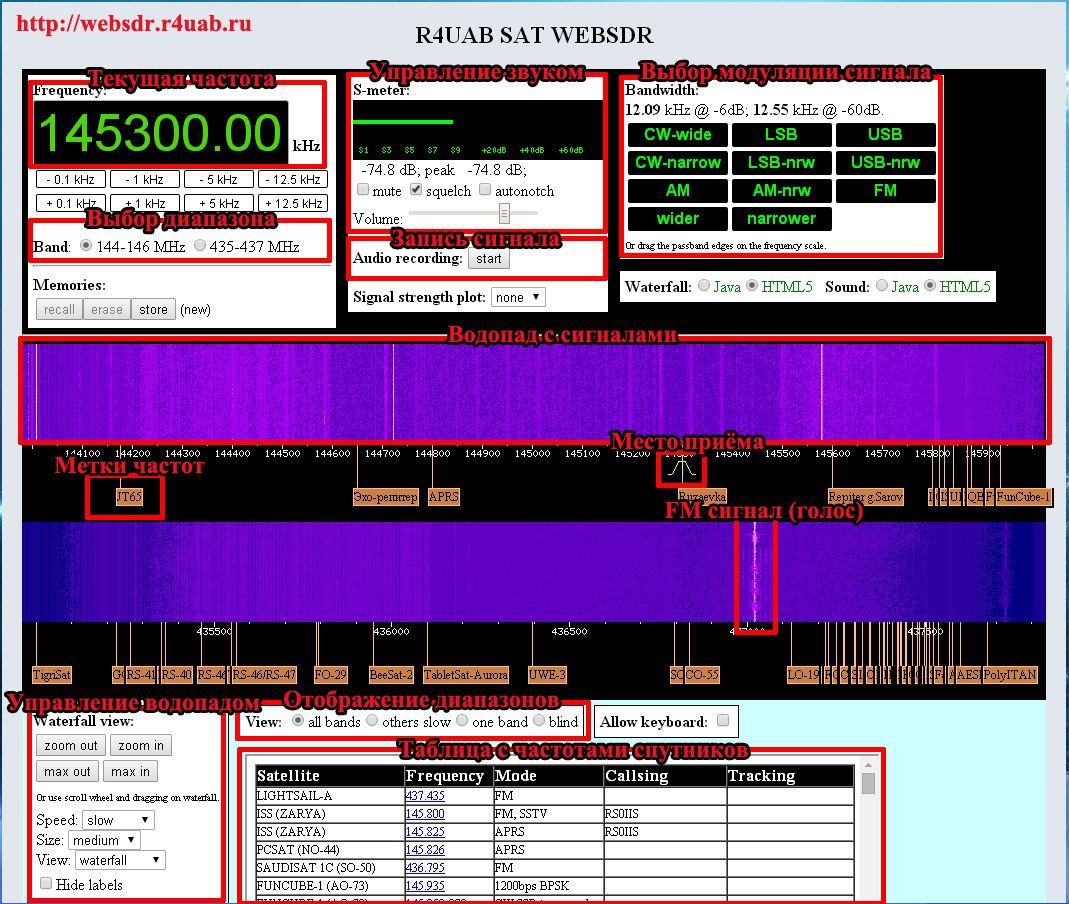
After turning on the “stereo mixer” to the program, we show that we will take the sound from the audio card. To do this, in the FUNCube-1 Dashboard menu, activate Capture-Capture From SoundCard. The decoder is ready. Now we are waiting for the satellite to fly over any receiving station. I will show with my example. We follow the link http://r4uab.ru/satpass.txtand look for the FUNCube-1 flight time for the date and time (please note the time is indicated in UTC, for Moscow it is +3 hours). At the appointed hour “X”, go to the WEBSDR page of the receiver http://websdr.r4uab.ru and tune to a frequency of 145.935 MHz. This can be done using the satellite table on the page. By clicking on the frequency of 145.935, the receiver will go to it and turn on the necessary modulation of the signal.
Use the mouse wheel to enlarge the waterfall near the "yellow triangle" for a comfortable display. As soon as the FUNCube-1 flies into the radio visibility zone of the receiving station, you will remove the signal at the waterfall. Grabbing the “yellow marker”, drag it into the signal area and make sure it remains there (the frequency will change due to the Doppler effect). If necessary, reduce the volume of the incoming audio stream to the program. The video shows how this will happen and what actions need to be performed
After a short workout, everything will work out the first time. In addition to the article, if anyone wants to listen to something else, there is a table with satellite frequencies on the page .
The main WEBSDR controls:

I could not pass by and not say about the LightSail-A satellite , which is now preparing to deploy a solar sail. The project team needs telemetry data outside the coverage area of their receiving stations.
