Meegopad T01 Linux Installation Guide. To work as a remote server
This publication is my continuation of Axgio Windows Mini PC. Hello from China - An Atomic Baby Review . ” I wanted to make a remote Linux server without a keyboard and monitor. Installing Ubuntu 04/14/02 64 LTS with minimal modifications, which provides 5 years of support. As well as problems that were resolved by the campaign loading, text console, starting without a monitor.
Meegopad exists in two versions:
a) RAM 2GB + DISK 32 GB CPU Intel® Atom (TM) CPU Z3735F @ 1.33GHz
b) RAM 1GB + DISK 16 GB CPU Intel® Atom (TM) CPU Z3735E is not sure when buying it is better to take the maximum option .
Article on maximum modification A
Received this device on Friday.
Appearance:
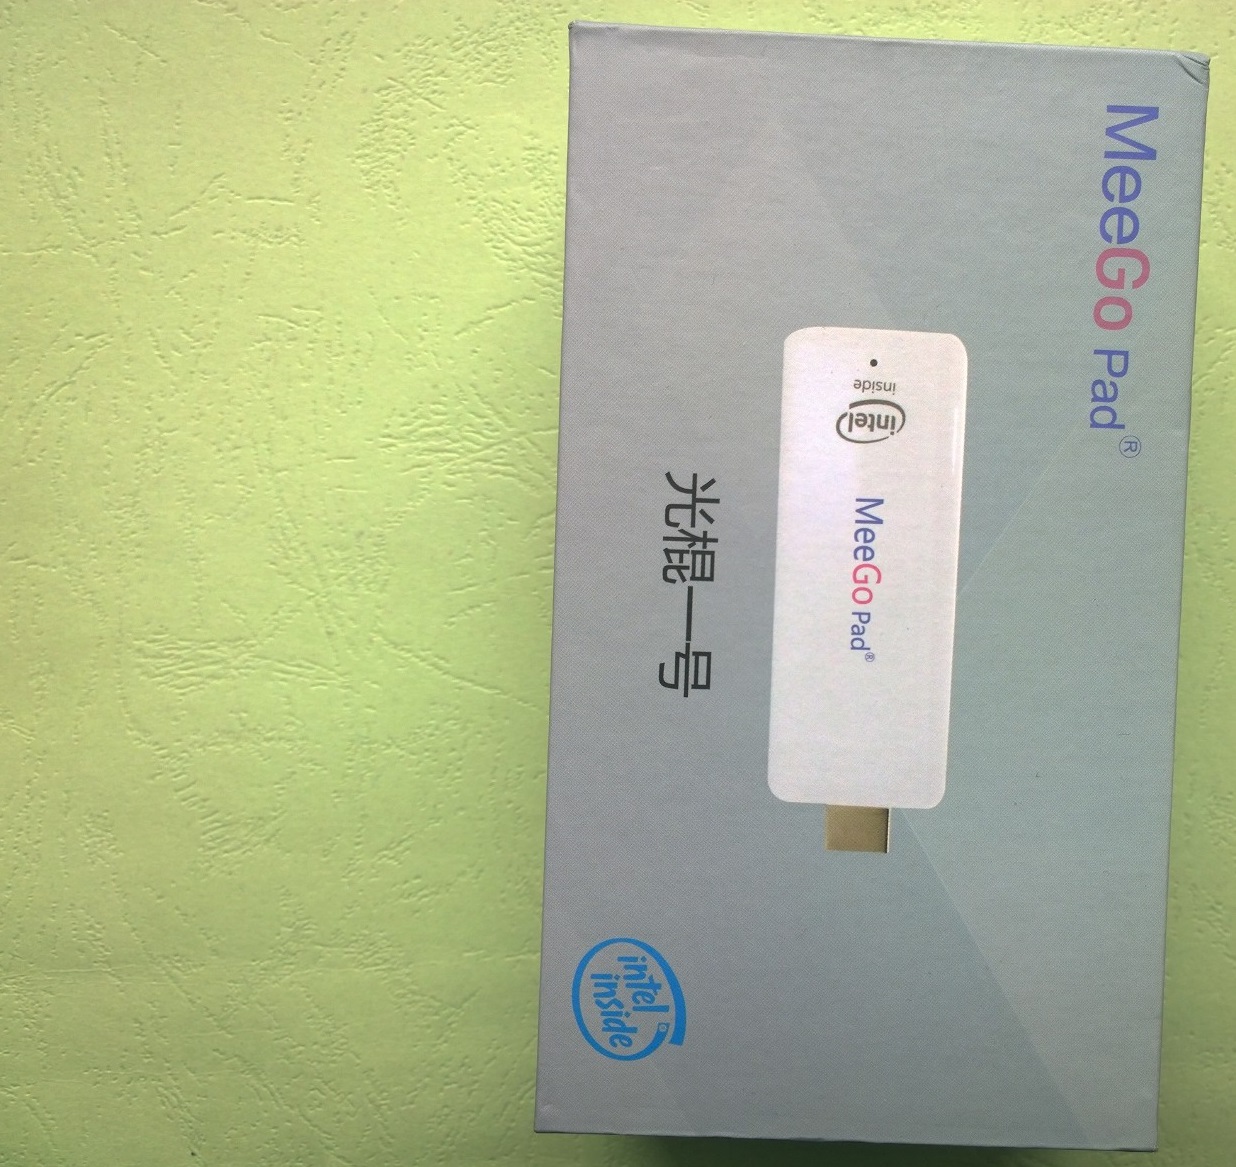
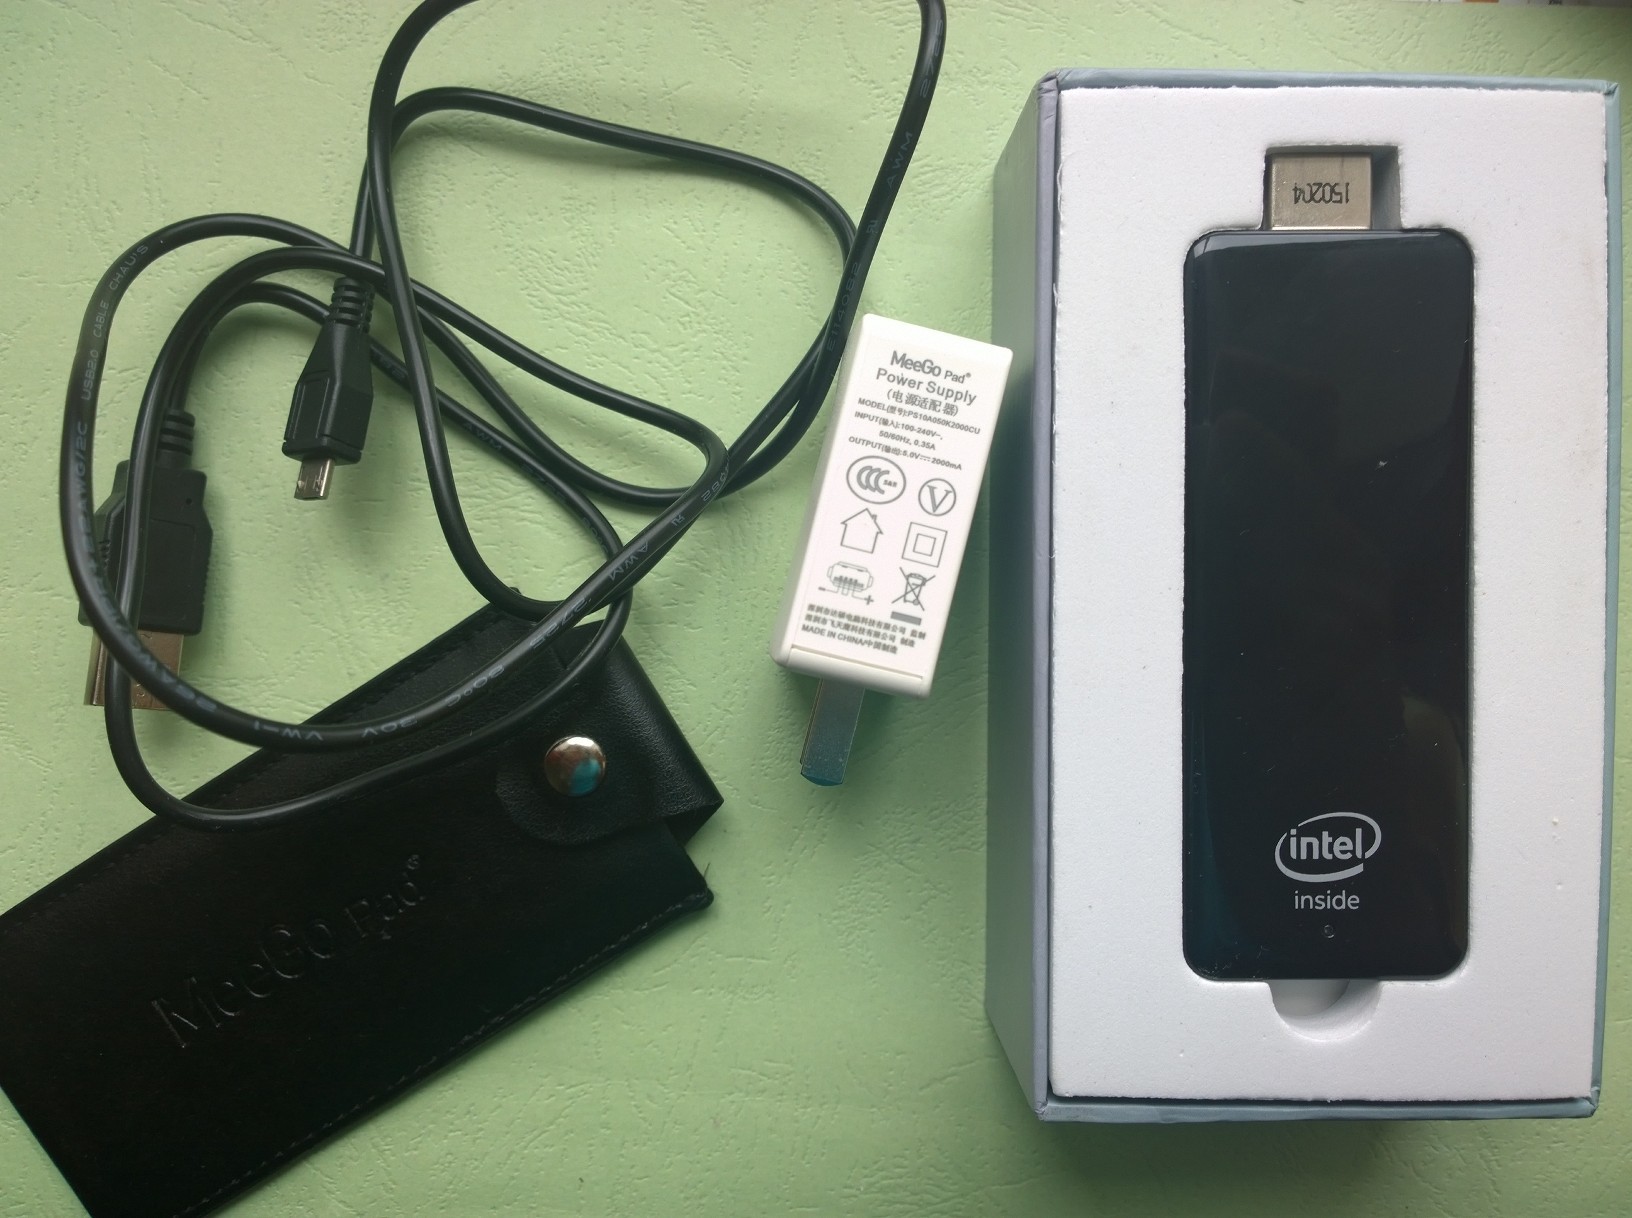
Minimalistic set, 5V / 2A power supply, leather case, warranty, mini manual.
Specification of the ordered device:
- processor: Intel Atom Z3735F
- RAM: 2 GB
- built-in 32GB drive
- two microUSB 2.0 ports (one of which is intended only to power the device)
- one full-sized USB 2.0 port;
- Wi-Fi 802.11b / g / n;
- Bluetooth 4.0;
- microSD slot
- HDMI connector
OS: Windows 8.1 on board + Android
Power 5V / 2A
Additionally ordered an HDMI cable -> VGA + HDMI adapter mother / mother. Plus Ethernet Adapter + USB Hub.
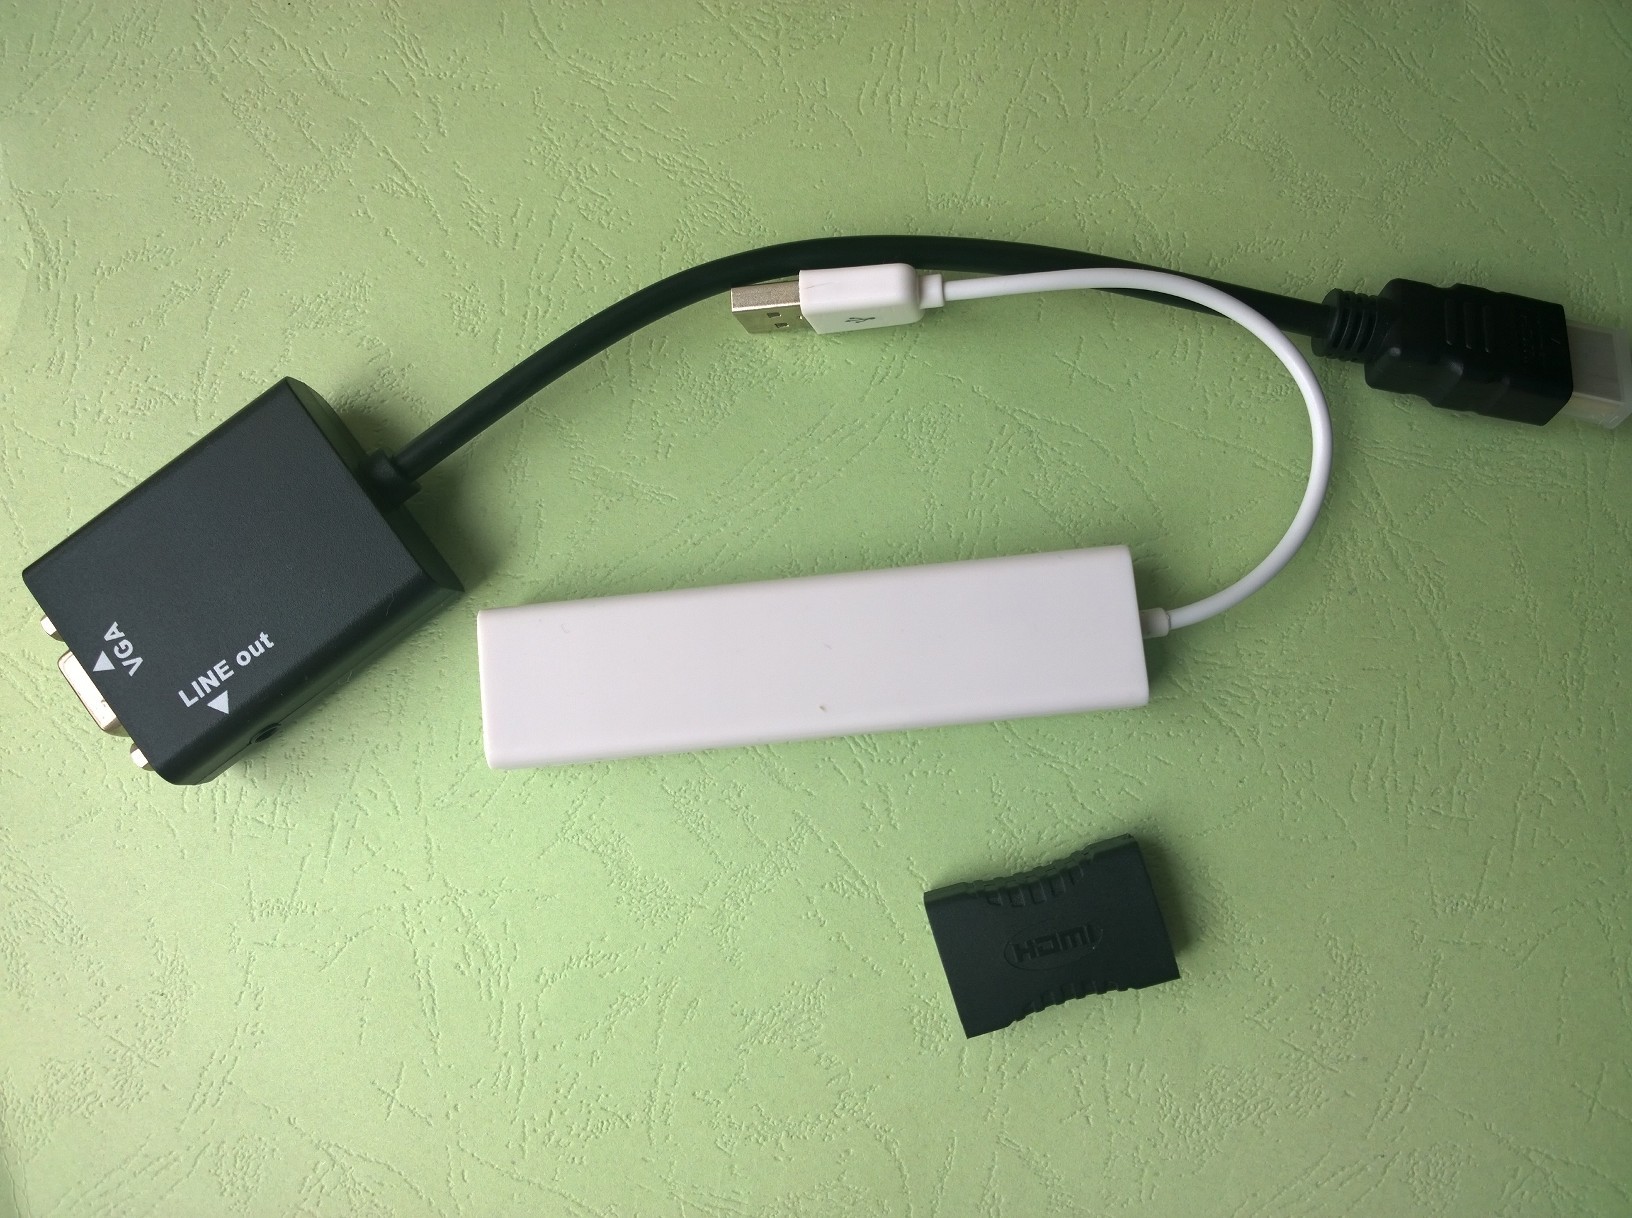
Of the two HDMI-> VGA cables, one even worked poorly, the screen turned off periodically.
To install ubuntu, I chose UBUNTU 04/14/02 64 bit
Installation flash drive did according to the instructions create a flash drive in windows .
The flash drive’s key point will not load since the device has problems with 64 bit downloads. On a flash drive in the EFI \ BOOT directory, I copied bootia32.efi .
A hit in the BIOS can be made using the F7 key.
Before all operations, it makes sense to make a copy with any tool from
under the downloaded "Try Ubuntu without install" flash drive
sudo dd if = / dev / mmcblk0 of = Where there is enough space 32 GB.
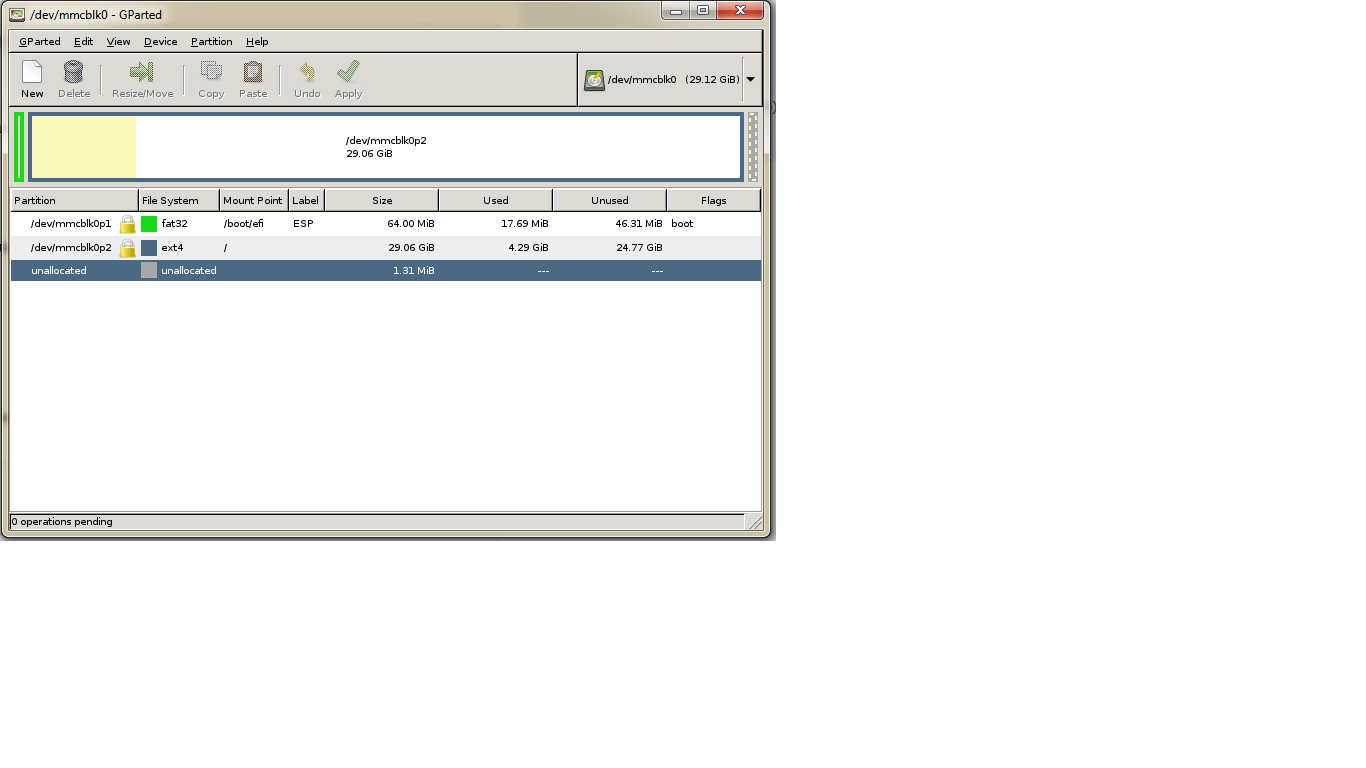
Partitioning I did two. One where I did not touch UEFI, I did the rest of the sections in one piece.
Installation of Linux was done in the usual way, a usb ethernet adapter was connected to the computer and for the Internet to work). Installed Linux will not have WIFI, Bluetoot, I assume the use of this device with a USB -> Ethernet card.
We don’t select the overload, some magic is to be done with chroot go to the console (ctrl + alt + f2)
# / dev / mmcblkp01 FAT32 the section that went on the device
This section has general recommendations
on my device two sections "/ dev / mmcblkp01" - EFI
/ dev / mmcblkp02 - Where ubunta is installed.
Carefully use,
depending on your installation,
sudo -i
mkdir / target
mount / dev / mmcblkp02 / target
# / target / boot / efi must be connected otherwise there will be no bootloader when reinstalling the package
mount / dev / mmcblkp01 / target / boot / efi
mount --bind / dev / / target / dev
chroot / target
mount -t proc none / proc
mount -t sysfs none / sys
mount -t devpts none / dev / pts
# internet DNS setup
echo nameserver 8.8.8.8> /etc/resolv.conf
Now we can begin to resolve certain issues.
1) This installation will not be loaded from the specifics of the iron. 32 EFI bootloader
apt-get update
apt-get -y remove grub-efi-amd64
apt-get -y install grub-efi-ia32
after installation in / boot / efi / EFI / is needed ubuntu
bootia32.efi grub.efi grubx64.efi shimx64.efi
grub.cfg grubia32.efi MokManager.efi
in / boot / efi I did not delete other EFI bootloaders
/ boot / efi / EFI $ ls
BOOT Intel.tar.gz Microsoft.tar.gz ubuntu
ss you can install more packages to your taste SSH server for example
2) Since this computer will exist without a monitor and keyboard in GRUB you need to specify it is loaded into the console.
you need to edit in / etc / default / grub
# GRUB_CMDLINE_LINUX_DEFAULT = "quiet splash"
GRUB_CMDLINE_LINUX_DEFAULT = "text"
After editing, you need to update the configuration.
update-grub
3) Network setup
With a Network Card if you need a static address if DHCP does not suit:
/ etc / network / interfaces
4) You can restart the computer .
In the BIOS, you need to check the boot sequence so that it always loads with ubuntu.
The computer will not boot without a monitor. I hadto go buy a monitor on the radio market . I inserted 3 resistance values of 68 OM into the adapter, as shown in the picture.
This ensures that the computer boots without a monitor.
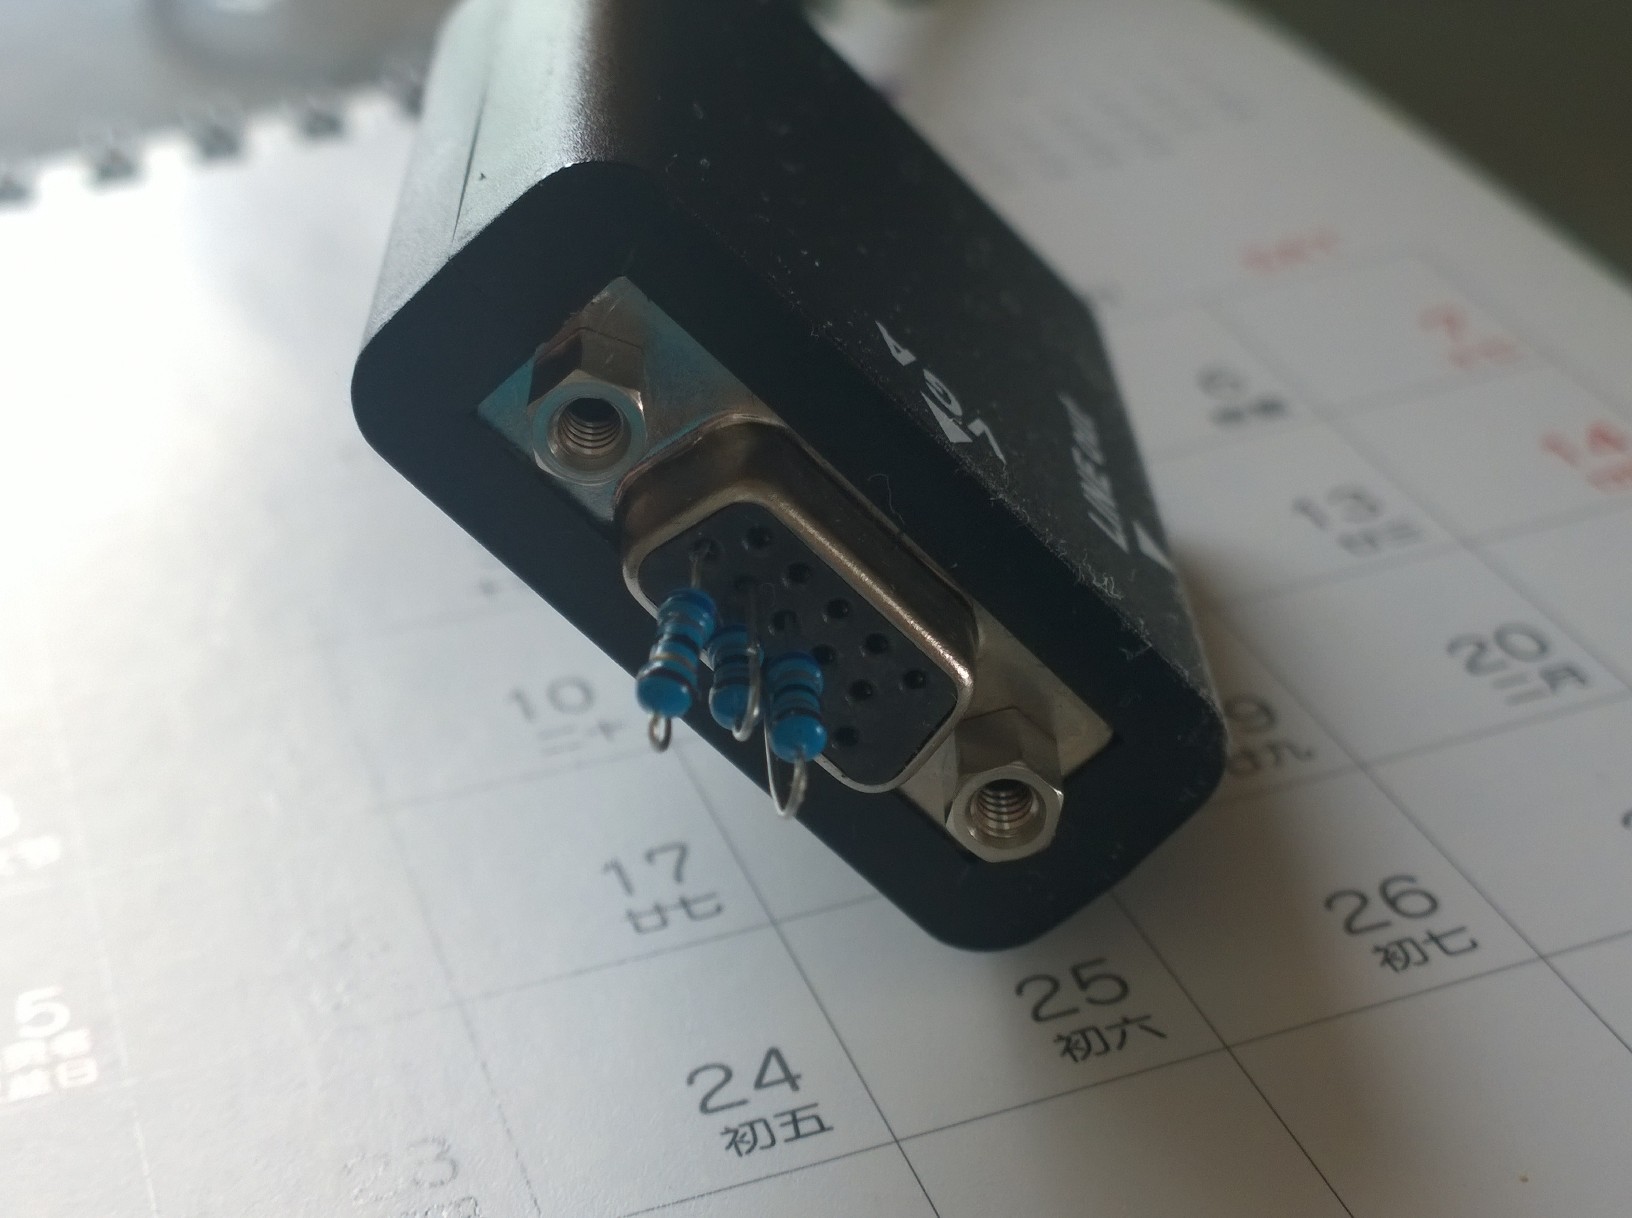
On the Internet, they recommend 68 ohms or 75 ohms.
From under Windows you can use Xming + Putty
. Putty needs to specify this setting.
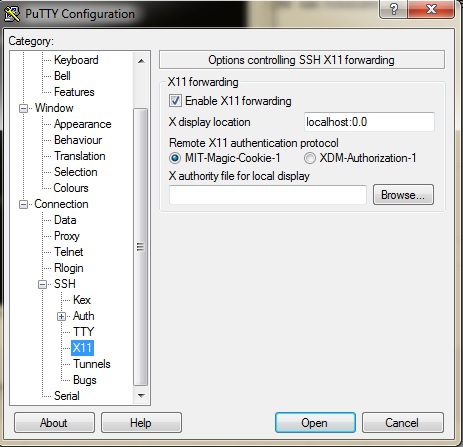
And on the remote computer, you can run X-Window applications xclock, firefox, and so on.
Meegopad exists in two versions:
a) RAM 2GB + DISK 32 GB CPU Intel® Atom (TM) CPU Z3735F @ 1.33GHz
b) RAM 1GB + DISK 16 GB CPU Intel® Atom (TM) CPU Z3735E is not sure when buying it is better to take the maximum option .
Article on maximum modification A
Received this device on Friday.
Appearance:
Minimalistic set, 5V / 2A power supply, leather case, warranty, mini manual.
Specification of the ordered device:
- processor: Intel Atom Z3735F
- RAM: 2 GB
- built-in 32GB drive
- two microUSB 2.0 ports (one of which is intended only to power the device)
- one full-sized USB 2.0 port;
- Wi-Fi 802.11b / g / n;
- Bluetooth 4.0;
- microSD slot
- HDMI connector
OS: Windows 8.1 on board + Android
Power 5V / 2A
Additionally ordered an HDMI cable -> VGA + HDMI adapter mother / mother. Plus Ethernet Adapter + USB Hub.
Of the two HDMI-> VGA cables, one even worked poorly, the screen turned off periodically.
To install ubuntu, I chose UBUNTU 04/14/02 64 bit
Installation flash drive did according to the instructions create a flash drive in windows .
The flash drive’s key point will not load since the device has problems with 64 bit downloads. On a flash drive in the EFI \ BOOT directory, I copied bootia32.efi .
A hit in the BIOS can be made using the F7 key.
Before all operations, it makes sense to make a copy with any tool from
under the downloaded "Try Ubuntu without install" flash drive
sudo dd if = / dev / mmcblk0 of = Where there is enough space 32 GB.
Partitioning I did two. One where I did not touch UEFI, I did the rest of the sections in one piece.
Installation of Linux was done in the usual way, a usb ethernet adapter was connected to the computer and for the Internet to work). Installed Linux will not have WIFI, Bluetoot, I assume the use of this device with a USB -> Ethernet card.
We don’t select the overload, some magic is to be done with chroot go to the console (ctrl + alt + f2)
# / dev / mmcblkp01 FAT32 the section that went on the device
This section has general recommendations
on my device two sections "/ dev / mmcblkp01" - EFI
/ dev / mmcblkp02 - Where ubunta is installed.
Carefully use,
depending on your installation,
sudo -i
mkdir / target
mount / dev / mmcblkp02 / target
# / target / boot / efi must be connected otherwise there will be no bootloader when reinstalling the package
mount / dev / mmcblkp01 / target / boot / efi
mount --bind / dev / / target / dev
chroot / target
mount -t proc none / proc
mount -t sysfs none / sys
mount -t devpts none / dev / pts
# internet DNS setup
echo nameserver 8.8.8.8> /etc/resolv.conf
Now we can begin to resolve certain issues.
1) This installation will not be loaded from the specifics of the iron. 32 EFI bootloader
apt-get update
apt-get -y remove grub-efi-amd64
apt-get -y install grub-efi-ia32
after installation in / boot / efi / EFI / is needed ubuntu
bootia32.efi grub.efi grubx64.efi shimx64.efi
grub.cfg grubia32.efi MokManager.efi
in / boot / efi I did not delete other EFI bootloaders
/ boot / efi / EFI $ ls
BOOT Intel.tar.gz Microsoft.tar.gz ubuntu
ss you can install more packages to your taste SSH server for example
2) Since this computer will exist without a monitor and keyboard in GRUB you need to specify it is loaded into the console.
you need to edit in / etc / default / grub
# GRUB_CMDLINE_LINUX_DEFAULT = "quiet splash"
GRUB_CMDLINE_LINUX_DEFAULT = "text"
After editing, you need to update the configuration.
update-grub
3) Network setup
With a Network Card if you need a static address if DHCP does not suit:
/ etc / network / interfaces
4) You can restart the computer .
In the BIOS, you need to check the boot sequence so that it always loads with ubuntu.
The computer will not boot without a monitor. I had
This ensures that the computer boots without a monitor.
On the Internet, they recommend 68 ohms or 75 ohms.
From under Windows you can use Xming + Putty
. Putty needs to specify this setting.
And on the remote computer, you can run X-Window applications xclock, firefox, and so on.