Wall mount bracket for tablet
Good day to all.

I want to share my development for wall mounting the tablet.
There was a need to introduce a wall-mounted terminal of a “smart” home. A suitable tablet was found, and two problems arose: fixing the tablet to the wall and its power. Ready-made solutions did not fit for several reasons, firstly they were painfully expensive, and secondly their design provided a great distance from the wall, which I didn’t like very much, I wanted to place as close to the wall as possible. Thirdly, in the city I did not find anything suitable and the fastening would have to be ordered from China. Although maybe I was just looking badly. As a result, it was decided to make the bracket yourself.
Because Since the tablet was supposed to be used not only for information output, but also as an IP camera using the tablet’s front camera, it was necessary to provide for the required angle in the mount design so that the camera looked “where it should be.”
Foamed polypropylene with a thickness of 3 mm was chosen as the material for the manufacture. It’s a very cool thing, you can buy from advertisers for a penny, it is easy to cut with an ordinary clerical knife, it is glued with “super glue” quickly and tightly. In short, not material, but a pleasure. As a result, such a design was developed.
It consists of two parts, the first is attached to the wall with screws, the tablet itself is attached to the second. The tablet mount to the bracket is borrowed from a case purchased in China. It is made of four paper clips and “underpants” gum. Two halves are connected through a tongue-and-groove connection installed at the required angle (the required angle is set during development :-)). Fastens securely, not noticeably, and can always be disassembled. Initially, it was supposed to make a rotary structure with a servo drive, but it was decided to first make a conventional fastener for testing, well, as they say, there is nothing more permanent than temporary.
Now about the second problem - the power of the tablet. Because the tablet was located immediately above the switch, then I would like to take power from there, but where to get the power in the switch? Of course, it would be possible to tidy up in a soldering box, but they were lost after the repair and did not want to look for them. The fact is that the switch is double, and the chandelier used in this room is designed for only one phase. There is a phase in the circuit breaker, it remains to find the zero that was forwarded by the assumed second phase, which is switched on by the second half of the circuit breaker. It was not possible to explain with words, so I will show in the diagram.
It was:

It became:

A board pulled out of unnecessary charging from a tablet (smartphone) of suitable power and hidden behind a switch was connected to the resulting zero and phase. (did not take a photo, sorry). A wire is led out to the tablet bracket, on the second end of which there is a USB connector for the charging wire.

(children's rock paintings are visible on the side, painfully they have chosen this corner)
It works, does not cause any complaints.
I want to share my development for wall mounting the tablet.
There was a need to introduce a wall-mounted terminal of a “smart” home. A suitable tablet was found, and two problems arose: fixing the tablet to the wall and its power. Ready-made solutions did not fit for several reasons, firstly they were painfully expensive, and secondly their design provided a great distance from the wall, which I didn’t like very much, I wanted to place as close to the wall as possible. Thirdly, in the city I did not find anything suitable and the fastening would have to be ordered from China. Although maybe I was just looking badly. As a result, it was decided to make the bracket yourself.
Because Since the tablet was supposed to be used not only for information output, but also as an IP camera using the tablet’s front camera, it was necessary to provide for the required angle in the mount design so that the camera looked “where it should be.”
Foamed polypropylene with a thickness of 3 mm was chosen as the material for the manufacture. It’s a very cool thing, you can buy from advertisers for a penny, it is easy to cut with an ordinary clerical knife, it is glued with “super glue” quickly and tightly. In short, not material, but a pleasure. As a result, such a design was developed.
Some pictures


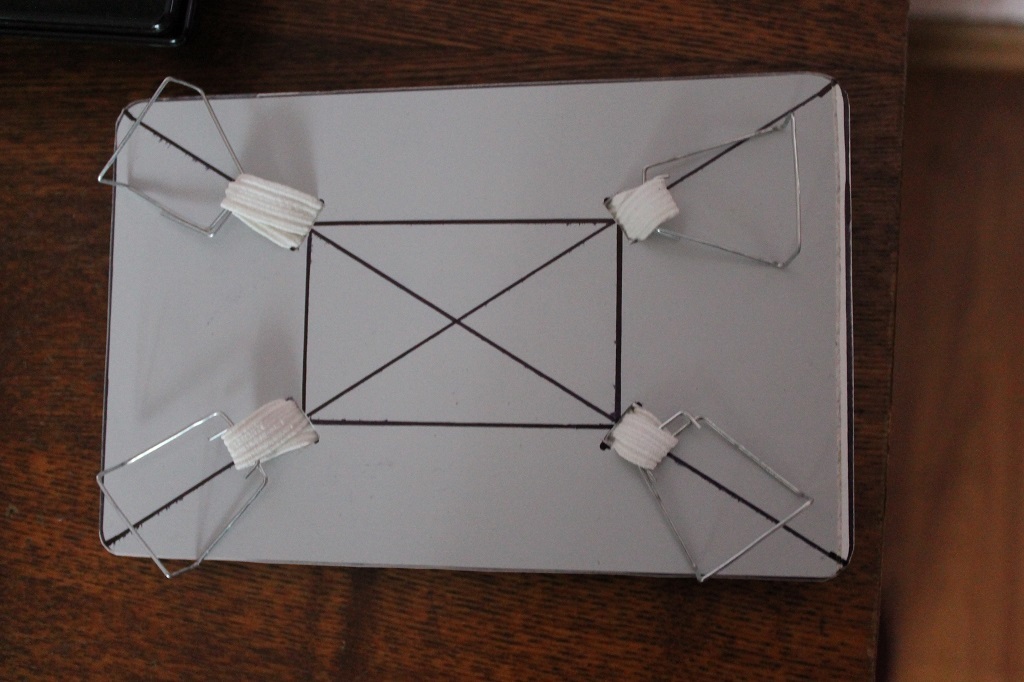
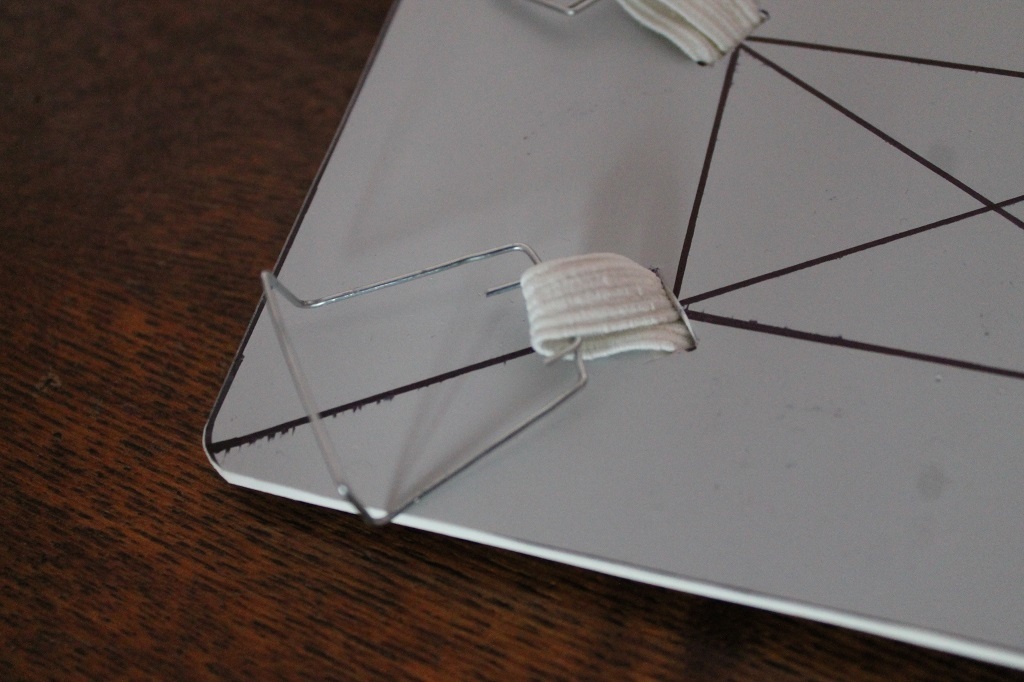
It consists of two parts, the first is attached to the wall with screws, the tablet itself is attached to the second. The tablet mount to the bracket is borrowed from a case purchased in China. It is made of four paper clips and “underpants” gum. Two halves are connected through a tongue-and-groove connection installed at the required angle (the required angle is set during development :-)). Fastens securely, not noticeably, and can always be disassembled. Initially, it was supposed to make a rotary structure with a servo drive, but it was decided to first make a conventional fastener for testing, well, as they say, there is nothing more permanent than temporary.
Now about the second problem - the power of the tablet. Because the tablet was located immediately above the switch, then I would like to take power from there, but where to get the power in the switch? Of course, it would be possible to tidy up in a soldering box, but they were lost after the repair and did not want to look for them. The fact is that the switch is double, and the chandelier used in this room is designed for only one phase. There is a phase in the circuit breaker, it remains to find the zero that was forwarded by the assumed second phase, which is switched on by the second half of the circuit breaker. It was not possible to explain with words, so I will show in the diagram.
It was:
It became:
A board pulled out of unnecessary charging from a tablet (smartphone) of suitable power and hidden behind a switch was connected to the resulting zero and phase. (did not take a photo, sorry). A wire is led out to the tablet bracket, on the second end of which there is a USB connector for the charging wire.
(children's rock paintings are visible on the side, painfully they have chosen this corner)
It works, does not cause any complaints.