Real-time object classification
Posted by Igor Panteleev, Software Developer, DataArt
Image recognition is very widely used in machine learning. There are many different solutions in this area, however, none of them satisfied the needs of our project. We needed a completely local solution that can run on a tiny computer and transfer recognition results to a cloud service. This article describes our approach to creating a solution for image recognition using TensorFlow.
Yolo
YOLO is an advanced real-time object detection system. On the official website, you can find SSD300, SSD500, YOLOv2 and Tiny YOLO, who have been trained with two different data sets: VOC 2007 + 2012 and COCO. You can find even more configuration options and datasets for machine learning on the Internet (for example, YOLO9k). Thanks to the wide range of options available, you can choose the version that is most suitable for your needs. For example, Tiny YOLO is the most “compact” option that can work quickly even on smartphones or Raspberry Pi. We liked the last option, and we used it in our project.
DarkNet and TensorFlow
The Yolo model was developed for a neural network based on DarkNet , but for us, some features of this solution are not suitable. DarkNet stores trained coefficients (weights) in a format that can be recognized using various methods on different platforms. This problem can be a stumbling block, because you may need to train the model on heavy duty equipment, and then use it on other equipment. DarkNet is written in C and does not have a different programming interface, so if the platform requirements or your own preferences force you to turn to another programming language, you will have to work on its integration. It is also distributed only in source code format, and the compilation process on some platforms can be very problematic.
On the other hand, we have TensorFlow, a convenient and flexible computing system that can be used on most platforms. TensorFlow provides APIs for Python, C ++, Java, Go and other languages.community supported programming. The default configuration framework can be installed with one click, but if you want more (for example, support for specific processor instructions), you can easily compile from a source with automatic hardware detection. Running TensorFlow on the GPU is also quite simple. All you need is NVIDIA CUDA and tenorflow-gpu, a special GPU-enabled package. A huge advantage of TensorFlow is its scalability. It can use both multiple GPUs to improve performance, and clustering for distributed data processing.
We decided to take the best of both worlds and adapt the YOLO model for TensorFlow.
Responsive Yolo for TensorFlow
So, our task was to transfer the YOLO model to TensorFlow. We wanted to avoid any third-party dependencies and use YOLO directly with TensorFlow. First we needed to transfer the structure of the model, the only way to do this is to repeat the model in layers. Fortunately for us, there are many open source converters that can do this. For our purposes, DarkFlow turned out to be the most suitable solution . We added a simple function to DarkFlow, which allows us to save TensorFlow breakpoints in metadata, its code can be found here . You can do it manually, but if you want to try different models, it’s easier to automate this process.
Our YOLO model has a strict input data array size of 608x608 pixels. We needed some kind of interface that can accept any image, normalize it and feed it into a neural network. And we have developed this interface . For normalization, it uses TensorFlow, which works much faster than other solutions we tested (native Python, numpy, openCV).
The last layer of the YOLO model returns functions that require conversion to data of a certain form that a person can read. We added some operations after the last layer to get the coordinates of the detection zone.
As a result, we developed a Python module that can restore a model from a file, normalize the input data, and then process functions from the model to obtain bounding fields for the predicted classes.
Model training
For our purposes, we decided to use a pre-trained model. Trained odds are available on the official YOLO website . The next task was to import DarkNet weights into TensorFlow, this was done as follows:
- Reading layer data in the DarkNet configuration file;
- Reading the trained coefficients from the DarkNet scale file in accordance with the layer structure;
- Preparing a TensorFlow layer based on DarkNet layer data;
- Adding links in a new layer;
- Repeat for each layer.
For this we used DarkFlow.
Model Architecture and Data Flow
Typically, with each iteration, the classifier makes an assumption as to what type of object is in the window. It performs thousands of predictions for each image. This slows down the process, as a result of which recognition work is rather slow.
The biggest advantage of the YOLO model, in fact, is reflected in the name - You Only Look Once. This model superimposes a grid on the image, dividing it into cells. Each cell tries to predict the coordinates of the detection zone with confidence estimates for these fields and the probability of classes. Then the confidence score for each detection zone is multiplied by the probability of the class to get the final score.
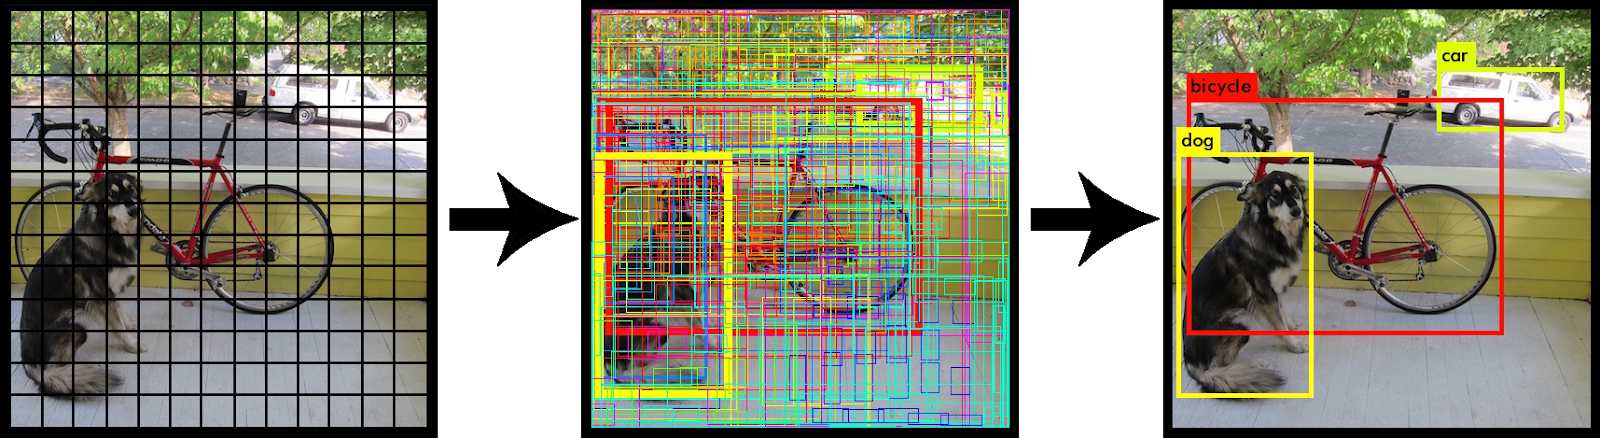
Illustration from the YOLO website .
Implementation
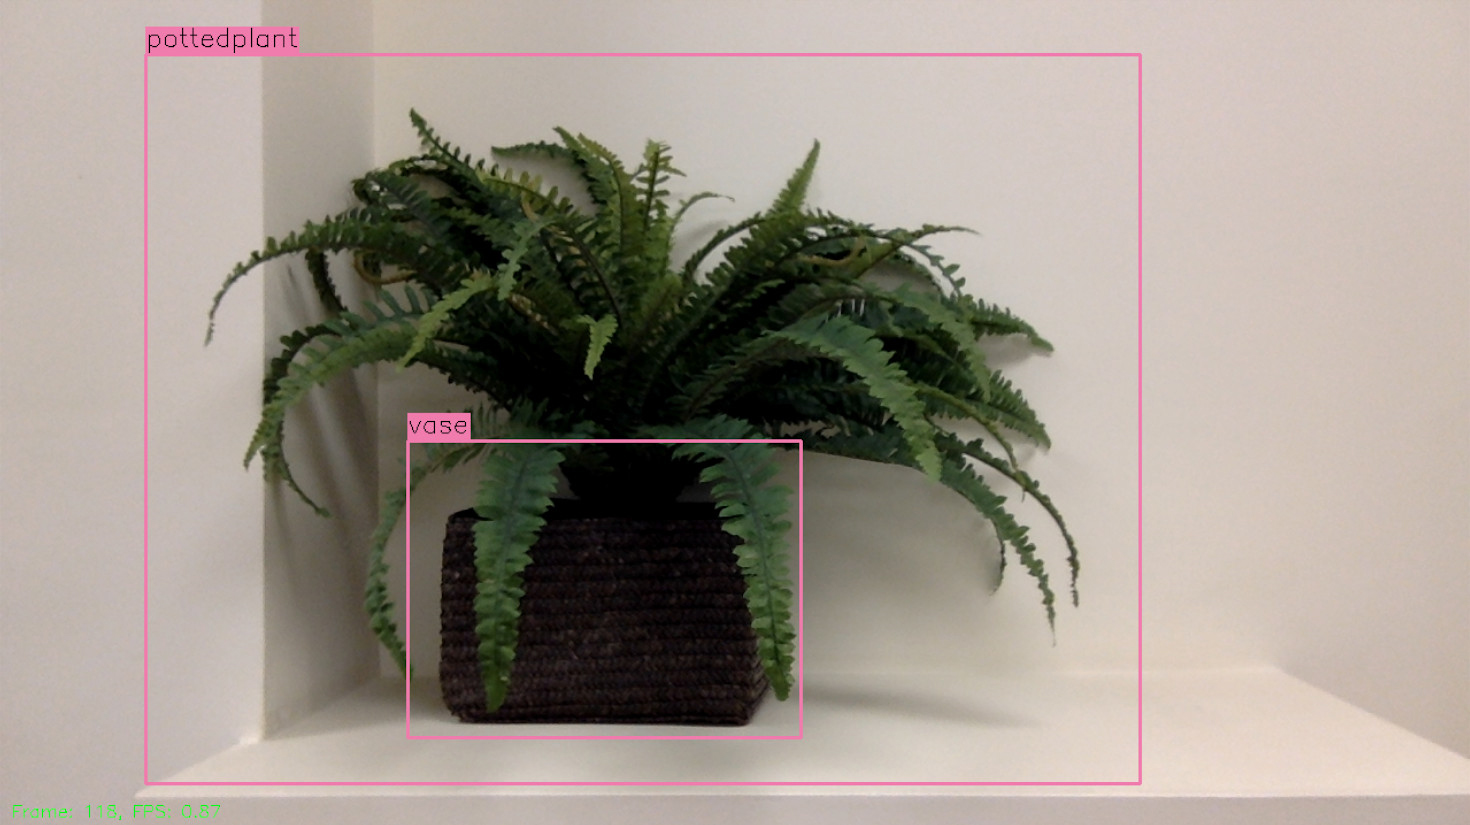
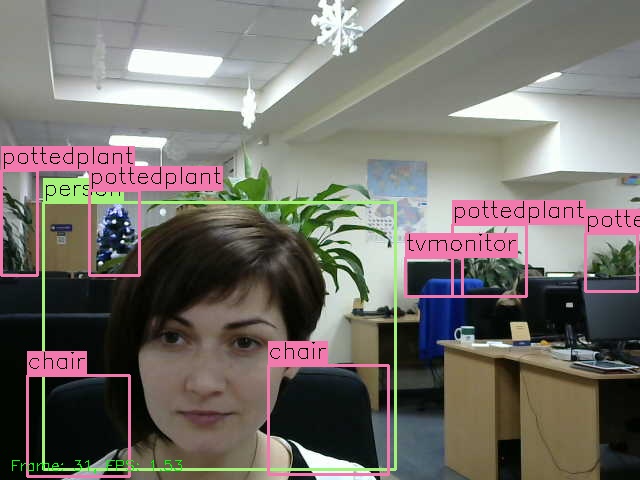
You can find a demo project in our GitHub repository , which is a pre-trained model of TensorFlow YOLO2. This model can recognize 80 classes. To run it, you need to install additional dependencies necessary for demonstration purposes (only TensorFlow is required for the model interface). After installation, just run python eval.py and it will capture the video stream from your webcam, evaluate it and display the results in a simple window with its forecasts. The evaluation process is frame-by-frame and may take some time depending on the equipment on which it is running. On a Raspberry Pi, it may take several seconds to evaluate a single frame.
You can specify a video file for this script by passing the --video argumentlike this: python eval.py --video = "/ path_to_video_file /" . The video URL can also be transmitted (tested on YouTube): python eval.py --video = ” https://www.youtube.com/watch?v=hfeNyZV6Dsk ” .
The script will skip frames from the camera during the evaluation and take the next available frame when the previous evaluation stage is completed. For recorded video, it does not skip any frames. For most tasks, it is possible to skip some frames to ensure that the process runs in real time.
IoT Integration
Of course, it would be nice to integrate the IoT service into this project, and also configure the delivery of recognition results to where other services can access them.
There is another demo script - python daemon.py, which will run a simple server that displays a video stream from a webcam with forecasts for
http://127.0.0.1:8000/events/.
It also launches the DeviceHive client. Configuration available on
http://127.0.0.1:8000/.

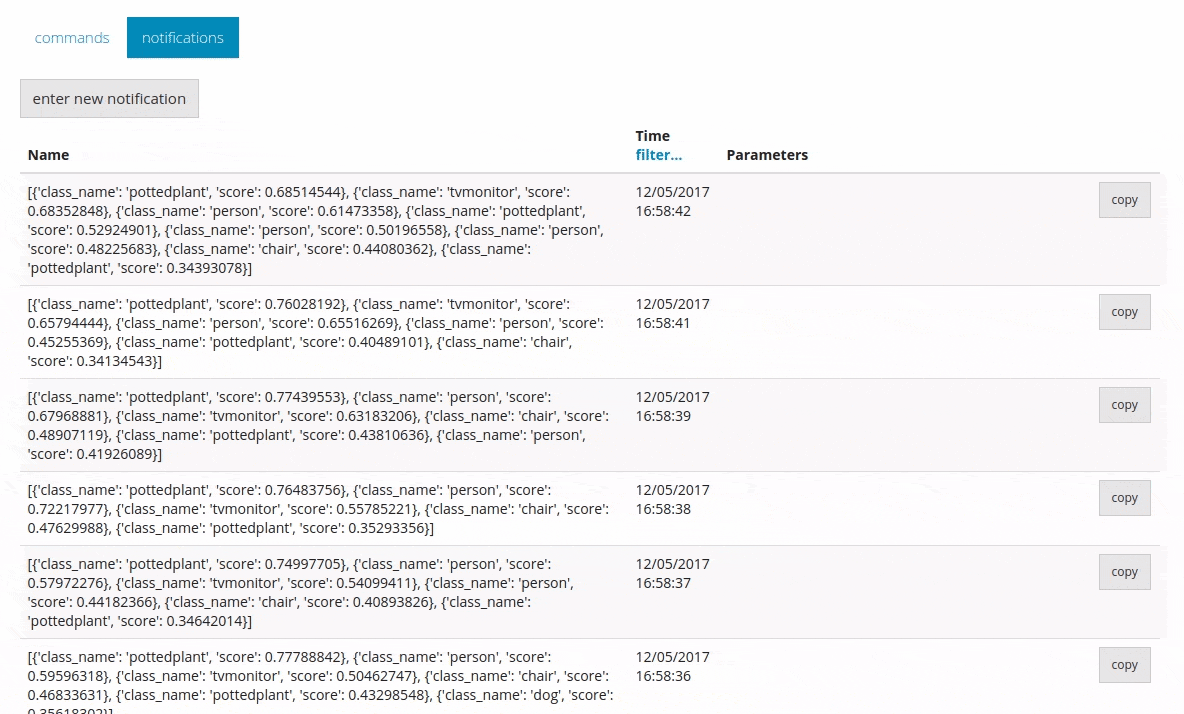
This allows you to send all predicted information to DeviceHive in the form of notifications.
Conclusion
As you can see, there are many ready-made projects with open source code for almost any case, you just need to be able to use them correctly. Of course, certain changes are needed, but implementing them is much easier than creating a new model from scratch. A huge advantage of such tools is their cross-platform. We can develop a solution on a desktop PC, and then use the same code on embedded systems with Linux operating system and ARM architecture. We really hope that our project will help you in creating your own elegant solution.
PS During the development of the project and the preparation of the article for printing, OpenCV acquired YOLO support inside itself . Perhaps for some cases this solution will be preferable.