Using an STM32-based device in an outdoor irrigation system
Foreword
About a year ago, I described in an article a system for watering my plot - and now I will describe its further development. A year is a fairly long time, and I managed to spend it with profit. I will describe with pleasure and tell you what I did.
Tasks to be Solved
Now filling the barrel is a routine and rather secondary task. The main priority now is to teach the system to automatically start watering, and here the question just arises - when exactly should I start watering? Immediately there is someone who will advise me to timer watering. Indeed, why not? Cheap and cheerful, and you can always say that I have everything in full openwork. But alas - this is not entirely true. The weather is inconsistent, and even the most sophisticated timer option will not be able to keep track of how many clouds were today and how much the sun was shining. You don’t even have to talk about rain - the timer will ignore this fact. Although there are advanced options for timers with a rain sensor - but alas, they cost like a small plane.
And in the end, from the whole variety of options, a system option was chosen that would take into account the solar radiation accumulated by the plants and, upon reaching the required threshold, would supply water for watering the plants. Plus, we must not forget that it is necessary to automatically determine the purity of the filter, the correct switching of the taps, and not to allow watering at night and too early in the morning. It is also necessary to take into account the fact that in cloudy weather, plants do not need to be given as much water as in sunny weather - but it is still needed.
Part of the equipment
As the heart of the system, the iTeplitz-Small Controller programmable logic controller, manufactured in a small series, was chosen. Photo of the controller with the cover removed under the spoiler.
Controller photo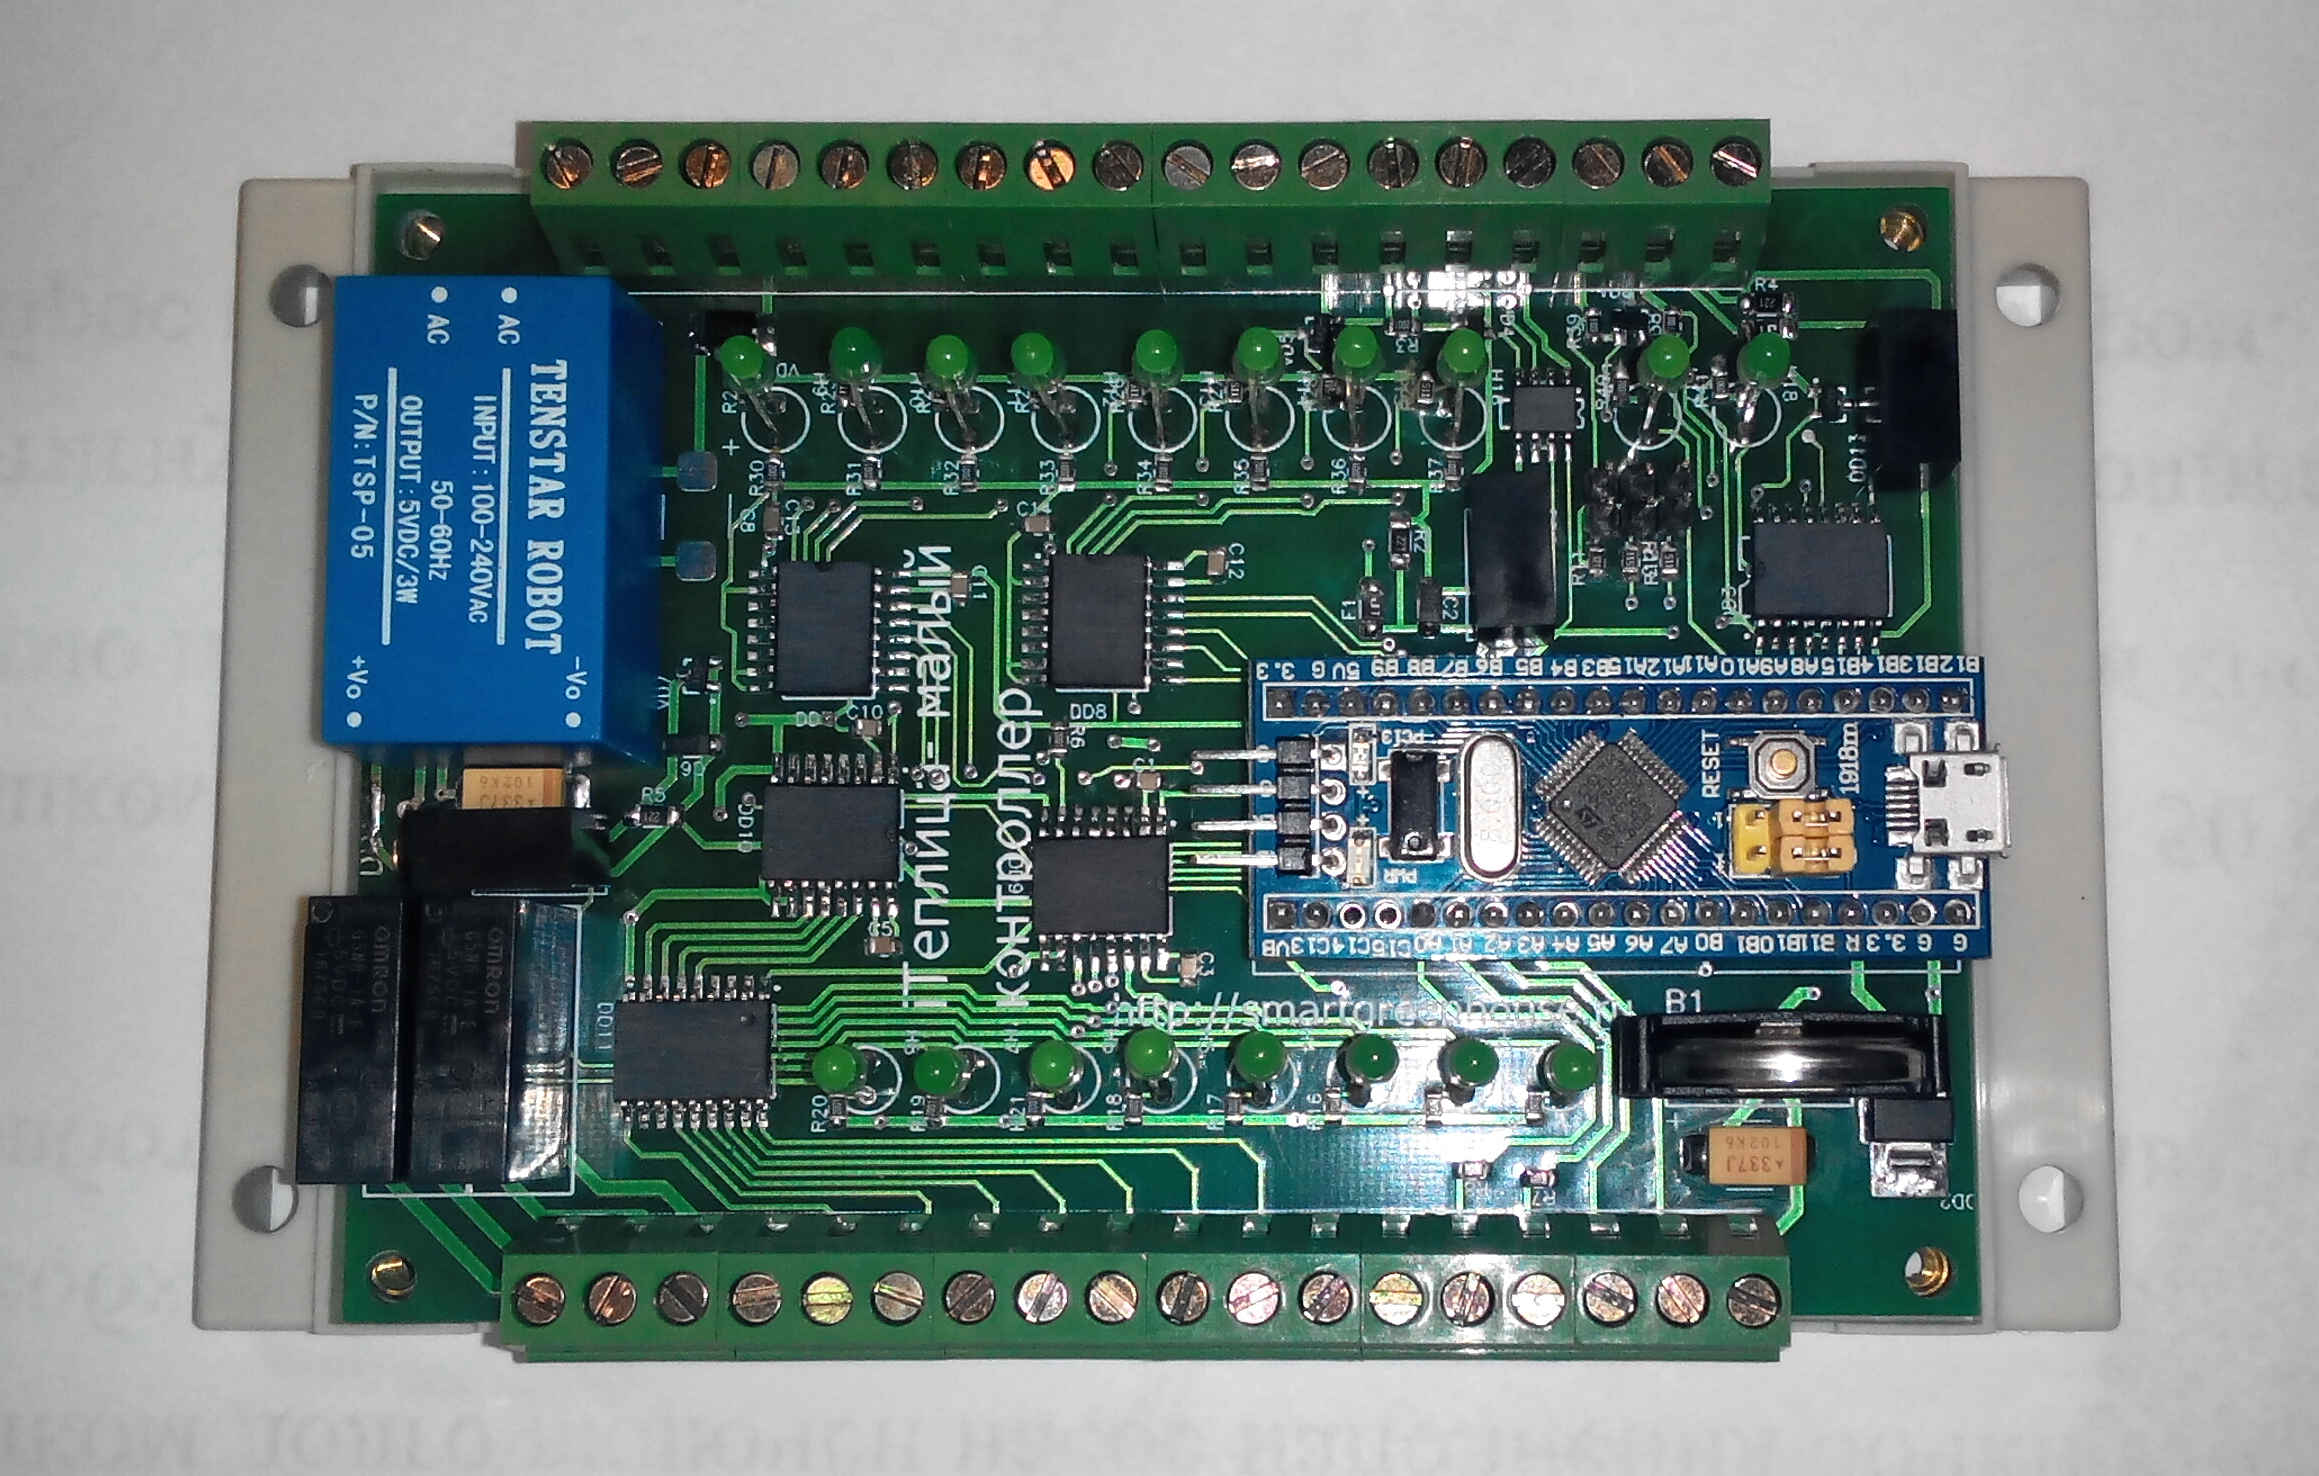
And this is precisely a programmable logic controller - for it there is a development environment that allows you to not only write a program in industrial languages of IEC 61131-3 standard, but also perform online debugging with a monitoring mode. As a programming environment, a demo version of GX Developer-FX is used. The controller itself is fully compatible with the Mitsubishi FX2N serial controller. As you can see in the photo, the system is built on the STM32F103C8T6 microcontroller.
A little about its capabilities:
1. The number of steps to complete the program is -2000. I’ll talk about the steps in more detail below.
2.1-wire galvanically isolated interface bus. Allows you to work with 128 sensors. Using the configuration utility, it searches for sensors and stores it in non-volatile memory of the controller.
3. Galvanically isolated RS-485 interface bus supporting modbus RTU exchange protocol. Using the configuration utility, it can work both in the wizard mode and in the slave mode. In total, up to 64 slaves can be supported (when the controller works in the wizard mode).
4. Programming and debugging are done using a micro-USB cable.
5. Has 8 digital inputs and 8 digital outputs, of which 2 outputs are equipped with relays with a load capacity of 5A 250V AC. Also has 2 analog inputs.
6.There is a 2nd modbus RTU protocol port - but it has a TTL interface and is designed to connect to data acquisition systems. Only slave mode can work.
7. The real-time operating system is used.
The next character is the light sensor. It is based on the STM32F030 microcontroller using a real-time operating system. It has a RS-485 serial interface with Modbus RTU communication protocol for data exchange and parameter settings. Enclosure IP67 allows for installation in the open. Photo under the spoiler.
Light Sensor Assembly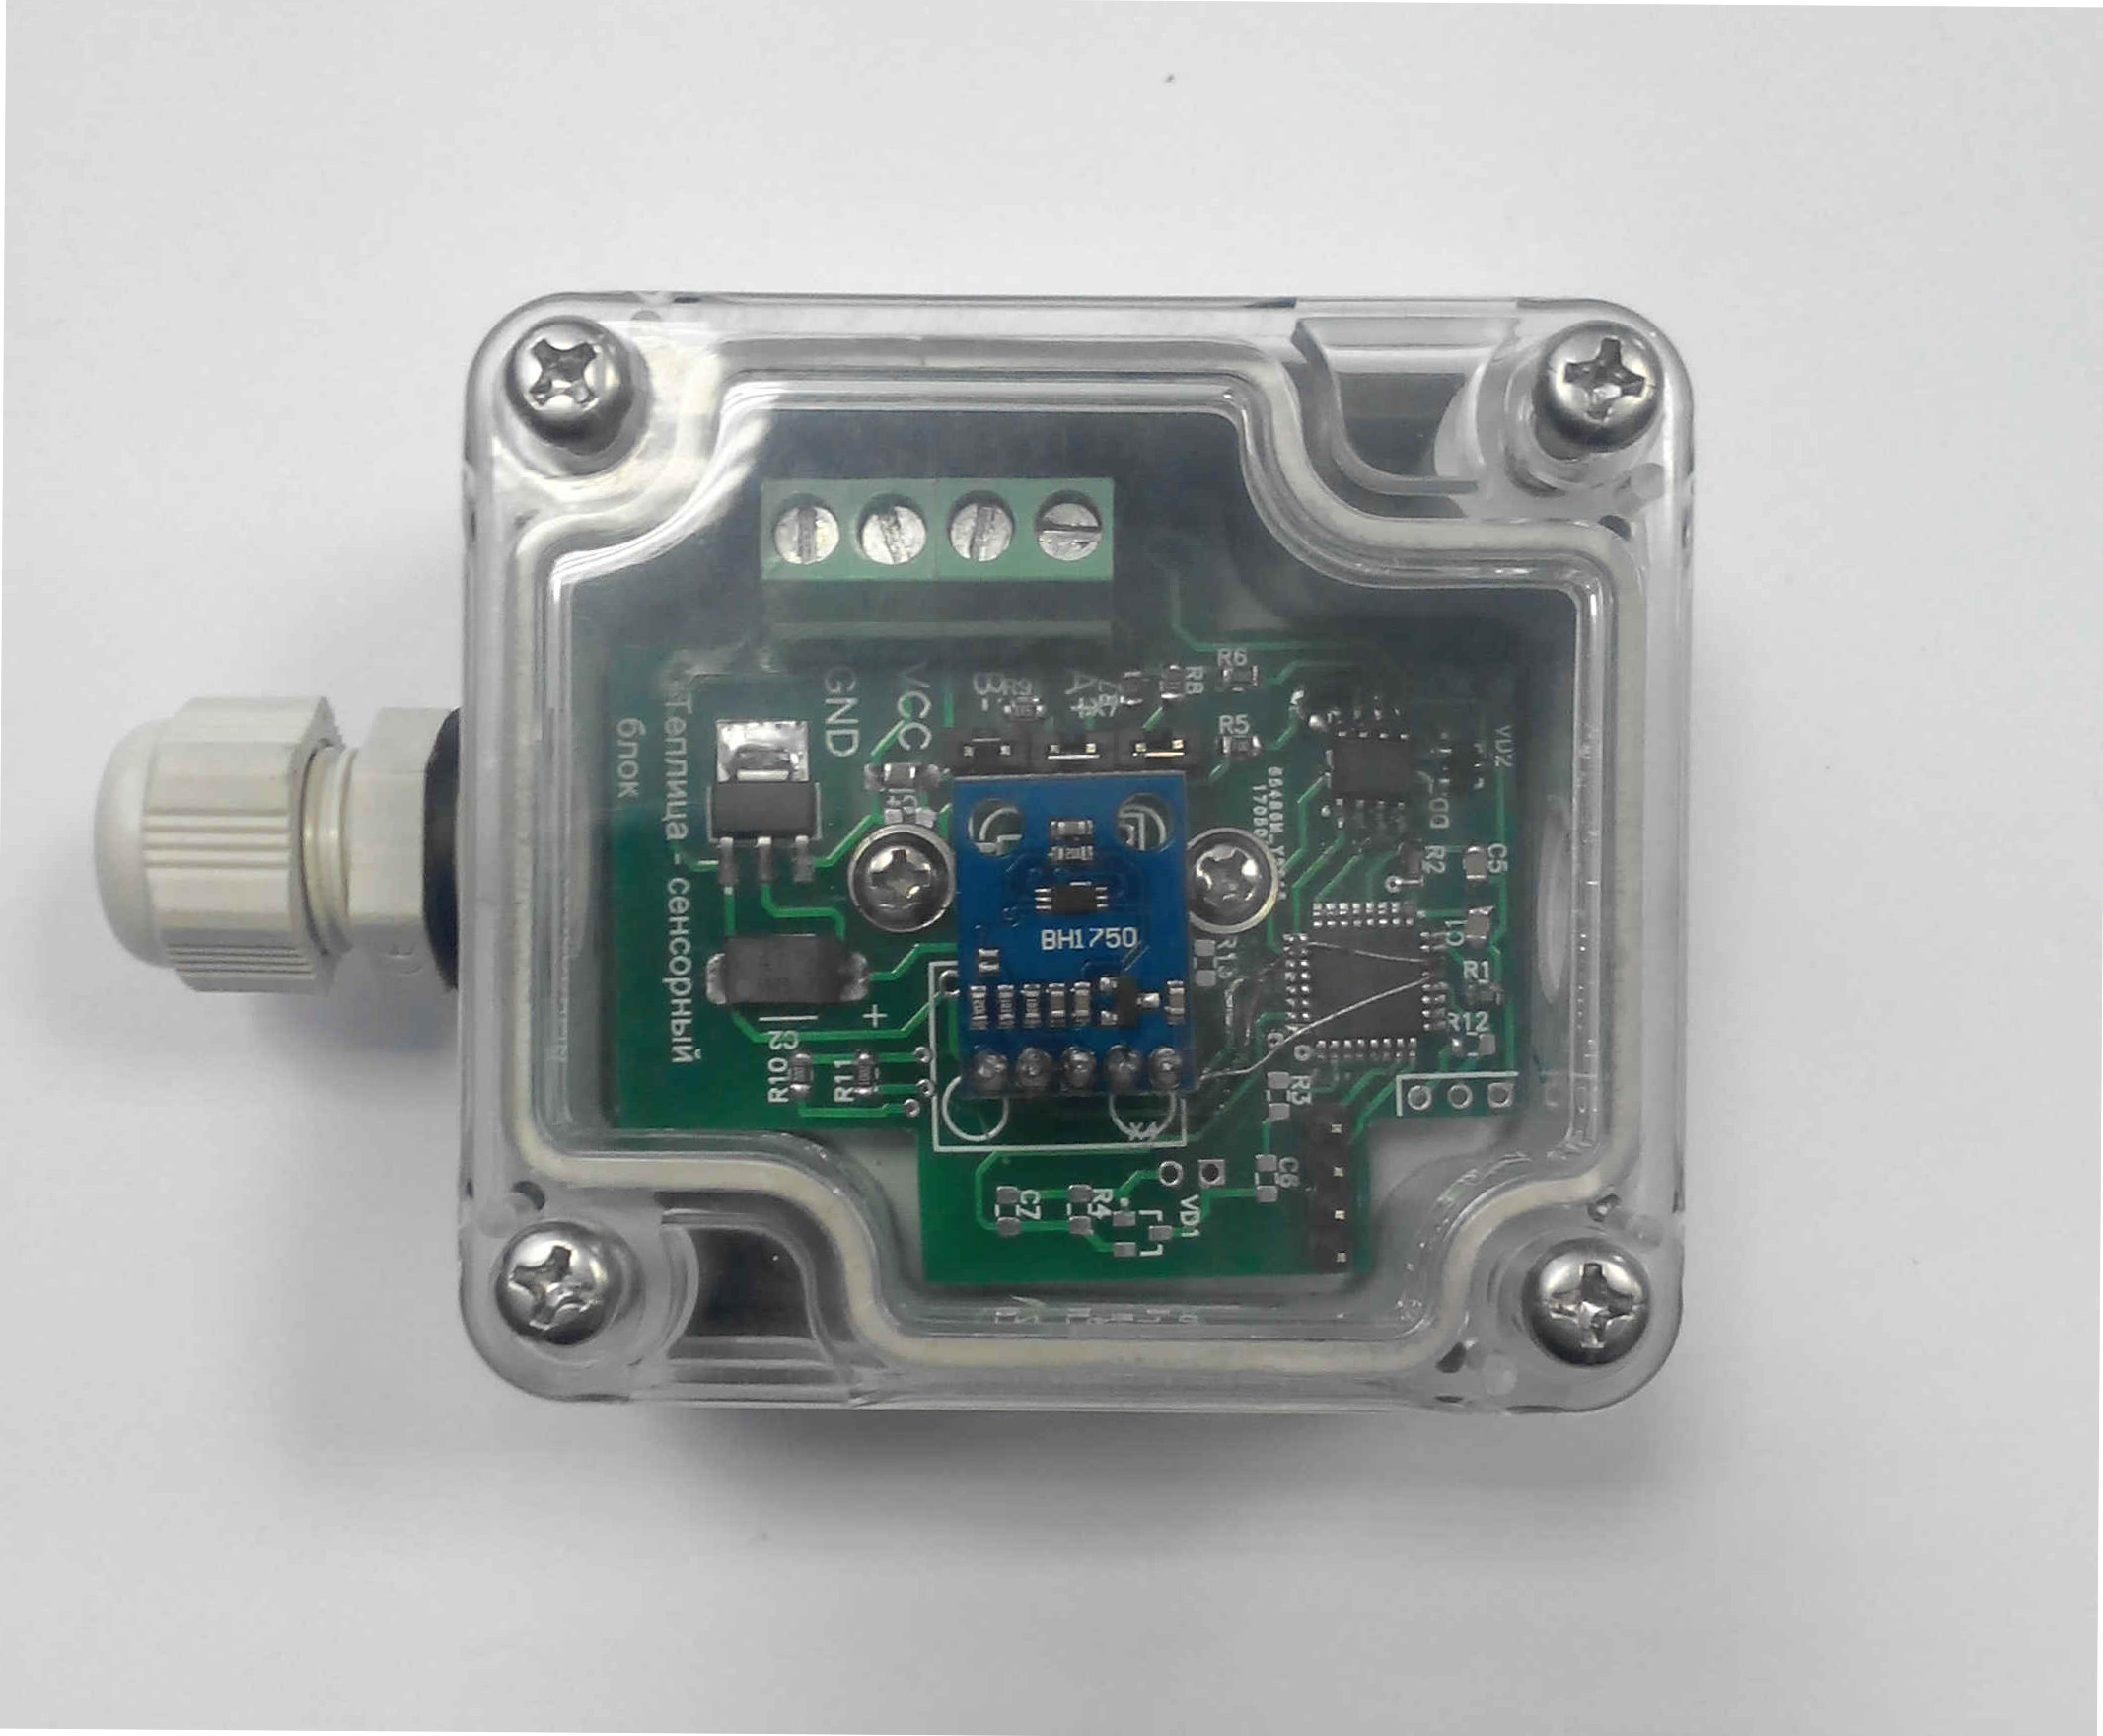
For curious readers, I’ll say right away that the BH1750 sensor allows you to measure illumination of more than 100 thousand lux due to a change in the width of the measurement window.
And there is one more distinctive feature of this sensor from thousands of others - it considers the accumulated power in J / cm2 / hour and transfers it to the network master upon request. Upon delivery, each sensor has its own calibration certificate for a radiation power of 1000 J / cm2 / hour and is immediately ready for use.
Control object itself
A small plot of land measuring 5.5 mx 25 m, equipped with 6 drip irrigation lines, is used as an object. Drip tubes 16 mm with droppers every 30 cm with a drain of 1.6 l / h. That is, in theory, such a system can consume 800 liters of water in one hour. But since we do not use a booster pump to raise the pressure of water, then under the pressure of gravity, the flow rates are much lower.
Progress: installation on site
Here's what the mounted level sensors in the barrel look like to control filling. As you can see, everything is bolted with copper wire without any problems. Float-type sensors, reed switches.
Barrel Level Sensors
And here under the spoiler you can see the mounted light sensor. Again, one screw solves all the problems.
Light Sensor - Top View
And for clarity, the bottom view:
Light Sensor - Bottom View
And now the installation of the controller and the power supply for the valve - do not judge strictly, the installation is done "as is". You can always do it much more carefully - but here we are not considering the quality of installation, but the operation of the system itself.
Window controller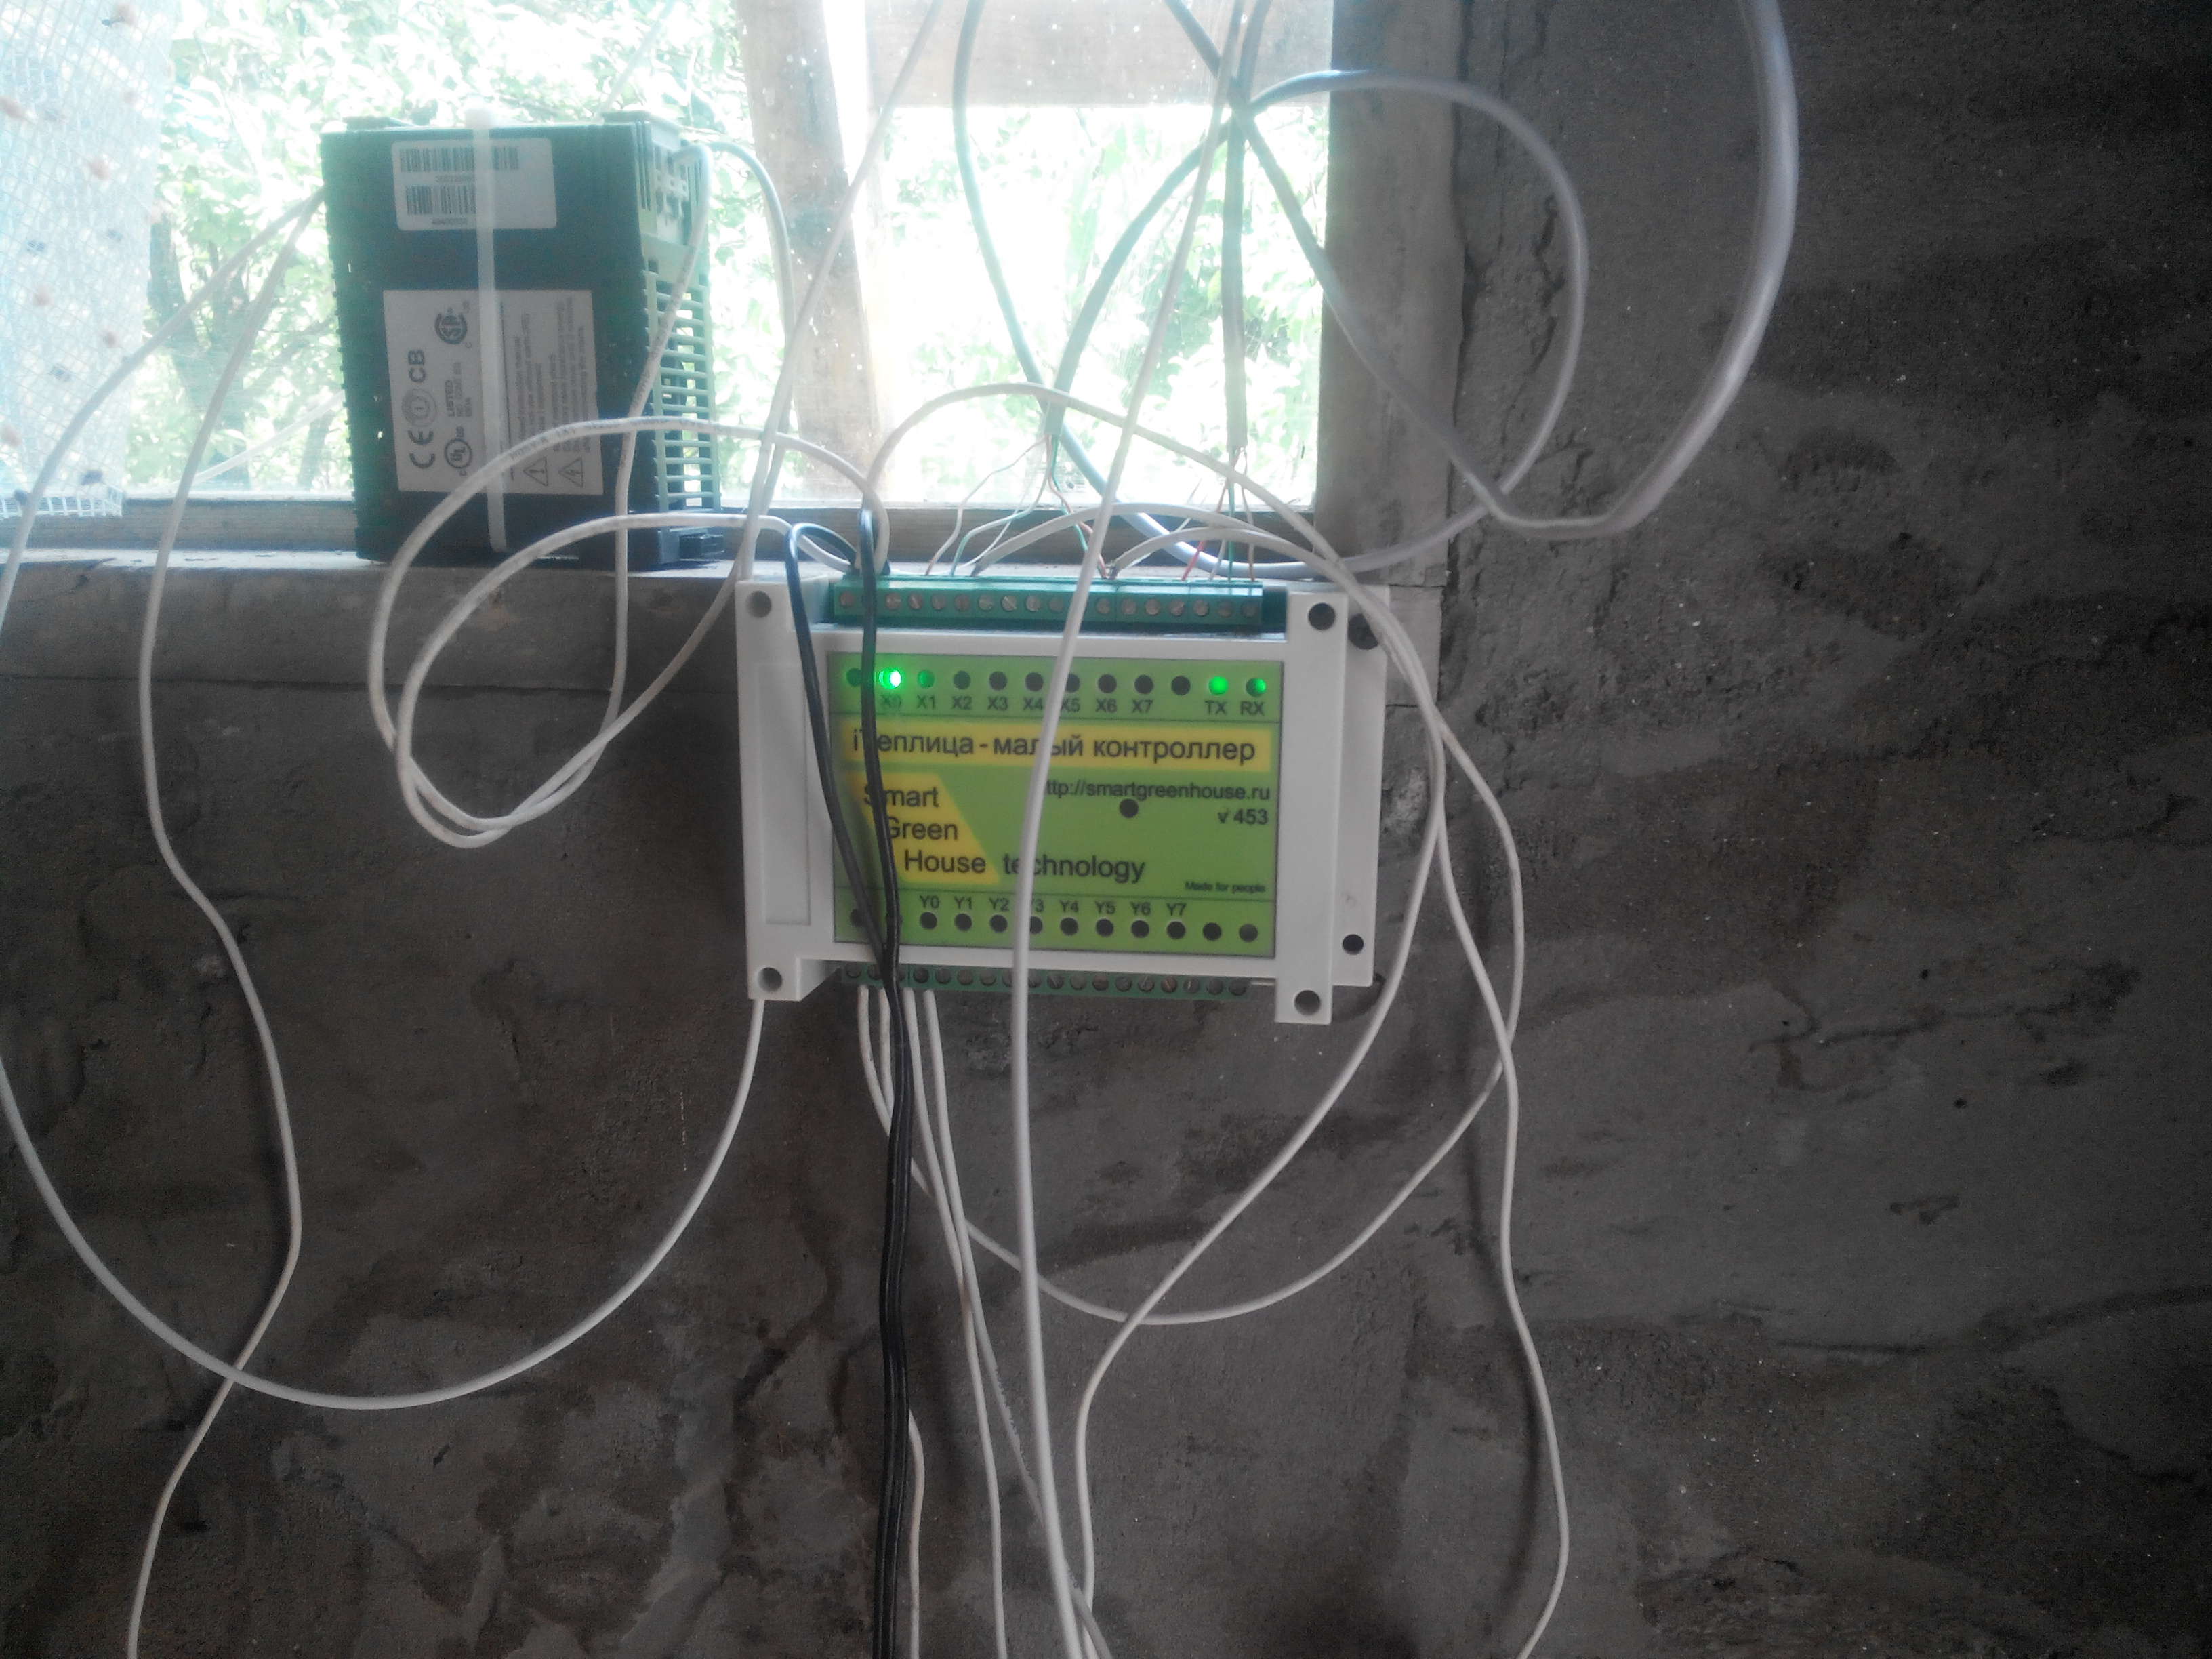
And now a photograph of the installation of a mechanical disk filter unit and an irrigation valve.
Valve with filter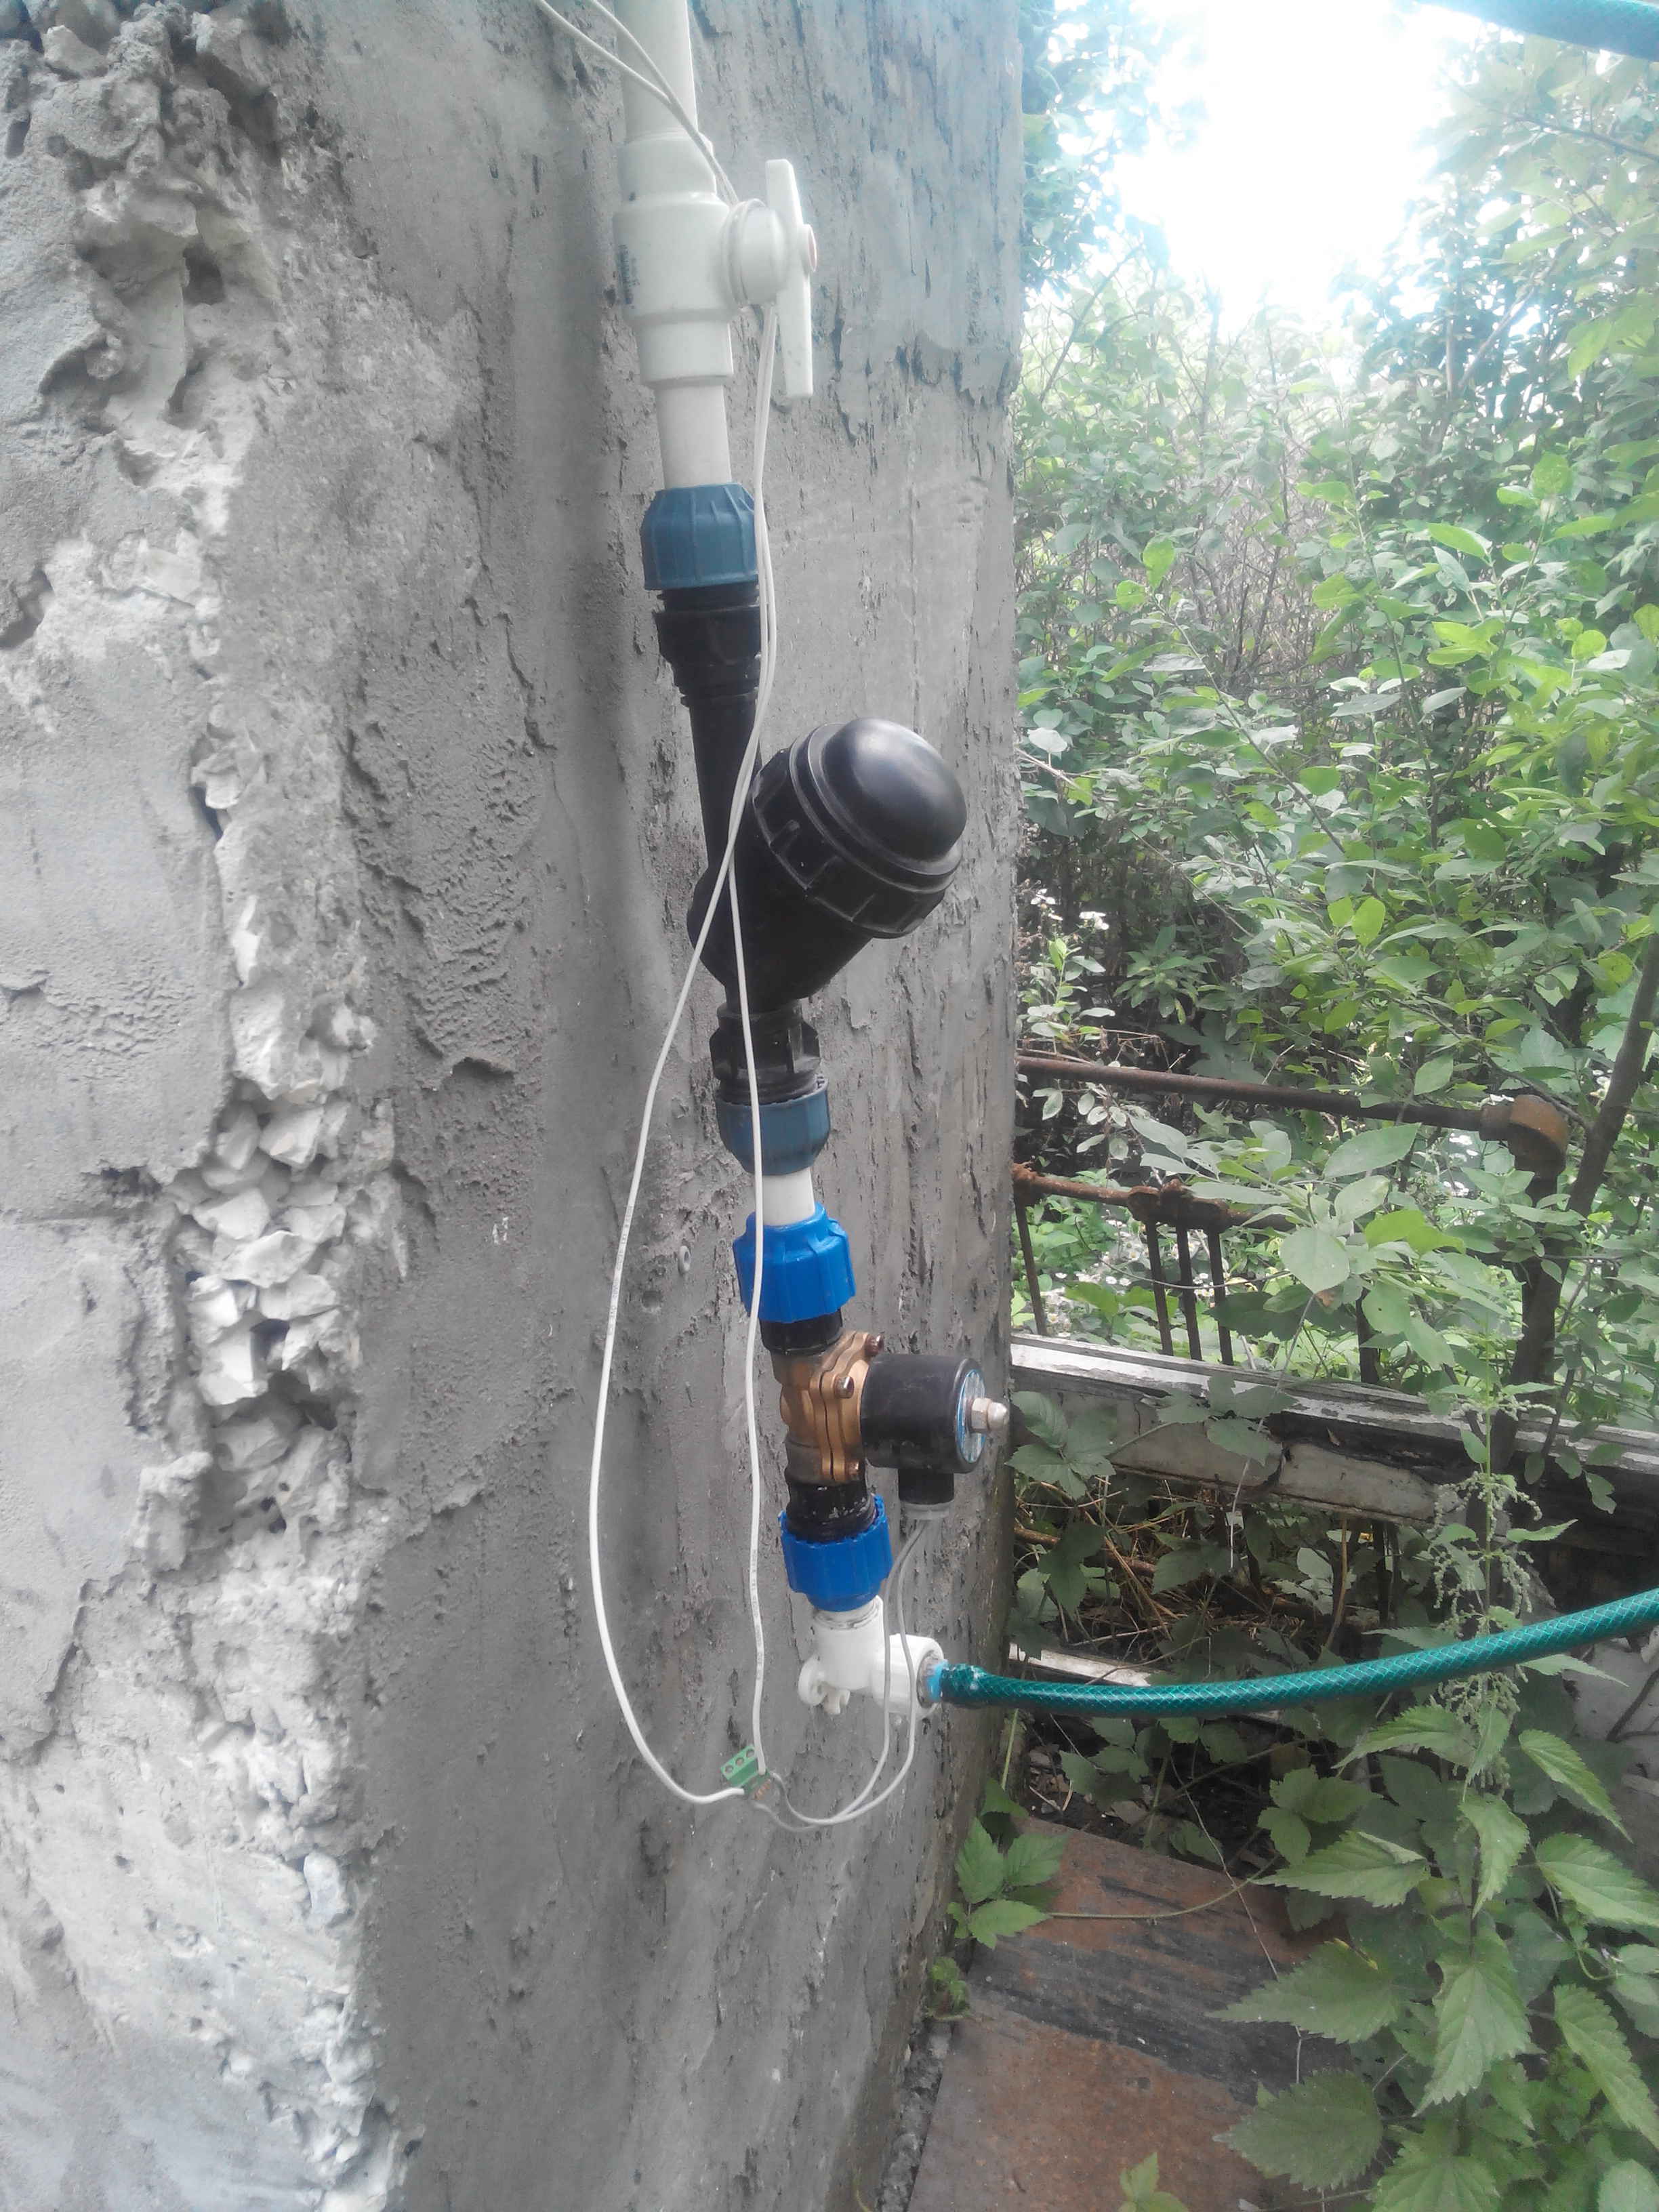
Program work
I must say right away - the source code of the program and the printout in pdf will be at the end of this section. Dear readers, there will be no secrets from you in this article.
So - filling the barrel. In this case, a timeout of the pump operation time is controlled. If the filling lasts more than 30 minutes, we turn off the pump and show the alarm signal. If the barrel is filled in the allotted time, then we set the flag of readiness for irrigation. Watering is possible only between 5:00 and 17:35. Time can be very easily changed. The first watering will be included as soon as the morning dose of absorbed solar energy is more than 180 J / cm2 / hour. After that, each subsequent watering will be turned on after 300 J / cm2 / hour. If the solar activity is low and we have not scored the morning dose before 10:35, then watering will be switched on once and the system will wait for an increase in solar activity. To empty the barrel, a timeout of 50 minutes is given. If the time is exceeded, it means problems with the filter or valve. In this case, we issue a warning signal and turn off watering. The amount of water used for irrigation is also monitored - if more than 8 barrels were used, then irrigation stops and a warning signal is issued. The signal is not acknowledged - it will be reset the next morning. The execution time of such a program in the controller is 2 ms.
Below under the spoiler is shown the debugging process - the program’s online monitor is in runtime.
Program Online Debugging
I will not describe all the temporary protective delays and the logic of the program here - you can see it all yourself in the program. Here is the archive with the program and the printed version in pdf format.
Results of work and conclusion
And now the most interesting thing is the results of the work. After starting the irrigation system, it immediately became apparent that the plants respond to irrigation. This is expressed as berries. There are several raspberry bushes on the site - if before the berries were soft to the touch and had average taste, now they are what they should be. And the taste is completely different - the berries have become more fragrant. There is also a planting of cucumber - now even in extreme heat (and geographically I am in the south, in the Krasnodar Territory), the leaves do not fade. And the cucumber became more delicious.
The most important conclusion can be drawn like this - using data from controllers and light sensors, you can build a decent irrigation control system not only for greenhouses, but also for planting in open ground. And it can take its rightful place along with timer systems.
Further way
The next step will be to connect a dosing group based on Venturi injectors to the system to ensure accurate fertilizer delivery through the drip irrigation system. This step will make such a system unattainable in quality of irrigation for timer systems. Also, after equipping with a humidity sensor, the system will be able to control the microclimate in the greenhouse. All this can be connected simply and at no particular cost - the system configuration now resembles a simple gameplay. I will definitely tell you about the progress of work, my dear readers.