The book "Front-end. Customer development for professionals. Node.js, ES6, REST »
 The book covers all the most important JavaScript, HTML5, and CSS3 skills a developer needs to succeed in creating modern client-side code. As you study this book, you will write four web applications. Each application is devoted to a separate part of the book, and each chapter adds new functionality to the created application. Creating these four web applications will give you the opportunity to learn all the technologies required to create the client side.
 • Ottergram . Our first project is dedicated to a web photo gallery. Creating Ottergram will teach you the basics of programming for browsers using the HTML markup language, CSS style sheets, and the JavaScript programming language. You will manually create a user interface and learn how the browser loads and renders content.
•CoffeeRun . Partially a coffee order form, partially a list of orders. CoffeeRun introduces you to a variety of JavaScript programming language methods, including writing modular code, taking advantage of closures, and interacting with a remote server using Ajax technology.
Further under the cut ...
• Chattrbox . The part describing the Chattrbox app is the shortest, and this app is the most different from the rest. It will use the JavaScript programming language to create a communication system on the Internet, including writing a chat server using the Node.js platform, as well as a browser client for chat.
• Tracker . The latest project uses Ember.js - one of the most functional frameworks for developing the client side. We will write an application for cataloging cases of observation of rare, exotic and mythical creatures. Along the way, you will learn how to take advantage of the rich ecosystem that underpins the Ember.js framework.
As you build these applications, you will become familiar with many tools, including:
- Atom text editor and some useful plugins for working with code;
- Sources of documentation, such as the Mozilla Developer Network;
- Command line using an OS X terminal application or a Windows command line;
- Utility browser-sync;
- Google Chrome browser developer tools (Google Chrome's Developer Tools);
- File normalize.css;
- Bootstrap framework;
- Libraries jQuery, crypto-js and moment;
- Node.js platform, Node package management system (npm) and nodemon module;
- WebSockets protocol and wscat module;
- Babel compiler and modules Babelify, Browserify and Watchify;
- The Ember.js framework and such additions as the Ember CLI command-line interface, the Ember Inspector plug-in for Chrome, the Ember CLI Mirage add-on, and the Handlebars template engine;
- Bower package management system;
- Homebrew package management system;
- Watchman utility.
Excerpt. Organizing a series of thumbnails
Linking thumbnails to event-handling code will be quick and easy. We will write a function that will become the starting point of the entire Ottergram logic. In other programming languages, unlike JavaScript, there is a built-in mechanism for launching the application. But don’t worry - it can be implemented quite easily manually.
We start by adding the initializeEvents function to the end of main.js. This method will link together all the steps to turn Ottergram into an interactive application. Firstly, he will receive an array of thumbnails. Then it will loop through the array, adding a click handler for each of them. After writing this function, we will add a call to the initializeEvents function at the very end of the main.js file to run it.
In the body of our new function, add a call to the getThumbnailsArray function and assign the result (an array of thumbnails) to the thumbnails variable:
...
function getThumbnailsArray() {
   ...
}
functioninitializeEvents() {
   'use strict';
   var thumbnails = getThumbnailsArray();
}
Next, we need to loop through an array of thumbnails, one item at a time. When accessing each of them, we will call the addThumbClickHandler method and pass it a thumbnail element. This may seem like a few steps, but since thumbnails are a real array, you can do all this by calling a single method.
Add a call to the thumbnails.forEach method to the main.js file and pass it to the addThumbClickHandler function as a callback.
...
functioninitializeEvents(){
   'use strict';
   var thumbnails = getThumbnailsArray();
   thumbnails.forEach(addThumbClickHandler);
}
Note that you are passing a named function as a callback. As you read further, this is not always a good solution. However, in this case, it will work as it should, since the addThumbClickHandler function only needs the information that will be transmitted to it when the forEach method calls it - an element of the thumbnails array.
Finally, to see all this in action, add a call to the initializeEvents function at the very end of the main.js file:
...
functioninitializeEvents(){
   'use strict';
   var thumbnails = getThumbnailsArray();
   thumbnails.forEach(addThumbClickHandler);
}
initializeEvents();
Remember, the browser executes the code as you read each line of your JavaScript. For most of the main.js file, it simply executes variable and function declarations. But when it reaches the initializeEvents (); line, it will execute this function. Save and return to the browser. Click on several different miniatures and admire the fruits of your labors (Fig. 6.28).
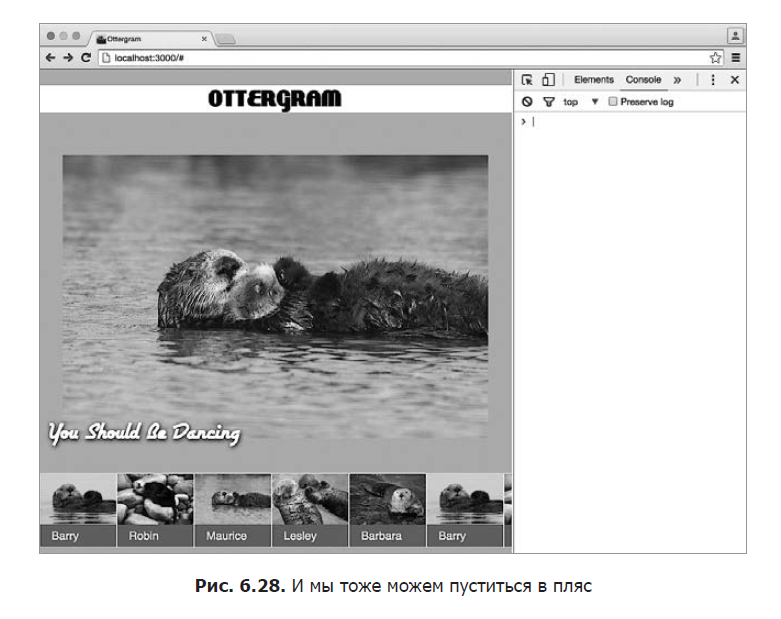
Sit back, relax and enjoy the clicks on the otter photo! You worked hard and learned a lot during the creation of the interactive layer of our site. In the next chapter, we will complete the creation of Ottergram, adding visual effects for greater beauty.
Silver Exercise: Hacking Links
Chrome DevTools provide a lot of entertainment options with visited pages. The next exercise will be to change all the links on the search results page so that they lead nowhere.
Go to your favorite search engine and search for the otter keyword. Open the DevTools console. Using the functions written for Ottergram as an example, connect event listeners to all links and disable the default click-through transition functionality.
Golden Exercise: Random Otters
Write a function to change the data-image-url attribute of a randomly selected otter thumbnail so that the enlarged image no longer matches the thumbnail. Use the URL of the image of your choice (although you can find a good one by searching the Internet for the word tacocat). As an additional exercise, write a function that returns the otter thumbnails to the original values of the data-image-url attribute and changes one of them, selected randomly.
For the most curious: strict mode
What is strict mode and why does it exist? It was created as a "cleaner" JavaScript mode, it allows you to intercept certain types of programming errors (for example, typos in variable names), keeping developers from using some error-prone parts of the language and disabling language features that are simply clearly unsuccessful.
The strict mode has many advantages:
• It makes it possible to use the var keyword
• It does not require the use of with statements
• It restricts the use of the eval function
• Considers duplicate function parameter names as a syntax error
All this can be obtained only by placing the 'use strict' directive at the top of the function. As a bonus, the 'use strict' directive is ignored by older browsers that do not support it (these browsers simply treat this directive as a string).
Read more about strict mode at MDN at .
"For more information on the book is available on the website of the publishing house
" Table of Contents
" Extract
To Habrozhiteley 20% discount coupon - the Front-end