September 13, 2016 at 23:13
How the frame of the new Doom is rendered
- Transfer

Launched in 1993, the first DOOM made fundamental changes to game development and mechanics, it became a world hit and created new idols such as John Carmack and John Romero .
Today, 23 years later, id Software is owned by Zenimax , all the founders have already left the company, but this did not stop the id team from demonstrating all their talent by releasing an excellent game.
The new DOOM perfectly complements the franchise. It uses the new id Tech 6 engine ; after the departure of John Carmack, he was replaced by the former Crytek developer Tiago Sousa as a leading render programmer .
Traditionally, id Software, a few years after its creation, published the source code of its engines, which often led to interesting remakes and analytical articles . It is not known whether id Tech 6 will continue this tradition, but we do not necessarily need the source code to appreciate the curious graphics techniques used in the engine.
How the frame is rendered
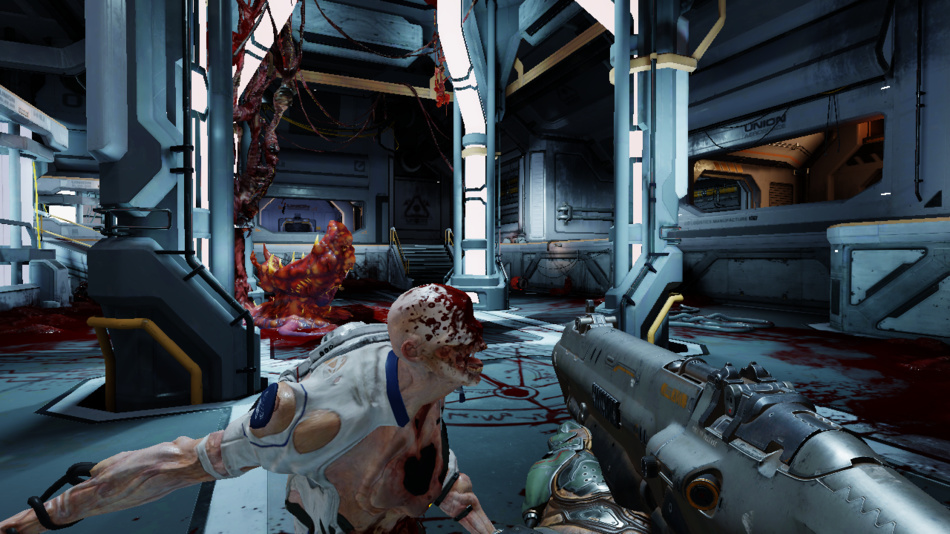
We will analyze the scene from the image below, in which the player attacks a blood nest guarded by several obsessed , immediately after receiving Praetorian armor at the beginning of the game.
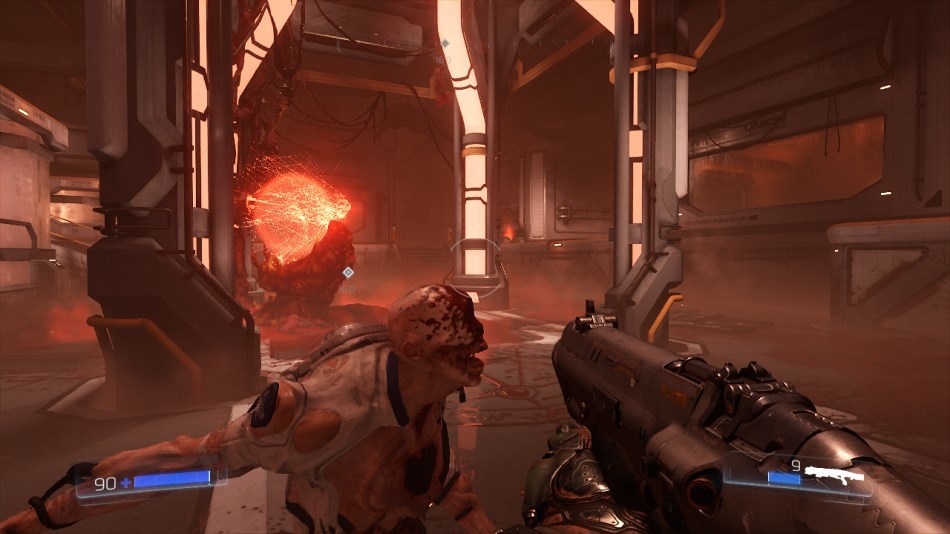
Unlike most modern Windows games, DOOM uses not Direct3D , but OpenGL and Vulkan .
Vulkan - this is a great new technology, besides Baldur Karlsson (Baldur Karlsson) only recently added support in the Vulkan RenderDoc , so it was hard to resist the temptation to get inside DOOM engine. All of the observations below are made in a game running from Vulkan on the GTX 980.with all the settings set to Ultra , some guesses are taken from a presentation by Thiago Souza and Jean Geffroy on Siggraph .
Megatexture Update
The first stage of rendering is updating megatextures ; this technology, introduced back in id Tech 5 , was used in RAGE , and now in the new DOOM.
In short, the meaning of this technology is that several huge textures (in DOOM they have a size of 16k x 8k) are located in the memory of the video processor; each of them is a collection of 128x128 tiles.
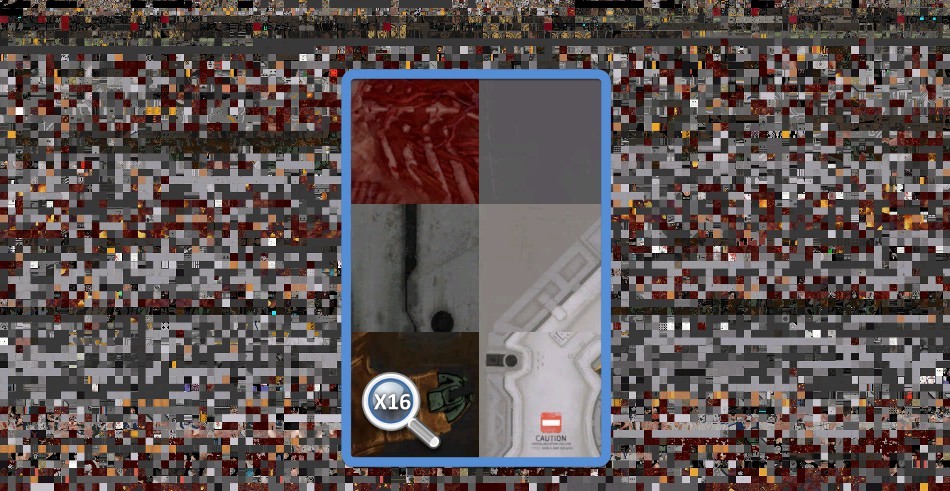
128 x 128 pages stored in 16k x 8k texture
All these tiles should be an ideal set of actual textures with a good level of mip-texturing, which will be used later by pixel shaders to render the very scene that we see.
When a pixel shader reads from a "virtual texture", it simply reads some of these 128x128 physical tiles.
Of course, depending on where the player is looking, the set of these textures will change: new models appear on the screen, referring to other virtual textures, loading new tiles and unloading old ones ...
So, at the beginning of the frame, DOOM updates several tiles with the help of the instruction
vkCmdCopyBufferToImage, to write actual texture data to the GPU memory. You can read more about megatextures here and here .
Atlas of Shadow Maps
For each light source casting a shadow, a unique depth map is created , saved in one tile of a huge texture atlas of 8k x 8k in size. However, not every depth map is calculated for each frame: DOOM actively reuses the results of the previous frame and recounts only those depth maps that require updating.
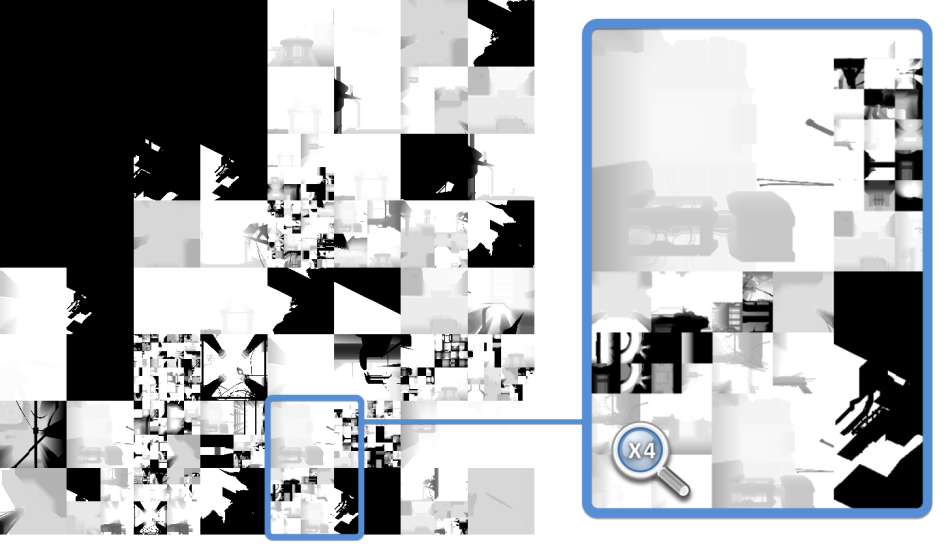
Depth buffer 8k x 8k (previous frame)
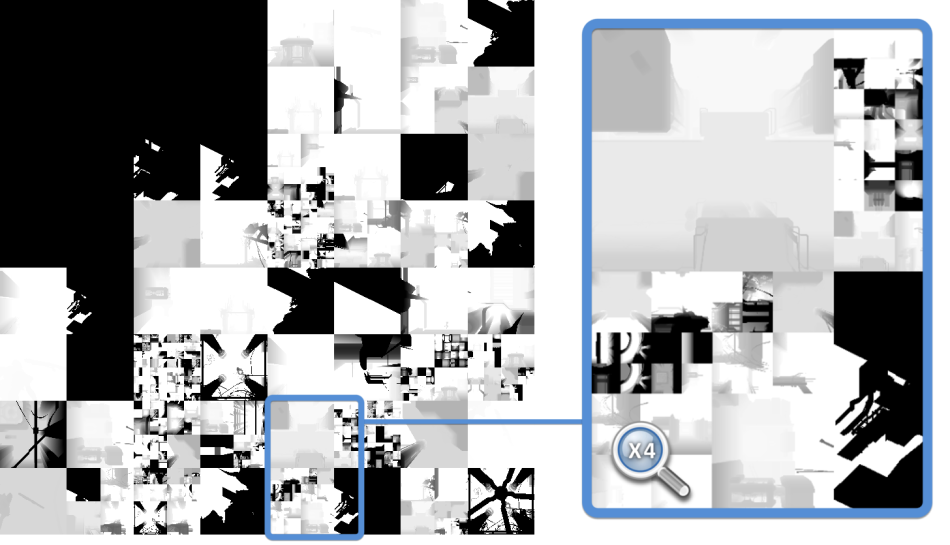
Depth buffer 8k x 8k (current frame)
When a light source is static and casts shadows only on static objects, it would be wise to simply store its depth map “as is” and not make unnecessary calculations. However, if an adversary moves to this light, then a depth map will need to be created again.
Dimensions of depth maps can vary greatly depending on the distance from the source to the camera; in addition, recalculated depth maps do not have to be in the same atlas tile.
DOOM uses certain optimizations, for example, caching the static part of the depth map with the calculation of the projections of only dynamic grids and the subsequent compilation of the results.
Depth Processing Preliminary
All opaque meshes have already been rendered and their depth information has been transferred to the depth map. First, this is the player’s weapon, then static geometry, and finally, dynamic geometry.

Depth map: readiness 20%
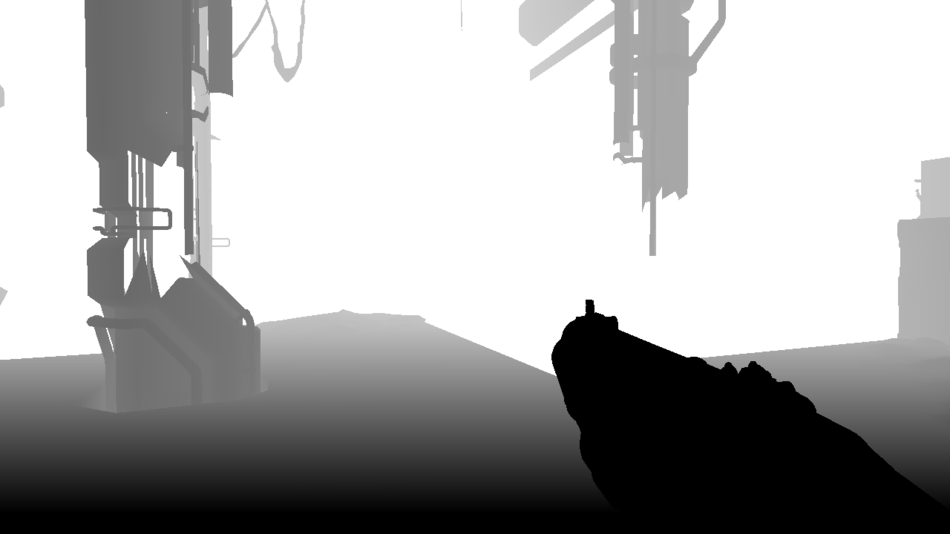
Depth map: readiness 40%
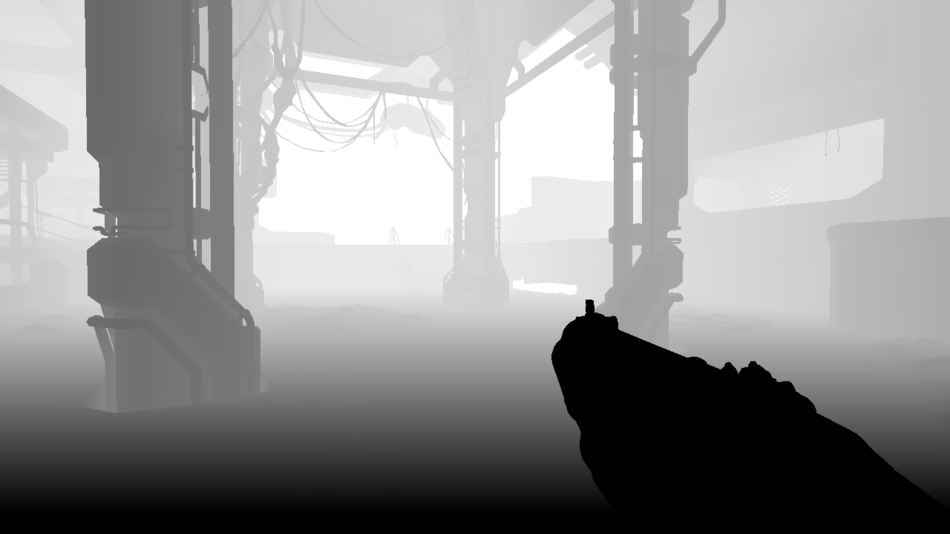
Depth map: readiness 60%
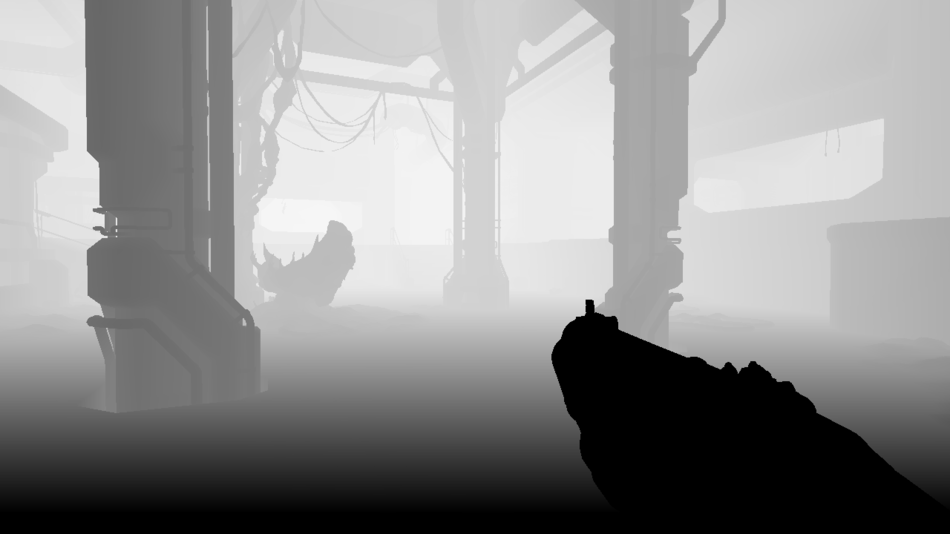
Depth map: readiness 80%
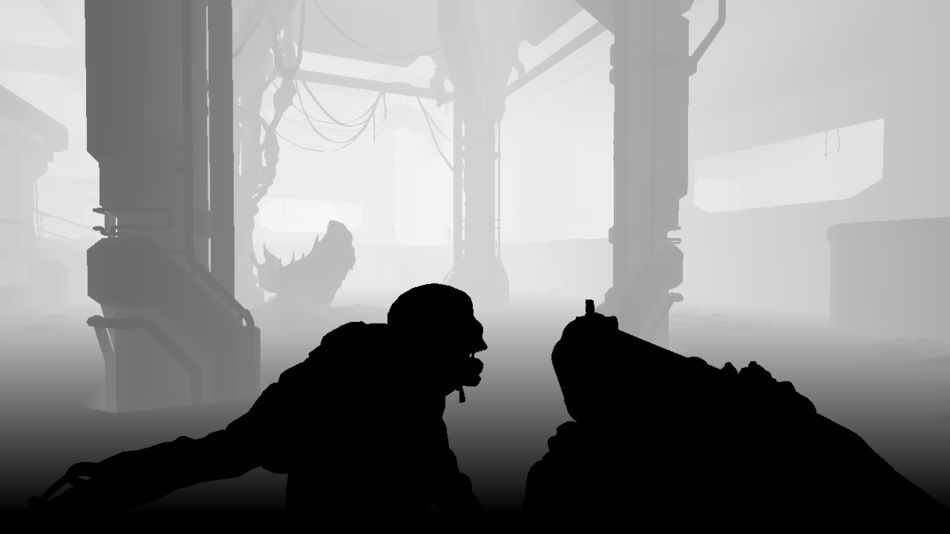
Depth map: readiness 100%
But in fact, during the preliminary processing of depth processing, not only information about the depths is stored.
When rendering a depth map of dynamically objects ( obsessed, cables and player’s weapons) their speed per pixel is also calculated and written to another buffer to create a speed map. The calculations are performed by calculating in the vertex shader the difference in the positions of each vertex between the previous and current frame.
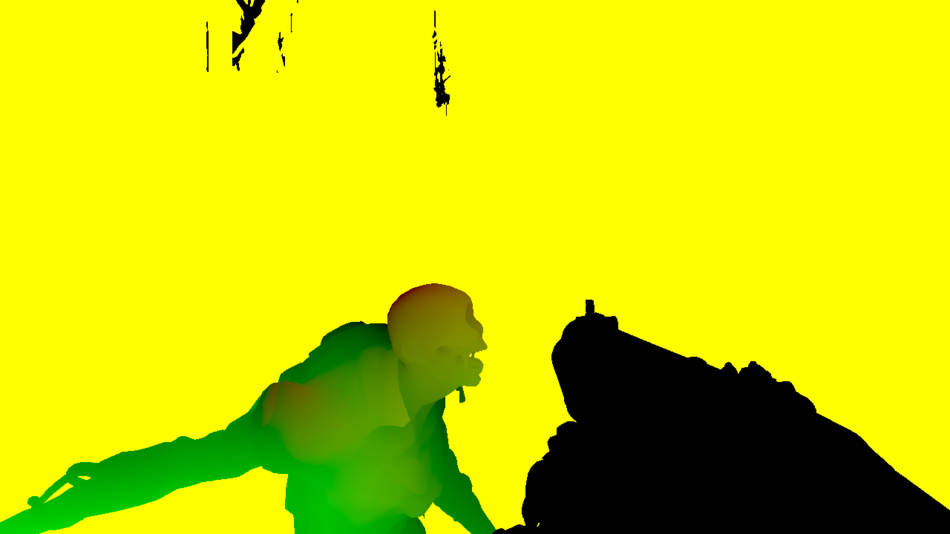
Speed map
To store speed you need only 2 channels: horizontal speed is stored in red, and vertical speed is stored in green.
The obsessed moves quickly toward the player (therefore he is green), and the weapon is almost motionless (black).
And what is this yellow area (red and green are equal to 1)? In fact, this is the initial default buffer color, meaning that there are no dynamic meshes: this is the “area of static meshes”.
Why doesn't DOOM calculate the speed for static meshes? Because the speed of a static pixel is easy to find from its depth and the new state of the camera compared to the last frame; it is not necessary to calculate it for each grid.
The speed map will come in handy later when adding motion blur .
Clipping requests
We strive to send as few geometric objects as possible for rendering in the GPU, and the best way to achieve this is to cut off all grids that are invisible to the player. Most of the clipping of invisible parts in DOOM is performed by the Umbra middleware , but the engine still performs clipping requests to the GPU to further crop the visible area.
What is the point of clipping requests to the GPU? The first step is to group several world grids into a virtual area that covers all these grids, followed by a request to the GPU to render this area according to the current depth buffer. If none of the raster pixels passes the depth check, this means that this area is completely cut off and all the objects of the world contained in this area can be safely ignored during rendering.
However, the problem is that the results of these clipping requests are not immediately available, and we do not want the GPU pipeline to be idle, blocked by these requests. Usually reading results is postponed to subsequent frames, so you need to have a slightly more conservative algorithm to avoid objects appearing on the screen.
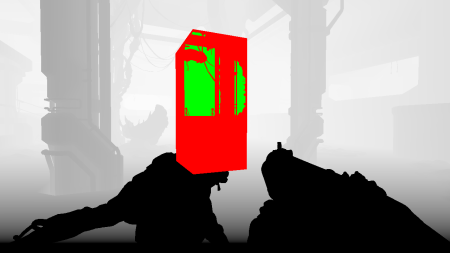
Checking the area. Red is cut off, green is visible.
Cluster direct rendering of opaque objects
Now all opaque geometry and decals are rendered. Lighting information is stored in a floating-point HDR buffer:
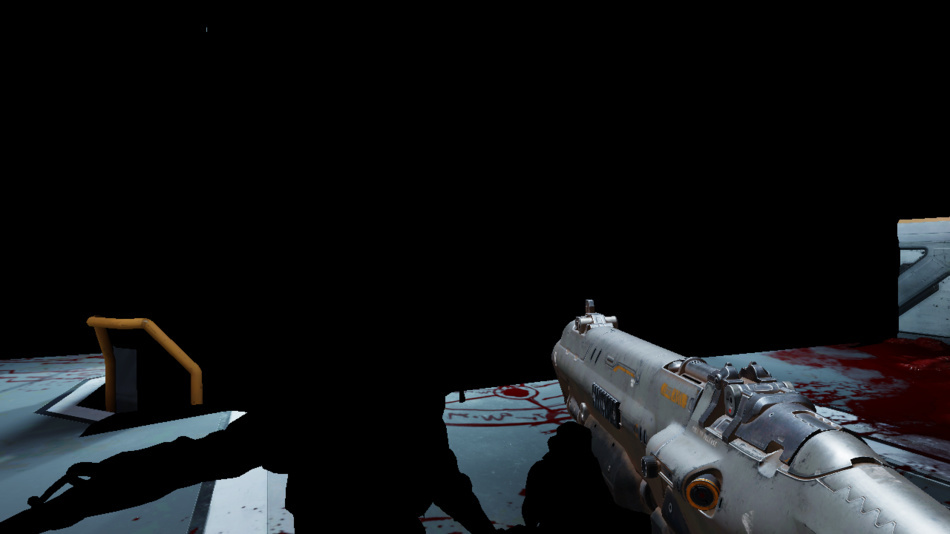
25% lighting

50% lighting
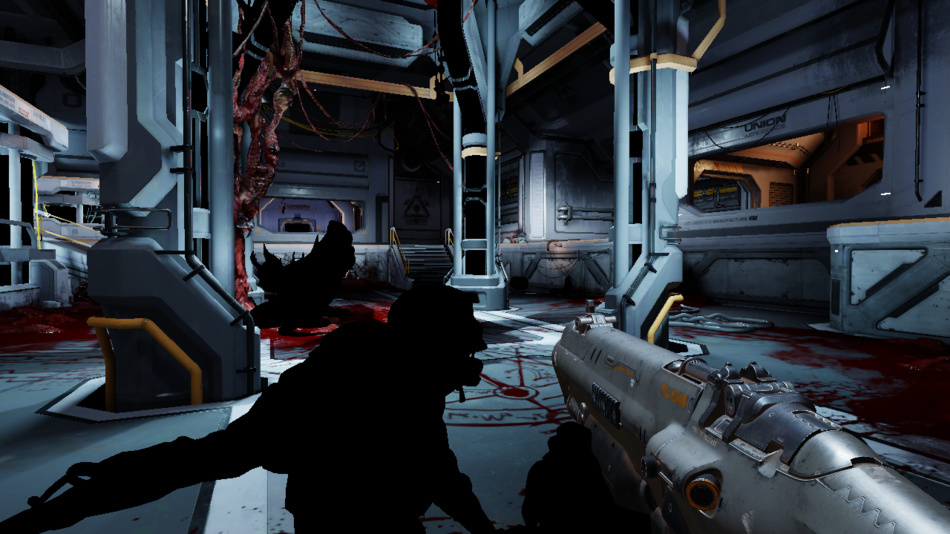
75% lighting
100% lighting
The depth check functions are set
EQUALto avoid unnecessary calculations: thanks to the previous preliminary processing of depths, we know exactly what depth value should have every pixel. Decals are also applied directly when rendering grids; they are stored in a texture atlas. The picture already looks good, but we still lack transparent materials, such as glass, particles, and there are no reflections of the medium at all.
I will say a few words about this passage: it uses a cluster direct renderer based on the work of Emil Persona (Emil Person) and Ola Olsson (Ola Olsson).
The weak point of direct rendering has always been the inability to process a large number of light sources, this task is much simpler to do with delayed shading.
How does cluster renderer work? First, the viewport is divided into tiles: in DOOM, 16 x 8 areas are created. Some renderers dwell on this and compute a list of lighting sources per tile, which allows to reduce the volume of lighting calculations, however, they still have certain problems with borderline cases.
Cluster rendering develops this concept deeper, moving from 2D to 3D: without stopping at dividing the two-dimensional viewport, it performs a 3D breakdown of the entire pyramid of camera visibility, creating slices along the Z axis.
Each “block” is called a “cluster”, you can also name them " pyramid-shaped voxels ."
Below is a simple split of a 4 x 2 viewport; 5 depth slices divide the visibility pyramid into 40 clusters.

In DOOM, the camera’s pyramid of visibility is divided into 3072 clusters (16 x 8 x 24 in size), depth slices are logarithmically arranged along the Z axis.
In the case of cluster renderer, a typical algorithm would be this:
- First, the CPU calculates a list of elements that affect the lighting in each cluster: light sources, decals, and cubic textures ...
To do this, all these elements are “voxelized” so that their area of influence can be checked for intersection with the clusters. Data is stored in indexed lists in the GPU buffer so that shaders can access them. Each cluster can contain up to 256 light sources, 256 decals and 256 cubic textures. - The GPU then renders the pixel:
- from the coordinates and pixel depth it is calculated to which cluster it belongs
- a list of decals / light sources for this cluster is read. In this case, indirect addressing with an offset and index calculation are used (see illustrations below).
- The code goes through all the decals / light sources in the cluster, calculating and adding the degree of their influence.
The use of light sources and decals
Here's how a pixel shader can get a list of lights and decals in this passage:
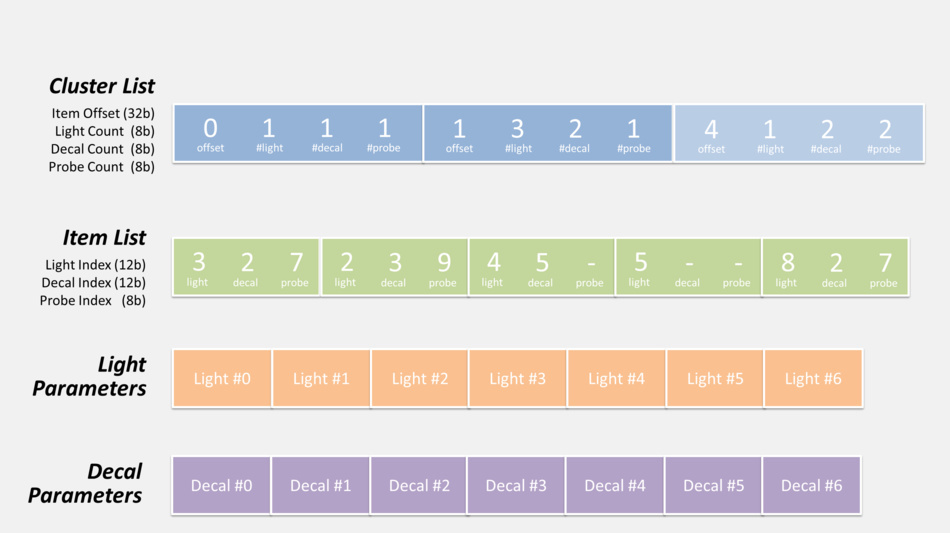

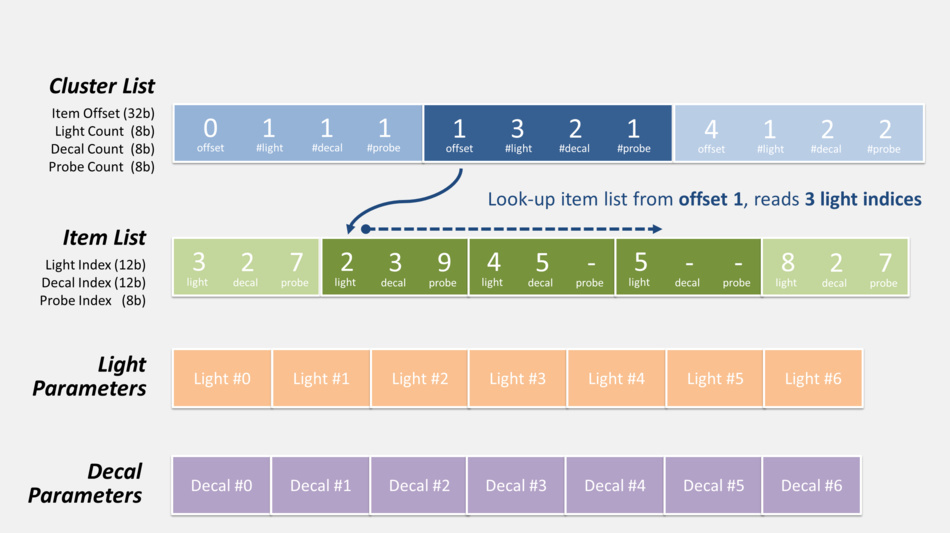

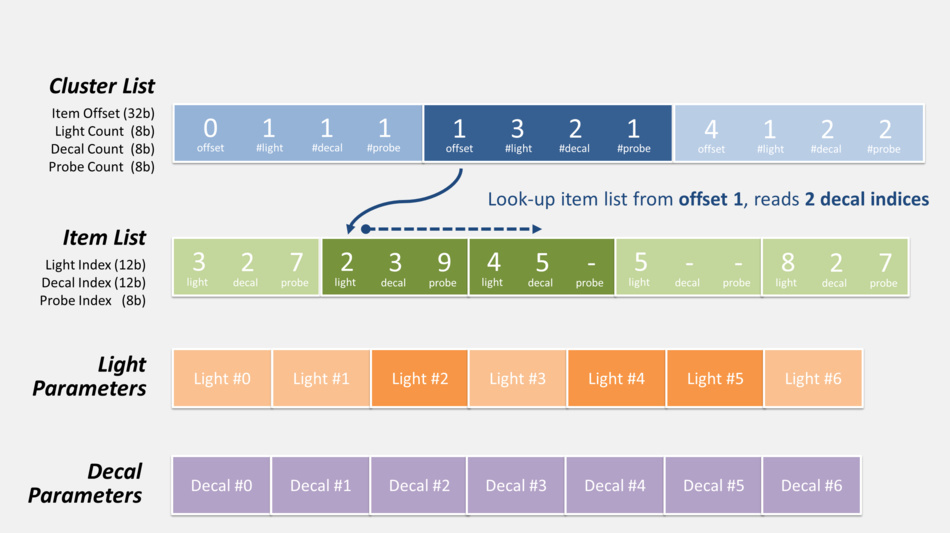

There is also a list of probes (not shown in the diagrams above) that can be accessed in exactly the same way; however, it is not used on this passage and we will return to it later.
The cost of influencing the CPU by pre-creating the list of elements for clusters pays off by significantly reducing the complexity of rendering calculations in the GPU down the pipeline.
They began to pay attention to cluster direct rendering recently: it has a good ability to process more light sources than simple direct rendering; moreover, it works faster than deferred shading, which must write and read from multiple G-buffers .
However, I did not mention something: this passage does not just pass one write operation to the lighting buffer; when it is also executed using MRT , two thin G-buffers are created:

Normal
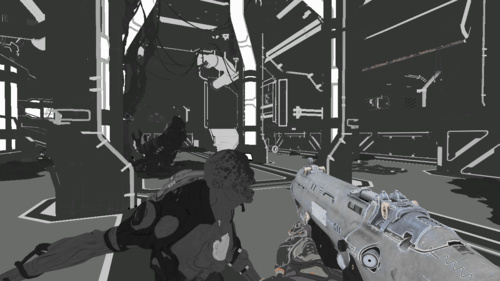
map Reflection
map The normal map is stored in the R16G16 floating point format , the reflection map is in R8G8B8A8 , the alpha channel contains the smoothing coefficient. So DOOM thoughtfully uses a combination of direct and deferred rendering with a hybrid approach. These new G buffers will be useful when adding additional effects such as reflections.
I missed one more thing: at the same time, a 160x120 feedback buffer is created for the megatexture system. It contains information for the streaming system that reports on textures and their mip-texturing, which must be passed on.
The megatexture engine works by the feedback principle: if after passing the rendering it is reported that there are no textures, the engine loads them.
GPU particles
Then a compute shader is launched to update the particle simulation: position, speed and life.
It reads the current state of the particles, as well as the buffers of the normals and depths (for detecting collisions), reproduces the simulation phase and saves the new states in buffers.
Screen Space Ambient Light (SSAO)
At this point, an SSAO card is generated .
It is designed to darken color around narrow seams, creases, etc.
It is also used to apply reflection clipping to avoid artifacts of bright illumination that occur on clipped grids.
The map is calculated at half the original resolution in a pixel shader that reads data from the depth buffer, normal maps, and reflection.
The first result is quite noisy.
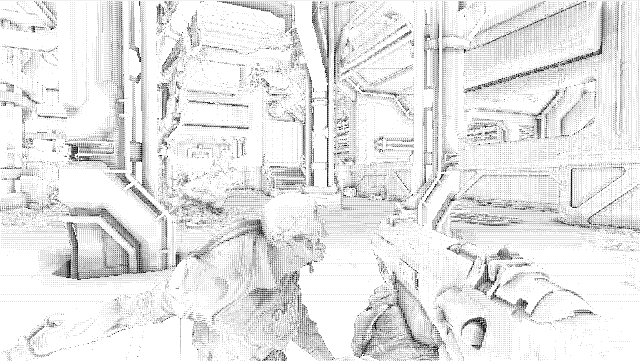
SSAO Map
Screen Reflections
Now the pixel shader creates an SSR card . Using the information present on the screen, it processes reflections by ray tracing, causing the rays to reflect from each pixel in the viewport and reading the color of the pixels onto which the rays fell.
Depths | Normal | Reflection | 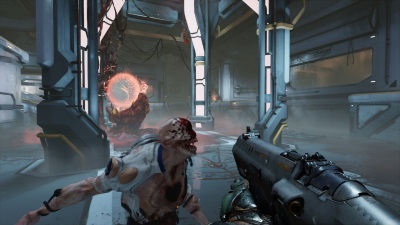 Previous frame |
 | |||
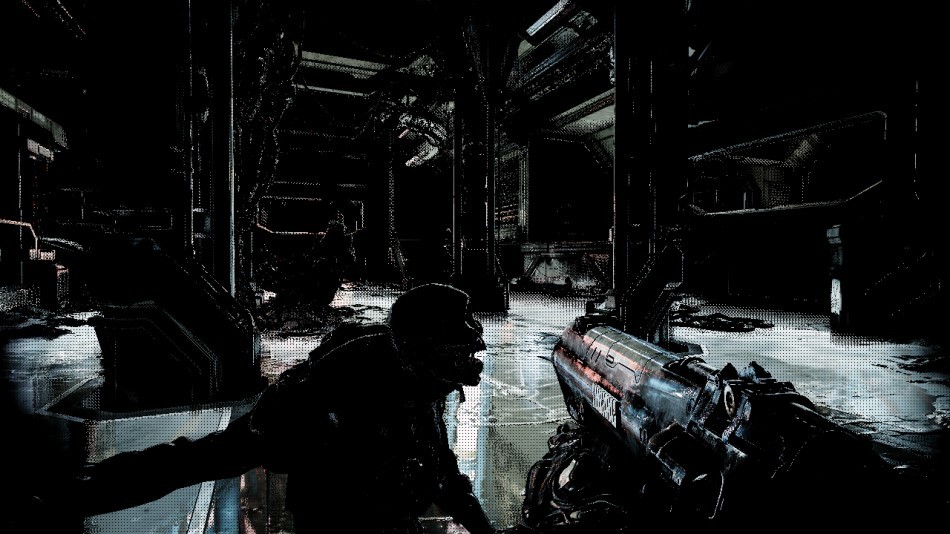 SSR Card | |||
SSR is a good and not very expensive technique for creating dynamic reflections of a scene in real time, creating an unchanging load; it greatly enhances the feeling of immersion and realism.
But she has her own artifacts, since she works only in the screen space and she lacks “global” information. For example, you can see beautiful reflections in the scene, but when you start to lower your gaze, the amount of reflection decreases, and looking at your legs, you will not see almost any reflections. It seems to me that SSRs are well integrated in DOOM, they improve image quality, but at the same time they are rather inconspicuous, and you will not notice their disappearance if you do not follow them specifically.
Static Cubic Texture Reflections
After calculating all the dynamic reflections in the previous pass (and their limitations), it is time to create static reflections using IBL .
This technique is based on the use of generated 128 x 128 cubic textures, which are information about the illumination of the environment in various places on the map (they are also called “environment probes”). In the same way as light sources with decals at the stage of clustering the pyramid of visibility, the probes are also indexed for each cluster.
All cubic level textures are stored in an array; there are dozens of them, however, only 5 (cubic textures in this room) make the main contribution to our scene:
 |  |  |  |  |
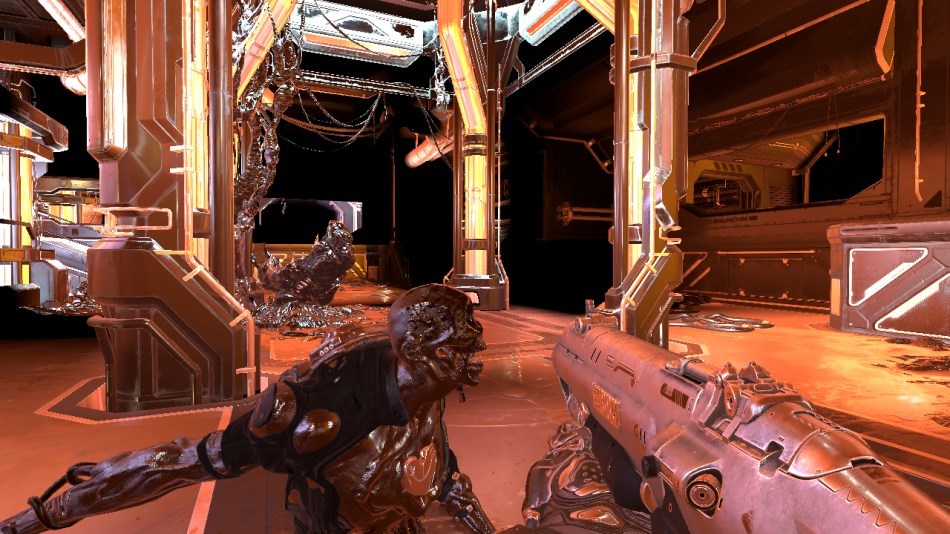
Static reflection map
Card blending
At this point, the compute shader combines all previously generated cards. It reads depth and reflection maps and mixes the direct passage lighting:
- with SSAO information
- with an SSR for the pixel in question when it becomes available
- if SSR information is not available, static reflection map data is used as a replacement
- fog effect is also calculated
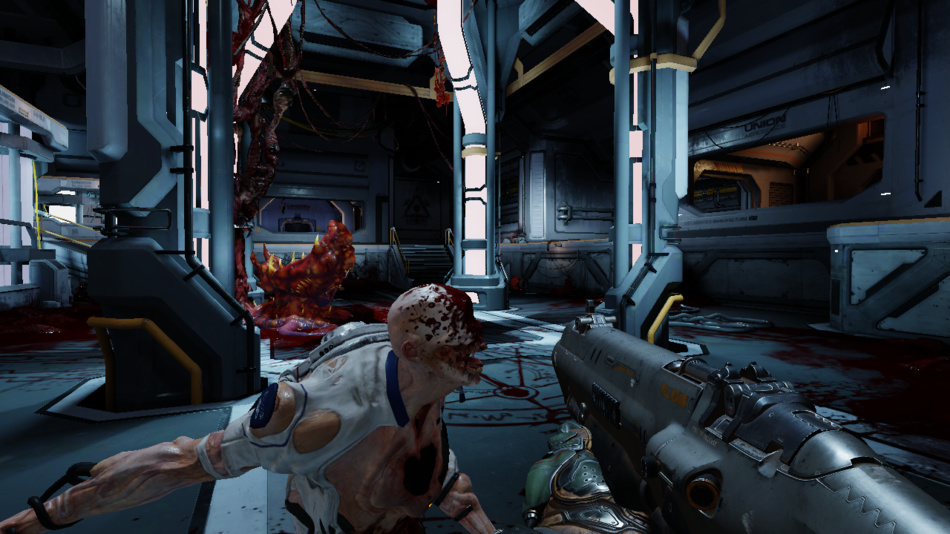
Mixing and fog: before
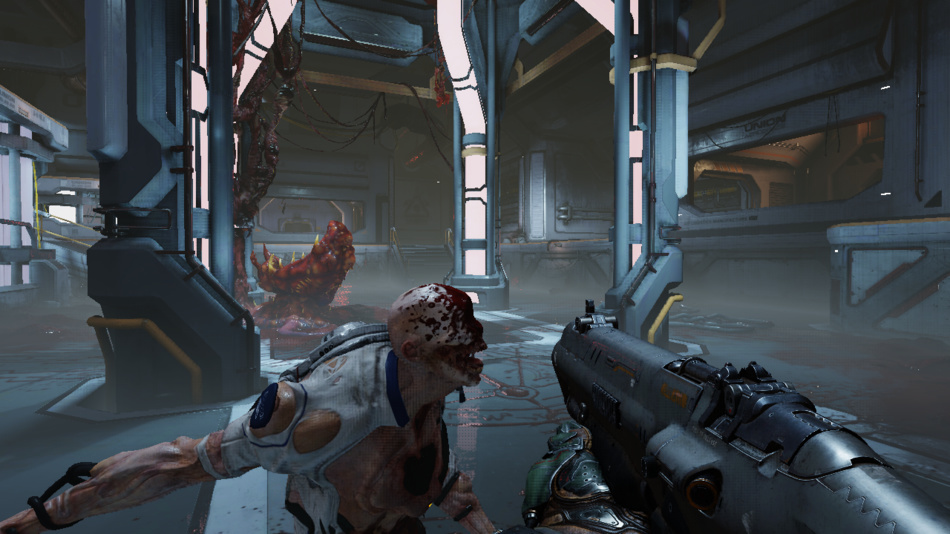
Mixing and fog: after
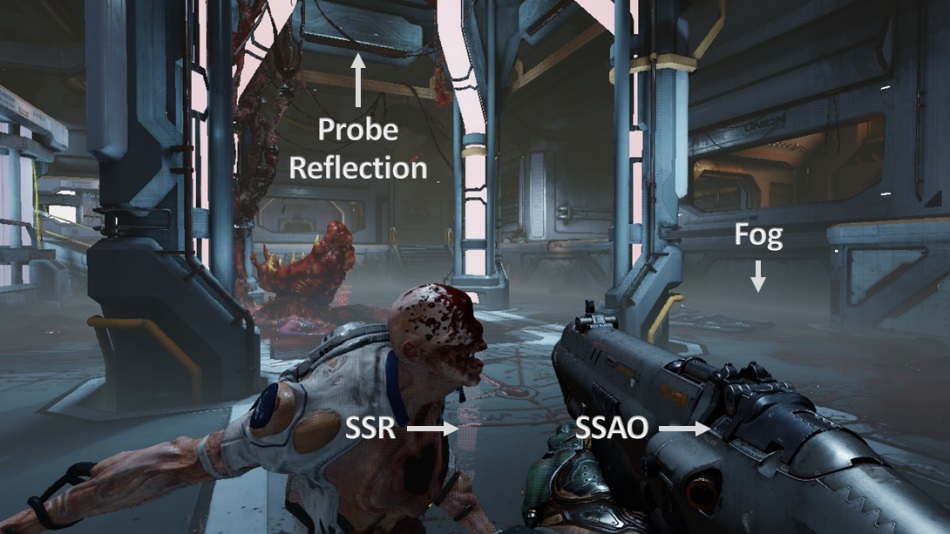
Fog - fog, Probe Reflection - reflection of probes
Particle lighting
There are smoke particles in our scene and lighting is calculated for each sprite. Each sprite is rendered as if it is in the space of the world: from its position we get a list of light sources and their corresponding shadow maps, after which the lighting of the quadrilateral (particle) is calculated. Then the result is saved in a 4k atlas tile; tiles can be of various sizes, depending on the distance from the particle to the camera, quality settings, etc. The atlas has dedicated areas for single-resolution sprites, this is what 64 x 64 sprites look like:
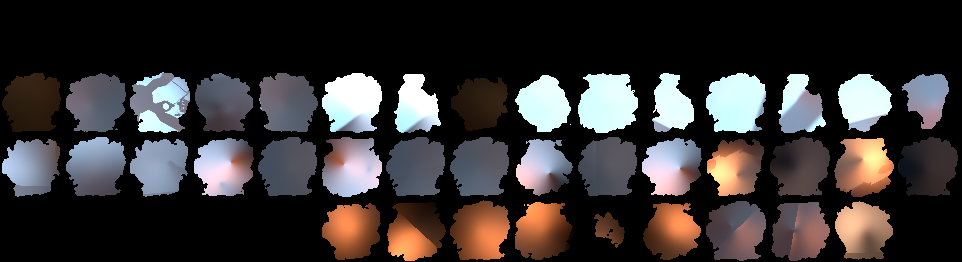
Atlas of Particle Lighting
In such a low resolution, only lighting information is stored. Later, when the particle is actually drawn, the full-resolution texture is used, and the scale of the lighting quadrangle increases and it mixes with the texture.
Here DOOM separates the calculation of particle lighting from the main rendering of the game: no matter what resolution you play (720p, 1080p, 4k ...), particle lighting is always calculated and stored in such small tiles of a fixed size.
Zoom out and blur
The scene is reduced several times in size to 40 pixels. The smallest zoom levels are blurred using separate vertical and horizontal passes (a “blur chain” is created).
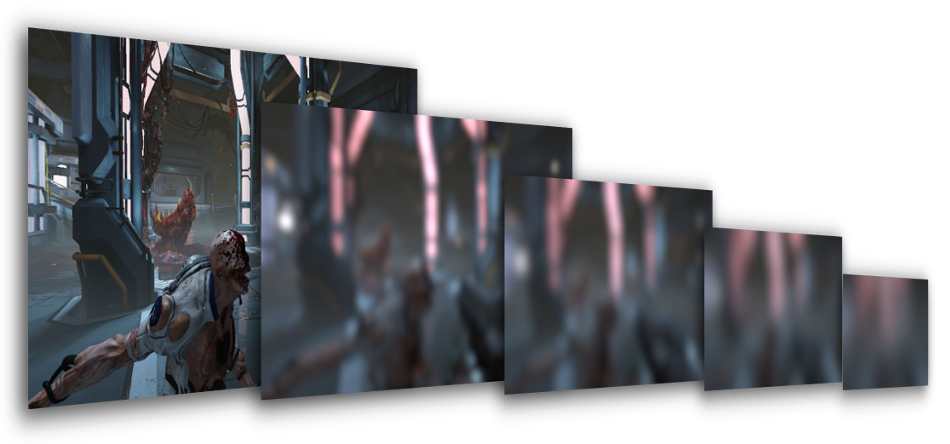
Why blur so early? This process usually happens at the end, during postprocessing to create a bloom effect in bright areas.
But all these different levels of blur will come in handy in the next passage for rendering refractions in glasses.
Transparent objects
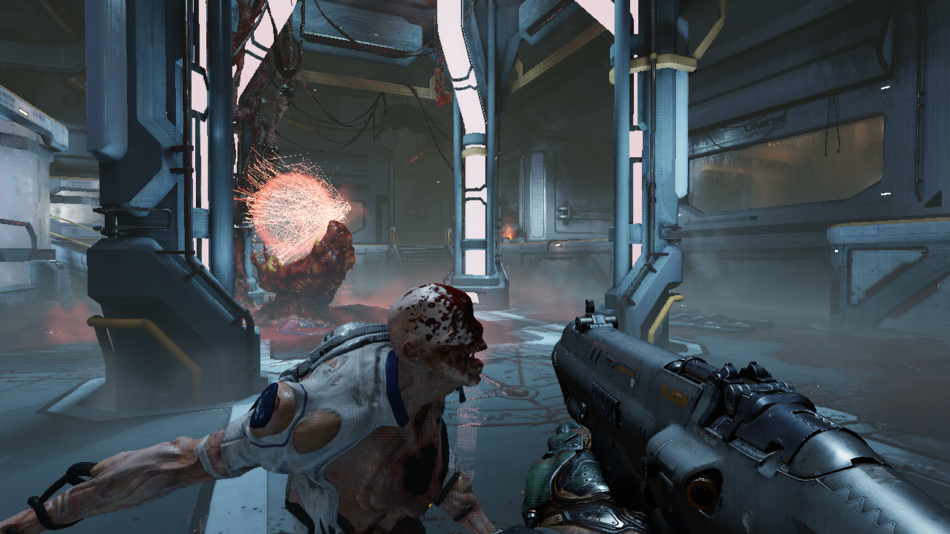
All transparent objects (glasses, particles) are rendered on top of the scene:
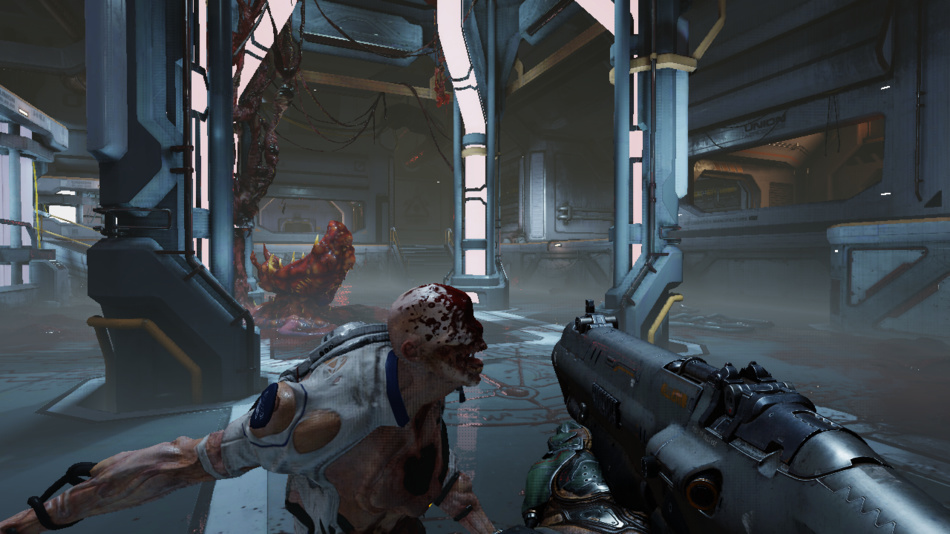
Transparent objects: before
Transparent objects: after
Glasses are very beautifully rendered in DOOM, especially glasses covered with frost or dirt: decals affect only part of the glass to make refractions more or less blurry. The pixel shader calculates the “blur” coefficient of refraction and selects two cards closest to the blur coefficient from the “blur chain” set. He reads these two cards and linearly interpolates the two values to approximate the final color of the refraction blur. Thanks to this process, glasses can create pixel-by-pixel beautiful refractions at various levels of blur.
Distortion map

Distortion map
Very hot areas can create thermal deformations in the image. In our scene, a nest of blood distorts the image a little.
Distortions are rendered relative to the depth buffer to create a low-resolution distortion map.
The red and green channels represent the distortion value along the horizontal and vertical axes. The blue channel contains the amount of blur applied.
The real distortion effect is applied later, like post-processing, using a distortion map to move the pixels you want.
In this scene, the distortion is very small and almost invisible.
User interface
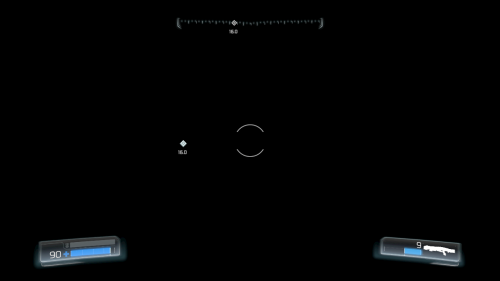
The UI is rendered to another rendering buffer in a premultiplied alpha mode stored in LDR format .
The advantage of storing the entire UI in a separate buffer instead of drawing directly on top of the completed frame is that the game can apply filtering / post-processing, for example, chromatic aberration or optical distortion for all UI widgets in one pass.
The rendering does not use any of the batching techniques and simply draws one by one the interface elements in about 120 draw calls.
In subsequent passes, the UI buffer is mixed on top of the game image, creating the final result.
Temporary anti-aliasing (TAA) and motion blur
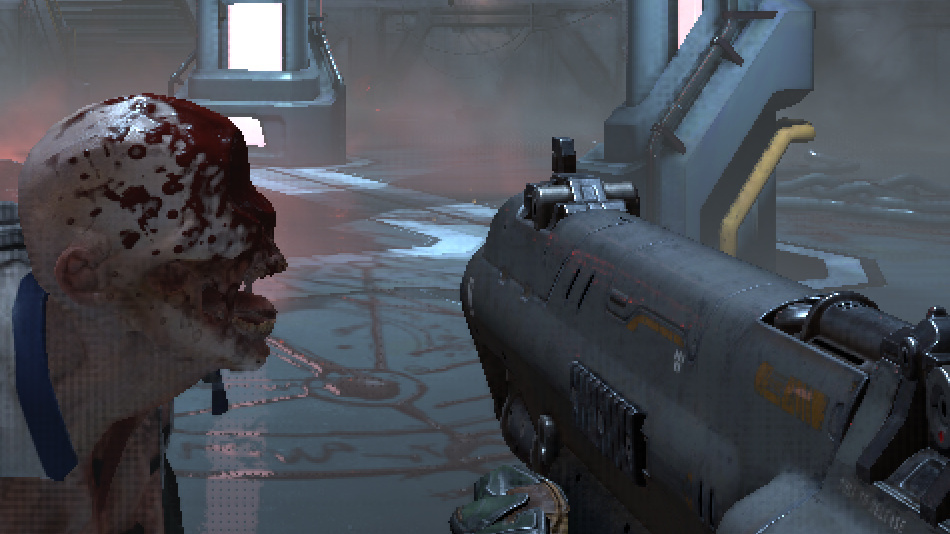
TAA and motion blur are applied using the velocity map and the rendering results of the previous frame.
Fragments can be tracked, so the pixel shader knows where the current processed pixel was in the previous frame. Every second frame, rendering slightly shifts the projection of the grids by half a pixel: this eliminates artifacts of subpixel distortion.
TAA and motion blur: before

TAA and motion blur: after
The result is very good: not only the grid becomes smoothed, but the distortion of reflections (in which separate bright pixels may appear in the frame) are also reduced. The quality is much better than what could be achieved using the FXAA postprocessing method.
Scene brightness
At this stage, the average brightness of the scene is calculated , this is one of the parameters that are later transmitted for tone compression.
The HDR lighting buffer cyclically decreases by half from its resolution until it becomes a 2 x 2 texture, at each iteration, the pixel color value is calculated as the average of the brightness of its four “parent” pixels from a larger map.
Bloom
Bloom
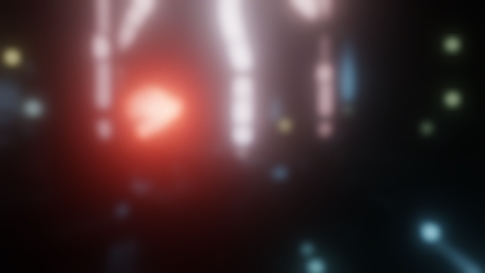
A brightness filter is applied to mute the darkest areas of the image. The result of using a brightness filter is then cyclically reduced and blurred in a manner similar to that described above.
The layers are blurred using Gaussian blur , divided into vertical and horizontal pass, on which the pixel shader calculates the weighted average value along one axis.
Then the blurry layers are combined to create a bloom effect , which is an HDR texture four times smaller than the original resolution.
Final postprocessing
This entire step is performed in a single pixel shader:
- thermal deformation is applied using distortion map data
- bloom texture is added on top of the HDR lighting buffer
- apply effects such as vignetting, dirt / glare
- the average brightness is calculated by sampling a 2x2 brightness map, as well as additional exposure parameters, tonal compression and grading are used.
Tone compression: before

Tone compression: after
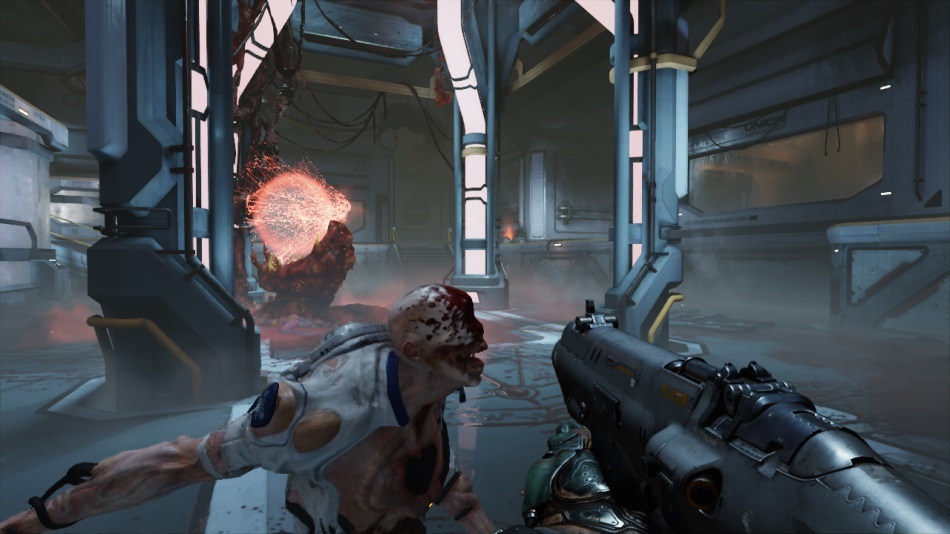
Tone compression takes an HDR illumination buffer containing colors that change over a wide range of brightness and converts it to color with 8 bits per component (LDR) so that the frame can be displayed on the monitor.
Cinematic tone mapping operator based on an equation
(x(Ax+BC)+DE) / (x(Ax+B)+DF) - (E/F), this tone compression Uncharted 2 is also applied to GTA V . It should also be noted that the overall red tint of the scene is obtained by color correction.
UI and film grain
And finally, the UI sits on top of the frame of the game; at the same time, a slight film grain effect is added .
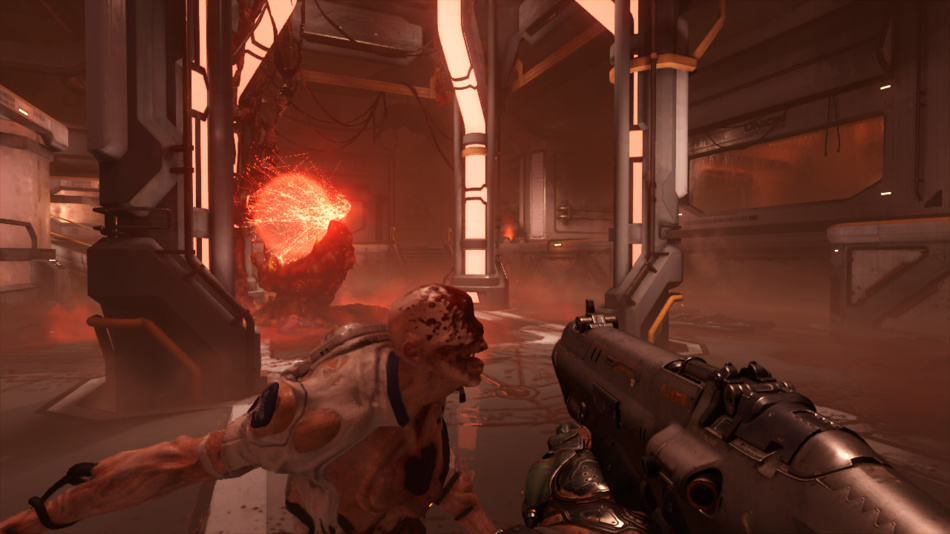
UI and grain: before
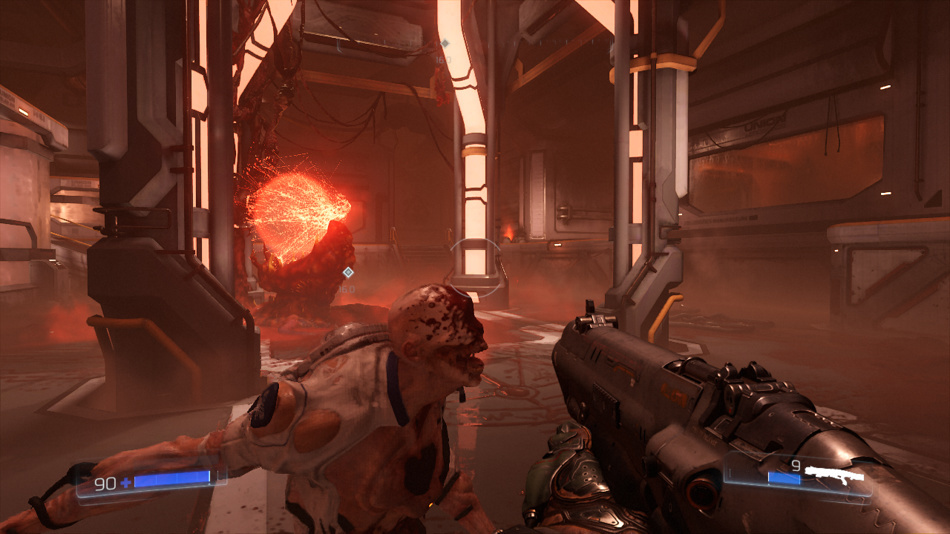
UI and grain: after
And we completed the processing of the frame, it is ready for transmission to the monitor for display; a lot of calculations were done, but it all happened in less than 16 milliseconds.
DOOM manages to create a high-quality picture at a high game speed, because he wisely uses the old data calculated in previous frames. In total, we got 1331 draw calls, 132 textures, and 50 rendering buffers.
Bonus Information
More about glasses
The glass rendering result is very good; however, it was achieved in fairly simple ways that we examined above:
- подготовка нескольких уровней размытия рендеринга непрозрачных сеток
- отрисовка просвечивающих элементов в порядке «сзади вперёд» в прямом режиме с применением декалей/освещения/отражения зондов с помощью предыдущей цепочки для различных значений размытия преломления стекла; при этом каждый пиксель может получить собственное значение преломления.
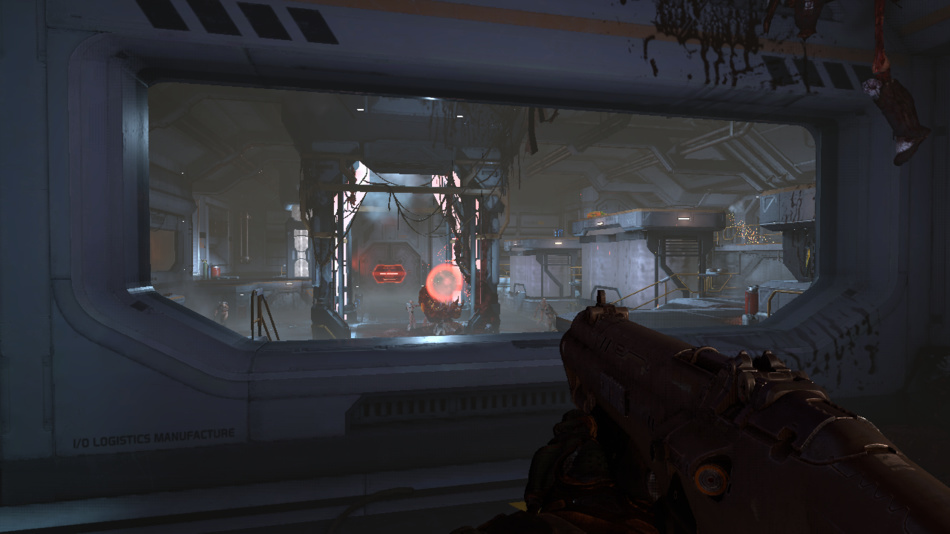
Стекло: до
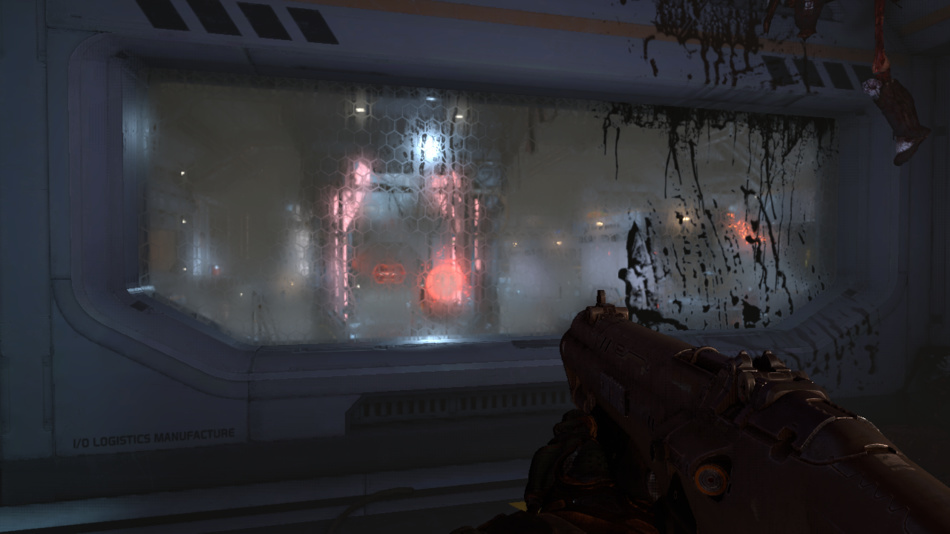
Стекло: после
Глубина резкости
The depth of field is not visible in the frame we studied , so let's look at the following scene before and after its application:
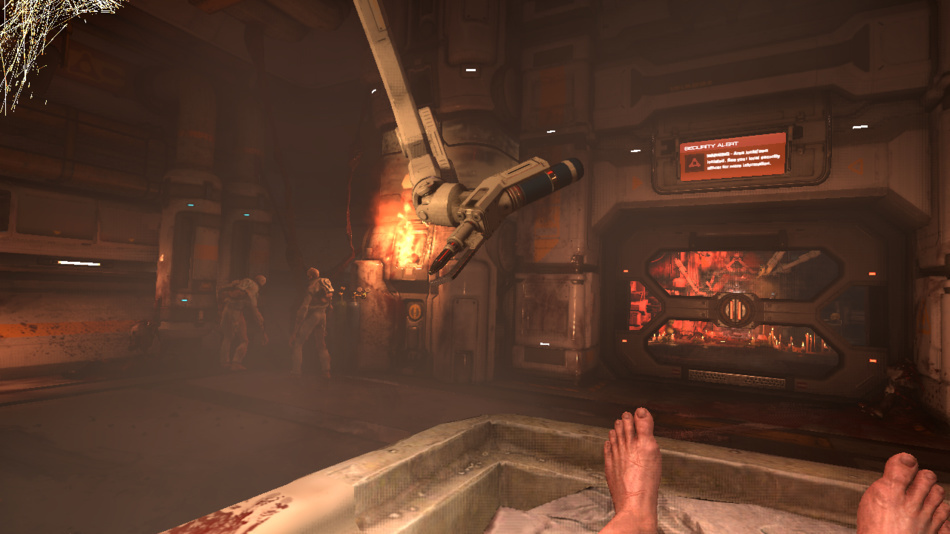
Depth of field: to
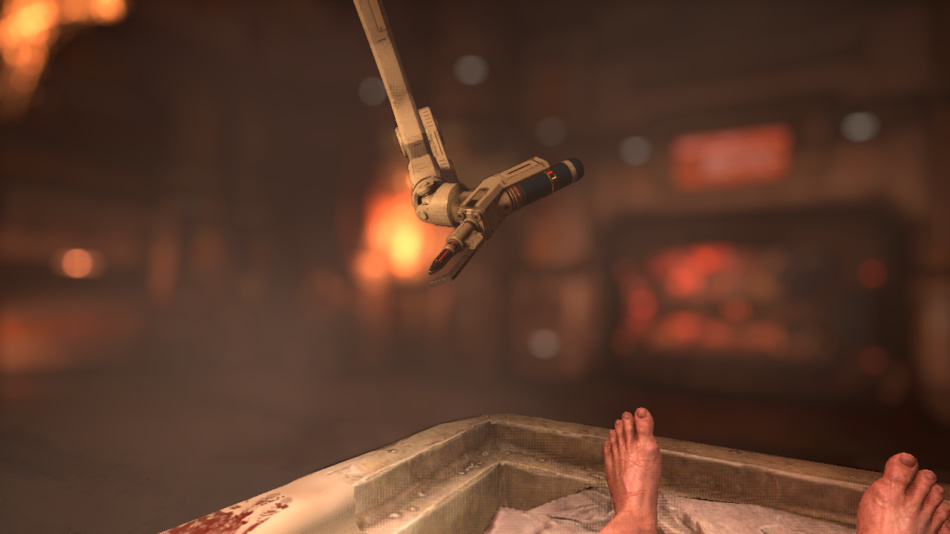
Depth of field: after
Not all games correctly apply the depth of field: the naive approach often consists in using Gaussian blur and doing blur in one pass depending on pixel depth. This approach is simple and economical, but has some problems:
- Gaussian blur is good for the bloom effect, it does not create bokeh correctly : you need a flat center so that the light of a bright pixel spreads across the entire disk or hexagon. Gaussian blur is not able to create beautiful bokeh shapes.
- applying depth of field in one step of a pixel shader can easily lead to artifacts at the borders.
In DOOM, the depth of field is applied correctly; in my experience, one of the approaches that gives the best results was selected: images with a large and small depth of field are created: the choice of pixels is performed depending on its depth and parameters of the depth of field.
- An image with a shallow depth can be very blurry, the more it “spreads” into the pixels behind it, the better.
- An image with a large depth is also blurry, but it does not read pixels from the area in focus / shallow depth of field, therefore, it avoids problems with objects in the foreground that mistakenly “spread” to the background.
To create bokeh blur, DOOM works at half resolution and performs circular blur with 64 textures, each fragment has the same weight, so the brightness really spreads around, unlike Gaussian blur.
The diameter of the circle may vary pixel by pixel, depending on the value of the pixel scatter spot .
Then the bokeh spreads further with a blur of 16 overlays, but this time the weighted average value is not calculated, but the values of the samples are simply accumulated and the largest value of the neighboring overlays is saved; this not only extends the first blur, but also eliminates small artifacts (gaps in sampling) of the first pass. The last part of the algorithm is taken from the work of Mackintosh (McIntosh).
This technique of iterating over several passes allows you to get very beautiful large blurring, while remaining effective in terms of performance; the number of texture overlays per pixel is still quite small, given the large radius of the resulting final circular blur.
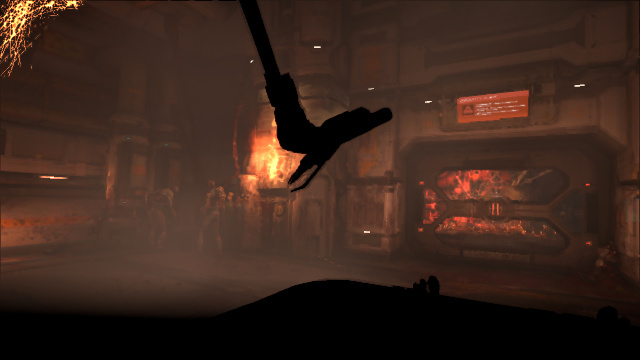
Large Depth of Field
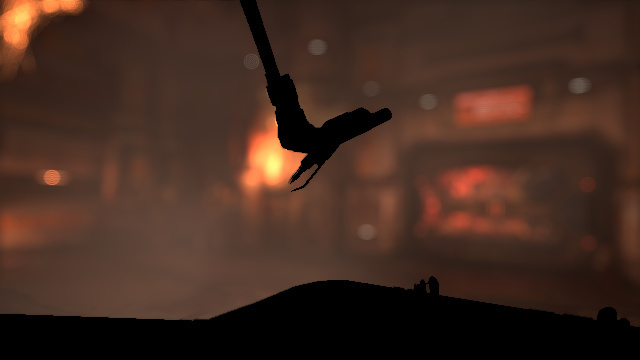
Large Depth of Field and Blur 1
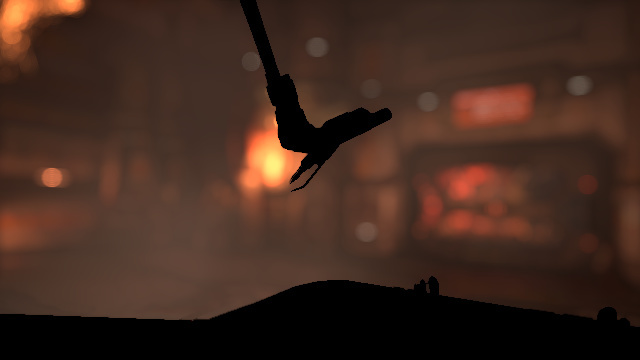
Large Depth of Field and Blur 1 and 2
Finally, images with large and shallow depth of field are superimposed on the original scene with alpha blending to create the final depth of field effect. This pass is performed just before applying motion blur.
Additional sources
If you want to delve deeper into idTech 6 technology, then fortunately there are many lectures and publications on this topic:
- The devil is in the details: idTech 666 (Siggraph 2016), Tiago Sousa and Jean Geffroy
- Tech Interview: Doom , Digital Foundry
- id Software Tech Interview , DSOGaming
- QuakeCon 2016: Doom Uncapped - Part1 and Part 2
- Doom: The definitive interview , VentureBeat
- Graphics Gems CryEngine 3 (Siggraph 2013), many post-processing techniques used in idTech 6.