Integration of 3CX with 1C: Trade Management - a method of combining configurations
- Tutorial
In the last article, we looked at the integration of 3CX v15.5 with a typical configuration of 1C Trade Management, edition 11 (11.4.3.167) for Russia. However, some experts in the comments expressed concern that disabling the compatibility mode of the 1C platform with the current version of the Trade management configuration may cause various problems among users. Although we did not receive any information about any problems, we prepared a second instruction describing the combination of configurations.
So, at the moment we offer two ways to integrate 3CX with the UT configuration: using the extension developed by us or by merging with our 1C configuration file containing the necessary objects.
You can use the extension only if your configuration works in compatibility mode with platform 8.3.11 or higher. And the option of combining configurations is suitable for configuring any version, but the process itself requires certain 1C: Enterprise maintenance skills. On the other hand, integration of configurations allows you to safely connect 3CX integration with 1C right now, without waiting for the release of the tested version of the new configuration from 1C (operating in compatibility mode 8.3.11 or higher).
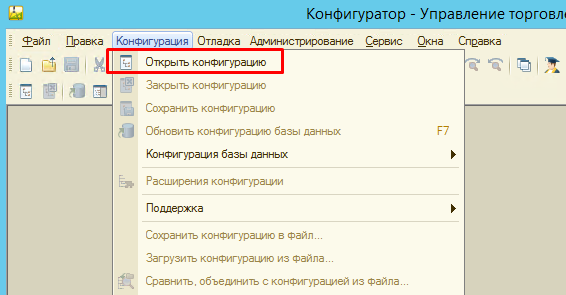
If your configuration is on support, you need to enable change capability for it. Go to the Configurator and select Configuration - Open configuration.
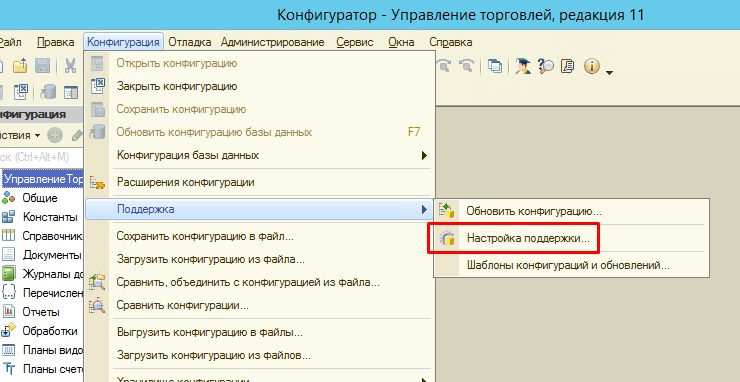
Select Configuration - Support - Configure Support ...
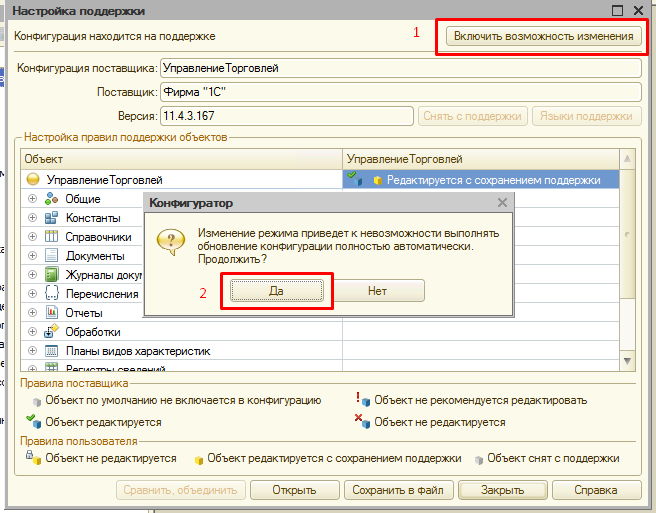
Click the Enable Change button and accept the system warning.
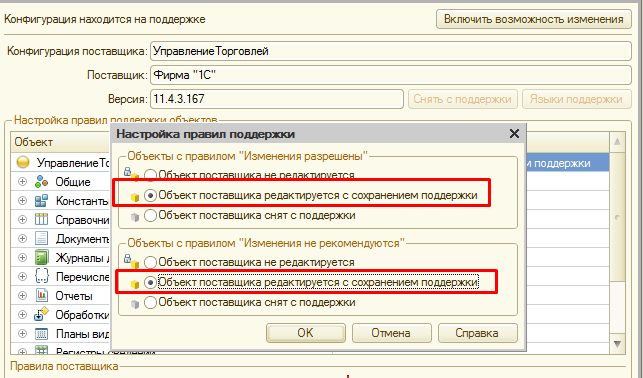
In the Configure Support Rules window, select the Vendor object is edited while maintaining the support and click OK.
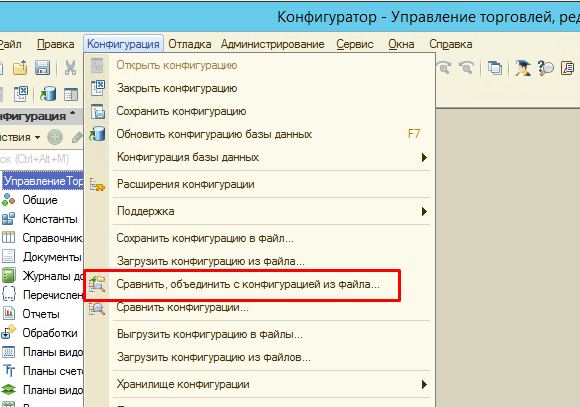
In the Configurator, select Configuration - Compare, merge with the configuration from the file ... and select the file 3cx1c_merge.cf from the archive .
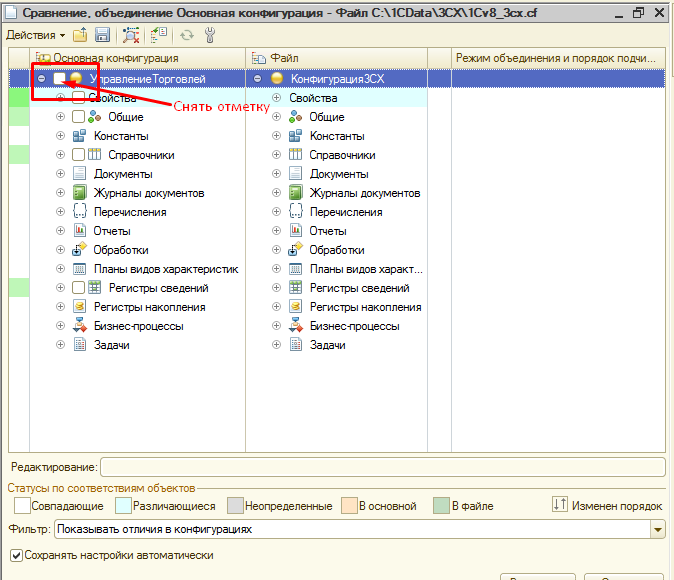
Remove the check mark from the root element (this will remove the check marks from the subordinate objects).
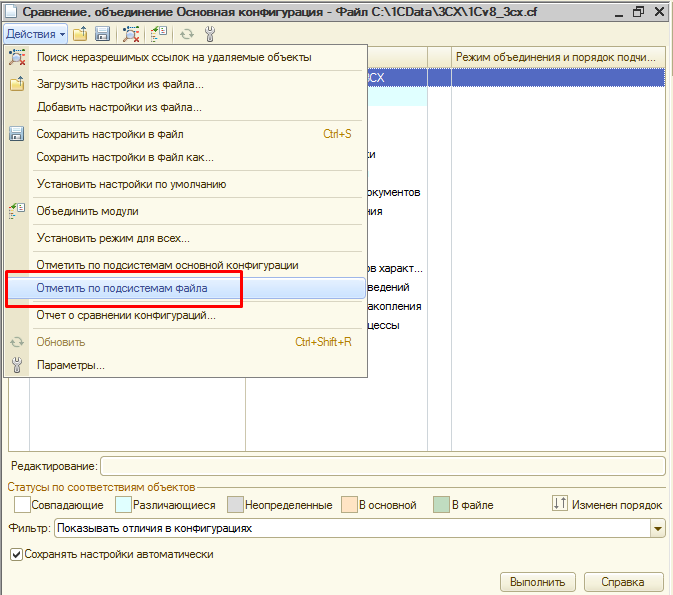
Click the Actions button and select Mark by file subsystems.
Select 3CX Subsystem and click Install.

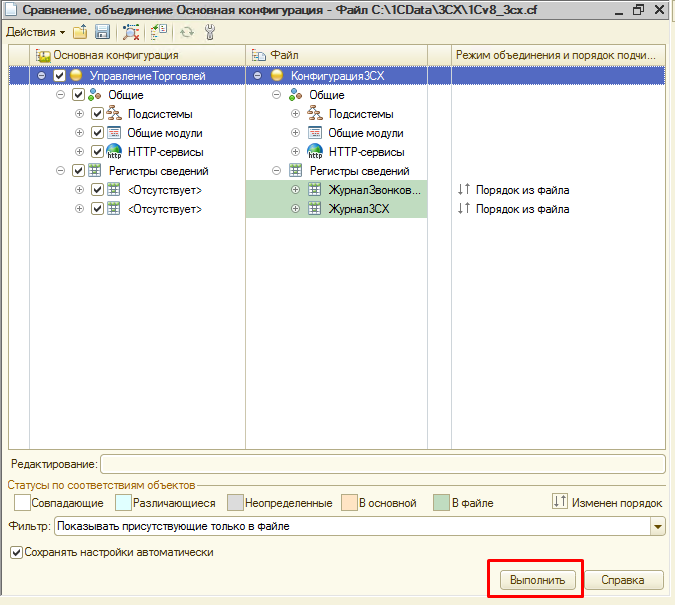
After that, click Run.
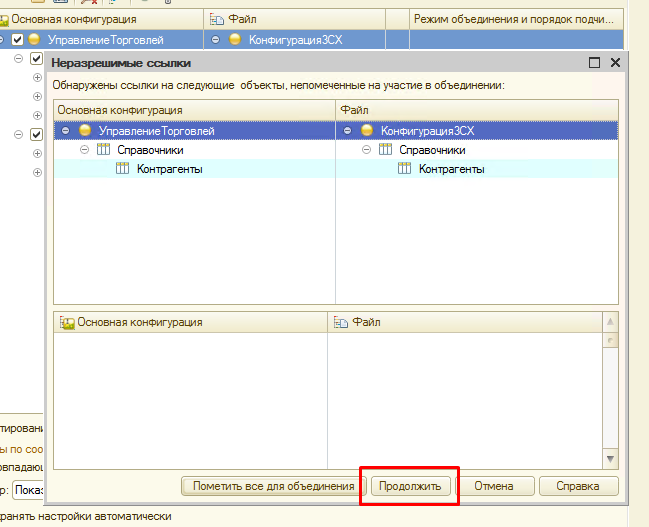
In the Unresolved Links warning box, click Continue.
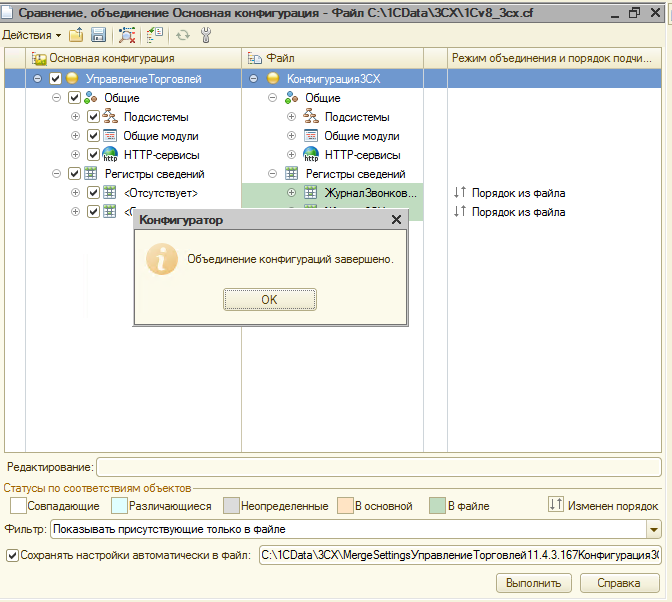
Wait until the merge process is complete.
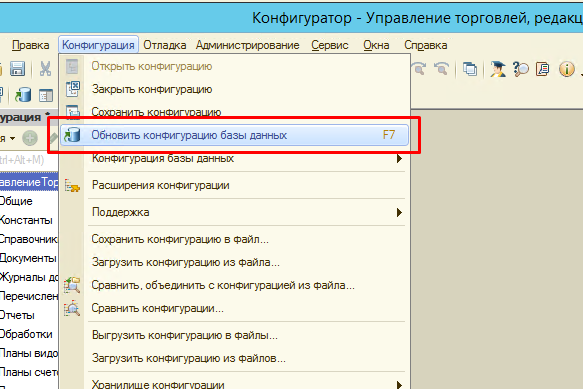
Now you should update the configuration. In the menu, select the Configuration - Update database configuration item or simply press the F7 key.
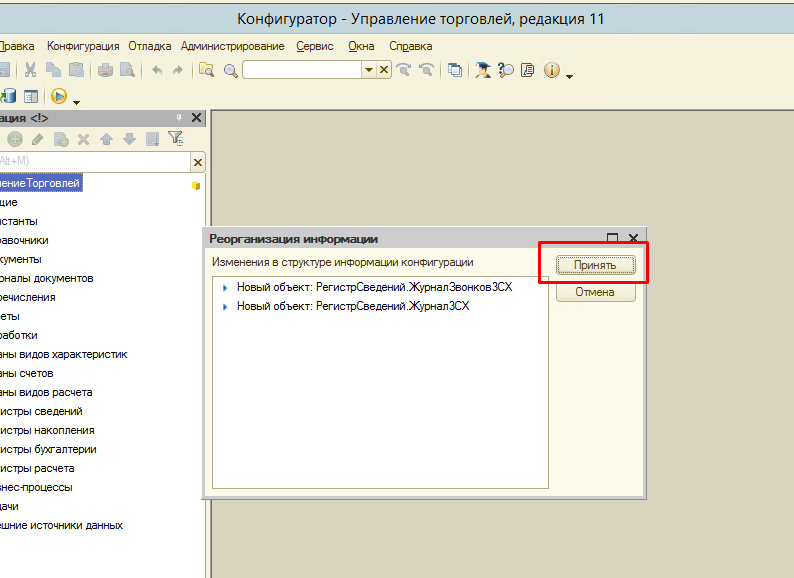
In the Reorganize Information window, click the Accept button.
This concludes the integration of 3CX configurations and Trade management. Using the combined configuration (i.e., the 3CX integration module) is no different from that described in the previous article .
So, at the moment we offer two ways to integrate 3CX with the UT configuration: using the extension developed by us or by merging with our 1C configuration file containing the necessary objects.
You can use the extension only if your configuration works in compatibility mode with platform 8.3.11 or higher. And the option of combining configurations is suitable for configuring any version, but the process itself requires certain 1C: Enterprise maintenance skills. On the other hand, integration of configurations allows you to safely connect 3CX integration with 1C right now, without waiting for the release of the tested version of the new configuration from 1C (operating in compatibility mode 8.3.11 or higher).
Enable configuration change
If your configuration is on support, you need to enable change capability for it. Go to the Configurator and select Configuration - Open configuration.
Select Configuration - Support - Configure Support ...
Click the Enable Change button and accept the system warning.
In the Configure Support Rules window, select the Vendor object is edited while maintaining the support and click OK.
Combining 3CX Configurations and Trade Management
In the Configurator, select Configuration - Compare, merge with the configuration from the file ... and select the file 3cx1c_merge.cf from the archive .
Remove the check mark from the root element (this will remove the check marks from the subordinate objects).
Click the Actions button and select Mark by file subsystems.
Select 3CX Subsystem and click Install.
After that, click Run.
In the Unresolved Links warning box, click Continue.
Wait until the merge process is complete.
Now you should update the configuration. In the menu, select the Configuration - Update database configuration item or simply press the F7 key.
In the Reorganize Information window, click the Accept button.
This concludes the integration of 3CX configurations and Trade management. Using the combined configuration (i.e., the 3CX integration module) is no different from that described in the previous article .