December 9, 2015 at 13:58
Practice: How to set up the HP ProLiant ML10v2 server and prepare it for OS installation
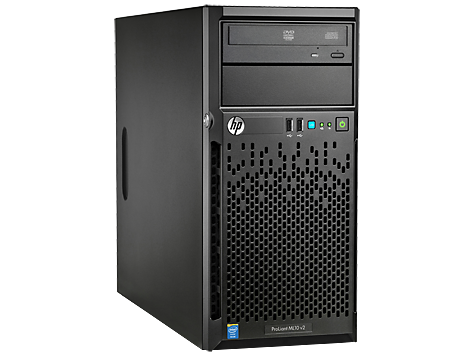 Good afternoon dear friends! Today I want to present you a short practical review on solving a specific problem. Namely, the initial server setup and installation of Windows Server 2012 R2 using proprietary HPE deployment tools. I will do this using the example of the now popular HP ProLiant ML10v2 server in the following configuration (part number 814483-421):
- 4U tower server
- Intel Pentium G3240 Processor
- HP Dynamic SmartArray B120i Integrated RAID Controller
- In our case, 4 Seagate LFF disks are used - they are not included in the package of the server itself
Full specifications can be found here .
The feature of this server, which is the most budgetary representative of the ProLiant family, is the lack of built-in Intelligent Provisioning deployment tools on the server itself. Therefore, for its initial configuration, you need to use a bootable USB flash drive with the HP Service Pack for ProLiant image. The instructions below will include such operations:
- Preparing and creating a bootable USB flash drive ( note that work with Service Pack for ProLiant can also be done from the remote iLO console (http://h20564.www2.hpe.com/hpsc/swd/public/detail?swItemId=MTX_4f842ceb31cf48d392e22705a8), ISO image from there
- RAID setup on the server
- Updating server software components (firmware)
- Install Windows Server 2012R2
All significant operations are accompanied by pictures. The awful quality of the pictures serves to achieve the effect of presence :)
Preparing and creating a bootable flash drive
So, you have become the proud owner of the HP ProLiant ML10v2 server (or prepare it for sale). Before you start setting it up, you need to do the following operations:
- Find a 8GB flash drive or more.
- Prepare an OS distribution disk and license key. In my example, the server did not have a built-in DVD drive, so a USB drive was used.
- Register the server at the HPE Support Center using its serial number. If this is your first time accessing the Support Center, you will need to register with HP Passport (it gives you access to all HP resources).
- After registration, you will be able to download Service Pack for ProLiant (SPP), a universal configuration and update tool for most HP ProLiant servers of current and past generations. You can download SPP here (Click on the link “Get software”, I managed to download the 5GB file in 30 minutes).
- Download the HP USB Key Utility bootable flash drive utility from here . You can also use any other utility to create bootable disks / flash drives from an ISO image.
- Using the utility, burn the SPP ISO image to a USB flash drive.
- In my example, we will install the Windows Server 2012R2 OS, for it you will need the B120i RAID controller driver. Download it here . Write the driver to the same flash drive in a folder with a catchy name.
- Drivers for other operating systems can also be found on the HPE website, their names can be found in the list of SPP components (search for the word B120i).
So, you have a flash drive and an OS disk in your hands. We begin the setup.
RAID setup on the server
- Connect a monitor, mouse, and keyboard to the server (use the USB ports on the back of the server)
- Insert the bootable USB flash drive into the USB port on the front of the server
- Turn on the server and wait for the initial initialization (about 3-5 minutes). How this process looks can be seen in this realistic video: youtu.be/ZVgCSp7G9R0 , watch from 1:10 to 4:20
- We are interested in two lines that will appear simultaneously: HP Dynamic Smart Array B120i (initialization should give the result 0 Logical volumes, that is, the controller is active, but logical drives have not been created); and also the invitation at the bottom of the screen to press the F11 key to go to the Boot Menu - press F11 now
- When an invitation to press the F5 or Esc key appears under the line about the B120i controller, press Esc (for any other ProLiant Gen8 or Gen9 server, you would need to press F5 and go to SSA, and then follow the same instructions)
- A list of possible bootable devices will appear, press the key with the number representing USB Drive (I had number 3)
- Next, a screen with a flashing round HP logo appears, and after it - a screen for selecting a boot option:

- Choose Interactive mode
- Wait a while (about a minute you will see only the desktop wallpaper and the cursor)
- We accept the terms of the license agreement and click Next
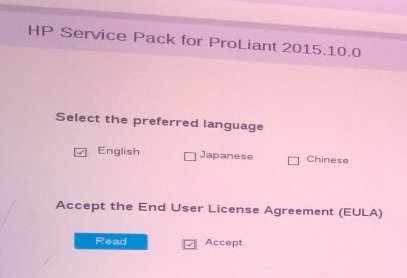
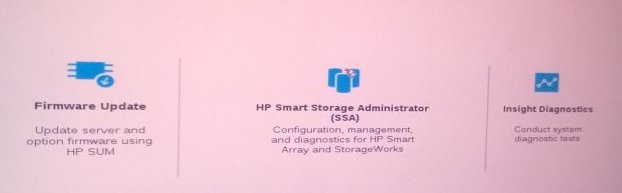
- On the first screen of the graphical shell, boldly click on the middle point - HP Smart Storage Administrator (SSA)
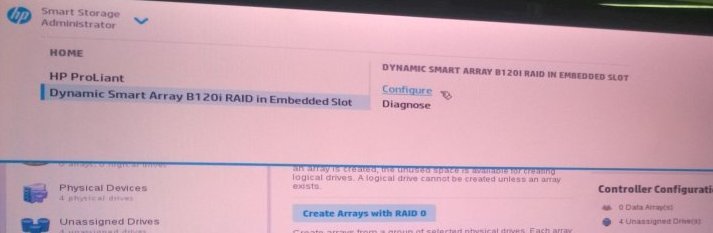
- When SSA boots up, head to RAID settings
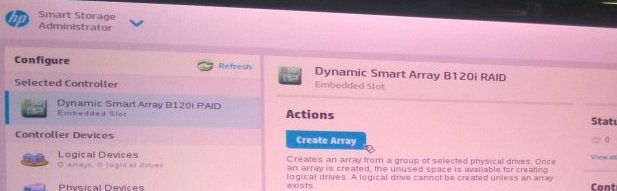
- Click Create Array:
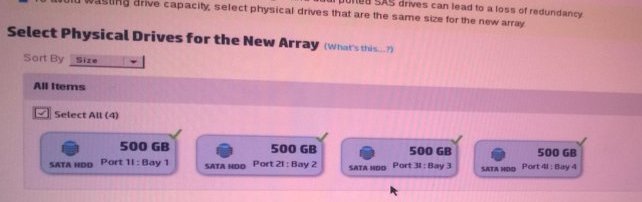
- Select the drives from which you want to create a RAID group. I selected all 4 available drives - Select All:
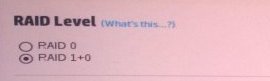
- On the next screen, I selected RAID 1 + 0, left the rest of the settings as they are, and clicked Create Logical Drive:
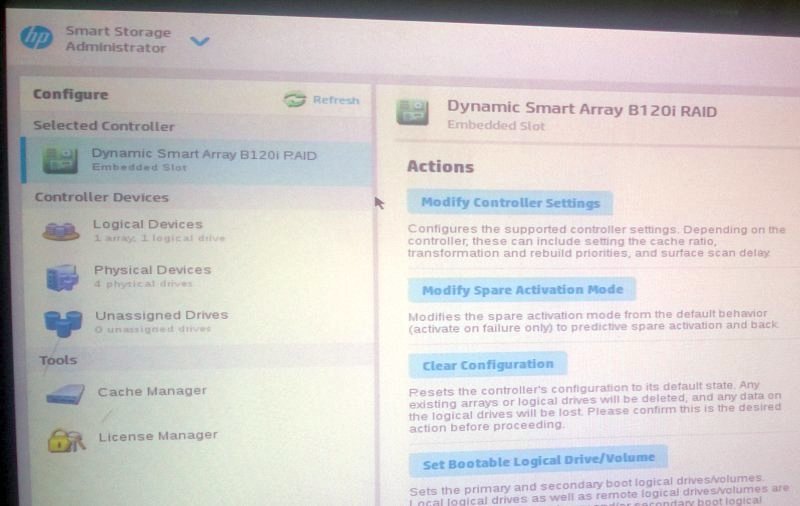
- The next screen will show the results of our settings, accept them and return to the SSA main screen. There we click the Set Bootable Logical Drive / Volume button
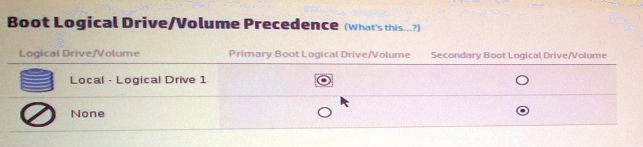
- Select the logical disk we created as bootable:
- That's all, exit SSA and again get to the first screen
Updating server software components (firmware)
- Now it is recommended to update the firmware, as it might have been a long time since the server left the factory. Launch the Firmware Update tool (left menu item)
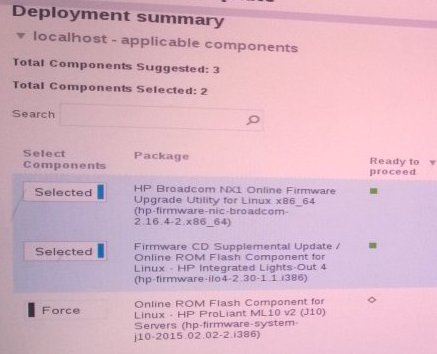
- We give the tool to automatically check the current firmware versions and offer update options:
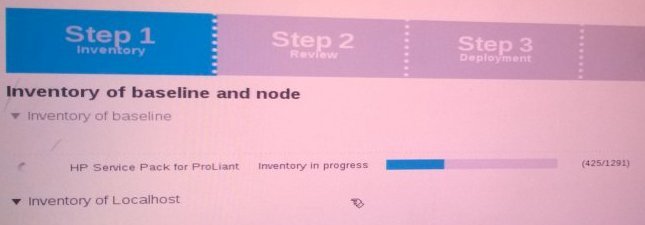
- We agree on all the proposed options (they are immediately marked Selected). The option recommended at the bottom of the list (marked Force) can be skipped if you are not sure if you need it. Click Deploy.
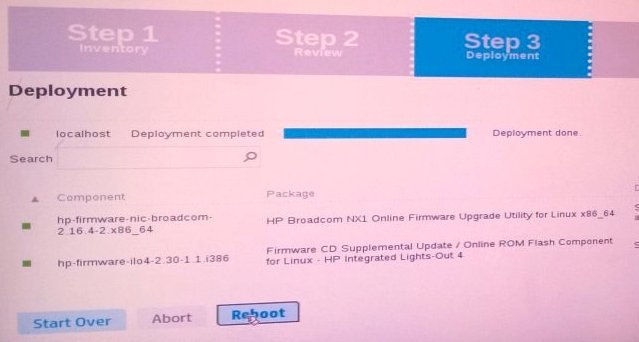
- The tool updates the firmware for some time (Deployment in progress) and then offers to reboot, we agree
- Now our server is completely ready to install the OS.
Install Windows Server 2012R2
- We connect an external DVD drive with a Windows Server disk and turn on the server. It will boot automatically from the DVD.
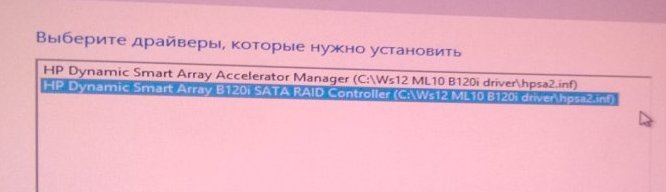
- Following the usual steps at the beginning of the installation of Windows, we will go to the step with choosing a place to install the OS. Windows does not contain drivers for the B120i controller, so we feed the installer the drivers from our flash drive (you can turn off the DVD drive while connecting the flash drive to the port on the front panel)
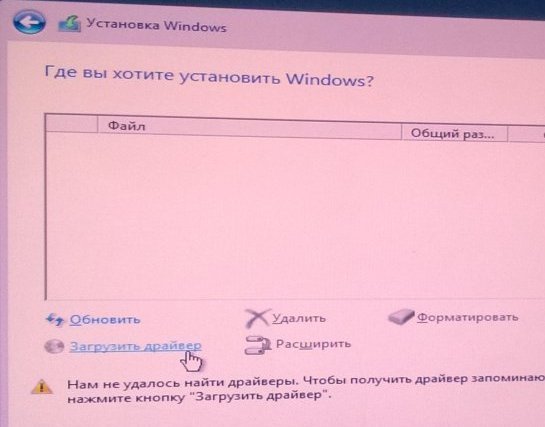
- Choose the location of the driver on the flash drive and the driver itself
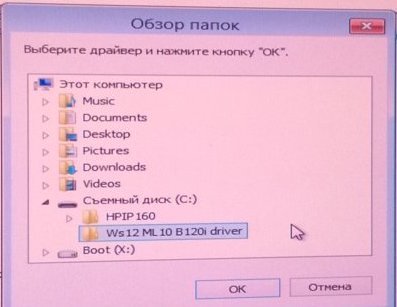
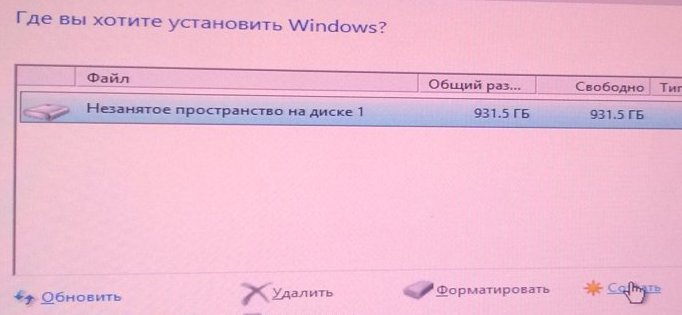
- Now the installer sees the free space from which the section can be made using the Create button. Create a partition, select it to install Windows and click "Next". Further installation will go as usual.
That's all. I hope this instruction will be useful to owners of ProLiant ML10v2, which in Russia are already several hundred and growing in number. Unfortunately, in Russian this instruction was not published anywhere before, which could cause difficulties when deploying in the absence of built-in tools in the server itself. I apologize in advance for any inconvenience.
Yes, and if you purchased ML10v2 and something doesn’t work for you with preparing a bootable USB flash drive, then write a request to me in private messages. We can send you a ready-made bootable USB flash drive tested on our hardware. In the request, indicate the serial number of your server.
PS: If you want to see other similar instructions on our blog, also write about it in the comments!