Work with sprites (Unity3d). Part II
- Tutorial
Introduction
In the first part of the article, we looked at importing sprites into Unity3d and some import features.
In the same article, I want to talk about SpriteSheets.
SpriteSheets as they are
SpriteSheets greatly facilitate the work with sprites and animations. This function allows splitting sprites in one file into separate frames of animation. Too abstruse and many letters. Below is an illustration.
GIF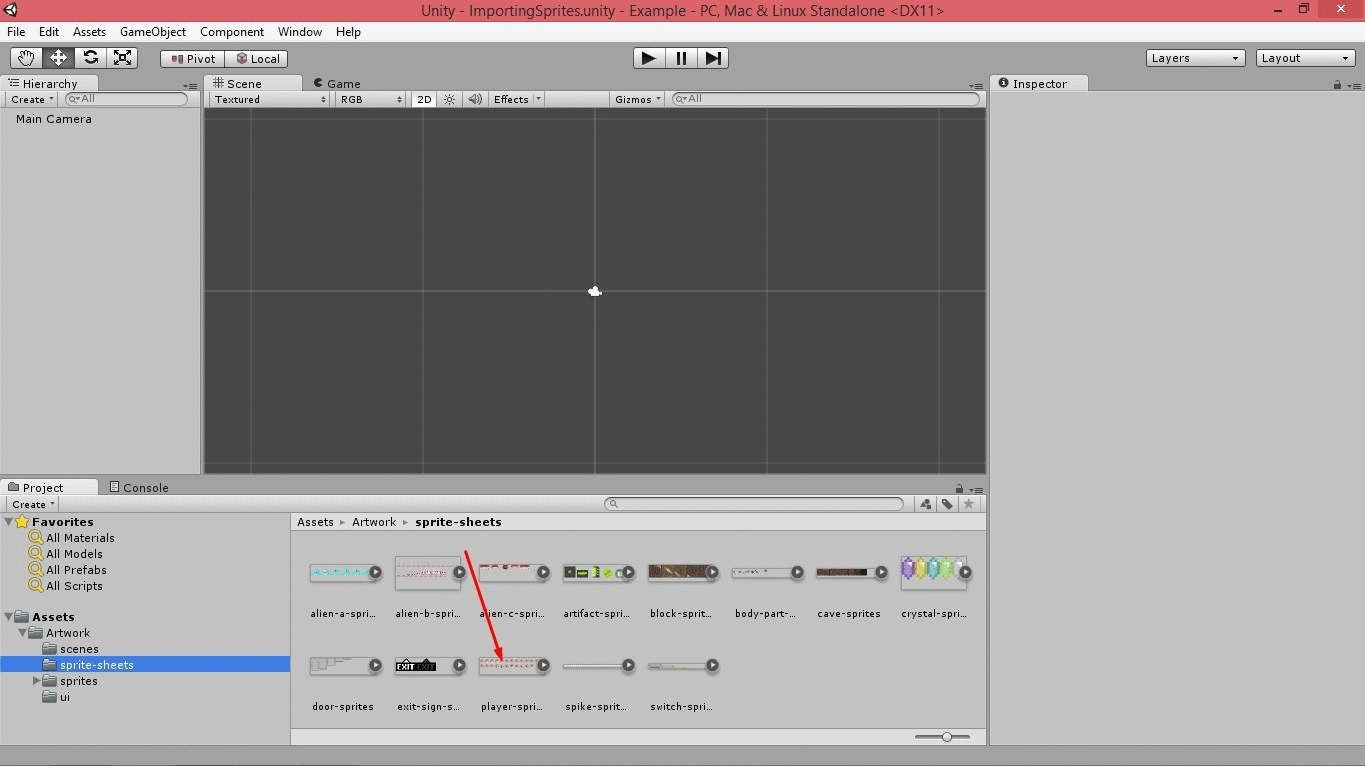
In this example, thanks to SpriteSheets , sprites are stored in one file for animating running, flying, waiting, etc. So it really makes the job easier.
Now let's drag such a sprite onto the stage and see what happens.
GIF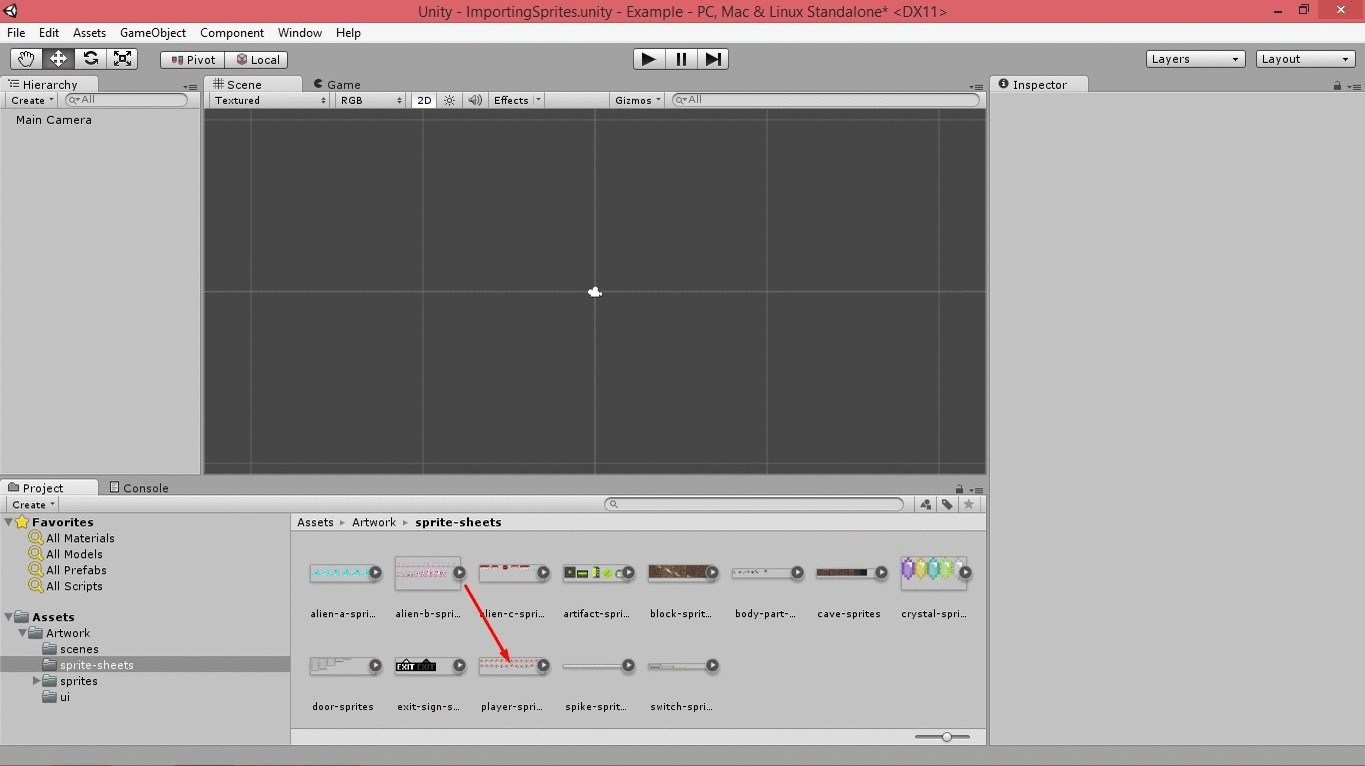
After adding it to the scene, it became one big sprite, which is wrong and it does not suit us.
In order to tell Unity that we have not one file in the file, but several, you need to access the Sprite Mode field in Inspector, changing the value from Single to Multiple, thereby telling Unity that this is not one sprite, but a certain amount . Illustration.
GIF
Having done this, we will see that a new Sprite Editor button has appeared , which we will use. By clicking on it, a window will open in front of you allowing you to "cut sprites". Here you need to open the context menu using the Slice button, in which all the settings for “cutting sprites” will be available to you. To facilitate the thought process illustration.
GIF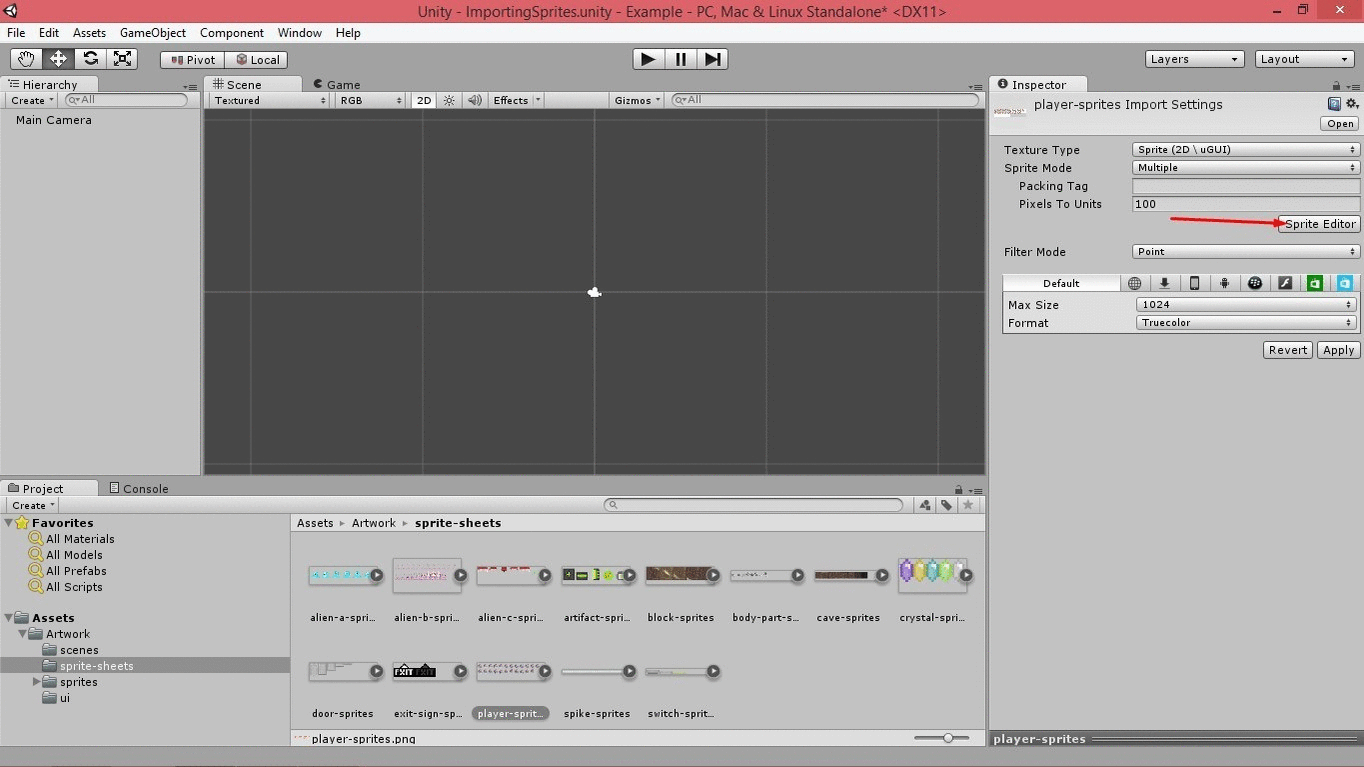
Let's consider in more detail the possibilities of this menu.
The first thing we see here is the type of "slicing" sprites. If we leave the Automatic value and press Slice, then Unity will crop all the sprites just by taking the smallest possible number of pixels. This does not always suit us, because if you apply such a method in our particular case, then the sizes of all sprites will be different, and this will lead to an unacceptable "twitchy" animation. Here is an example of unsuccessful automatic “slicing”.
GIF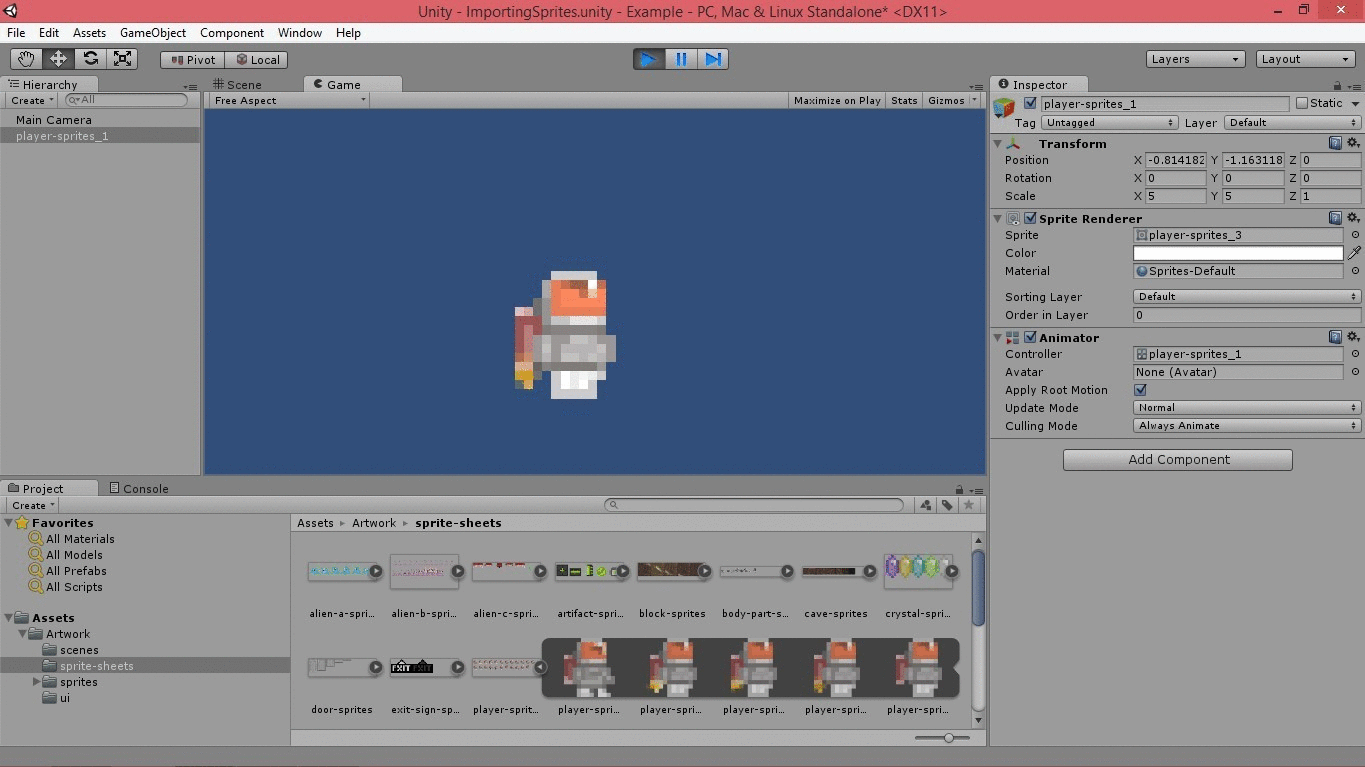
Although if the sprites are the same size, which is also often the case, this function will save time.
Now consider the manual "slicing" of sprites.
In the same menu, change the Automatic value to Grid , then specify the height / width in pixels and also click Slice.
If during the "cutting" of sprites manually, you form empty sprites
GIF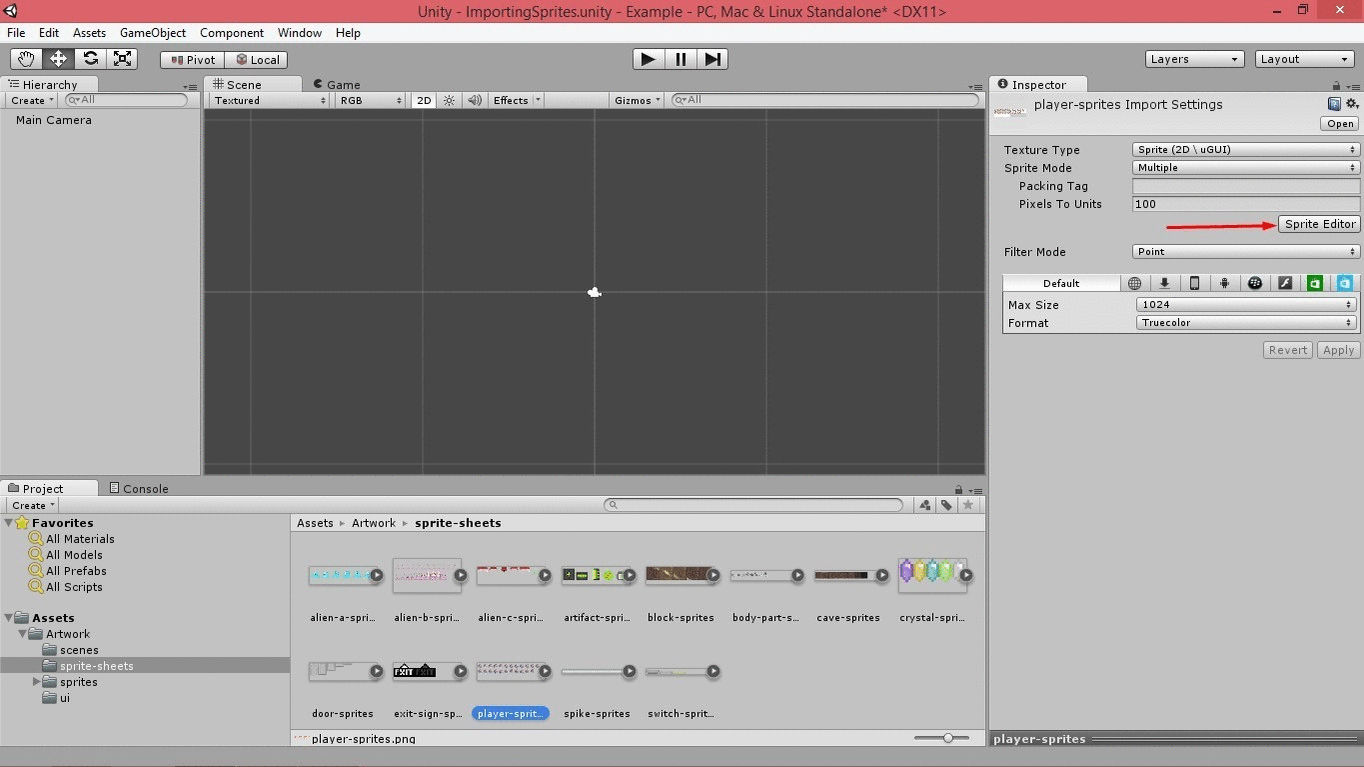
Once again, automatic sprite slicing is a useful feature that actually saves a lot of time and nerves. Therefore, try to use automatic “cutting” whenever possible. Once again, I will repeat how to determine what type of function to use. If the sprites are the same or do not differ significantly, then use the Automatic function, otherwise the Grid.
What does the same hand-cut flight animation look like:
GIF