Car audio system as a headset for a phone
Having a small class car and using the head unit you can run into the absence of USB, to play music from a USB flash drive and the lack of Bluetooth, to use the speakerphone, play music from the phone.
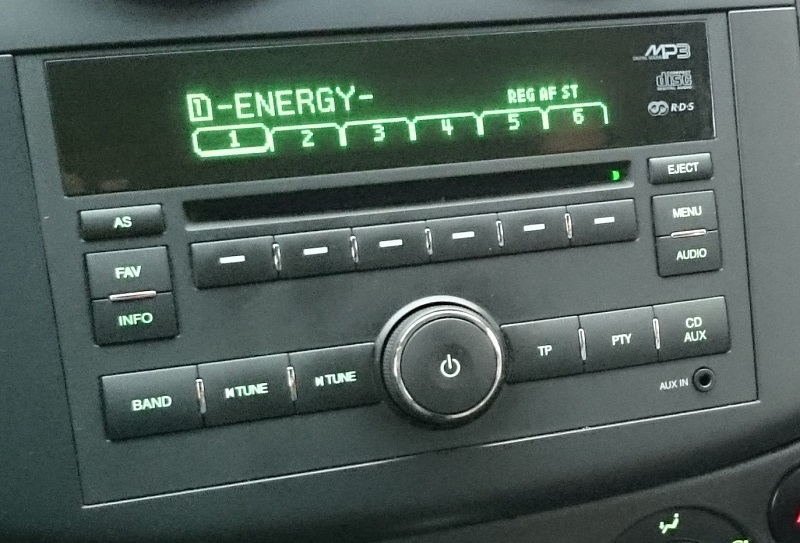
Partially helped out using the AUX IN connector, with a simple cable 3-pin Jack 3.5 mm - 3-pin Jack 3.5 mm. Thus, the car audio system was used as speakers for the phone. This use is associated with some inconvenience:
My walks were not originally associated with pulling the phone out of my pocket to switch music or answer the call, and the microphone was located close enough. A wired headset came to the rescue. Why, instead of small speakers from the headphones, would not connect large speakers from the car? Of course, everything turned out to be a 3-pin Jack 3.5 mm plug, but the car audio system became a headset for the phone.
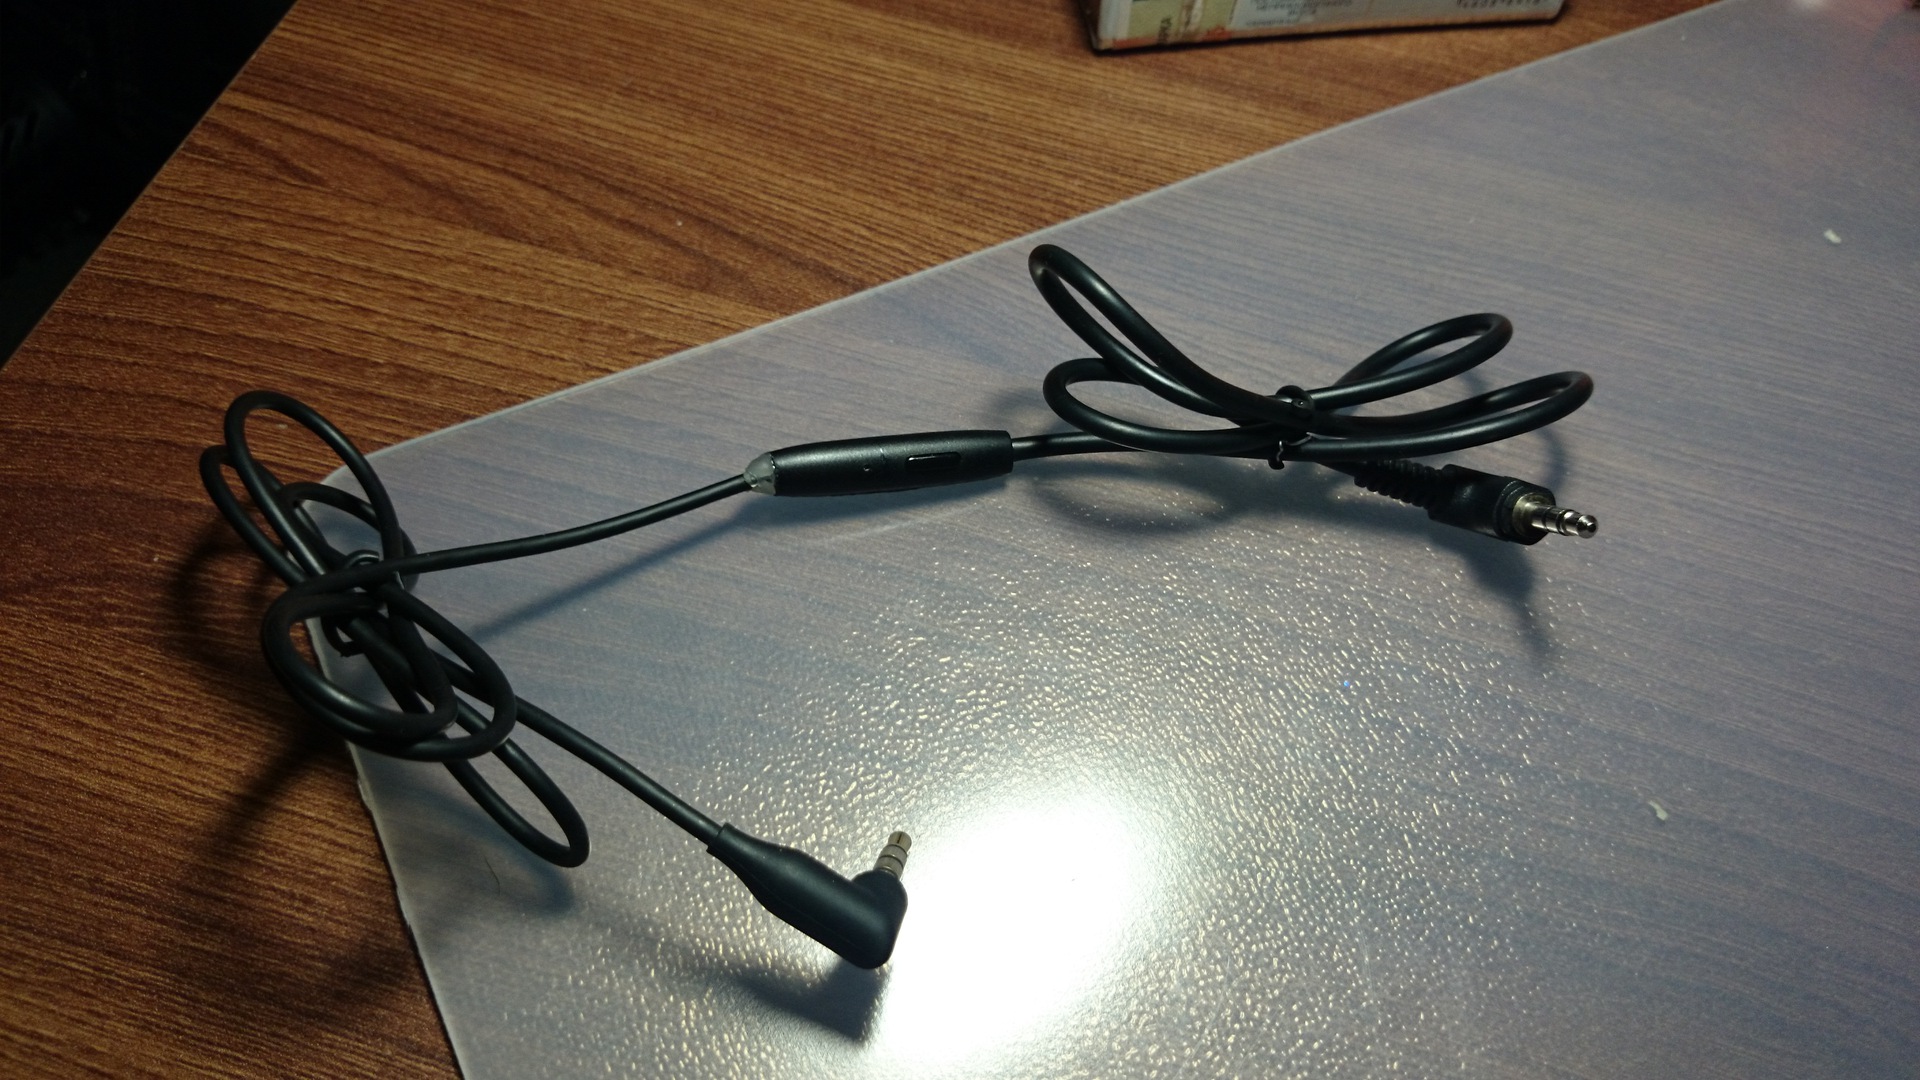
Of the available tools, there was an old Sony Ericsson MH-650 headset from the Sony Ericsson Xperia arc S kit and a short 3-pin Jack 3.5 mm - 3-pin Jack 3.5 mm cable. Of these elements, it was decided to make a cable 3-pin Jack 3.5 mm - 4-pinJack 3.5 mm, with microphone and button. At the stage of checking the functionality of the headset on the new phone model, I had to find out what OMTP and CTIA are . It turned out that the Xperia arc S used the OMTP standard, and the new Sony Xperia Z1 Compact - CTIA. Of course, you can find an easy way:
Then only one part would have to be redone by soldering the speakers, and in their place by soldering Jack 3.5 mm.
Both options were noted, because the new connector connections do not add aesthetics to the devices, and I wanted to use the headset, which had been idle for 2 years.
Based on an article from the PCTUNER website, Modifying the Sony MH750 headset for 2011 smartphones , which described the conversion of the headset from CTIA to OMTP, the conversion was reversed from OMTP to CTIA.
Unfortunately, the process was not taken, so I will explain all the work in the figures. I will present the drawings without unnecessary contact pads, for a better understanding. An idea of how the board itself looks can be obtained from the article on the PCTUNER website.
Initially, the connection of the contacts looks like this:

Before working with the headset, make sure that the marking of the contacts with the tester matches!
It is necessary to interchange the wires coming to M + and M-, and make a jumper between the contact pads M- and G. We get the headset converted from OMTP to CTIA: It

remains to cut off a 3-pin Jack 3.5 mm, with a wire of the required length and solder this wire to the board. The contacts should be connected as follows:

You can fix everything, fill it with hot glue and put the board in the case. How did I get it:

I soldered for the second time in my life, so I did not know that it was possible to tie a knot at the end of the soldered wire, which later also fit into the case, so my design turned out to be not very reliable, the wires are held in place only with solder and hot-melt adhesive. I'm lucky, this cable has been living for several months.
When using such a device, the inconvenience described at the beginning of the article disappeared, and an additional function was also found. When you hold the button on the headset cable, the Google Search application starts, with active voice recording. As you know, now Google Search is not just a voice search, but also a wonderful program for voice control of the phone. You can call (“Call% contact%”), send SMS (“Send SMS% contact% with text% text%”), build a route on Google Maps, launch the application and, I think, some other things. For security reasons, if the device has a password, then voice control is not available until you unlock it. For fast unlocking, you can use the NFC module LockScreenOff Enabler for Xposedand NFC tag. It will be enough to turn on the screen and hold the phone over the NFC-tag. The mark can be pulled out of the usual metro pass by soaking the card in water. This method of unlocking will be available only to those who have Root rights installed by Xposed and, of course, the NFC LockScreenOff Enabler module. On Google Play, there was still an application that allowed you to unlock the device when you receive a unique NFC tag code, but in the locked Android device the NFC module in the phone is turned off, therefore, for the application to work, you need a modified application responsible for the NFC module (usually this is NfcNci.apk), which, for some devices, is somewhat more difficult to find than installing Xposed, especially since root permissions are also required to replace NfcNci.apk.
As an analog, you can use a regular Bluetooth headset, with a 3-pin Jack 3.5 mm jack for headphones. This analogue has advantages in that it can be used immediately, without labor, and the phone does not need to be constantly manually connected. Still, it is not without drawbacks, the Bluetooth headset needs to be charged, turned on / off before using it. Due to the need to charge, it cannot be stored permanently in the car, and if it is charged in the car, it will occupy a valuable 12 V socket, through which the phone is usually charged.
Recently, I found analogues of such a headset cable, Beats RemoteTalk Cable , for $ 29.95 and Griffin Headphone Control Adapter, for $ 9.99 (discount price $ 10), and for Griffin you also need a 3-pin Jack 3.5 mm - 3-pin Jack 3.5 mm cable. Make yourself much more pleasant, especially since the price of Beats RemoteTalk Cable, in Russia, is 1,490 rubles, which can be spent with greater benefit.
The material presented, of course, may seem very simple, but I have never met such solutions anywhere, I hope the article will be useful.
Partially helped out using the AUX IN connector, with a simple cable 3-pin Jack 3.5 mm - 3-pin Jack 3.5 mm. Thus, the car audio system was used as speakers for the phone. This use is associated with some inconvenience:
- to switch music you have to use the touch screen of the phone, while the music application is minimized, the screen is off, the system is password protected;
- answering a call is somewhat easier, but no one canceled the touch display;
- when talking with me, people complained that I could not hear well, which was connected with the placement of the phone from the driver, which was far enough for the built-in microphone.
My walks were not originally associated with pulling the phone out of my pocket to switch music or answer the call, and the microphone was located close enough. A wired headset came to the rescue. Why, instead of small speakers from the headphones, would not connect large speakers from the car? Of course, everything turned out to be a 3-pin Jack 3.5 mm plug, but the car audio system became a headset for the phone.
Of the available tools, there was an old Sony Ericsson MH-650 headset from the Sony Ericsson Xperia arc S kit and a short 3-pin Jack 3.5 mm - 3-pin Jack 3.5 mm cable. Of these elements, it was decided to make a cable 3-pin Jack 3.5 mm - 4-pinJack 3.5 mm, with microphone and button. At the stage of checking the functionality of the headset on the new phone model, I had to find out what OMTP and CTIA are . It turned out that the Xperia arc S used the OMTP standard, and the new Sony Xperia Z1 Compact - CTIA. Of course, you can find an easy way:
- there are special adapters OMTP <-> CTIA;
- buy a new headset with pin CTIA.
Then only one part would have to be redone by soldering the speakers, and in their place by soldering Jack 3.5 mm.
Both options were noted, because the new connector connections do not add aesthetics to the devices, and I wanted to use the headset, which had been idle for 2 years.
Based on an article from the PCTUNER website, Modifying the Sony MH750 headset for 2011 smartphones , which described the conversion of the headset from CTIA to OMTP, the conversion was reversed from OMTP to CTIA.
Unfortunately, the process was not taken, so I will explain all the work in the figures. I will present the drawings without unnecessary contact pads, for a better understanding. An idea of how the board itself looks can be obtained from the article on the PCTUNER website.
Initially, the connection of the contacts looks like this:
Before working with the headset, make sure that the marking of the contacts with the tester matches!
It is necessary to interchange the wires coming to M + and M-, and make a jumper between the contact pads M- and G. We get the headset converted from OMTP to CTIA: It
remains to cut off a 3-pin Jack 3.5 mm, with a wire of the required length and solder this wire to the board. The contacts should be connected as follows:
You can fix everything, fill it with hot glue and put the board in the case. How did I get it:
I soldered for the second time in my life, so I did not know that it was possible to tie a knot at the end of the soldered wire, which later also fit into the case, so my design turned out to be not very reliable, the wires are held in place only with solder and hot-melt adhesive. I'm lucky, this cable has been living for several months.
When using such a device, the inconvenience described at the beginning of the article disappeared, and an additional function was also found. When you hold the button on the headset cable, the Google Search application starts, with active voice recording. As you know, now Google Search is not just a voice search, but also a wonderful program for voice control of the phone. You can call (“Call% contact%”), send SMS (“Send SMS% contact% with text% text%”), build a route on Google Maps, launch the application and, I think, some other things. For security reasons, if the device has a password, then voice control is not available until you unlock it. For fast unlocking, you can use the NFC module LockScreenOff Enabler for Xposedand NFC tag. It will be enough to turn on the screen and hold the phone over the NFC-tag. The mark can be pulled out of the usual metro pass by soaking the card in water. This method of unlocking will be available only to those who have Root rights installed by Xposed and, of course, the NFC LockScreenOff Enabler module. On Google Play, there was still an application that allowed you to unlock the device when you receive a unique NFC tag code, but in the locked Android device the NFC module in the phone is turned off, therefore, for the application to work, you need a modified application responsible for the NFC module (usually this is NfcNci.apk), which, for some devices, is somewhat more difficult to find than installing Xposed, especially since root permissions are also required to replace NfcNci.apk.
As an analog, you can use a regular Bluetooth headset, with a 3-pin Jack 3.5 mm jack for headphones. This analogue has advantages in that it can be used immediately, without labor, and the phone does not need to be constantly manually connected. Still, it is not without drawbacks, the Bluetooth headset needs to be charged, turned on / off before using it. Due to the need to charge, it cannot be stored permanently in the car, and if it is charged in the car, it will occupy a valuable 12 V socket, through which the phone is usually charged.
Recently, I found analogues of such a headset cable, Beats RemoteTalk Cable , for $ 29.95 and Griffin Headphone Control Adapter, for $ 9.99 (discount price $ 10), and for Griffin you also need a 3-pin Jack 3.5 mm - 3-pin Jack 3.5 mm cable. Make yourself much more pleasant, especially since the price of Beats RemoteTalk Cable, in Russia, is 1,490 rubles, which can be spent with greater benefit.
The material presented, of course, may seem very simple, but I have never met such solutions anywhere, I hope the article will be useful.