Android application development for working with OBDII protocol
- Transfer

Why is it needed for your car?
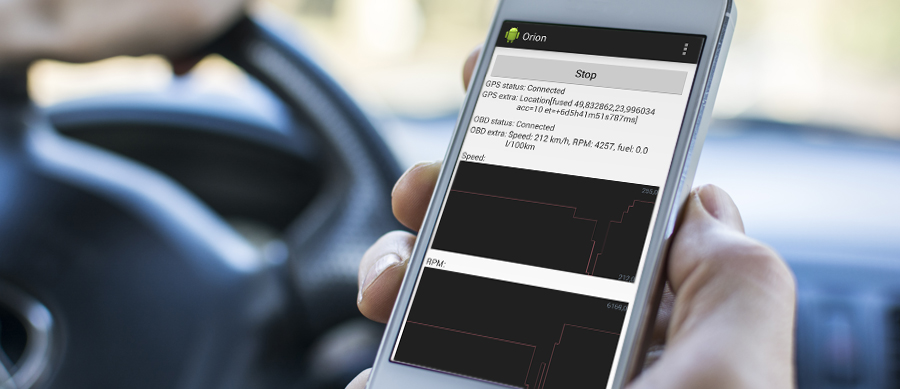
Have you ever thought to display the parameters of your car in your own Android application? If so, then welcome to Cat. We will just discuss the development of such an application.
First, let's take a look at the protocols used to diagnose vehicles.
OBD is short for “on-board diagnostics” and refers to self-diagnostic and vehicle reporting tools. The original protocol is intended to accelerate the diagnostic process by maintenance personnel. The first versions made it possible to diagnose some problems in the engine. Now, in addition to the diagnostic capabilities, other features are added such as obtaining different information, for example, on current fuel consumption, controlling various components, for example, automatic transmission, transmission operation mode, obtaining GPS coordinates, and more. Find out in more detail how this works and the story you can in Wikipedia .
Necessary materials
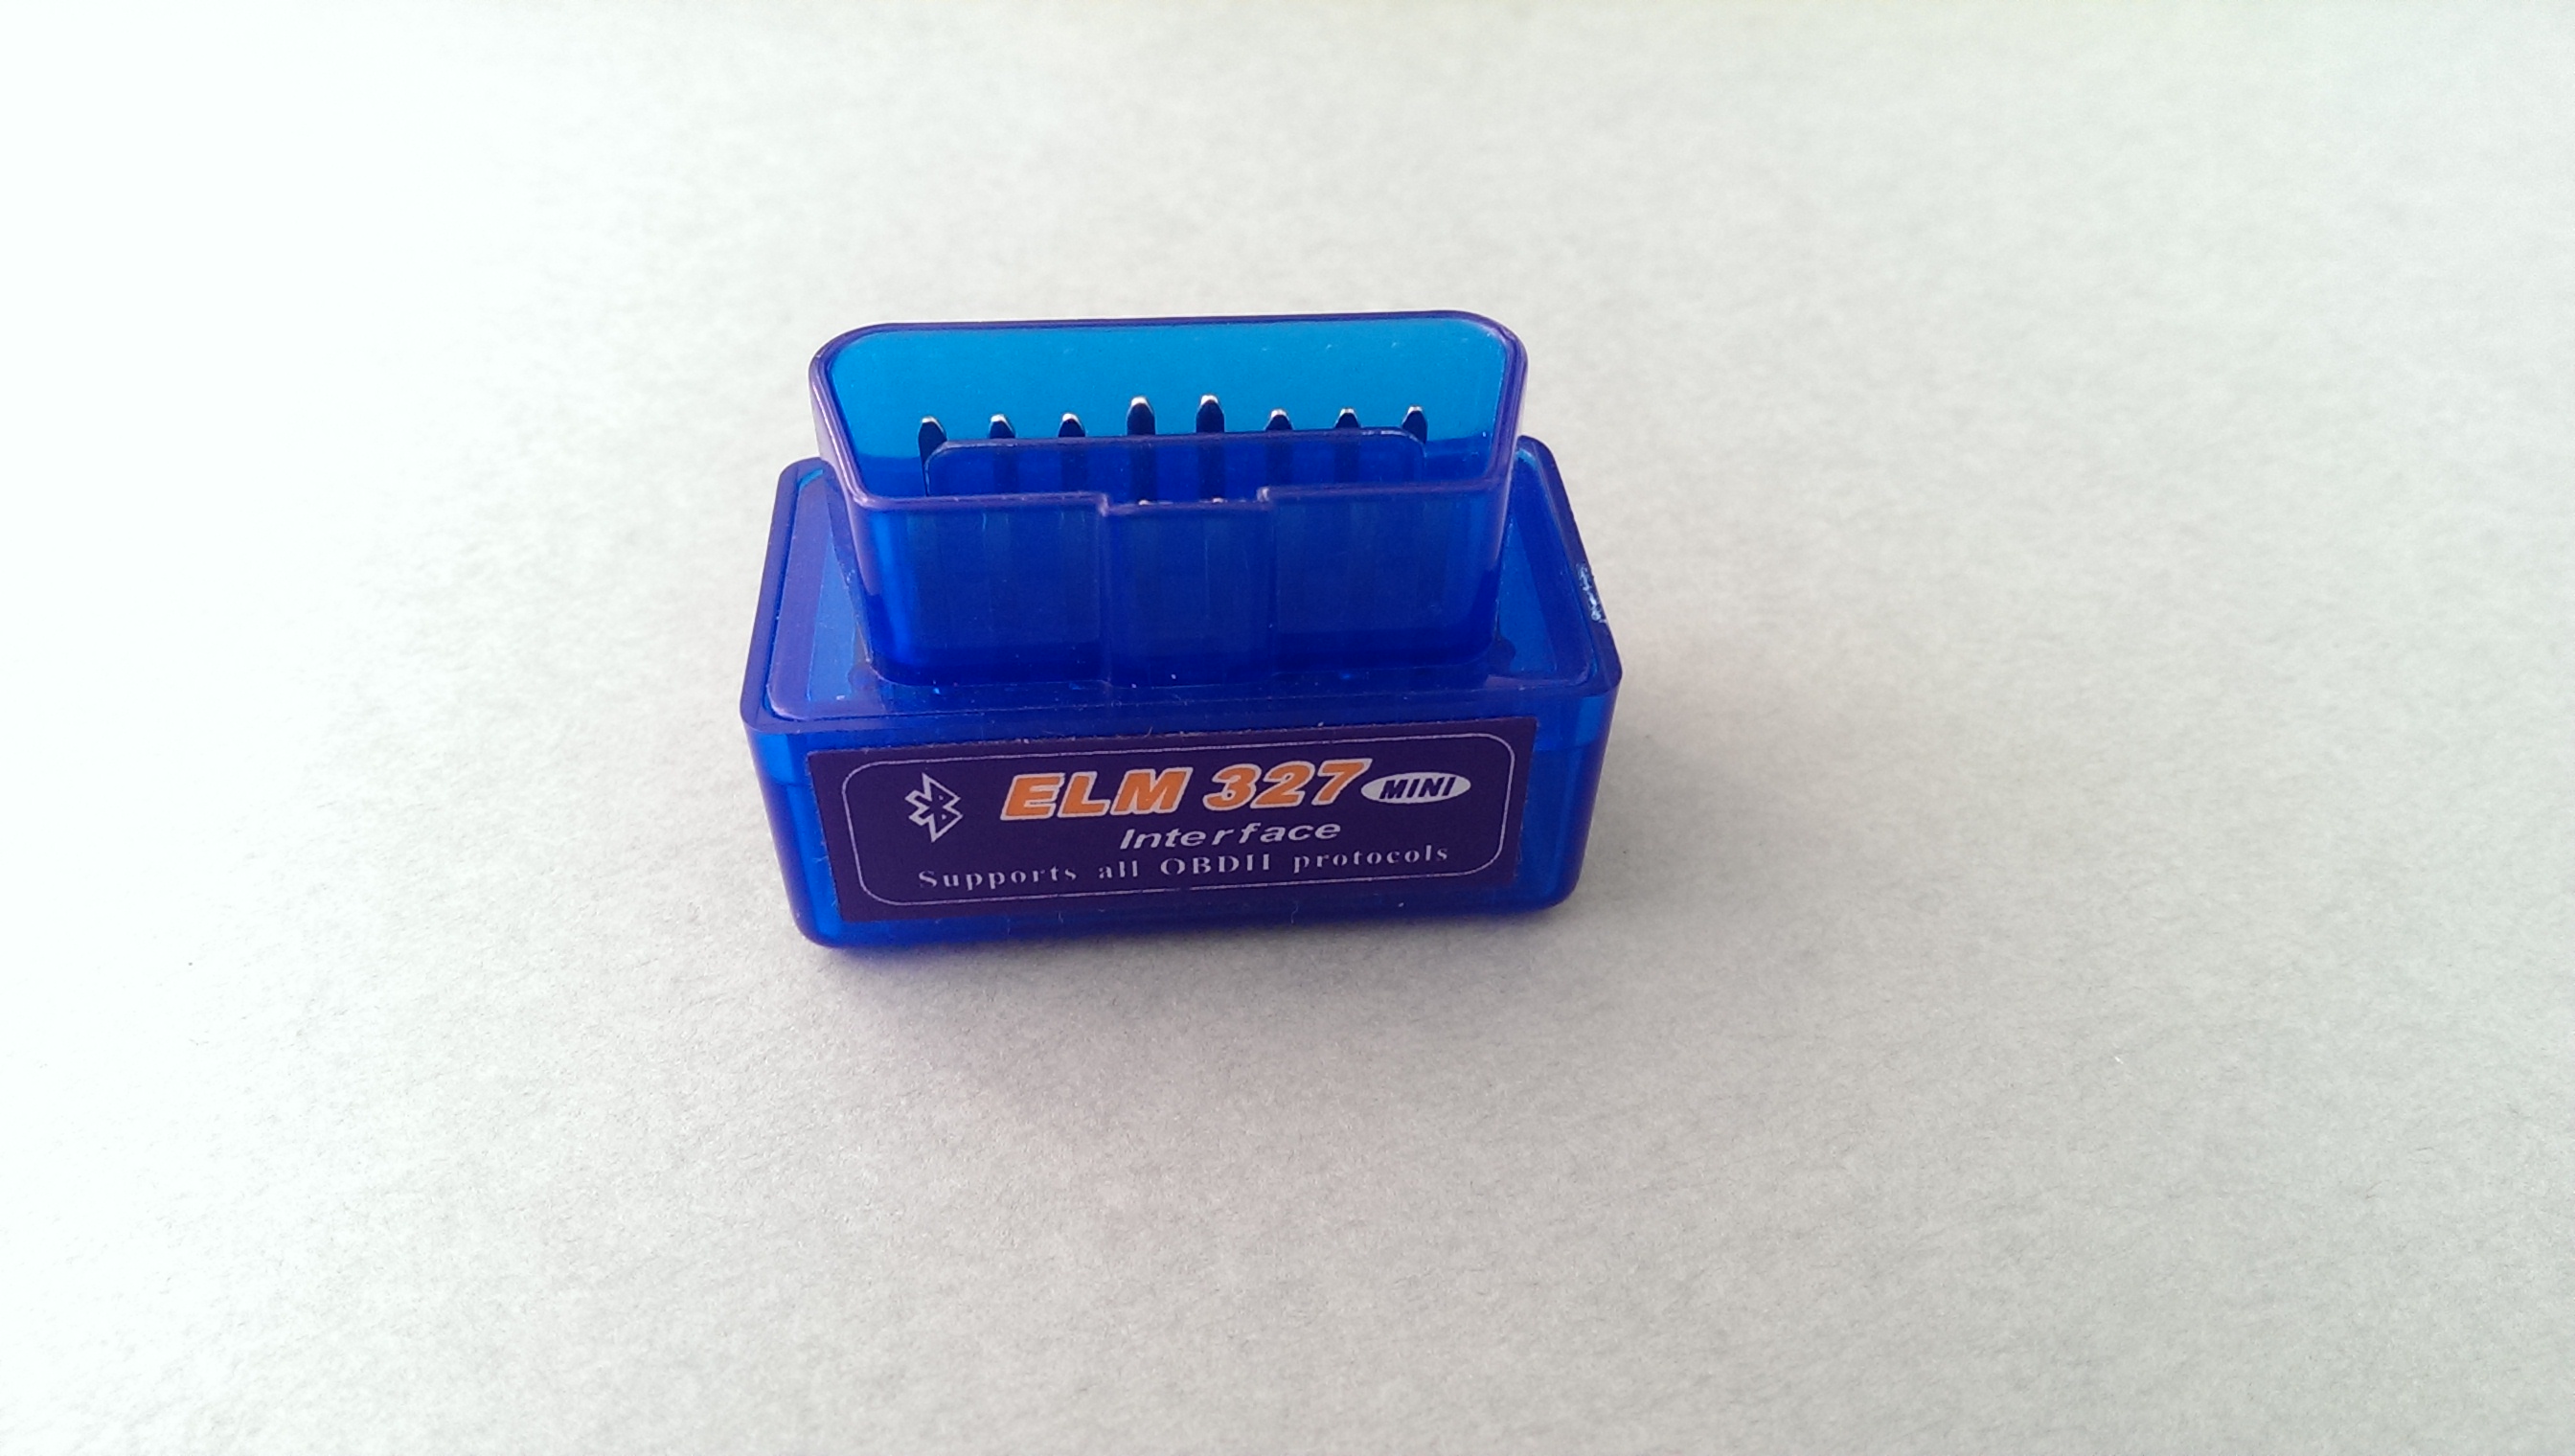
First of all, we need an OBDII adapter capable of working with your car. There are many such adapters. Some of them have a COM interface, some have a USB interface, and some have a Bluetooth interface. Theoretically, anyone can be used for our application, but in practice, Bluetooth will still be the best option. Adapters may also differ in supported OBDII protocols (i.e., actually supported cars). So if you have a car and a suitable OBDII adapter on hand, we can start developing our application.
Wait - do you really have a car close enough to the development environment? In fact, we could use the simulator at first. One option that works for me is the OBDSim application. This is an open source project available on many platforms. But since Bluetooth is not supported on Windows, the application will need to be compiled from Linux source code. Also note that most likely you will need to make changes to the source code in order to change the RFCOMM channel to the first available instead of the proposed channel 1. The
second option is a hardware simulator that can be used instead of a car. I used ECUsim 2000 standard with the ISO 15765 (CAN) protocol enabled. And I used the OBDII adapter ELM327 v.1.5

Application development
Let's start by describing the protocol used for communication between an Android device and an OBDII adapter / car. This is a text polling protocol. This means that all you need is to send a team in order to get an answer. And knowing which commands to send is key.
We will connect to the adapter via Bluetooth. It seems that the Bluetooth Low Energy API would be a good option. But since it is supported by only a few devices, it is now too early to use it.
The protocol supports some AT commands, such as turning off the echo and controlling carriage return. The second part of the protocol is the OBDII control protocol itself.
The general scheme of the application is as follows:
- connect to OBDII adapter via Bluetooth
- initialize OBDII adapter using AT commands
- continuously receive the required data from the car by sending the corresponding PID codes
Connecting to an OBDII adapter is fairly standard. But one thing to do before connecting is choosing a Bluetooth device. Displaying an alert dialog with a list of devices is fine:
ArrayList deviceStrs = new ArrayList();
final ArrayList devices = new ArrayList();
BluetoothAdapter btAdapter = BluetoothAdapter.getDefaultAdapter();
Set pairedDevices = btAdapter.getBondedDevices();
if (pairedDevices.size() > 0)
{
    for (BluetoothDevice device : pairedDevices)
    {
        deviceStrs.add(device.getName() + "\n" + device.getAddress());
        devices.add(device.getAddress());
    }
}
// show list
final AlertDialog.Builder alertDialog = new AlertDialog.Builder(this);
ArrayAdapter adapter = new ArrayAdapter(this, android.R.layout.select_dialog_singlechoice,
        deviceStrs.toArray(new String[deviceStrs.size()]));
alertDialog.setSingleChoiceItems(adapter, -1, new DialogInterface.OnClickListener()
{
    @Override
    public void onClick(DialogInterface dialog, int which)
    {
        dialog.dismiss();
        int position = ((AlertDialog) dialog).getListView().getCheckedItemPosition();
        String deviceAddress = devices.get(position);
        // TODO save deviceAddress
    }
});
alertDialog.setTitle("Choose Bluetooth device");
alertDialog.show();
Do not forget to save the address of the selected device somewhere. Now we can connect to the selected device:
BluetoothAdapter btAdapter = BluetoothAdapter.getDefaultAdapter();
BluetoothDevice device = btAdapter.getRemoteDevice(deviceAddress);
UUID uuid = UUID.fromString("00001101-0000-1000-8000-00805F9B34FB");
BluetoothSocket socket = device.createInsecureRfcommSocketToServiceRecord(uuid);
socket.connect();
The UUID in the code above represents the "serial" interface via Bluetooth. Of course, this code must be executed in a non-UI thread. I would also recommend looking here for details and a solution to an error in Android that may lead to the inability to connect in some cases.
Now we can exchange data. For this we will use the OBD-Java-API library. The library is quite simple. It has several classes that correspond to different OBD commands. Remember to initialize the OBDII adapter by sending configuration commands:
new EchoOffObdCommand().run(socket.getInputStream(), socket.getOutputStream());
new LineFeedOffObdCommand().run(socket.getInputStream(), socket.getOutputStream());
new TimeoutObdCommand().run(socket.getInputStream(), socket.getOutputStream());
new SelectProtocolObdCommand(ObdProtocols.AUTO).run(socket.getInputStream(), socket.getOutputStream());
Now we are ready to send other commands:
EngineRPMObdCommand engineRpmCommand = new EngineRPMObdCommand();
SpeedObdCommand speedCommand = new SpeedObdCommand();
while (!Thread.currentThread().isInterrupted())
{
    engineRpmCommand.run(sock.getInputStream(), sock.getOutputStream());
    speedCommand.run(sock.getInputStream(), sock.getOutputStream());
    // TODO handle commands result
    Log.d(TAG, "RPM: " + engineRpmCommand.getFormattedResult());
    Log.d(TAG, "Speed: " + speedCommand.getFormattedResult());
}
Here I want to note that the library has some problems with parsing and often crashes due to insufficiently good error handling. The first problem is the performCalculations method, which is present in all classes of teams. It would be nice to check the size of the buffer before accessing it because in some cases the answer may be shorter than necessary. Of course, the short answer problem lies with the OBDII adapter / car, but the library should be prepared for such problems.
Among other things, there are still some problems, so this library still requires improvements or can simply be used as a source of information.
The obtained data can be stored somewhere for further analysis, for example, in ElasticSearch .
Now we are working on the Hours of Service app for truck drivers and continue to share our experience on our blog . Stay tuned!
PS In fact, I am also the author of the original English version of the article, which was published on blog.lemberg.co.uk , so that I can answer technical questions.