Smart home: a new dimension of comfort and commitment to excellence. Part one
This article is a logical continuation of the previously raised topic of monitoring country house systems . To someone who has not read the previous article, some thoughts in this article may seem strange. Let me remind you: already in the process of designing and selecting basic components, it became clear that monitoring the work of a country house system would not end and that it was necessary to do not just monitoring, but the foundation of a smart home. Now let's see how events developed. As before, I will not provide complete program listings or detailed charts. My task is to show the train of thought and, possibly, to initiate a discussion.
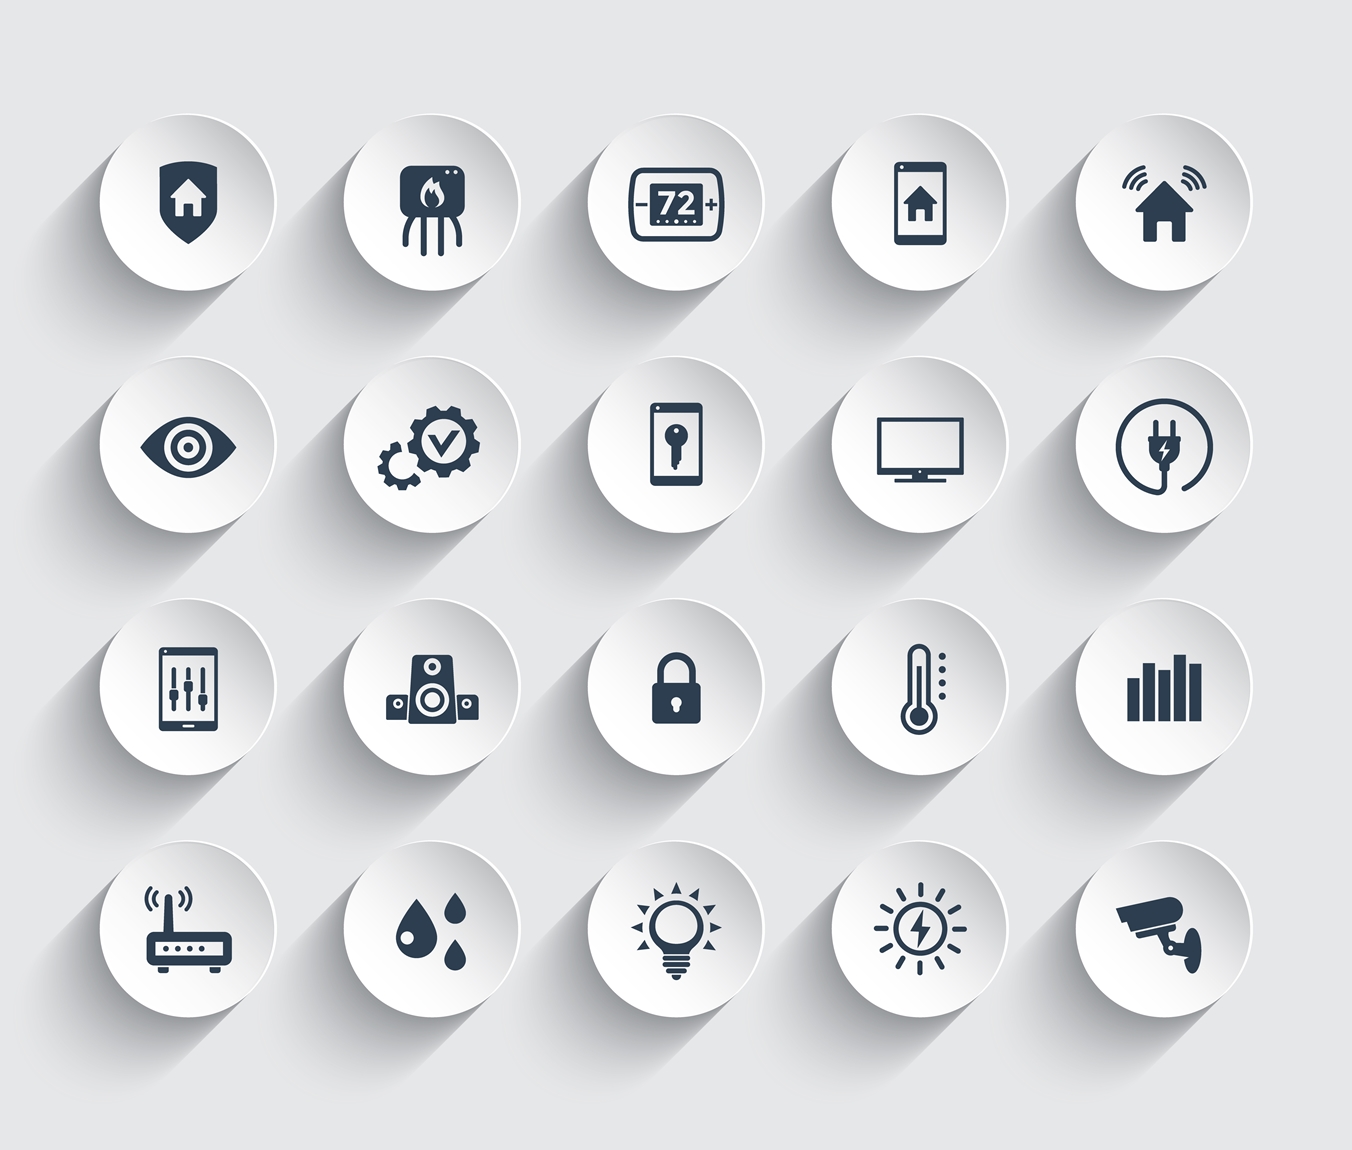
First you need to understand, and what actually smart should be in a smart house. This is not about any canonical definitions, but about what comes to mind when you have such a powerful set of tools as described in the previous article: openHAB + Arduino / nFR24L01 +. I have such a list of primary “Wishlocks”:
Total: there is an expandable foundation, there are goals. Analyzing what data is missing. First, there are not enough electrical parameters, at least the following: the current consumption of the house, the power received from the sun. Secondly, there is not enough weather forecast. In addition, there is a lack of compact executive devices. I note that the final controllers with actuators (relays), described in the previous article, were all multifunctional and not very compact. And besides homemade. Some devices, for example, controlled thermostatic heads for heating radiators, do not make any sense at all; you have to buy them.
So, we start with the electrical parameters. The first thing that comes to mind is to put current sensors based on the Hall effect, the 220V sensor is already there, it remains to measure the voltage on the panels and batteries. Everything can be done on separate sensors. However, all these measurements are already being made by a power plant based on an inverter and an XPTrex MPPT controller . As we remember, these devices are combined into a proprietary Xanbus bus, which is a transport for device interaction using the Modbus protocol. And for it there is a special TCP-Modbus gateway Conext ComBox, which allows you to read and set system parameters on the local network. This is just what you need! In turn, for openHAB there is a special TCP-Modbus binding, which remains to be connected and configured. So, the gateway is purchased, the documentation is studied, the binding to openHAB is connected and configured, items are defined, basic rules are written. As a result, the following parameters began to arrive in the smart home: voltages at the network and generator inputs, voltage at the inverter output, load current, load power in W and VA, voltages on solar panels and batteries, currents at the input and output of the MPPT controller, current battery power, the power received by the solar energy given away, the amount of collected solar energy given to the system given back to the network. Even the temperature of the batteries is read, once it helped to avoid overheating.

TCP-Modbus gateway for reading the parameters of Shneider Electric (Xantrex) devices connected to the Xanbus network.
Further. You can get the weather forecast in different ways, for example, to subscribe to the service provider. However, there is a more obvious way: take the forecast data directly from the weather site, for example, yandex.ru/pogoda. To do this, I wrote a utility in C, which using the curl librarysaves the HTML page to a file. In an HTTP request, the utility provides the site with home coordinates. The resulting file is parsed and a dozen of parameters are extracted from it: temperature, time of sunrise and sunset, forecast of night temperature, direction and force of the wind. The algorithms of the smart home use the forecast of night temperature, sunset time. The rest of the data is simply informatively displayed in the interface. In openHAB, the data is transmitted by the same utility through a convenient openHAB supported REST API. In turn, the C utility itself is launched by regular openHAB tools every 4 hours. Thus, everything is quite simple, and the main difficulty is the development of an algorithm for parsing the saved HTML page. But my article is not about that.
In the picture there is a screen of a smart home with weather data obtained at home coordinates from yandex.ru/pogoda
 Just as I was working on getting a weather forecast, a friend gave me WiFi-controlled relays and a whole electrical extension cord with three relays and three pairs of USR IOT outlets . By this time, I had already learned a little about openHAB and, with some excitement, started to master new devices and incorporate them into the smart home. The relay was determined to control a well pump, and an extension was placed in the shed and used to control the lighting of the pond, the fountain, and the light in the shed. I found the USR IOT devices on the network with documentation describing the control protocol, but the network traffic still had to be listened to using Wireshark. As a result, I learned how to generate control commands and parse responses from devices. To control the relay, I wrote a program on C, which is called by a rule from openHAB, and I connected the extension directly using TCP binding openHAB. In the photo on the right there is a USRIOT extension cord with WiFi-controlled sockets.
It remains to write the rules:
It remains to be noted that in all rules the devices are turned on and off automatically. But at the same time they can be controlled manually through the openHAB interface. The USR IOT devices described also have physical control buttons on the case, so it is important to learn how to read the status of the devices. One of the ways to update the status of all actuators, as well as sensors, is to poll them from openHAB by timer, for example, every 15 minutes. For self-made devices, in addition, the sending of the status is made when the state of the control buttons / switches changes.
Let's go back a step. The initial task was to learn how to manage heating flexibly, so that the house was warm, there was always hot water, and so that it would not be necessary to regularly go to the boiler room to regulate the boiler operation. And to minimize the likelihood of shutting down the boiler as a result of the load limiting relay, which is installed in the panel and limits the current consumption by disconnecting non-priority loads, which include both the boiler and the boiler. In this case, the first stage switches off the boiler heating element for 5 minutes, and if this does not help, then the boiler also turns off for 10 minutes (second stage). Let me remind you that consumption at home is limited and the house is all electric, there is no gas, so you have to monitor consumption. And it would be good to use the energy of the Sun to the maximum. Here are some of the resulting rules.

Screenshot of the openHAB Designer development environment with two rules for control of heating and DHW.
In the next post I will tell you what the excitement led to and how the smart home evolved.
What do you want from a smart home?
First you need to understand, and what actually smart should be in a smart house. This is not about any canonical definitions, but about what comes to mind when you have such a powerful set of tools as described in the previous article: openHAB + Arduino / nFR24L01 +. I have such a list of primary “Wishlocks”:
- Learn to control the power of an electric boiler depending on the temperature in the house and on the street, and even better, taking into account the weather forecast. Prior to this, the power of the boiler was set only by mechanical switches on the boiler itself and the operation of the boiler was suboptimal both in terms of the load on the network and in terms of energy savings due to the Sun ( see here ).
- To exclude manual manipulations on / off pumps (water supply, recirculation of hot water supply), towel warmer, thermostats, radiators, etc. upon arrival / departure. And, of course, see the status of these devices.
- Learn to turn on and off the light, fountain and other devices, depending on the time of day and year, the presence in the home of the owners and some other factors. In a more general formulation - to algorithmize and automate the control of those devices that are routinely controlled, to exclude monotonous clicking with traditional switches, especially in the dark. Everything should turn on and off automatically.
- Use algorithms that save energy. For example, the long-running first boiler stage will allow receiving more energy from the Sun than periodically switching on / off according to the return temperature 2-3 steps. Those. You can get energy savings due to more thoughtful load.
- The monitoring and management system that was born at this point was enough to fulfill only a part of these requirements. For example, it is already possible to control the boiler in steps, but it is not yet clear by which algorithms, taking into account the restrictions on electricity consumption and taking into account the balance of priorities for heating the house and preparing hot water. In addition, the first version of the system did not include all necessary actuators, for example, there were no pump control devices, not all the lights in the house were automated. There were additional specific requests, for example, "to make the picture backlight." Moreover, this request itself was transformed into "make automatic switching on and off of the picture illumination depending on the time of day, light and other factors."
Total: there is an expandable foundation, there are goals. Analyzing what data is missing. First, there are not enough electrical parameters, at least the following: the current consumption of the house, the power received from the sun. Secondly, there is not enough weather forecast. In addition, there is a lack of compact executive devices. I note that the final controllers with actuators (relays), described in the previous article, were all multifunctional and not very compact. And besides homemade. Some devices, for example, controlled thermostatic heads for heating radiators, do not make any sense at all; you have to buy them.
Receive electricity parameters
So, we start with the electrical parameters. The first thing that comes to mind is to put current sensors based on the Hall effect, the 220V sensor is already there, it remains to measure the voltage on the panels and batteries. Everything can be done on separate sensors. However, all these measurements are already being made by a power plant based on an inverter and an XPTrex MPPT controller . As we remember, these devices are combined into a proprietary Xanbus bus, which is a transport for device interaction using the Modbus protocol. And for it there is a special TCP-Modbus gateway Conext ComBox, which allows you to read and set system parameters on the local network. This is just what you need! In turn, for openHAB there is a special TCP-Modbus binding, which remains to be connected and configured. So, the gateway is purchased, the documentation is studied, the binding to openHAB is connected and configured, items are defined, basic rules are written. As a result, the following parameters began to arrive in the smart home: voltages at the network and generator inputs, voltage at the inverter output, load current, load power in W and VA, voltages on solar panels and batteries, currents at the input and output of the MPPT controller, current battery power, the power received by the solar energy given away, the amount of collected solar energy given to the system given back to the network. Even the temperature of the batteries is read, once it helped to avoid overheating.
Participation in the development of openHAB
В процессе отладки были выявлены ошибки в функционировании TCP-Modbus шлюза. Через форум openHAB вышел на разработчика в числе других тестировщиков. В итоге binding был доработан в несколько итераций и работает уже более двух лет.
TCP-Modbus gateway for reading the parameters of Shneider Electric (Xantrex) devices connected to the Xanbus network.
Get weather forecast
Further. You can get the weather forecast in different ways, for example, to subscribe to the service provider.
However, there is a more obvious way: take the forecast data directly from the weather site, for example, yandex.ru/pogoda. To do this, I wrote a utility in C, which using the curl librarysaves the HTML page to a file. In an HTTP request, the utility provides the site with home coordinates. The resulting file is parsed and a dozen of parameters are extracted from it: temperature, time of sunrise and sunset, forecast of night temperature, direction and force of the wind. The algorithms of the smart home use the forecast of night temperature, sunset time. The rest of the data is simply informatively displayed in the interface. In openHAB, the data is transmitted by the same utility through a convenient openHAB supported REST API. In turn, the C utility itself is launched by regular openHAB tools every 4 hours. Thus, everything is quite simple, and the main difficulty is the development of an algorithm for parsing the saved HTML page. But my article is not about that. In the picture there is a screen of a smart home with weather data obtained at home coordinates from yandex.ru/pogoda
Automate routine device management
Just as I was working on getting a weather forecast, a friend gave me WiFi-controlled relays and a whole electrical extension cord with three relays and three pairs of USR IOT outlets . By this time, I had already learned a little about openHAB and, with some excitement, started to master new devices and incorporate them into the smart home. The relay was determined to control a well pump, and an extension was placed in the shed and used to control the lighting of the pond, the fountain, and the light in the shed. I found the USR IOT devices on the network with documentation describing the control protocol, but the network traffic still had to be listened to using Wireshark. As a result, I learned how to generate control commands and parse responses from devices. To control the relay, I wrote a program on C, which is called by a rule from openHAB, and I connected the extension directly using TCP binding openHAB. In the photo on the right there is a USRIOT extension cord with WiFi-controlled sockets. It remains to write the rules:
- Turn on the downhole pump. When disarming the house, turn on the pump, turn it off when arming. It's simple, because the system learned to read the state of protection from the alarm at the “monitoring” stage. And this parameter is further used in a set of rules. For this purpose, they often use presence detection in the house, for example, by Bluetooth tags, by registering a mobile device in a local network, etc. However, these methods are not very stable and are undesirable for use in serious rules.
- The inclusion of a fountain in the pond. I used to use electronic time relays, but they burned down regularly and did not know about the presence of the owner in the house. Now the “new era” of automation has opened. The fountain is turned on if the house is disarmed, if the outside temperature (learned to measure at the “monitoring” stage) is at least 5 degrees (the fountain is not needed in winter) and time is 08:00. Turns off the fountain at 23:00, always. Those. The rule is a little "asymmetrical" and it is very convenient.
- Turning on the backlight pond. I must say that the light itself appeared because of the desire to turn it on automatically. The backlight turns on when the house is disarmed, when the illumination on the street is lower than the parameter set in the settings, and by the fact of movement on the porch of the main house or guest house. Those. does not catch fire before the owner wants to see her. All parameters for management appeared at the “monitoring” stage. Turns off at 01:00, always.
- Turn on the light in the barn. This is the funniest rule. The light turns on if the house is disarmed, if the light level is below a predetermined threshold, if the air temperature is below 15 degrees and if movement on the porch is detected. It is turned off after 5 minutes, when re-moving on the porch, the burning time is extended for 5 minutes. Everything is implemented only by regular openHAB tools. The question is: why is the temperature used in the rule? Very simple: firewood is stored in the shed. If in the evening in cool weather I went out on the porch, then, probably, for firewood :) and it is better if the light in the barn is on.
It remains to be noted that in all rules the devices are turned on and off automatically. But at the same time they can be controlled manually through the openHAB interface. The USR IOT devices described also have physical control buttons on the case, so it is important to learn how to read the status of the devices. One of the ways to update the status of all actuators, as well as sensors, is to poll them from openHAB by timer, for example, every 15 minutes. For self-made devices, in addition, the sending of the status is made when the state of the control buttons / switches changes.
Let's go back a step. The initial task was to learn how to manage heating flexibly, so that the house was warm, there was always hot water, and so that it would not be necessary to regularly go to the boiler room to regulate the boiler operation. And to minimize the likelihood of shutting down the boiler as a result of the load limiting relay, which is installed in the panel and limits the current consumption by disconnecting non-priority loads, which include both the boiler and the boiler. In this case, the first stage switches off the boiler heating element for 5 minutes, and if this does not help, then the boiler also turns off for 10 minutes (second stage). Let me remind you that consumption at home is limited and the house is all electric, there is no gas, so you have to monitor consumption. And it would be good to use the energy of the Sun to the maximum. Here are some of the resulting rules.
The first group. House disarmed:
- Every 20 minutes check the temperature in the house and, if it is below the set point (22 degrees), add one step of the boiler power. But, do this if the load current threshold is not exceeded, for example, at 25.6 A. If the temperature is higher than the set one, then every 20 minutes turn off the boiler at one stage, leaving only the first one. As a result, we get a smooth “overclocking” of the heating system and are protected from its complete shutdown due to excess load. The general logic is this: if powerful electricity consumers work in a house, for example, a stove, kettle, microwave or even a vacuum cleaner, then the energy consumed by them eventually transfers to the heat remaining in the house and why not turn on the boiler to turn on at full capacity. It is better to let the boiler operate at the first stage, but it does not shut down for 10 minutes as a result of the operation of the load limiting relay.
- If the temperature of the hot water in the boiler is below 35 degrees, turn on the first stage of the boiler and the boiler heating element. If the water temperature is more than 35 degrees, and the air temperature in the house is higher than the set temperature (23 degrees), turn off the first step of the boiler. If the water temperature is above 37 degrees - turn off the boiler heating element. In this case, all inclusions should be done only if the load current is not more than 25.6A. Otherwise, the load limiting relay will work and nothing can be turned on for 10 minutes. All checks are done when updating the readings of the hot water temperature sensor. This rule ensures the availability of hot water, fast warm-up with minimal energy consumption.
- If the temperature of the coolant in the solar circuit is greater than the temperature of the hot water, which in turn is above 35 degrees - turn off the boiler heating element. Thus, you can save electricity and not be left without hot water.
- If the temperature in the house is more than the set (23 degrees), and the temperature of the hot water is more than 35 degrees - turn off the boiler completely. Otherwise there will be an over-expenditure of electricity, and the boiler automation will often shut it off by the temperature in the return line.
- If there is no voltage on the boiler heating element, although it is turned on from the smart home, then the first load relay stage has worked. If you limit the power of the boiler, you can avoid and turn it off. Turn off the second and third stages. Then they will turn on themselves, by other rules, if necessary. Similarly, we check the supply voltage of the boiler. If it is gone - the second step of the load relay has worked, leaving only the first step of the boiler, everything else, including the boiler heating element, is turned off. They will be included later by other rules. This is done in order to reduce the likelihood of the load relay re-activating and to ensure maximum and uniform heat flow to the house.
The second group. The house is protected.
- If the temperature outside is below minus 8 degrees, turn on the second stage of the boiler. (the first one is turned on automatically since the installation of the universal GSM controller, see here, under the first cat ). If the temperature on the street below -15 degrees - include the third step of the boiler. This ensures optimal operation of the heating system while maintaining the desired economic temperature in the house. When the temperature on the street increases, the steps switch off successively. This rule allows you to make the boiler more uniform and efficient.
- If there is high illumination outside, turn on the boiler proactively, without waiting for the automatic activation of maintaining an economical temperature (8 degrees). Switch the boiler back to automatic mode if the temperature has reached the calculated value. The calculated value is calculated using an empirical formula that uses the minimum of the night temperature for the past 24 hours and the forecast of the night temperature. In addition, the boiler returns to automatic mode if the electric power received from the Sun falls below 500 watts. This indicator is smoothed over several passes of a rule that is executed every minute. As a result, the rule allows to save electricity: due to the warming up of the house, the boiler in the dark will work less and consume less power from the network.
Screenshot of the openHAB Designer development environment with two rules for control of heating and DHW.
Preliminary results:
- The goals are achieved completely dust-free way. The lion's share of labor was not associated with the equipment, but with programming. And of this programming, most of it came in the development and debugging of rules in openHAB.
- Already in the early stages of the development of a smart home, the rate on the technology agnostic solution was justified. The rules described above use data obtained from improvised controllers on the Arduino, from the purchased TCP-Modbus gateway, obtained from the Internet, i.e. from completely dissimilar sources. Added device control over TCP / IP. All this is very harmoniously orchestrated from openHAB. But, of course, at the same time openHAB becomes a single point of failure. That is why Linux is the right operating system for openHAB. Therefore, over time, we had to switch from connecting the server to the LAN via WiFi on a normal wire. I also had to install an individual UPS, despite the redundant power supply of the whole house. Well, in the end, I had to supply the server with a Xiaomi WiFi-controlled socket, connecting it to a separate WiFi-network,
- The realization has come that the Internet of things and the smart home really open up horizons for a new quality of life. Really increases comfort. Indeed, there is a saving. And finally, there is excitement, leading to the connection of new devices and the use of new integration technologies. Which again leads to extra comfort.
In the next post I will tell you what the excitement led to and how the smart home evolved.