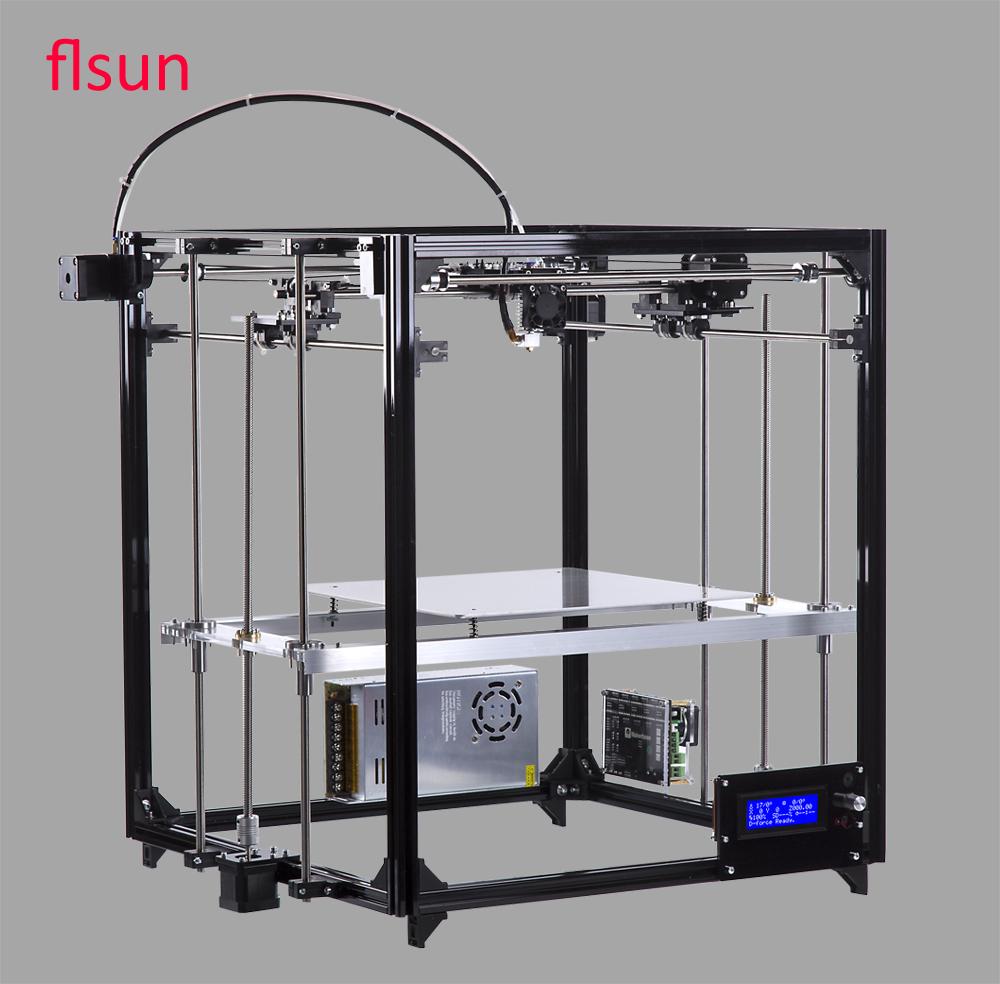
Flsun printer overview with large print area
For a long time, since 2014, I was thinking about buying a 3D printer. But the thought that the market is still damp and therefore more or less sensible apparatus will be overvalued and not be bought for sane money. There were, of course, designers for 15-20 thousand, but I was afraid that I would not buy something like a trial version - a device on which I couldn’t print anything useful and the only function of which would lead you to think that if you want a 3D printer, you need an expensive device. Therefore, I simply didn’t want to spend 15-20 thousand on “enlightenment”.
And then some time passed, in my head I had more and more things that I needed to do, and again I remembered the topic of 3D printers. I decided to shovel the topic and the market, what printers are, what are the advantages, what are the disadvantages of certain types and technologies.
There are many interesting options, most fascinated multifunction printer: 3D printing, 3-axis milling machine, laser engraver ZMorph 2.0 SX. But looking at the English-speaking review, I realized that there may be shortcomings, and the printer costs a lot (more than 250 pieces). I don’t want to spend such a large amount and end up disappointed, not to mention that I’m not in a hurry to part with such a sum :) Going through a bunch of other options, I realized that I know little about the subject and it’s hard for me to estimate how much this or that printer I personally and my tasks will justify the investments, especially since I did not try to print on 3D printers personally and are completely unaware of any nuances there. Also, I was not at all sure how sensible this FDM printing is in general with plastic, the result might not suit me at all.
Seeing how rapidly the assembly kits market developed and the fact that there are already a lot of successful options, I decided to choose a different direction - look for a Chinese designer “for guys with not so much money” (catch phrase of a Chinese marketer) on aliexpress. Pretty quickly, I came to the conclusion that I needed only a cube from a metal frame. There are drawbacks associated with tugging on the table with a model in the drytail tables a la Prusa. Plus they are less compact since need an area to move the table. Going through different options, he stopped here on such a printer from the manufacturer flsun:
Features:
Delivery cost 20 thousand rubles. Immediately ordered from the seller a set for the second hot spot for a future upgrade, sent a separate package.
The frame is metal, the corners too, the rest is the holders of the guide shafts, the angles with the bearing, various fasteners: either molded plastic or plexiglass and only a couple of parts are printed on the printer.
I was also advised to Flying Bear. there is already ready CoreXY, but I saw this advice after I ordered it. The only thing that bothered me in this printer, it is the complete lack of reviews at that time. It is now slowly appearing on the page of the lot. Well, well, the printer has been ordered, we are waiting for it to arrive, and in the meantime, in anticipation, we are shoveling over the topic of 3D printing - I must say the topic is very addictive.
And then, finally, the parcel arrived. Packed inside, I would not say so well, although in the new versions they promise to pack better:

Lay out the contents, it turns out the following (there is no only a heated table):


Well, it looks like we have a lot of work. We take up the tools and carefully collect everything in order to make it work well. The assembly process mechanics took me about 9 hours. Having collected the frame, the first thoughts: how big it will be! One of the shafts turned out to be crooked, but in the place where it stands, I think it is not particularly critical.
Now let's deal with electronics. Here an unexpected trouble awaited me. Not all cables are sufficiently long, so it is not possible to arrange the elements as shown in the manual. For example, short wires from an extruder force us to put a control board at the top. And everything else will also reach for her. The wires from the screen with the control buttons are also rather short. You have to put it either protruding above the printer, or turn it down.
Some points are well thought out, this is what concerns mechanics. But some of the impressions were made already on the last legs and without proper forethought. What is the stalk for fixing the plastic coil. Or a weird fastener of the power supply ... I also wonder a little about the optimal arrangement of the elements: at least the engine of the extruder and the Y axis can be transferred to the sides, reducing the already large depth of the printer. It also seems to me that the internal space is not optimally used.
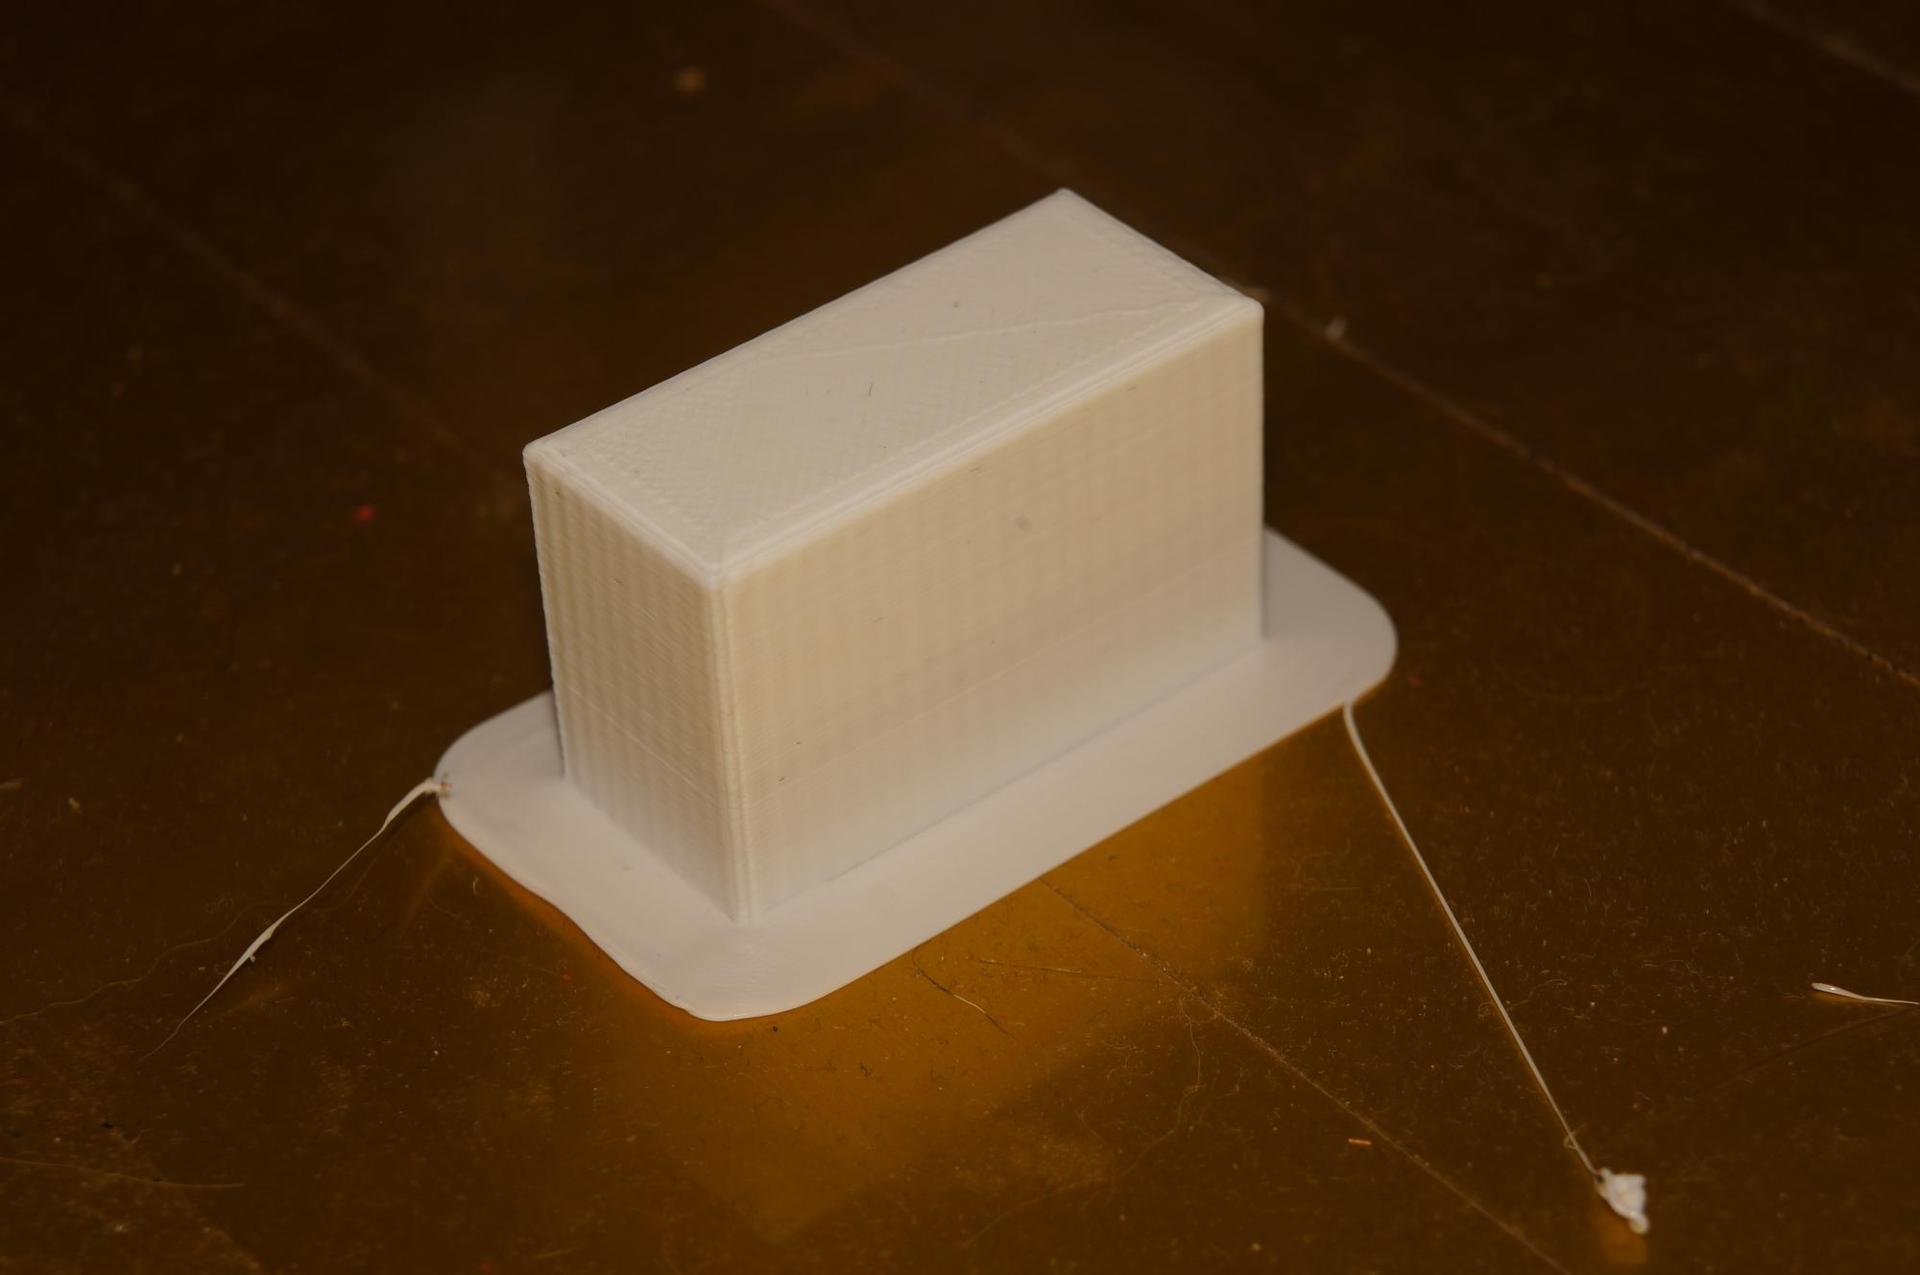
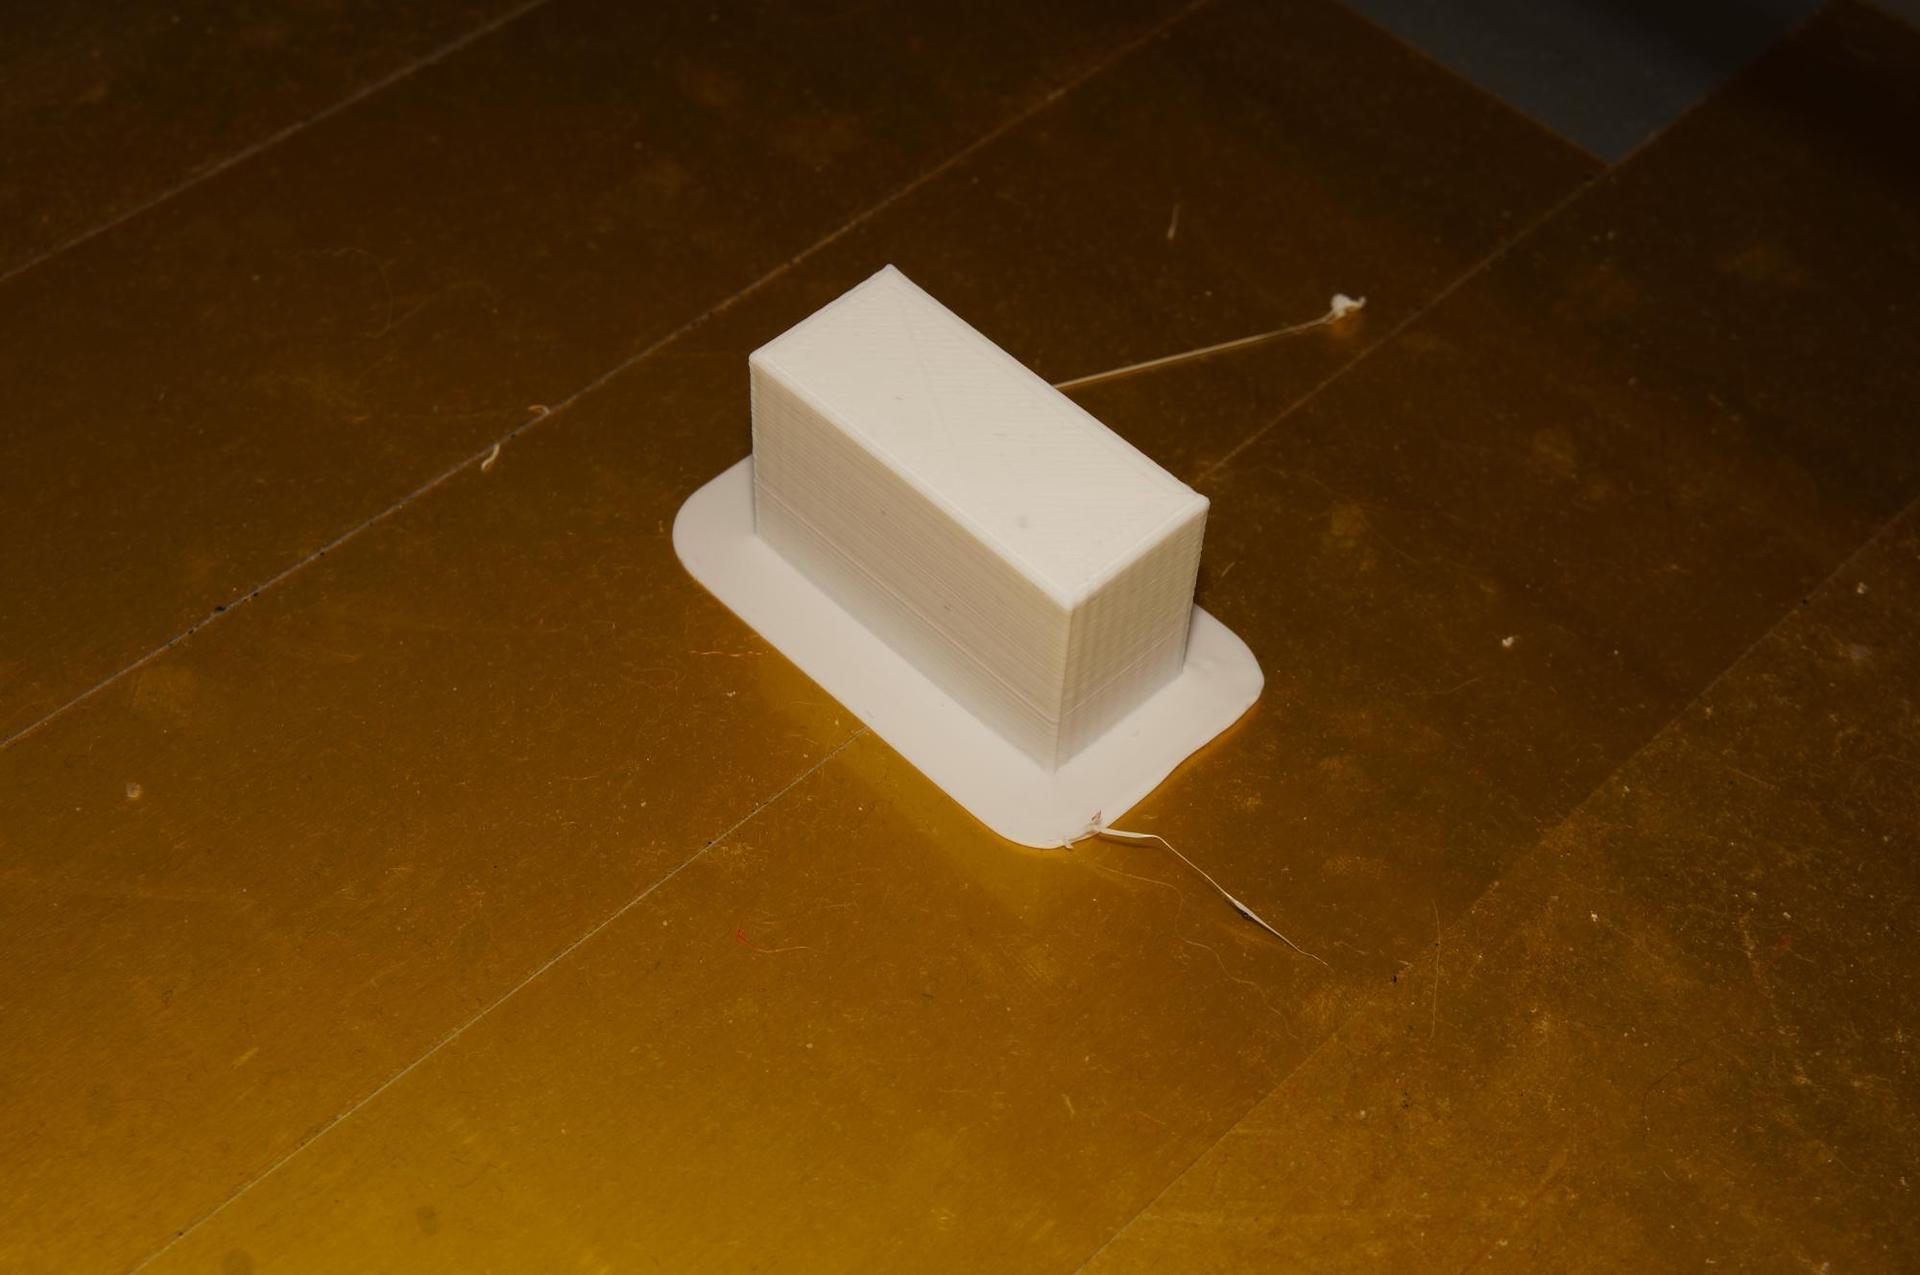
All collected, it's time to test. We try the first available example from a flash drive. Here it should be noted that 3D printing is not such a simple process. It will not work here - sent to print and immediately got a good result. We need to delve into how it works, and twist the settings. My first print was not so hot, but it turned out! I put myself a slicer Slic3r, looked at how much to set the temperature for PLA plastic (later it turned out that I came across bad advice, 230 was recommended for printing, 240 for the first layer) and everything was printed much better (on the right is the first print, on the left, after tweaking):
Next, I was expected to dive into a bunch of subtleties of 3D printing, in such words as retract, support, adhesion, etc. Namely - the realization that not everything is so simple.
Traditional test boat:

The photo does not show all the defects, for example, the area where the pipe floated, the focus was crooked.
And now about the bad advice. As I understand it, 230 degrees is just close to when PLA plastic degrades, which makes it turn into a friable mass that clogs the nozzle. Although I did not feel it very soon, having managed to print various experiments. Problems began to appear after some time, when I changed the plastic to transparent. Of course, now, after a while of all these experiments, I understand that maybe not even the temperature was the deciding factor, but how much this transparent plastic itself. On the third cleaning, I already contrived and learned how to quickly clean the turbo lighter nozzle.
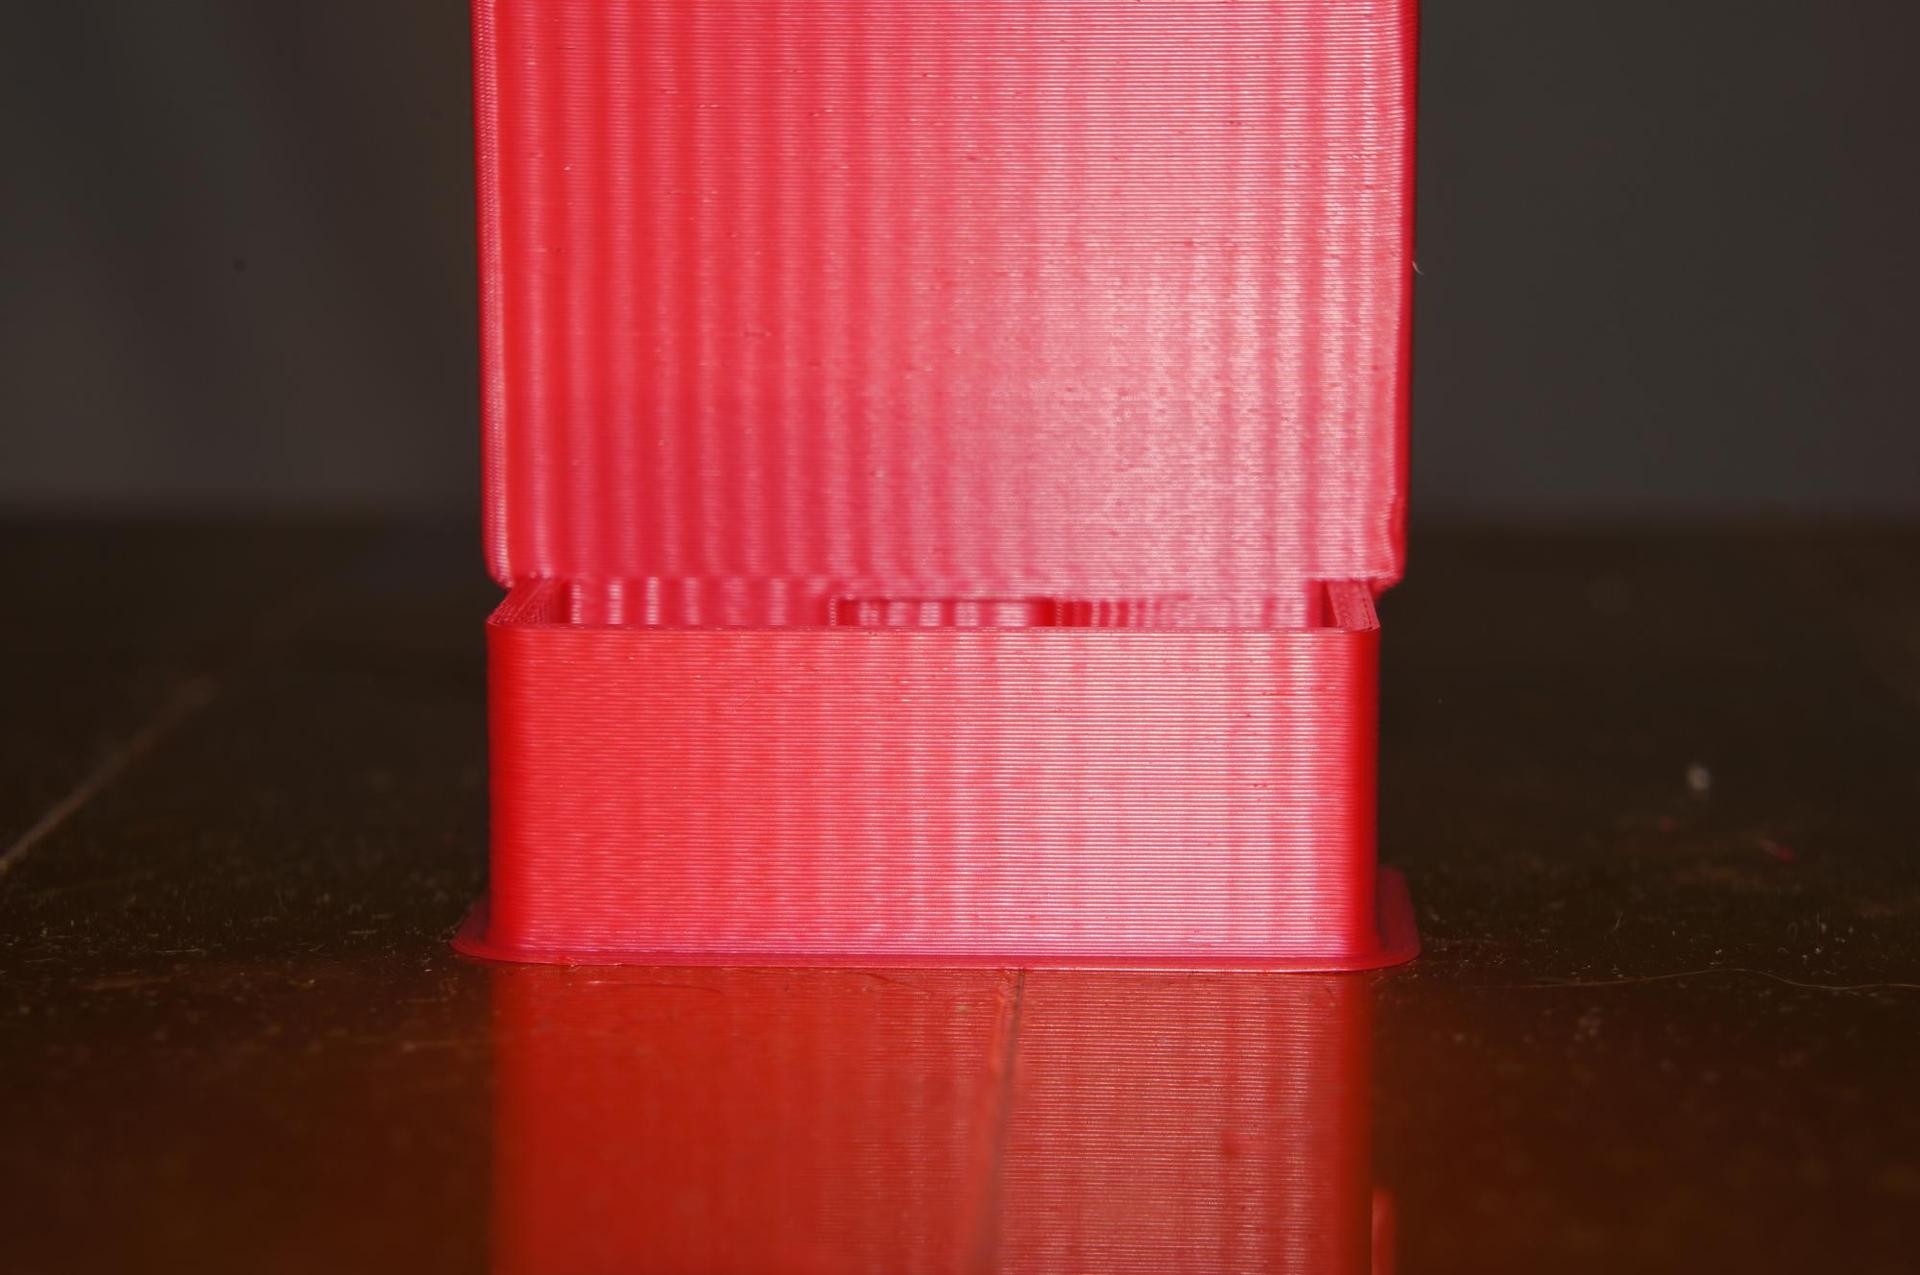
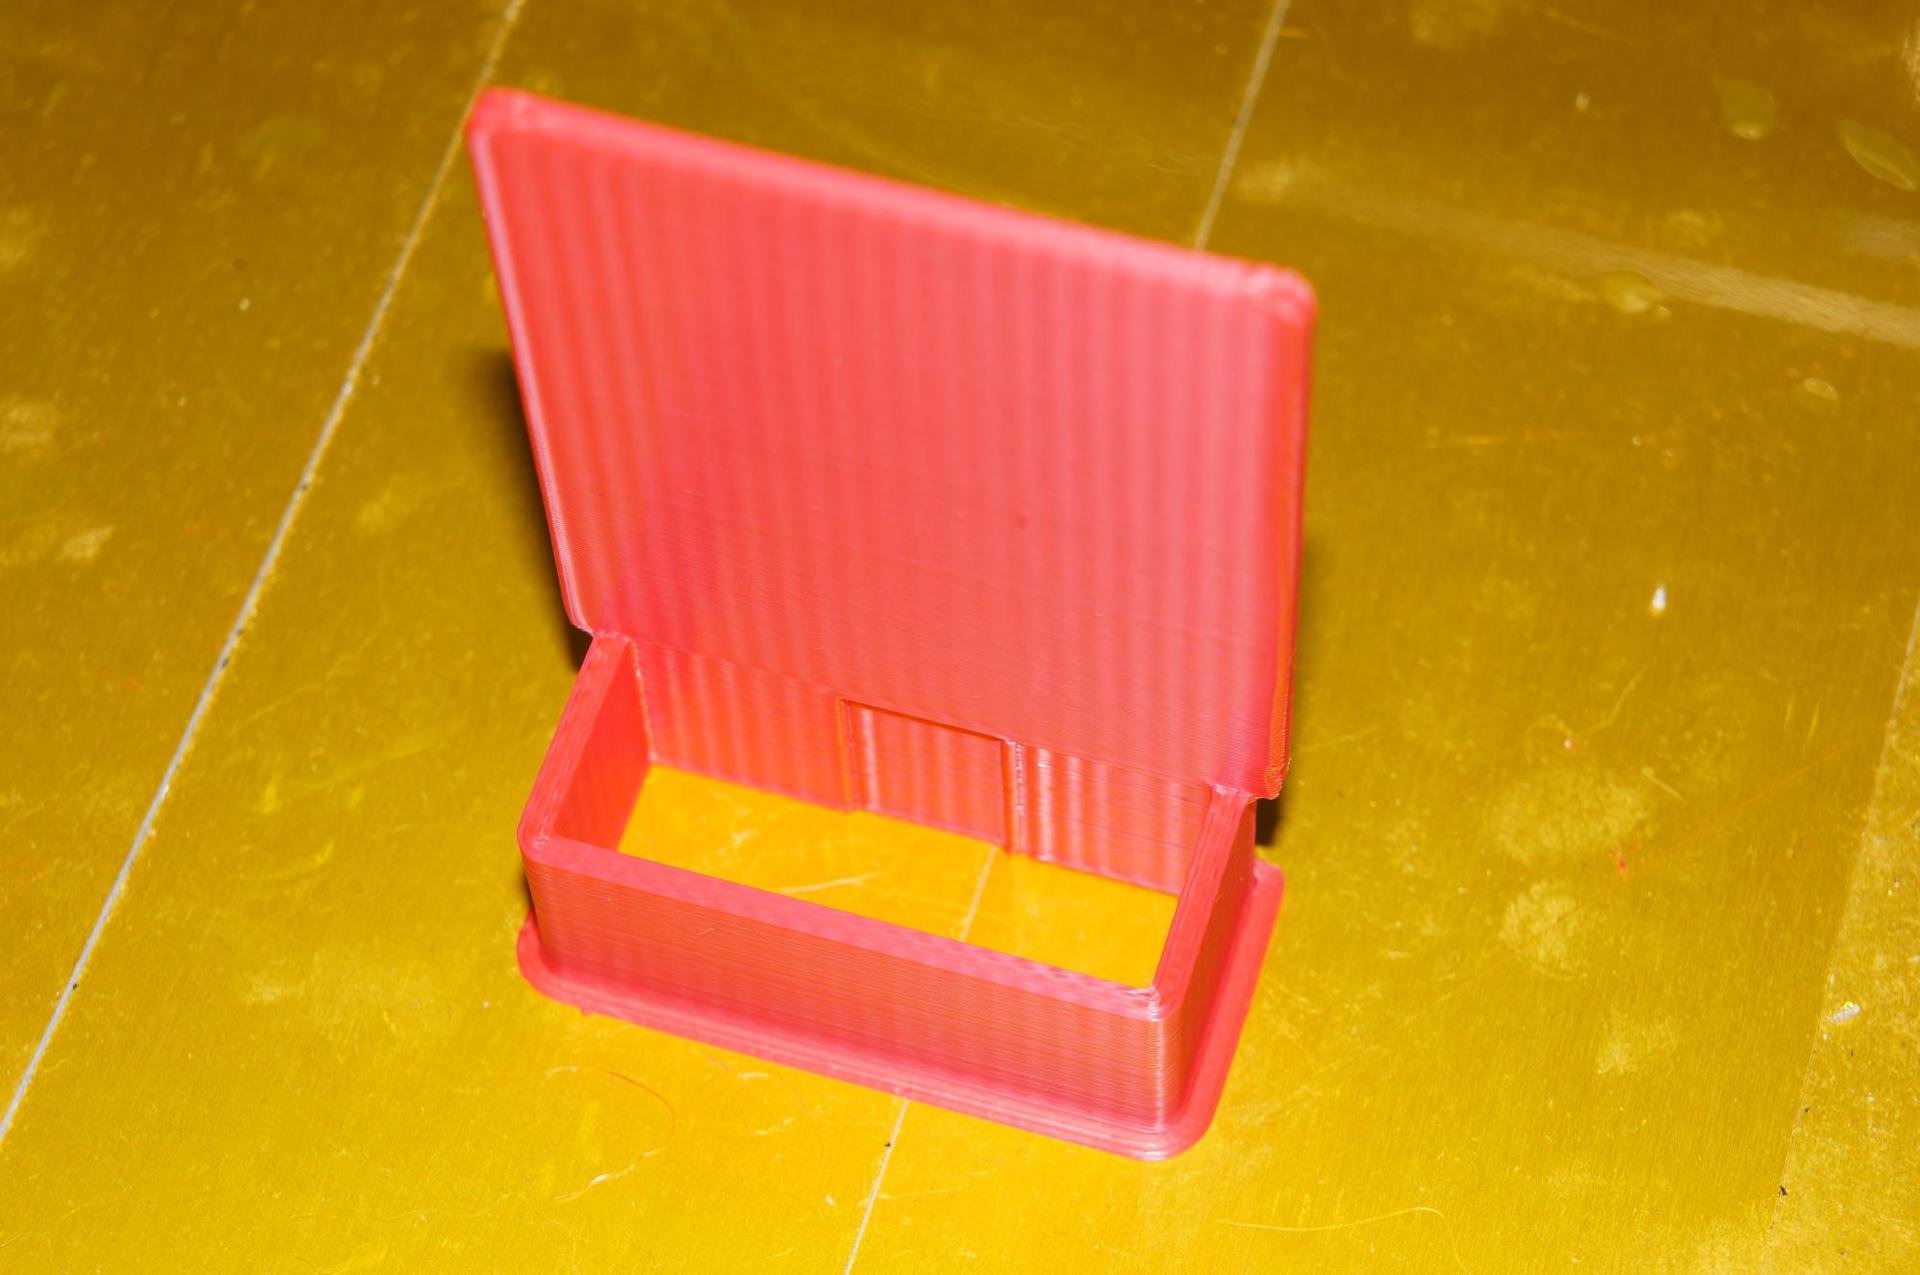
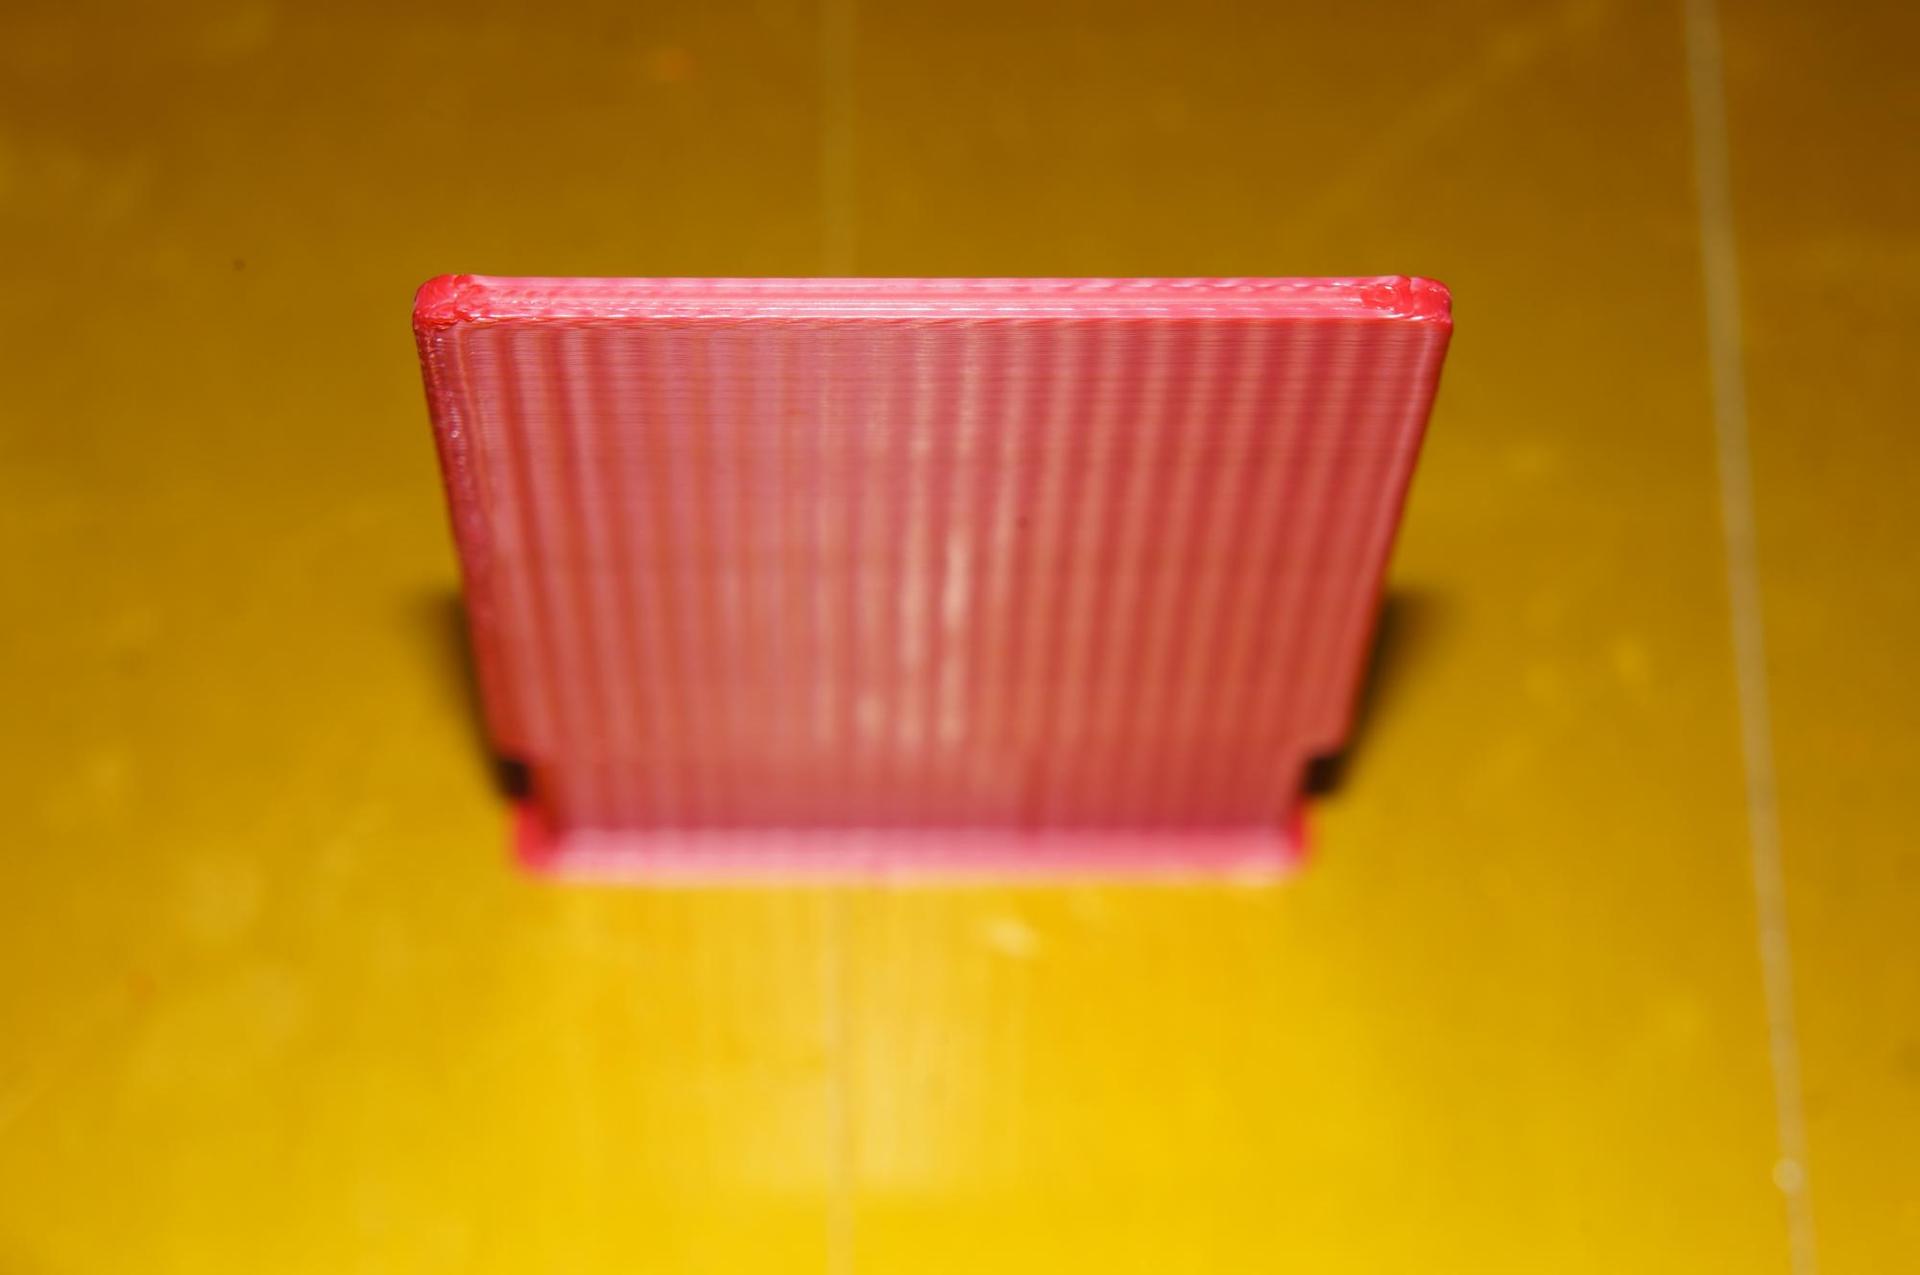
Regarding plastic as a gift in general - I would recommend not to suffer with it at all. There is no quality of it and you will no longer try to correct yourself by trying to fix the shoals of print before the 7th sweat by turning different settings. Later I bought a normal plastic and it went much more fun with it. And before that, we continue experiments and print crafts for the farm:
One problem loomed. When printing PLA of long parts, the part tries to bend around the edges. To solve this issue you need good adhesion and blowing of the print area. Unfortunately, the manufacturer has not provided for such equipment. The first version I typed here is this .
Much better than nothing. But after some time, I realized that the airflow should be at least from 2 sides, and preferably in a circle. For from the side where the fan was not blowing, the outer surface is less even, and hanging at an angle of much worse quality.
In the process, the creaking is heard. Suspicion fell on the lack of lubrication. I thought that primarily at the ends of the rotating shafts. But first I greased the shafts on which the carriage crawls. The creak did not disappear, open the closing ends of the shaft of the plexiglass cover, throw grease there - the creak disappeared. I also transferred the extruders Y and the rod to the sides and sent the tube out of the extruder horizontally.
Summarizing, I will say that overall, I liked the printer, a good workhorse. There is also a reserve for improvements, which I plan to do gradually. Now the manufacturer has also started to include the auto level, which he promised to send me for free along with the replacement of a slightly curved shaft. My comments were sent to the seller. Perhaps he will take note of them and future buyers will get a more refined version.
Update 05/09/2017:
- I forgot to note that the printer is rather quiet, louder than an ice cream maker operating nearby. The sound from the engines is quite quiet, louder than the coolers can be heard.
- Of the minuses of the printer - the X axis engine crawls along the Y axis, which makes it massive. At high speeds, it is strongly felt, I think if you break up the speed, the printer will make out himself :)
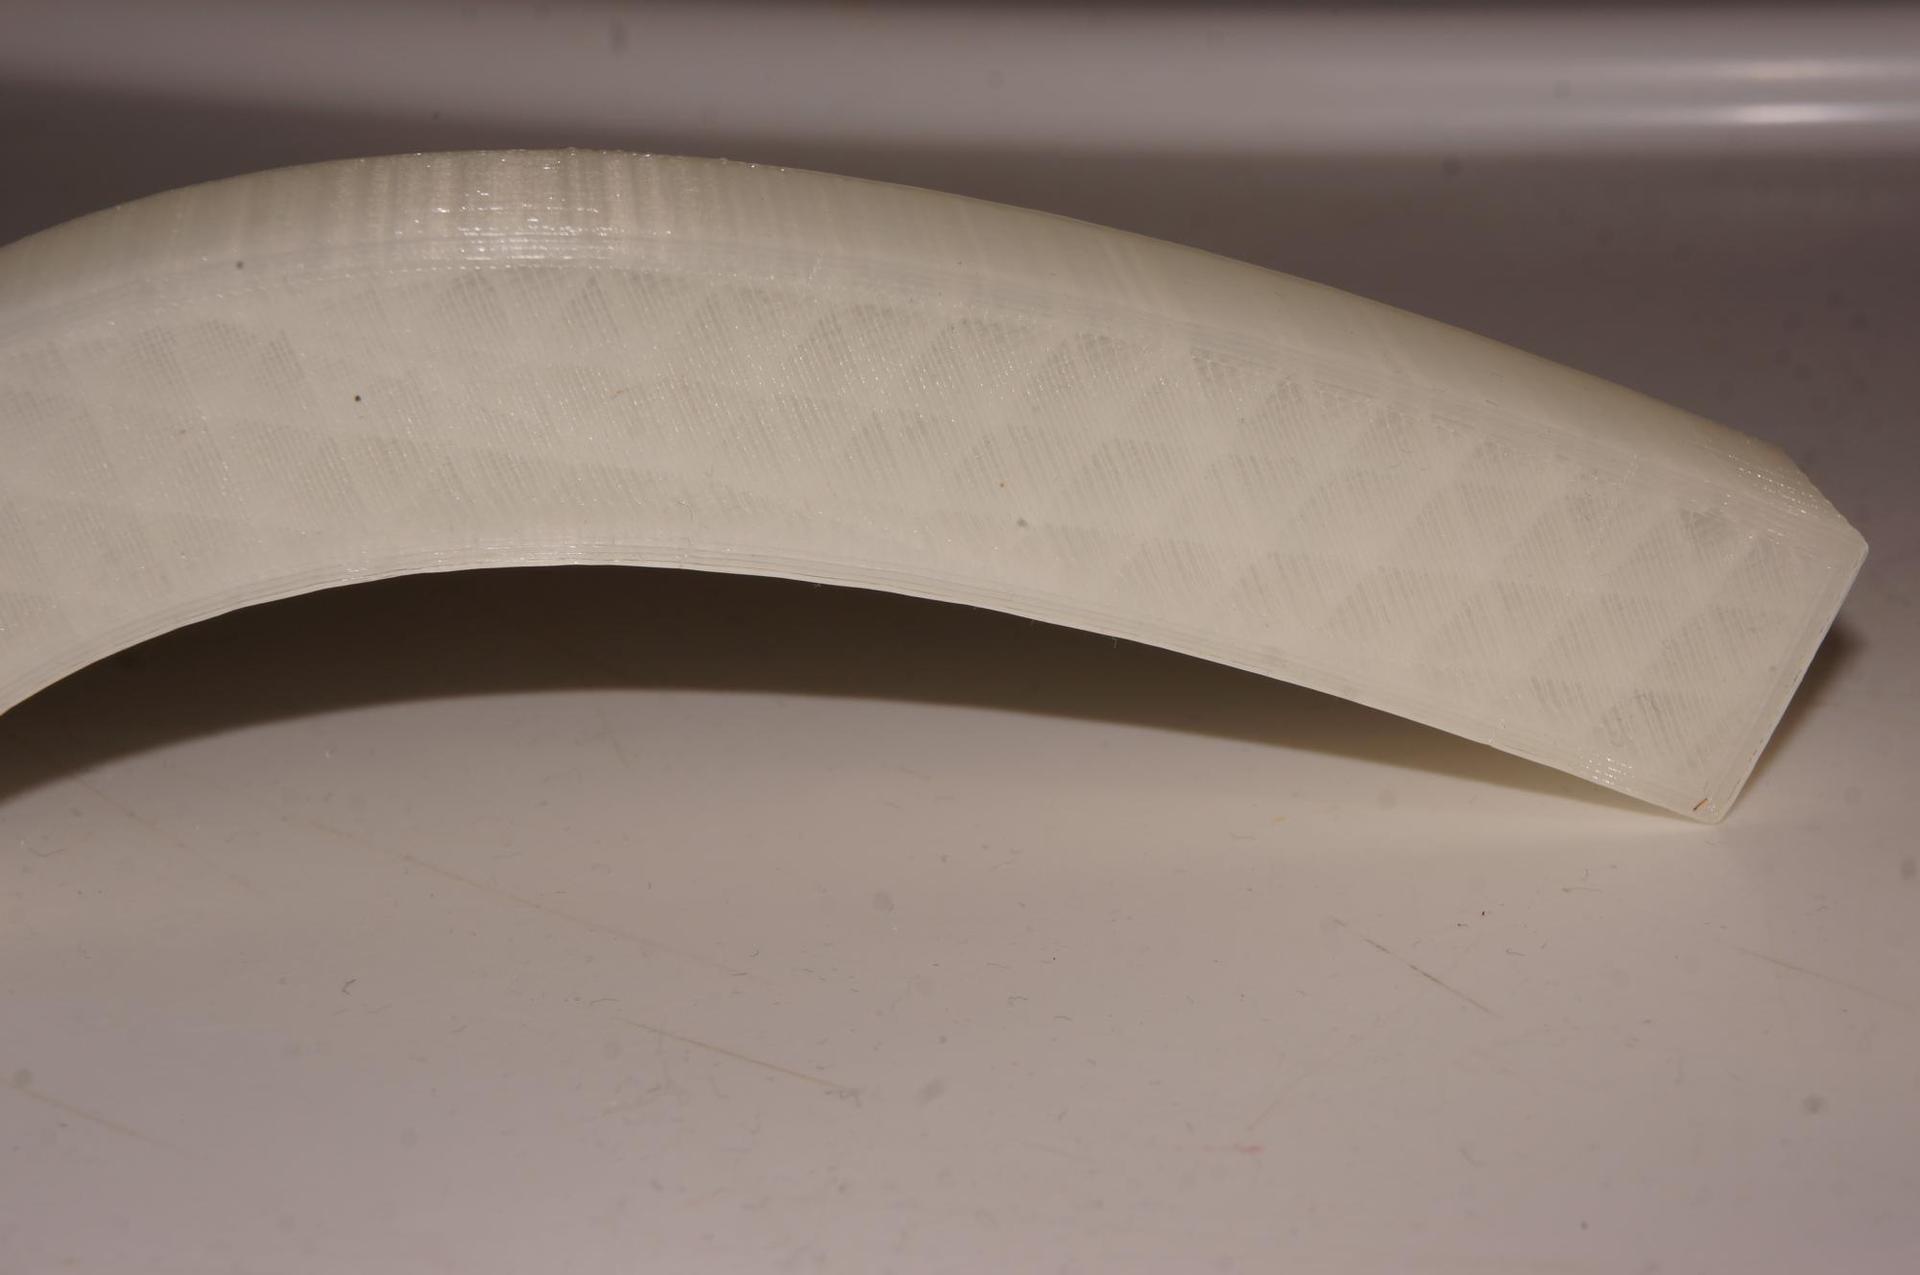
- As promised, I made the holder for the filament, the files, including the FreeCAD source code, are posted here http://www.thingiverse.com/thing:2305659 . The printout is not very high quality, because I waved for quality for the third time, it was too lazy to wait again for 3.5 hours, last used Slic3r instead of Cura, because Cura did not understand how to force him not to try to fill between the walls, where he cannot print the wall because of their overlap - it turns out to be empty:


- A small video of the printer’s work:
And then some time passed, in my head I had more and more things that I needed to do, and again I remembered the topic of 3D printers. I decided to shovel the topic and the market, what printers are, what are the advantages, what are the disadvantages of certain types and technologies.
There are many interesting options, most fascinated multifunction printer: 3D printing, 3-axis milling machine, laser engraver ZMorph 2.0 SX. But looking at the English-speaking review, I realized that there may be shortcomings, and the printer costs a lot (more than 250 pieces). I don’t want to spend such a large amount and end up disappointed, not to mention that I’m not in a hurry to part with such a sum :) Going through a bunch of other options, I realized that I know little about the subject and it’s hard for me to estimate how much this or that printer I personally and my tasks will justify the investments, especially since I did not try to print on 3D printers personally and are completely unaware of any nuances there. Also, I was not at all sure how sensible this FDM printing is in general with plastic, the result might not suit me at all.
Seeing how rapidly the assembly kits market developed and the fact that there are already a lot of successful options, I decided to choose a different direction - look for a Chinese designer “for guys with not so much money” (catch phrase of a Chinese marketer) on aliexpress. Pretty quickly, I came to the conclusion that I needed only a cube from a metal frame. There are drawbacks associated with tugging on the table with a model in the drytail tables a la Prusa. Plus they are less compact since need an area to move the table. Going through different options, he stopped here on such a printer from the manufacturer flsun:
Features:
- Printing area: 260 * 260 * 350mm
- One hot end, Chinese copy of E3D V5 (max temperature 260C)
- Heated table (max
- Nozzle 0,4mm
- Minimum layer height: 0.05mm
- Power supply: 360W
- Latest control board version: MKS Gen-L V1.0
- The board is stitched with Marlin firmware which is open source.
- Metal carcass
- Table on 4 guides on both sides and controlled by two engines
- Auto Level
Delivery cost 20 thousand rubles. Immediately ordered from the seller a set for the second hot spot for a future upgrade, sent a separate package.
The frame is metal, the corners too, the rest is the holders of the guide shafts, the angles with the bearing, various fasteners: either molded plastic or plexiglass and only a couple of parts are printed on the printer.
I was also advised to Flying Bear. there is already ready CoreXY, but I saw this advice after I ordered it. The only thing that bothered me in this printer, it is the complete lack of reviews at that time. It is now slowly appearing on the page of the lot. Well, well, the printer has been ordered, we are waiting for it to arrive, and in the meantime, in anticipation, we are shoveling over the topic of 3D printing - I must say the topic is very addictive.
And then, finally, the parcel arrived. Packed inside, I would not say so well, although in the new versions they promise to pack better:
Lay out the contents, it turns out the following (there is no only a heated table):
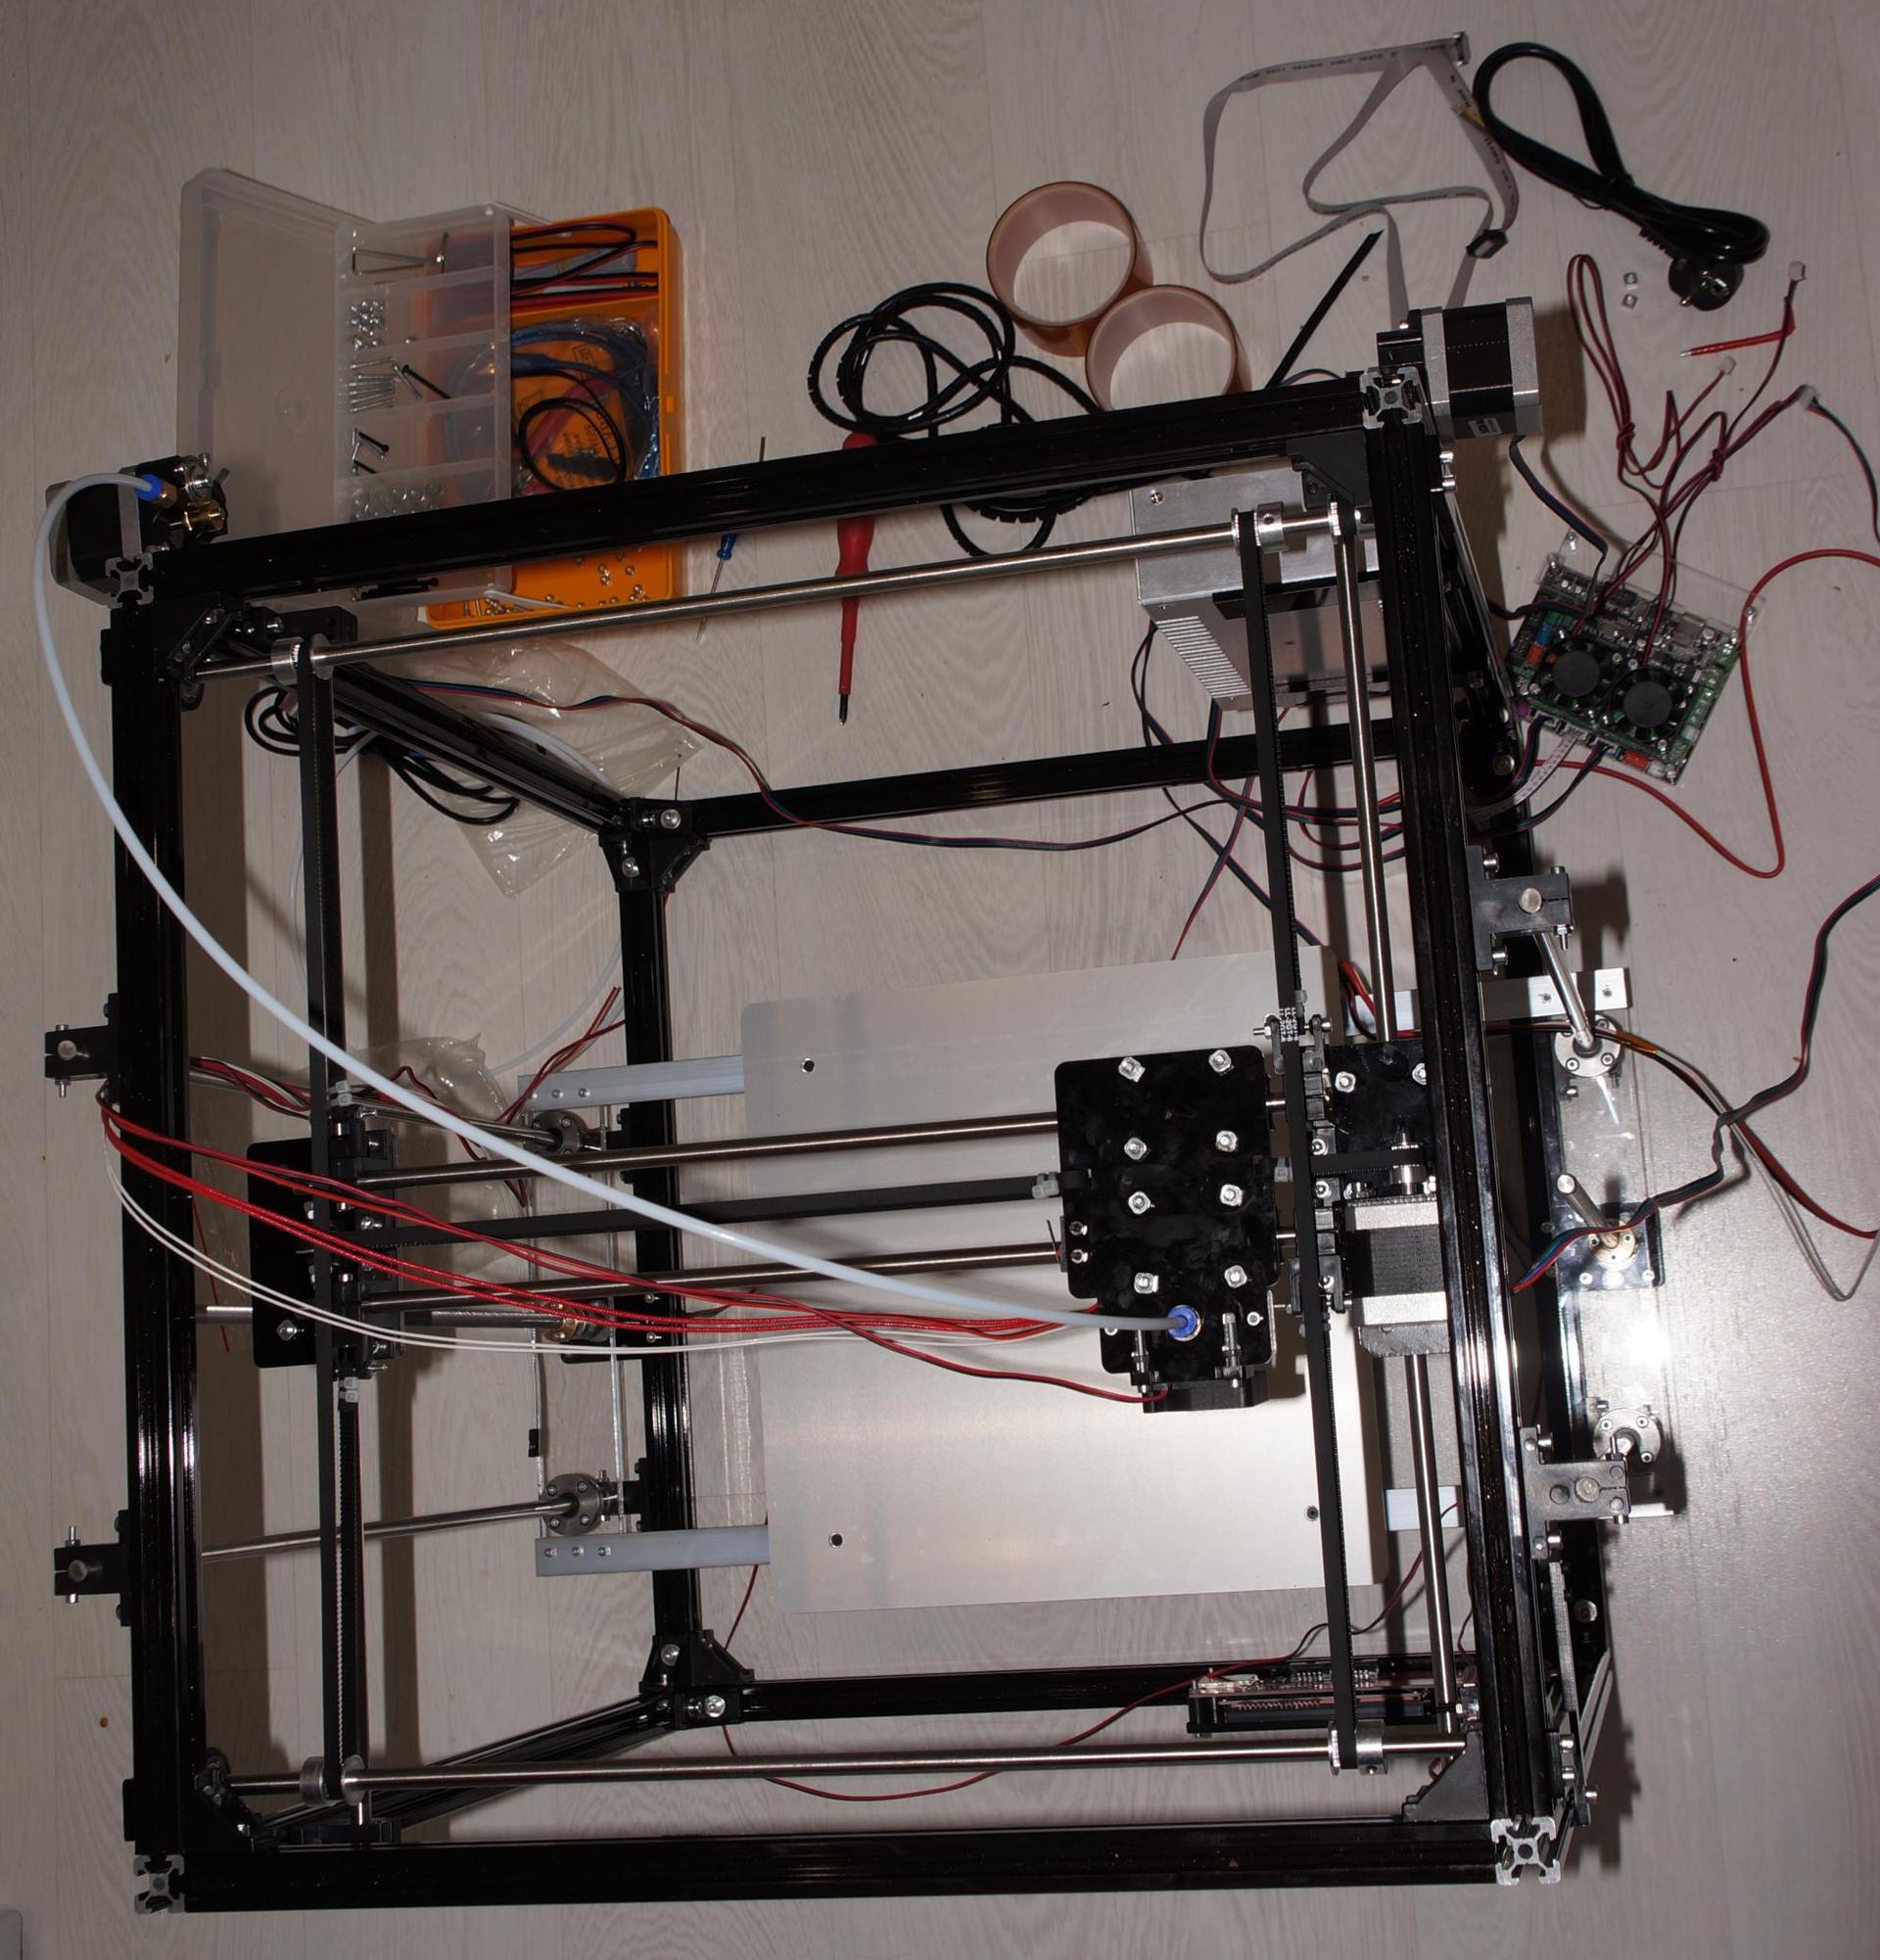
Well, it looks like we have a lot of work. We take up the tools and carefully collect everything in order to make it work well. The assembly process mechanics took me about 9 hours. Having collected the frame, the first thoughts: how big it will be! One of the shafts turned out to be crooked, but in the place where it stands, I think it is not particularly critical.
Now let's deal with electronics. Here an unexpected trouble awaited me. Not all cables are sufficiently long, so it is not possible to arrange the elements as shown in the manual. For example, short wires from an extruder force us to put a control board at the top. And everything else will also reach for her. The wires from the screen with the control buttons are also rather short. You have to put it either protruding above the printer, or turn it down.
Some points are well thought out, this is what concerns mechanics. But some of the impressions were made already on the last legs and without proper forethought. What is the stalk for fixing the plastic coil. Or a weird fastener of the power supply ... I also wonder a little about the optimal arrangement of the elements: at least the engine of the extruder and the Y axis can be transferred to the sides, reducing the already large depth of the printer. It also seems to me that the internal space is not optimally used.
All collected, it's time to test. We try the first available example from a flash drive. Here it should be noted that 3D printing is not such a simple process. It will not work here - sent to print and immediately got a good result. We need to delve into how it works, and twist the settings. My first print was not so hot, but it turned out! I put myself a slicer Slic3r, looked at how much to set the temperature for PLA plastic (later it turned out that I came across bad advice, 230 was recommended for printing, 240 for the first layer) and everything was printed much better (on the right is the first print, on the left, after tweaking):
Next, I was expected to dive into a bunch of subtleties of 3D printing, in such words as retract, support, adhesion, etc. Namely - the realization that not everything is so simple.
Traditional test boat:
The photo does not show all the defects, for example, the area where the pipe floated, the focus was crooked.
And now about the bad advice. As I understand it, 230 degrees is just close to when PLA plastic degrades, which makes it turn into a friable mass that clogs the nozzle. Although I did not feel it very soon, having managed to print various experiments. Problems began to appear after some time, when I changed the plastic to transparent. Of course, now, after a while of all these experiments, I understand that maybe not even the temperature was the deciding factor, but how much this transparent plastic itself. On the third cleaning, I already contrived and learned how to quickly clean the turbo lighter nozzle.
Regarding plastic as a gift in general - I would recommend not to suffer with it at all. There is no quality of it and you will no longer try to correct yourself by trying to fix the shoals of print before the 7th sweat by turning different settings. Later I bought a normal plastic and it went much more fun with it. And before that, we continue experiments and print crafts for the farm:
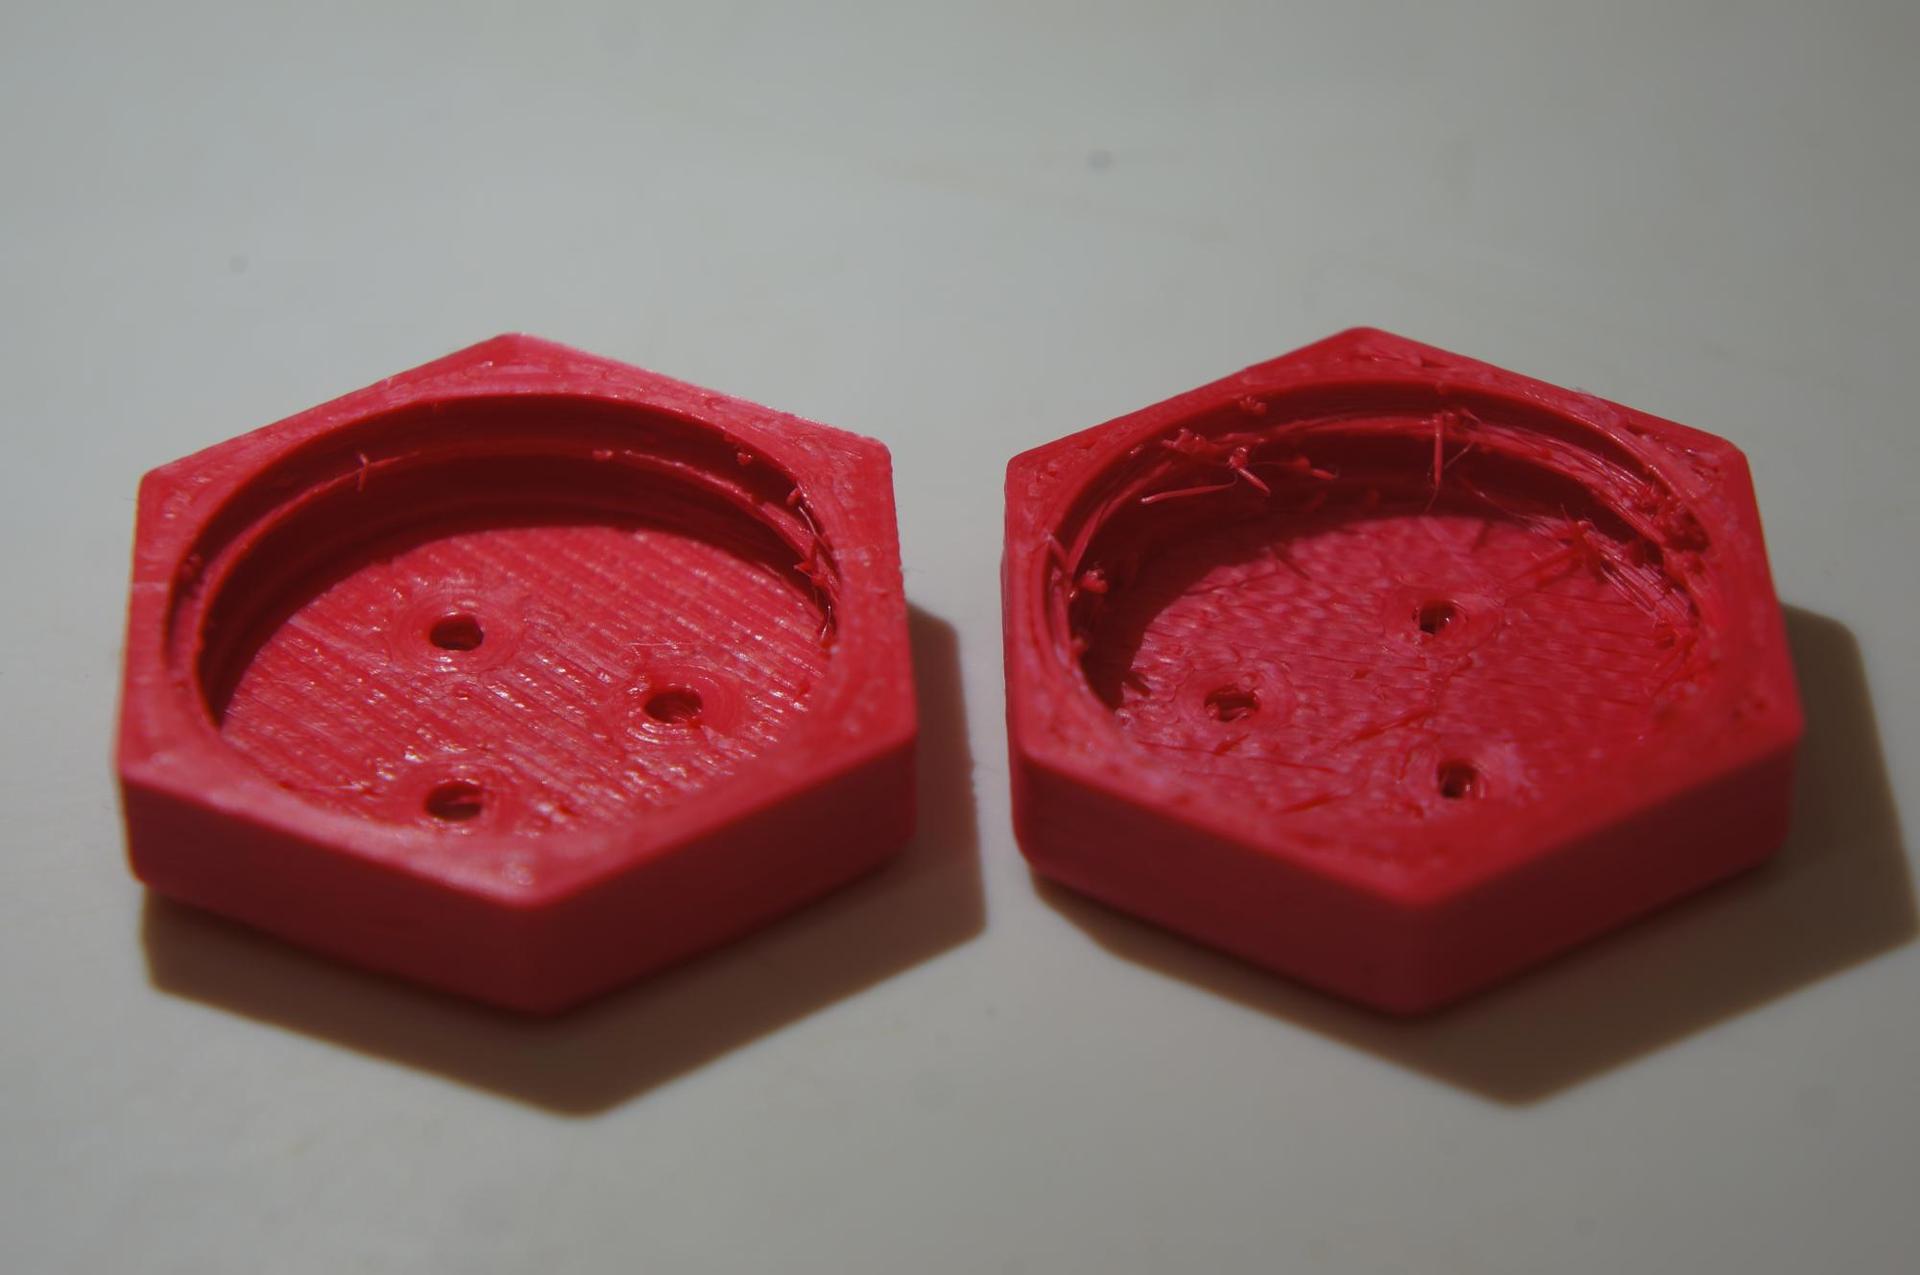
One problem loomed. When printing PLA of long parts, the part tries to bend around the edges. To solve this issue you need good adhesion and blowing of the print area. Unfortunately, the manufacturer has not provided for such equipment. The first version I typed here is this .
Much better than nothing. But after some time, I realized that the airflow should be at least from 2 sides, and preferably in a circle. For from the side where the fan was not blowing, the outer surface is less even, and hanging at an angle of much worse quality.
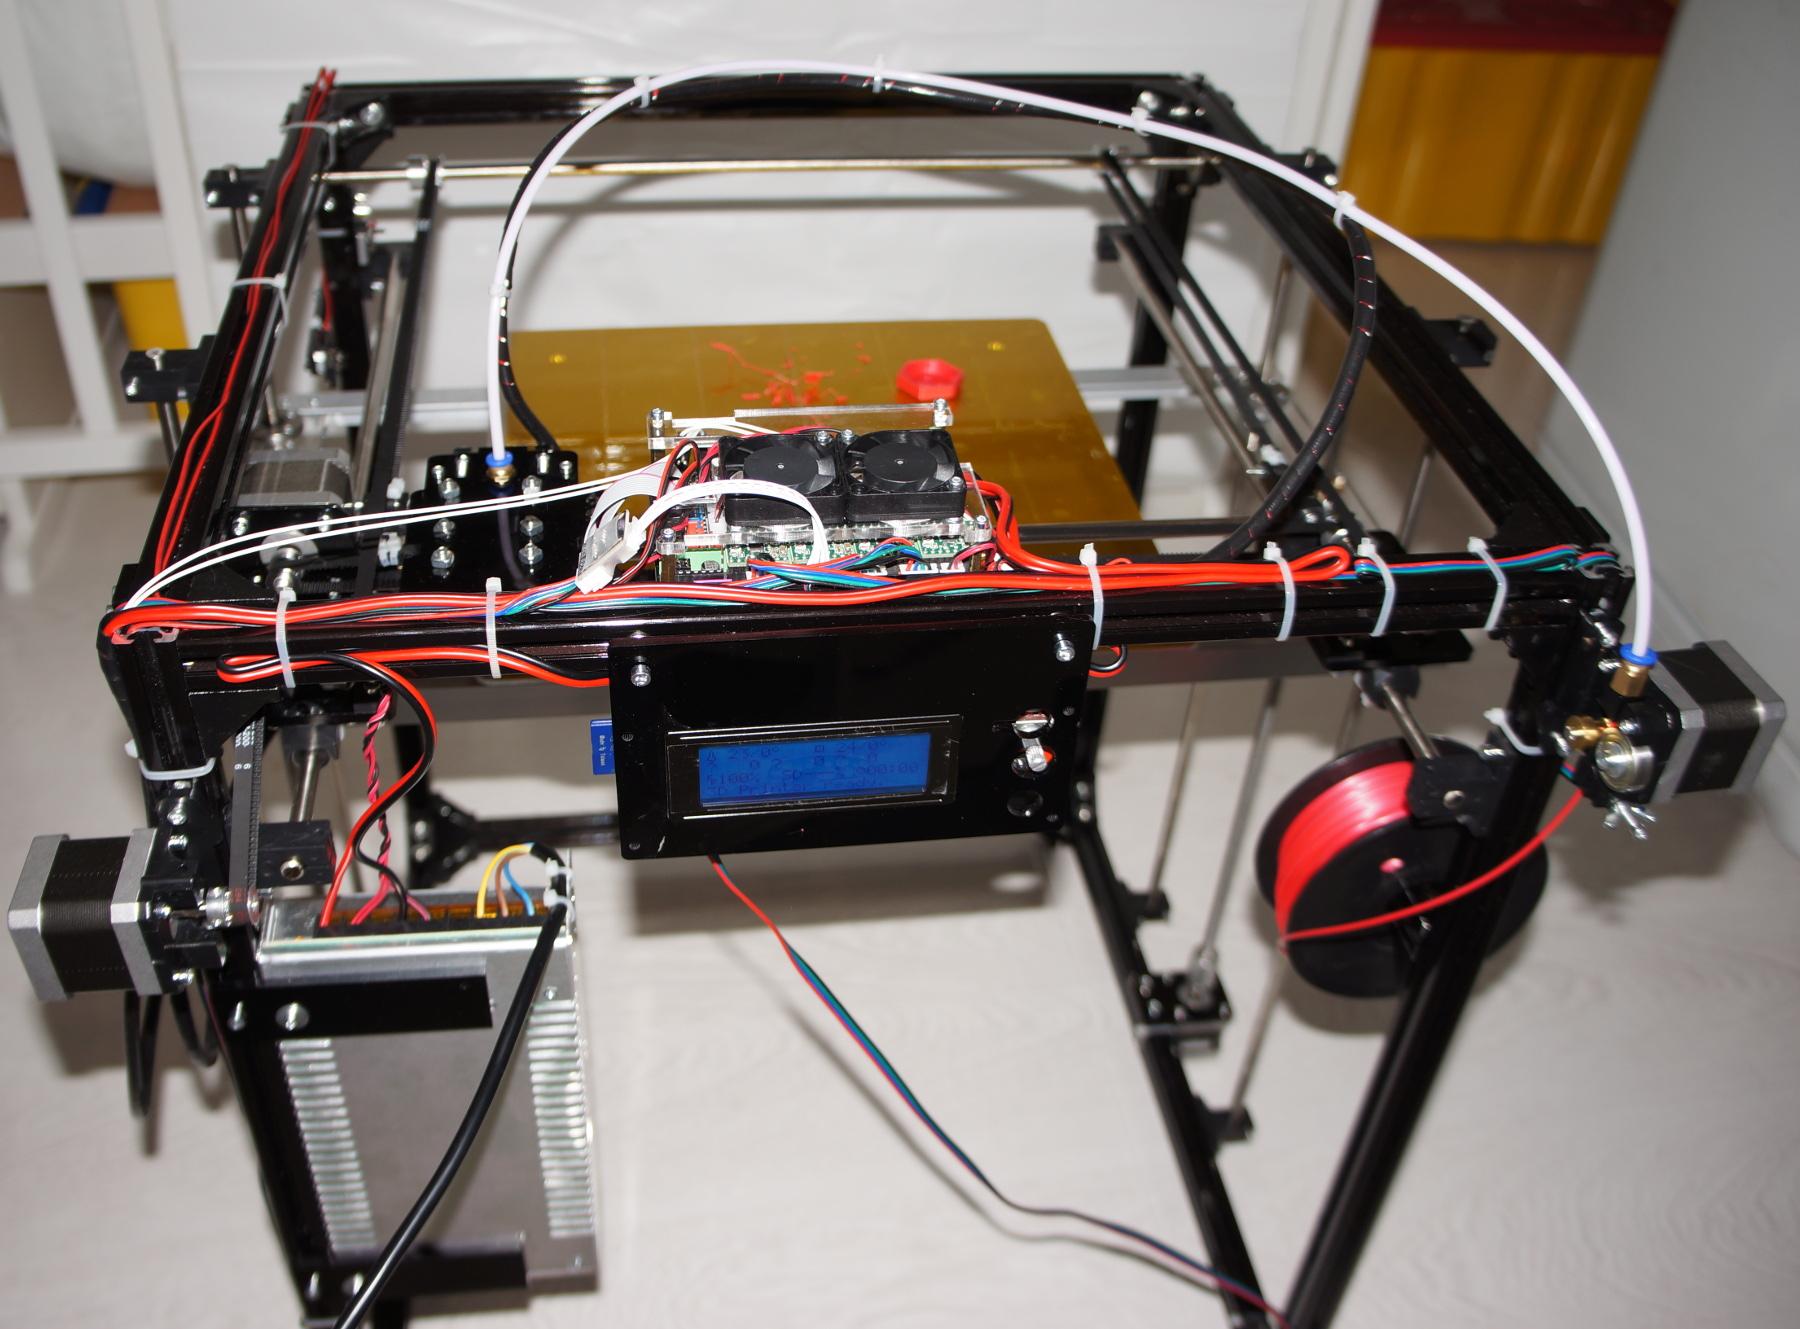
In the process, the creaking is heard. Suspicion fell on the lack of lubrication. I thought that primarily at the ends of the rotating shafts. But first I greased the shafts on which the carriage crawls. The creak did not disappear, open the closing ends of the shaft of the plexiglass cover, throw grease there - the creak disappeared. I also transferred the extruders Y and the rod to the sides and sent the tube out of the extruder horizontally.
Summarizing, I will say that overall, I liked the printer, a good workhorse. There is also a reserve for improvements, which I plan to do gradually. Now the manufacturer has also started to include the auto level, which he promised to send me for free along with the replacement of a slightly curved shaft. My comments were sent to the seller. Perhaps he will take note of them and future buyers will get a more refined version.
Update 05/09/2017:
- I forgot to note that the printer is rather quiet, louder than an ice cream maker operating nearby. The sound from the engines is quite quiet, louder than the coolers can be heard.
- Of the minuses of the printer - the X axis engine crawls along the Y axis, which makes it massive. At high speeds, it is strongly felt, I think if you break up the speed, the printer will make out himself :)
- As promised, I made the holder for the filament, the files, including the FreeCAD source code, are posted here http://www.thingiverse.com/thing:2305659 . The printout is not very high quality, because I waved for quality for the third time, it was too lazy to wait again for 3.5 hours, last used Slic3r instead of Cura, because Cura did not understand how to force him not to try to fill between the walls, where he cannot print the wall because of their overlap - it turns out to be empty:
- A small video of the printer’s work: