Custom Computer Assembly, Part 1
For the third year now, I have been running my own small school-studio for IT in my city. Since I don’t have constant funding (yes, I don’t count on him), I mainly have to rely on my strength and on the help of students. From time to time it turns out to get help from different people, for example, from one person in Moscow, I managed to get a lot of very good working hardware, especially servers. And once again, I decided to upgrade the class - I asked the district administration for a certain amount of money for the purchase of components (mainly SSD), and set to work. Of the existing computers, 7 were collected, having typed in them 6-8 GB of RAM and an SSD, and for the complete set we decided to assemble about 6 more machines using server platforms, which we have about 8 (not used). So the idea was born to make a beautiful custom workstation, with glass and backlight. I slowly fix the manufacturing process for memory ;-) especially if one of my students does modding.
So,
Due to the large number of server components, it was decided to assemble a custom computer from them - a workstation. With a successful outcome, such computers need 6 - to replenish the computer class. For our purposes, this is a good option. It’s not really a game on it, but it will most likely be comfortable to work.
Since the server board has non-rectangular dimensions (form factor) of EATX unusual for a regular PC, after some thought, we decided to make our modding case with non-standard sizes, along the way we will experiment with materials and layout.
The hardware configuration is assumed as follows:
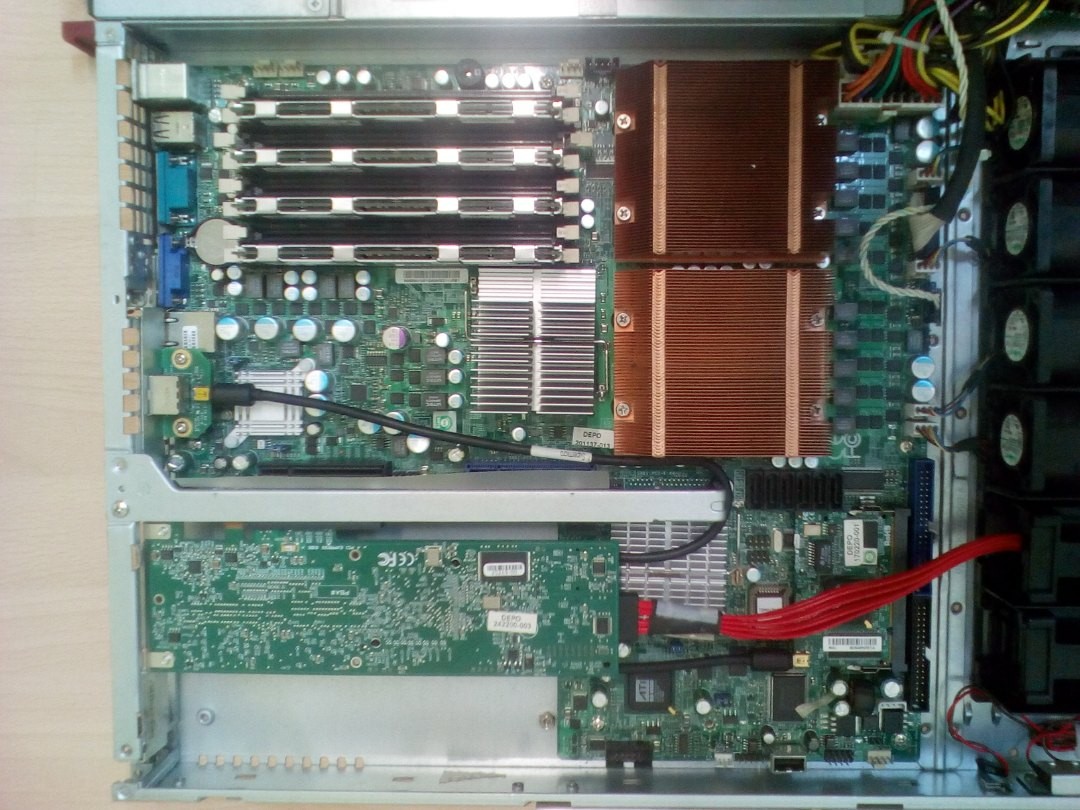
Motherboard: Supermicro X7DWU
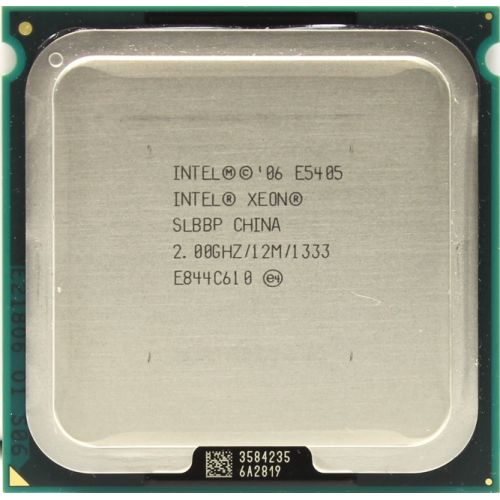
Processors: 2 Xeon E5405
RAM: 8 x 2Gb DDR2 ECC FB-DIMM
Hard disk: SSD 240Gb Patriot, + optionally another, regular disk HDD. Although, due to the fact that workstations will be in a domain gigabit AD network, where there is a 15Tb basket under the file storage, putting something other than an SSD does not make much sense.
Video card: x16, low profile, with separate VGA. GT 730 2GB, DDR3
Power supply: ATX 500 W SVEN PU-500
First sketch of the case:
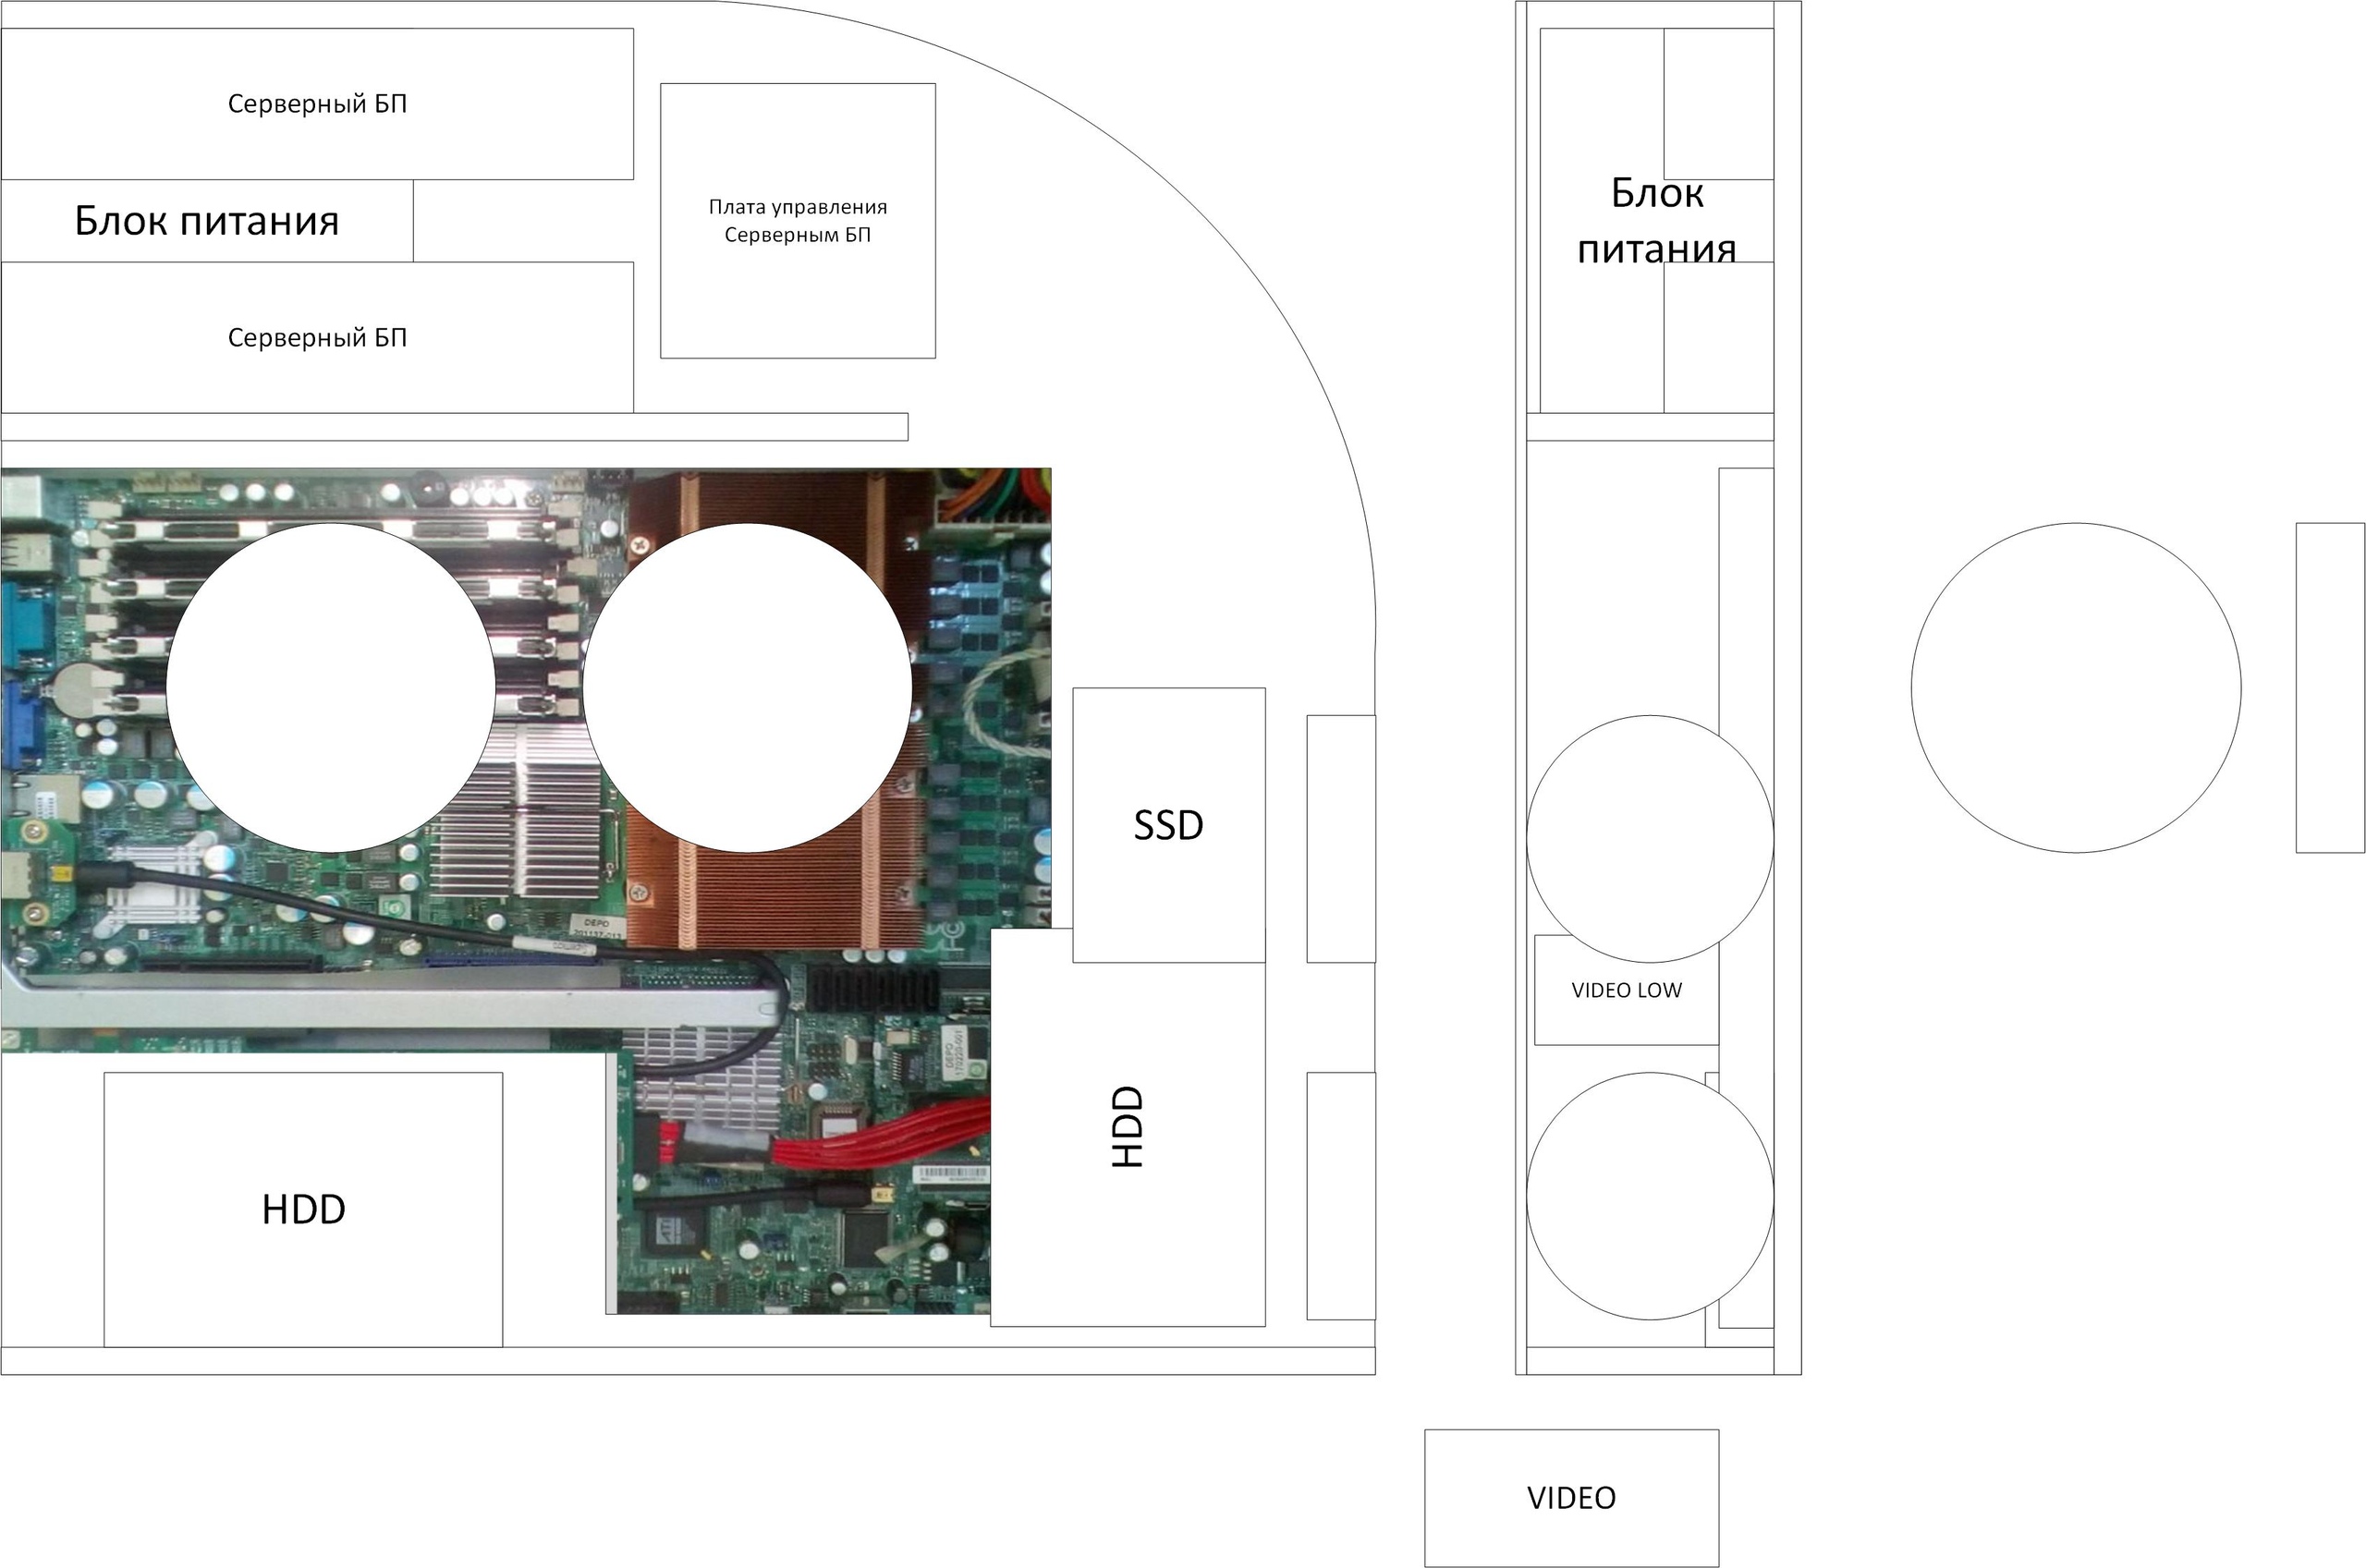
The idea is to make a thin standing case, with one transparent wall and backlight fans mounted on a transparent wall. A body with a large radius of rounding and "open" at the end (or closed with a mesh). All components are supposed to be attached to a second, opaque wall. Also, the ability to install “server” power supplies should be preserved, the cables should be as compact as possible, the dimensions should be sufficient to install various fans, etc.
I was inspired, including, by this picture:

Calculation of the power supply. For this motherboard, a PSU of 550 W is recommended, which is logical - 2 processors, 4 hard, 8 memory slots and a bunch of cooling turbines. Our configuration is somewhat weaker - we will only have SSDs, so I suggested that 500 watts would be enough.
But still,
let's calculate: 2 x Xeon E5405 = 2x 80 W = 160 W
8 x 2 GB DDR2 ECC = 8 x 5 = 40 W
Motherboard = 30 W
Video card GT 730 = 50 W
SSD drive = 5 W
Total, 500 W unit should enough with a good margin. You can figure it out here .
Important note - the unit must be suitable for the number of power connectors on the board. In other words, there should be enough connectors. However, due to the fact that we will not install a powerful video card, many PSUs are suitable (except for the cheapest).
One of the main questions that immediately appeared was cooling. In the server 1U package, 6 turbines are installed for this, which create a powerful stream that blows processor heatsinks and memory. Good thing, no doubt, but if this car is somewhere far away, outside the door. Better away. The noise level for the engine room is not the most critical thing, but we somehow do not want to sit near the take-off fighter. It was decided to put two 120 mm fans aimed at processors and memory, and monitor their heating in operation. If this is not enough, either add another stream or reconfigure the radiators. There was an idea to leave the server PSUs (they are dual), but it turned out to be not a fountain either, each of them also had 1 turbine installed ... in general, how can there be a backup option.
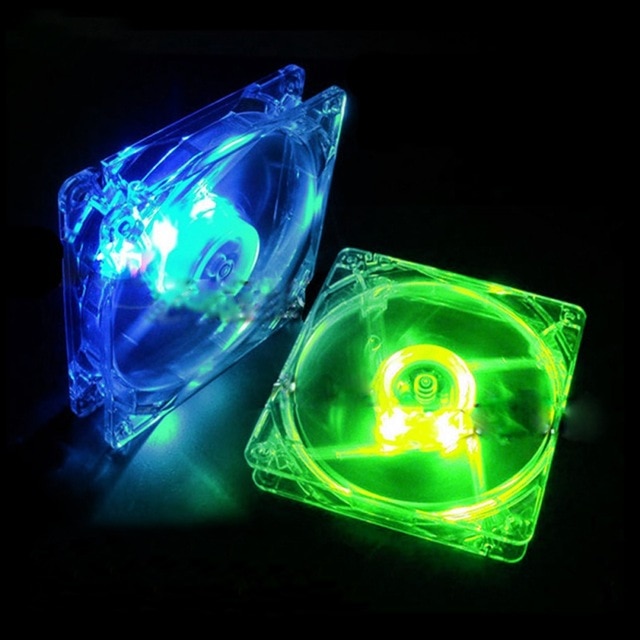
As scenery and cooling, several 120 mm fan models with green backlight were chosen, and a 90 mm fan can also be installed on the front of the case. The cables will be laid in a beautiful plastic braid.
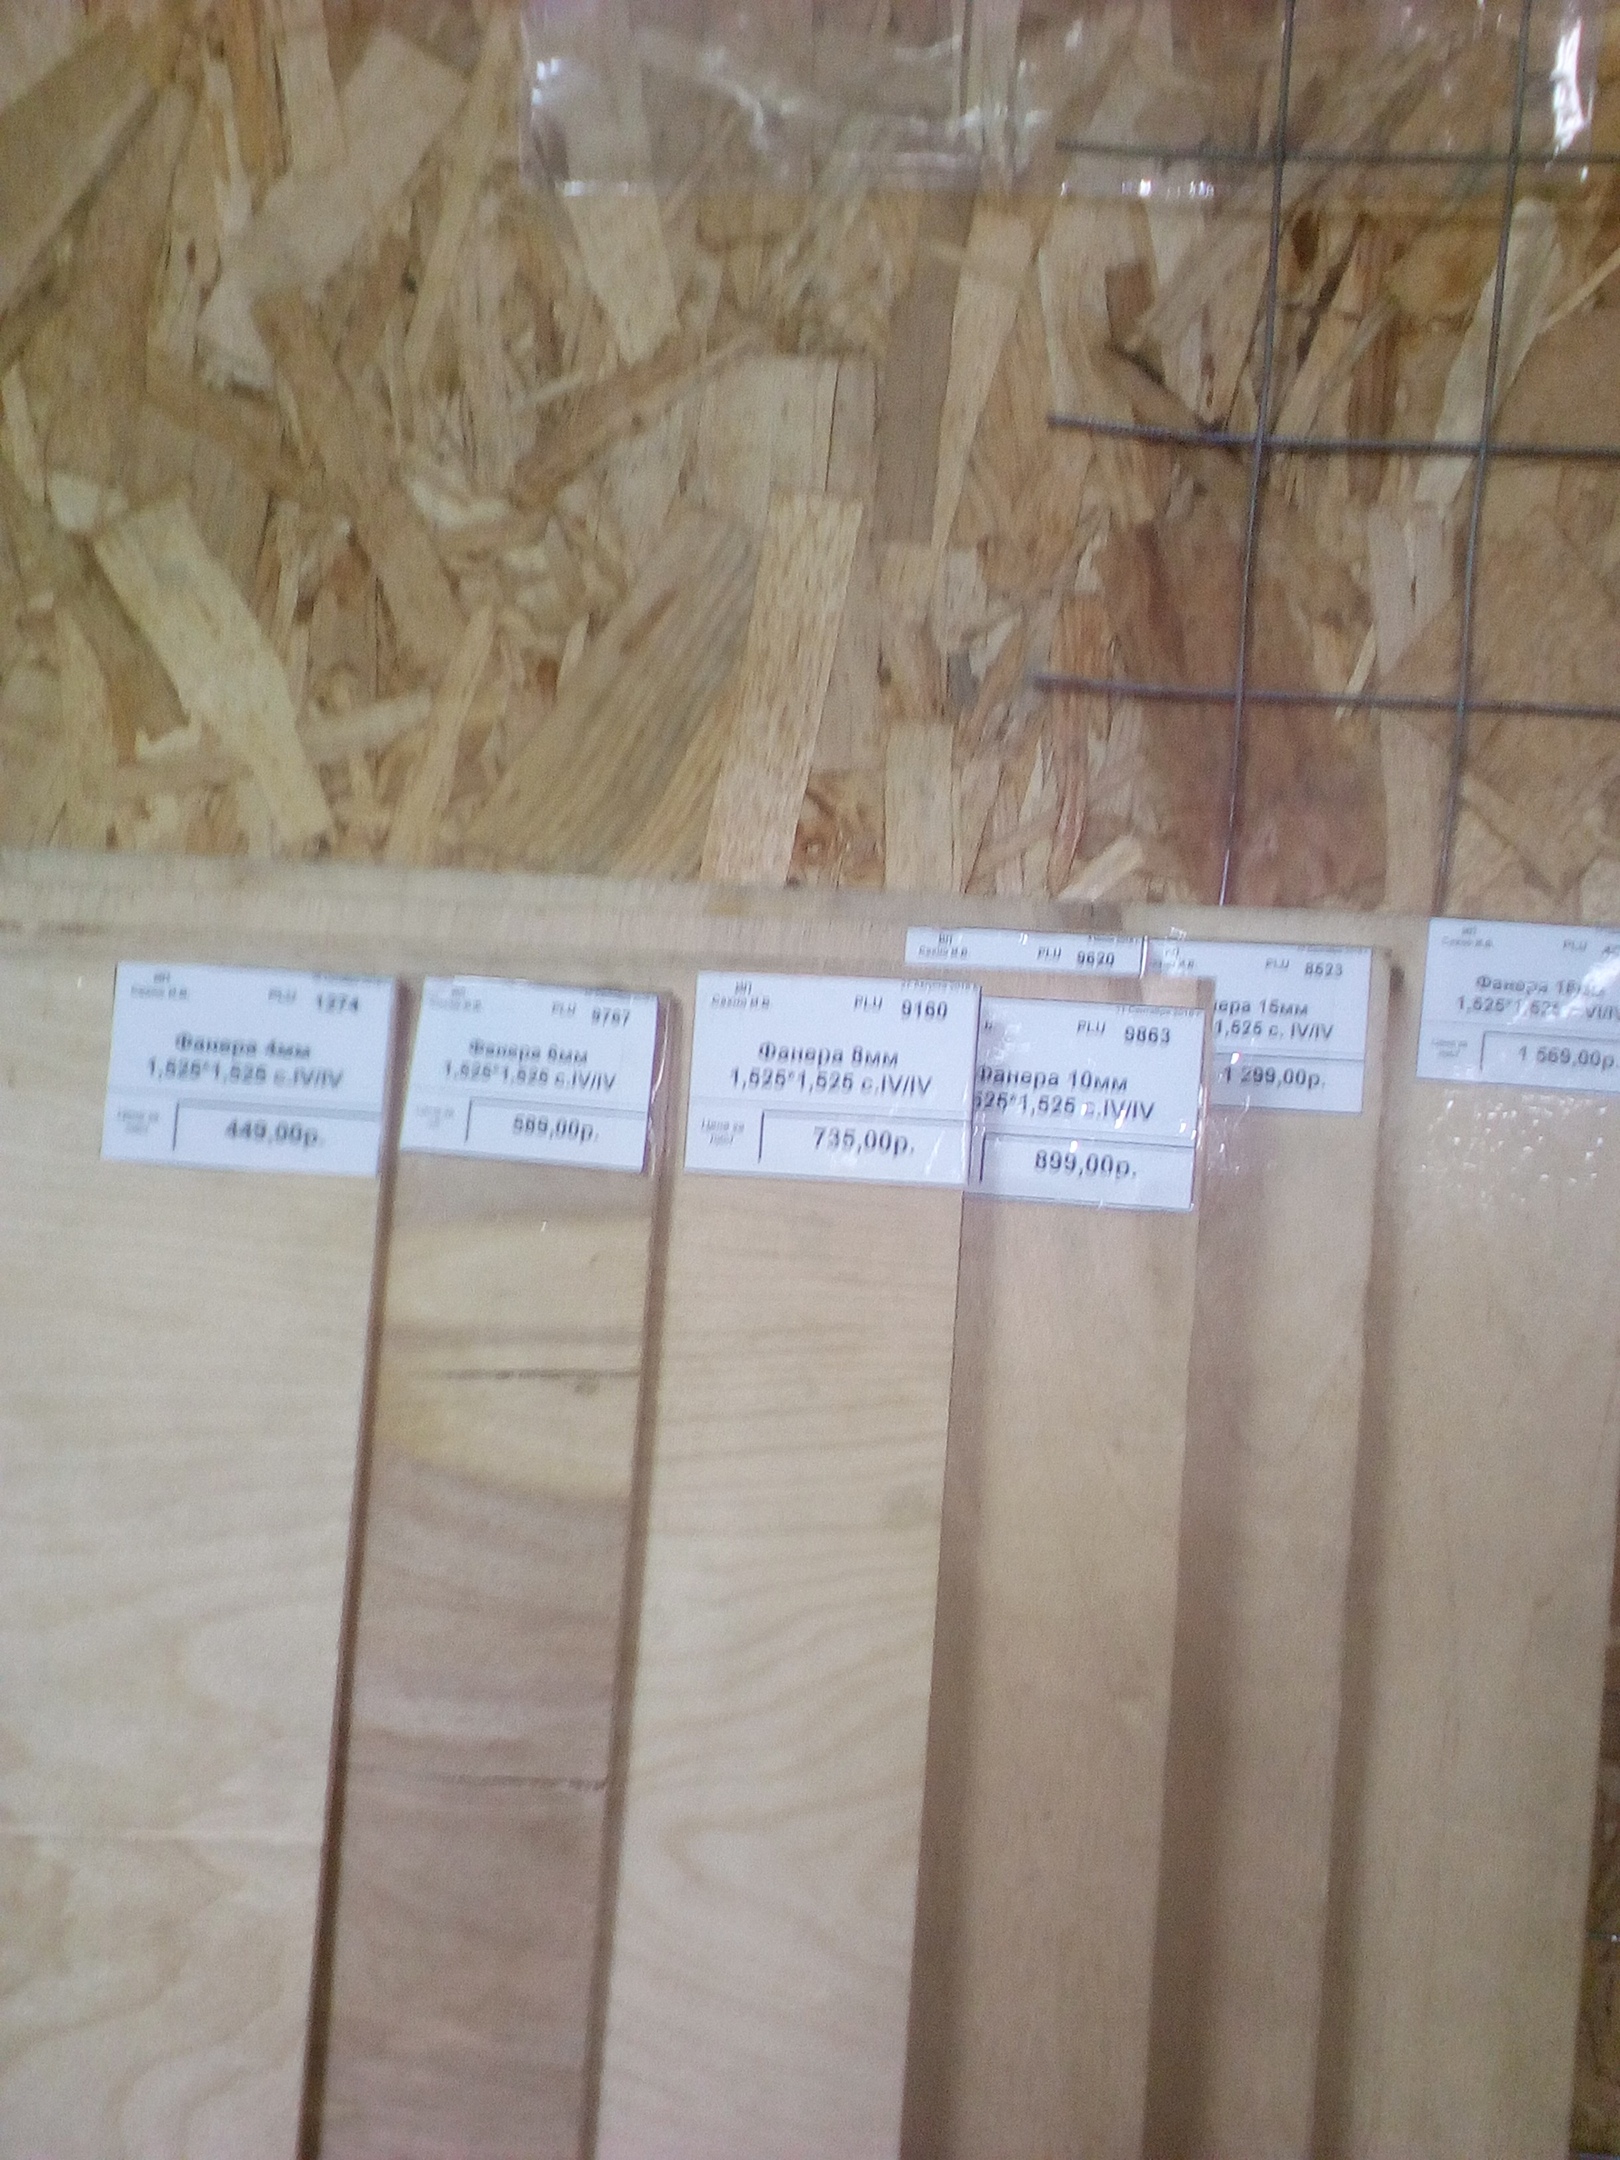
With the choice of material, everything is also not very simple - plastic was originally supposed, but for experiments I could not find where to buy nearby, but there is plywood ... In general, we took plywood and a board, we will try something with them. After assembling the prototype, we will order one wall of glass (it is possible and plexiglass, but I would like the present). By the way, then I found in Kaluga a place where it would be possible to order parts from anything - sandwiches, plastics, etc., with cutting out on a coordinate machine.
But plywood is here, next to it, and then, you still need to think about it - dimensions, docking.
Fans left the order, something from China, ordered SSDs, video cards, and something else on the little things. Very useful was the financial assistance of the district administration and RONO through our CVR.
To work on the body, you also need a tool - a grinder, a grinder, a jigsaw, a drill and a bunch of all kinds of hardware that were bought during the process.
A drawing for sawing out the wall and the lower shelf (the upper one, but then they decided to refuse it):
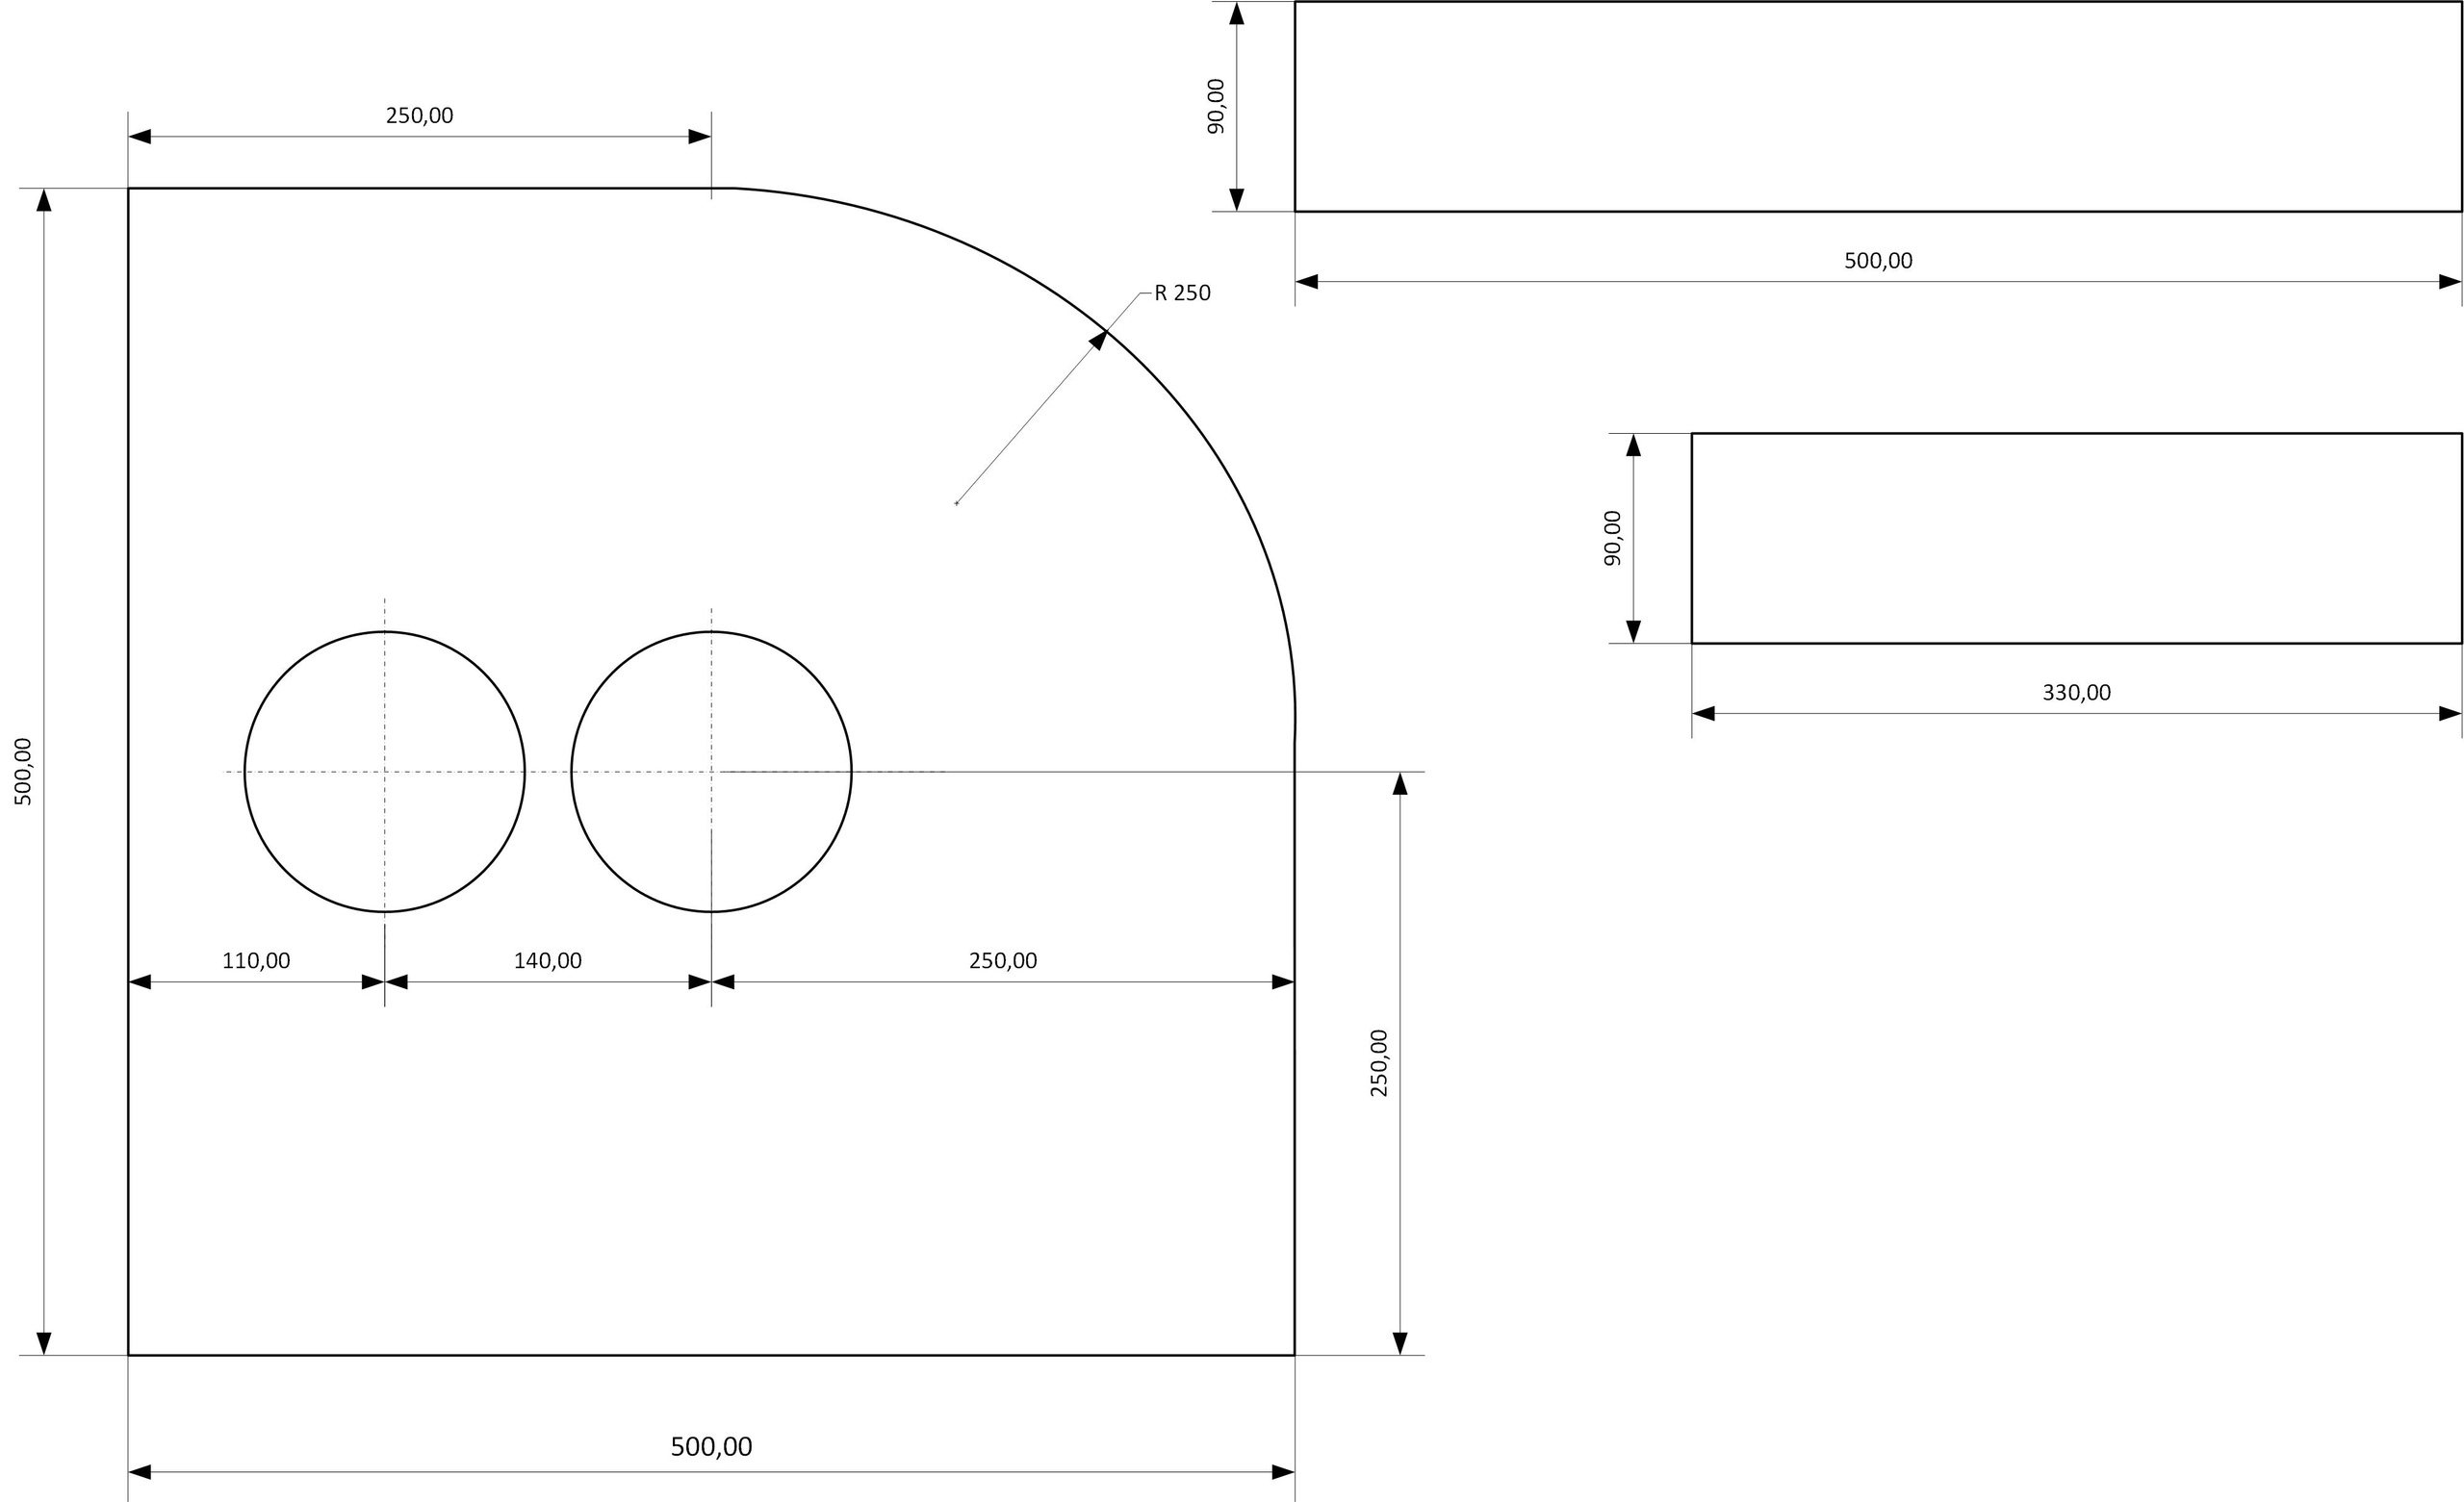
We saw it with a jigsaw, we decided to cut the whole sheet at once to get identical walls (9 pieces).
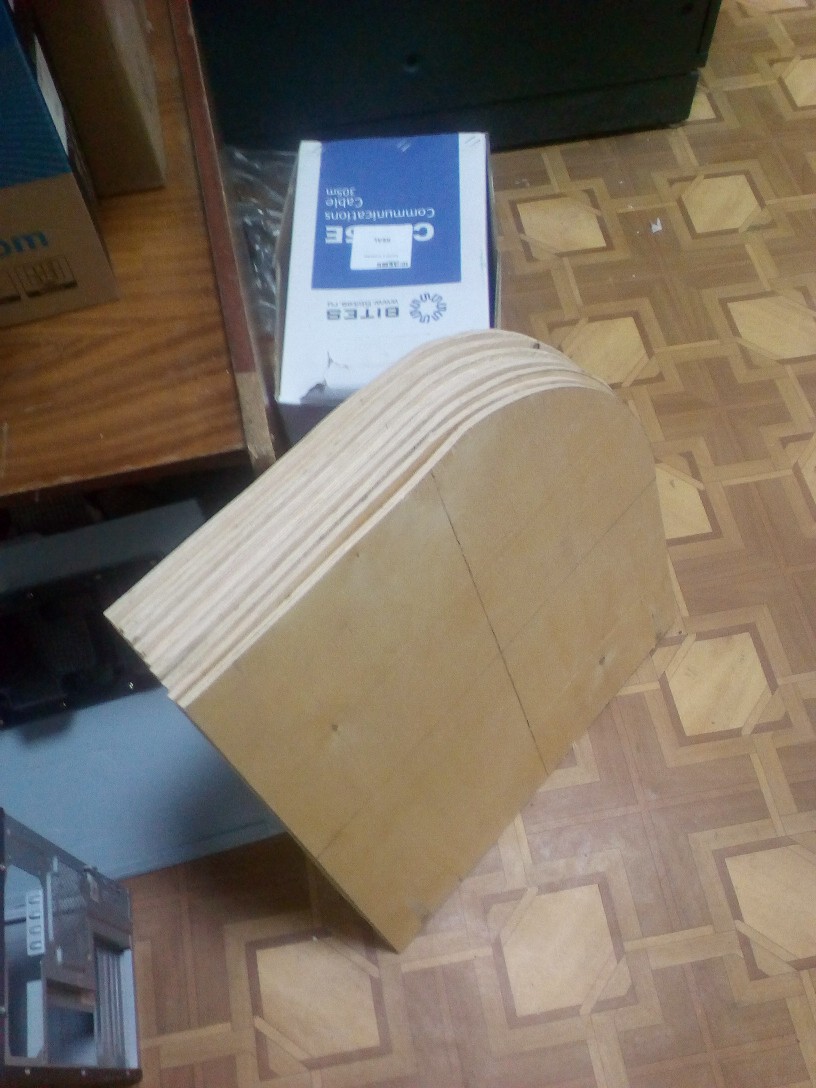
After sawing out the walls, first we align the grinder, then grind the machine so that they are the same. One wall fell out - too curve, leave for experiments. Otherwise, they flew a little in size, after leveling we got something about 496x496 mm. Not scary, but consider for the future.
We cut off the bottom shelf from the board, while we leave a width of 130 mm (like a board), then we will see how realistically it can be reduced (ideally up to 100 mm).
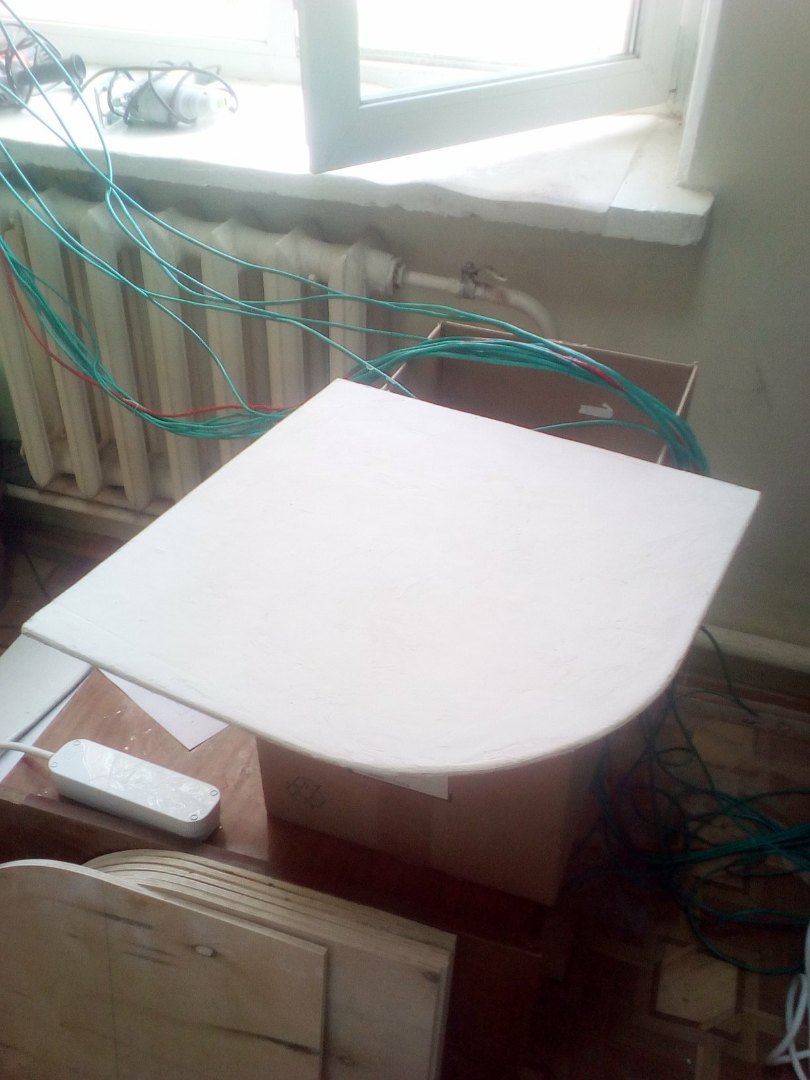
We immediately putty one wall, dry and grind it - we try to get an even smooth surface for painting. As for painting, I have already agreed with the master, will do it in the best possible way (side wall and lower shelf).
In the meantime, we will assemble a prototype of the case, so that everything works and at the same time think over the hardware and specify the dimensions.
So,
Part 1
Due to the large number of server components, it was decided to assemble a custom computer from them - a workstation. With a successful outcome, such computers need 6 - to replenish the computer class. For our purposes, this is a good option. It’s not really a game on it, but it will most likely be comfortable to work.
Since the server board has non-rectangular dimensions (form factor) of EATX unusual for a regular PC, after some thought, we decided to make our modding case with non-standard sizes, along the way we will experiment with materials and layout.
The hardware configuration is assumed as follows:
Motherboard: Supermicro X7DWU
Processors: 2 Xeon E5405
RAM: 8 x 2Gb DDR2 ECC FB-DIMM
Hard disk: SSD 240Gb Patriot, + optionally another, regular disk HDD. Although, due to the fact that workstations will be in a domain gigabit AD network, where there is a 15Tb basket under the file storage, putting something other than an SSD does not make much sense.
Video card: x16, low profile, with separate VGA. GT 730 2GB, DDR3
Power supply: ATX 500 W SVEN PU-500
First sketch of the case:
The idea is to make a thin standing case, with one transparent wall and backlight fans mounted on a transparent wall. A body with a large radius of rounding and "open" at the end (or closed with a mesh). All components are supposed to be attached to a second, opaque wall. Also, the ability to install “server” power supplies should be preserved, the cables should be as compact as possible, the dimensions should be sufficient to install various fans, etc.
I was inspired, including, by this picture:
Calculation of the power supply. For this motherboard, a PSU of 550 W is recommended, which is logical - 2 processors, 4 hard, 8 memory slots and a bunch of cooling turbines. Our configuration is somewhat weaker - we will only have SSDs, so I suggested that 500 watts would be enough.
But still,
let's calculate: 2 x Xeon E5405 = 2x 80 W = 160 W
8 x 2 GB DDR2 ECC = 8 x 5 = 40 W
Motherboard = 30 W
Video card GT 730 = 50 W
SSD drive = 5 W
Total, 500 W unit should enough with a good margin. You can figure it out here .
Important note - the unit must be suitable for the number of power connectors on the board. In other words, there should be enough connectors. However, due to the fact that we will not install a powerful video card, many PSUs are suitable (except for the cheapest).
One of the main questions that immediately appeared was cooling. In the server 1U package, 6 turbines are installed for this, which create a powerful stream that blows processor heatsinks and memory. Good thing, no doubt, but if this car is somewhere far away, outside the door. Better away. The noise level for the engine room is not the most critical thing, but we somehow do not want to sit near the take-off fighter. It was decided to put two 120 mm fans aimed at processors and memory, and monitor their heating in operation. If this is not enough, either add another stream or reconfigure the radiators. There was an idea to leave the server PSUs (they are dual), but it turned out to be not a fountain either, each of them also had 1 turbine installed ... in general, how can there be a backup option.
As scenery and cooling, several 120 mm fan models with green backlight were chosen, and a 90 mm fan can also be installed on the front of the case. The cables will be laid in a beautiful plastic braid.
With the choice of material, everything is also not very simple - plastic was originally supposed, but for experiments I could not find where to buy nearby, but there is plywood ... In general, we took plywood and a board, we will try something with them. After assembling the prototype, we will order one wall of glass (it is possible and plexiglass, but I would like the present). By the way, then I found in Kaluga a place where it would be possible to order parts from anything - sandwiches, plastics, etc., with cutting out on a coordinate machine.
But plywood is here, next to it, and then, you still need to think about it - dimensions, docking.
Fans left the order, something from China, ordered SSDs, video cards, and something else on the little things. Very useful was the financial assistance of the district administration and RONO through our CVR.
To work on the body, you also need a tool - a grinder, a grinder, a jigsaw, a drill and a bunch of all kinds of hardware that were bought during the process.
A drawing for sawing out the wall and the lower shelf (the upper one, but then they decided to refuse it):
We saw it with a jigsaw, we decided to cut the whole sheet at once to get identical walls (9 pieces).
After sawing out the walls, first we align the grinder, then grind the machine so that they are the same. One wall fell out - too curve, leave for experiments. Otherwise, they flew a little in size, after leveling we got something about 496x496 mm. Not scary, but consider for the future.
We cut off the bottom shelf from the board, while we leave a width of 130 mm (like a board), then we will see how realistically it can be reduced (ideally up to 100 mm).
We immediately putty one wall, dry and grind it - we try to get an even smooth surface for painting. As for painting, I have already agreed with the master, will do it in the best possible way (side wall and lower shelf).
In the meantime, we will assemble a prototype of the case, so that everything works and at the same time think over the hardware and specify the dimensions.