Gesture control with Intel Edison and Leap Motion
- Transfer
- Tutorial

In this article, we will discuss the combined use of the Intel Edison board and the Leap Motion controller to control LEDs using gestures.
Thanks to Intel, Intel Edison fell into my hands.

First I wrote a simple node.js program for Intel Edison that controlled the LED. Then I wondered if something could be done using the “Leap Motion” controller (I had a developer kit, version “alpha”).
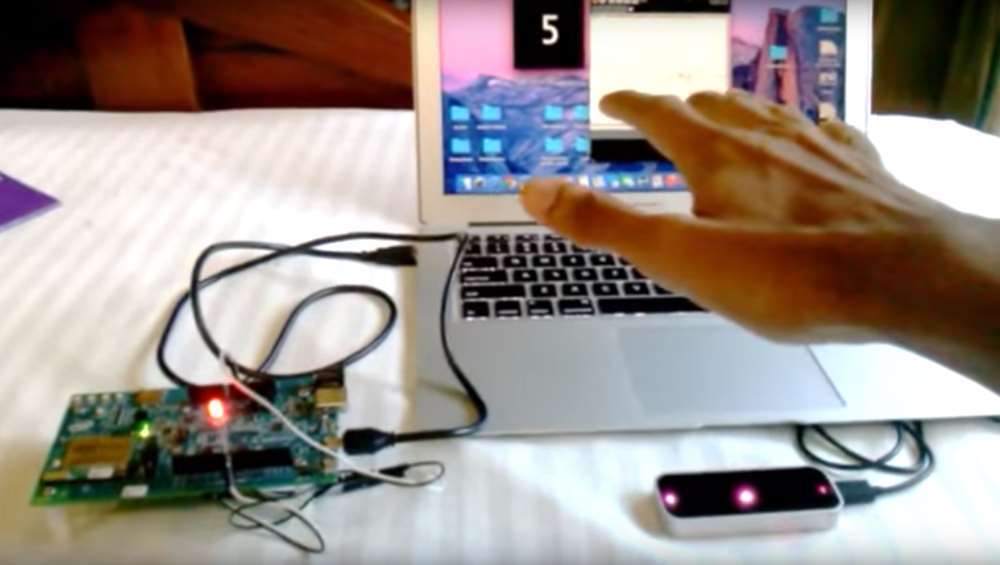
As a result, I was able to create a simple program for lighting the LED by waving my hand in front of the Leap Motion sensor.

In the next photo, you can notice the infrared LEDs on Leap Motion:

In this project, I connected the Leap Motion controller to the computer via USB and send the data to Intel Edison through a sketch in the Processing language.
An application runs on Intel Edison, it receives data and checks when the user's hand is in front of Leap Motion and lights up the LED.
So, let's start our project!
I assume that you have the latest firmware installed. If not, be sure to check how to do this on the Intel website.
Step 1. Connect the devices
Everything is simple here. It will require two USB cables.

So, the devices are connected.
Now you need to power up Intel Edison. To do this, you can choose one of two ways. (Note that I am using Intel Edison with an Arduino expansion board.)
1. Using an external power supply.
2. Using power from the USB port (You can see the instructions )
I prefer the second method.
Even if you connected Edison via the power supply, you still need to use a USB cable to connect via the serial port. Therefore, it is easier to immediately power Edison from a USB port.

Then you need to connect the Leap Motion controller, after installing the software for it.

Step 2. Connecting the LED to Intel Edison
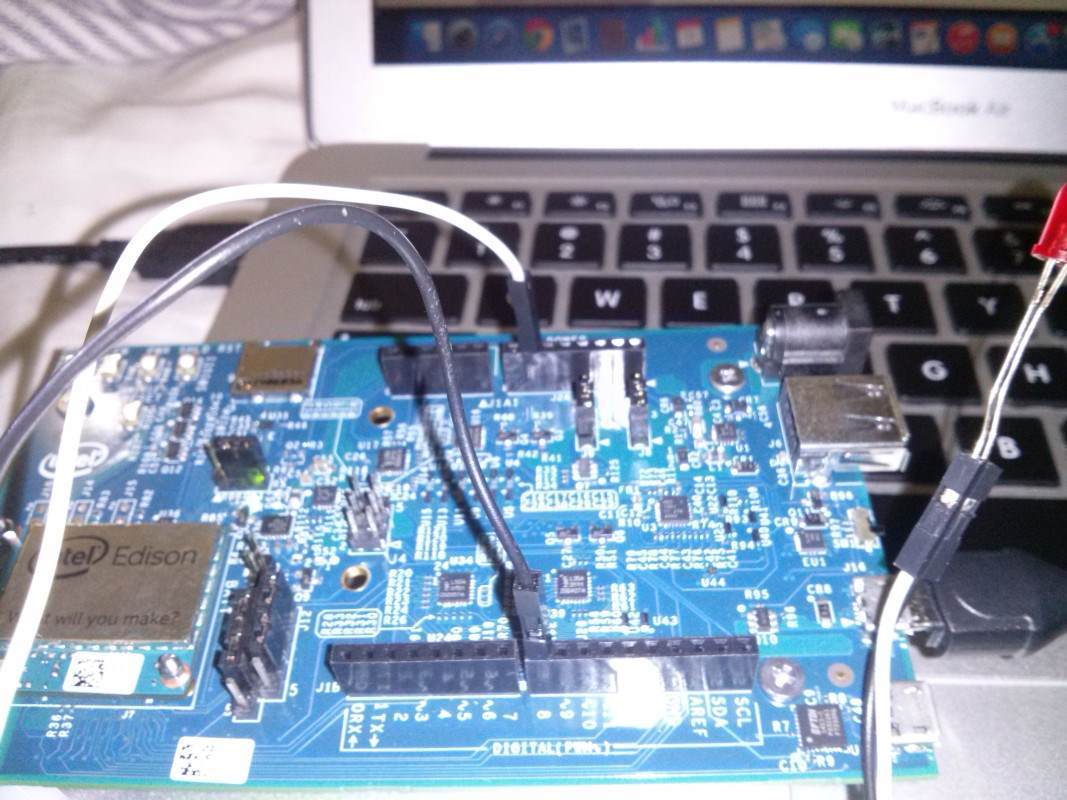
Connect a series-connected LED and a 300 ohm resistor to D8 and the GND common wire. ( note lane. In the original article, the resistor was not used, but I recommend doing this so as not to spoil the LED.)

Step 3. Download Arduino Sketch
Make sure you have the Arduino IDE development environment for Intel Edison installed. Select the correct board in the menu Tools -> Board -> Intel Edison:

Select the correct port in Tools -> Port:

Usually the name of the port to which Intel Edison is connected is /dev/cu.usbmodemxxxx ( approx. Lane This is for Mac, for Windows you will have the usual COM. You can see its number in the Device Manager.)
After completing the setup, upload the code to Intel Edison. If the previous steps were successful, then the Arduino IDE should show “Transfer complete”.
Step 4. Sketching on “Processing”
You need to install "Processing" on your computer, then run the next sketch. Notice that in the following code we send data to the serial port with the number “n”:
port = new Serial (this, Serial.list () [n], 115200);

To find out the serial port number, see how to do this in the image below:

Step 5. Try it!
Well, now with a wave of your hand, you can light the lamp with Intel Edison! Congratulations!
