Development of an Electrofocuser based on the Arduino Uno debug board, part 1
Formulation of the problem
There is an amateur telescope with a simple mechanical focusing device. Focusing is carried out by the rotation of the focuser wheel. The focusing procedure (especially for astrophotography) is very painful (even using a mask by Pavel Bakhtinov and special software for evaluating focus accuracy like DSLRFocus or BackyardEOS), because:
- It is very difficult to make the necessary effort with your hand and turn the wheel a really small angle with precise focus;
- Each touch of the focusing device causes the telescope to oscillate, which leads to a loss of time waiting until the oscillations subside and the result of the last iteration can be estimated (and the worse the mount, the longer this interval, the author had the pleasure to work with the mount, where the period of complete attenuation was ~ 20 seconds);
- The features of the focusing process described above virtually exclude focusing in dynamics: wheel rotation with simultaneous evaluation of the result. As a result, focusing is an iterative process that requires a lot of patience and a certain skill bordering on art.
Based on the foregoing, we pose the following task in a general form: it is necessary to connect an electric drive to the focusing device of the telescope, which will be controlled
- using the remote control;
- “Remotely” from a PC;
In fact, the device is required to be able to rotate the wheel axis of the focusing device in a given direction at a given speed (both parameters are set). Thus, the control panel must have at least two buttons (rotate clockwise and rotate counterclockwise) and a speed adjustment knob.
Disclaimer
I am not an engineer by education or occupation. And even more so, I am not a designer, mechanic or installer. In this case, it is a hobby that grew up around professional interest and curiosity. I do not pretend that this solution is optimal - it is quite possible that a professional will immediately notice some things that could be made easier. However, I guarantee that:
- this solution works;
- it can be repeated by anyone who knows how to use a soldering iron, screwdriver, screwdriver, file, tester and at the same time is an experienced PC user;
There may be errors in the program text, device diagram, and specifications; something may not be done optimally - I will gladly accept criticism and suggestions.
This development (source codes, scheme, materials) can be used by anyone at will for personal, non-commercial purposes. The publication of materials is possible with reference to the source material and attribution.
This project to implement a focuser on the arduino platform is far from the first, at least three more can be found on the network:
- http://sourceforge.net/projects/sglfocuser/
- https://github.com/ejholmes/Arduino-Focuser
- https://github.com/sirJolo/ascom-jolo-focuser
The first two are not developed or supported, but the last one is very interesting and appeared after I completed my development - in June 2014.
What happened
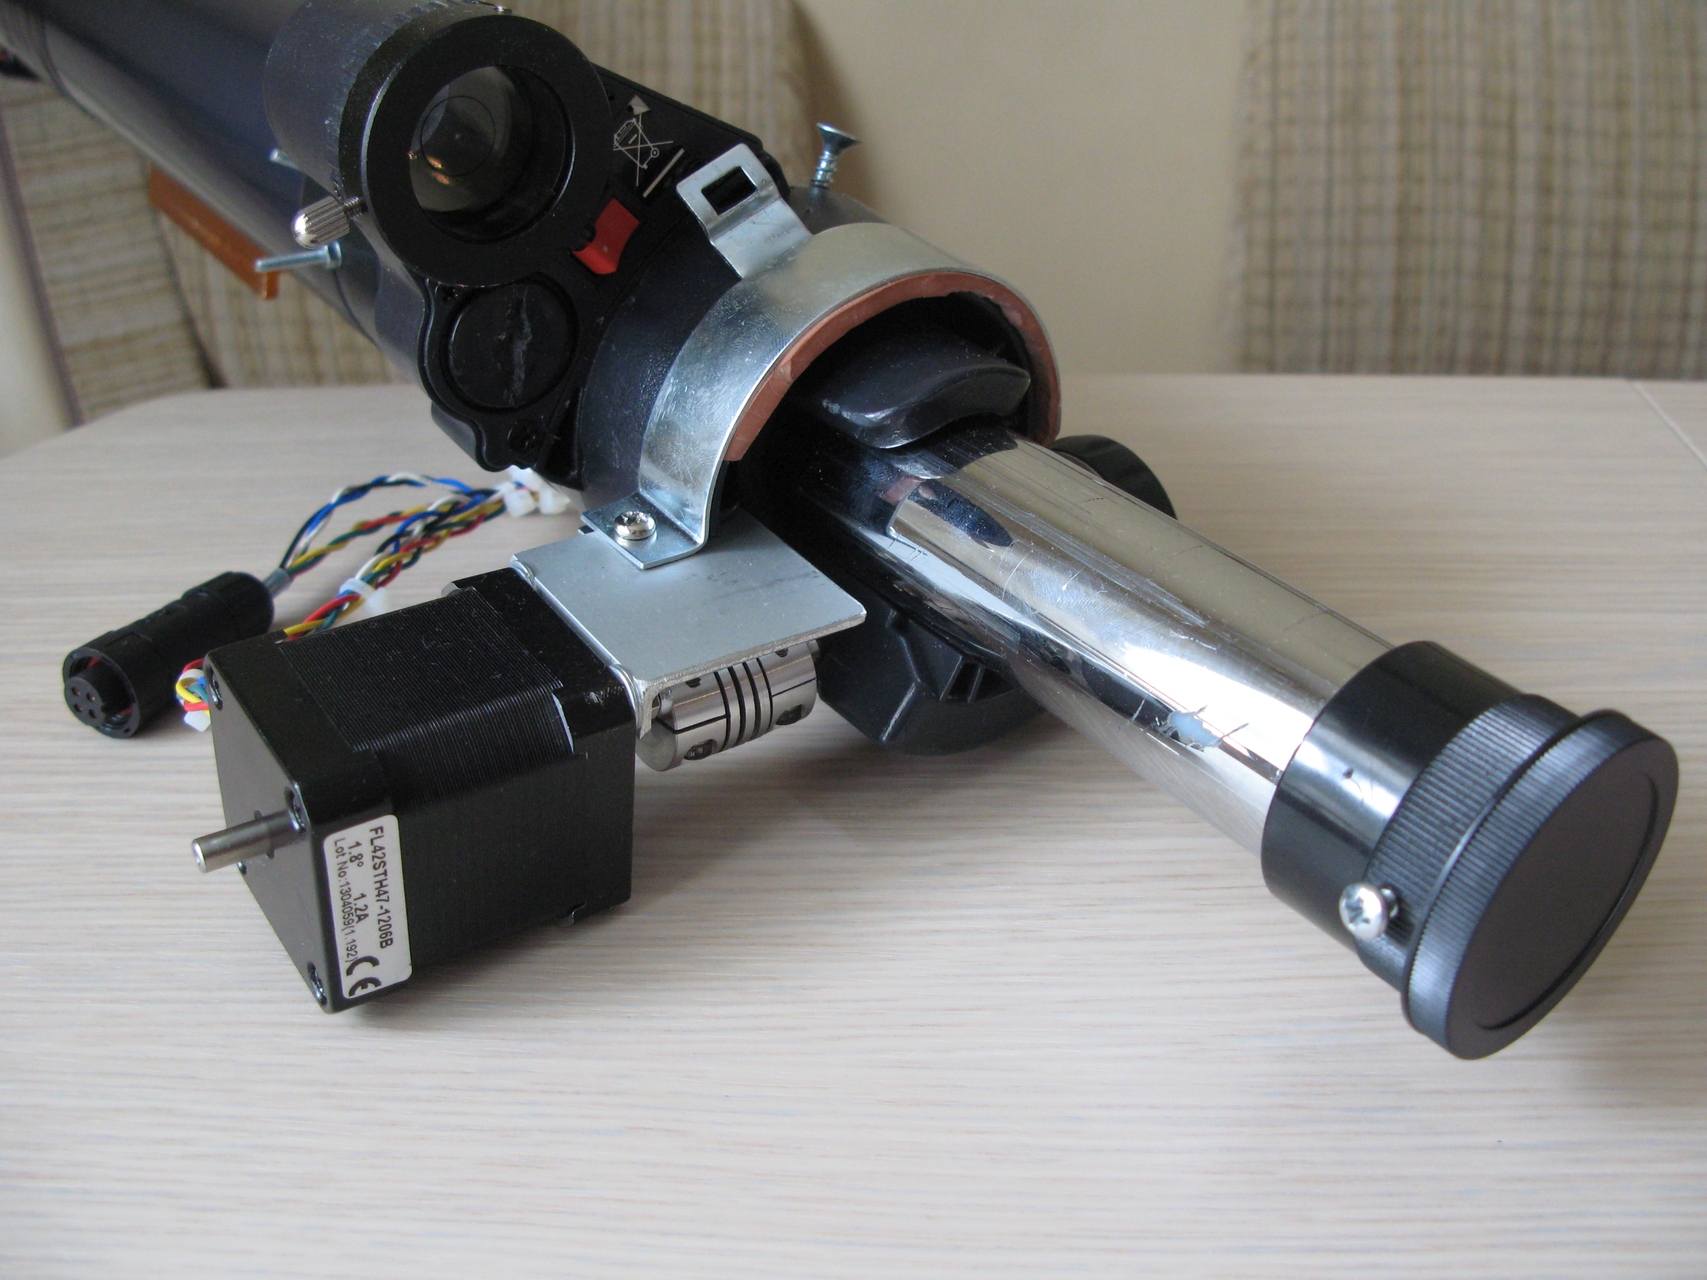
As a result, a stepper motor was selected and mounted on the focusing device, and a SD control device was also developed and software for it was written:
- Stepping motor Fulling Motor FL42STH47-0806M, 12V, 0.8A per phase,
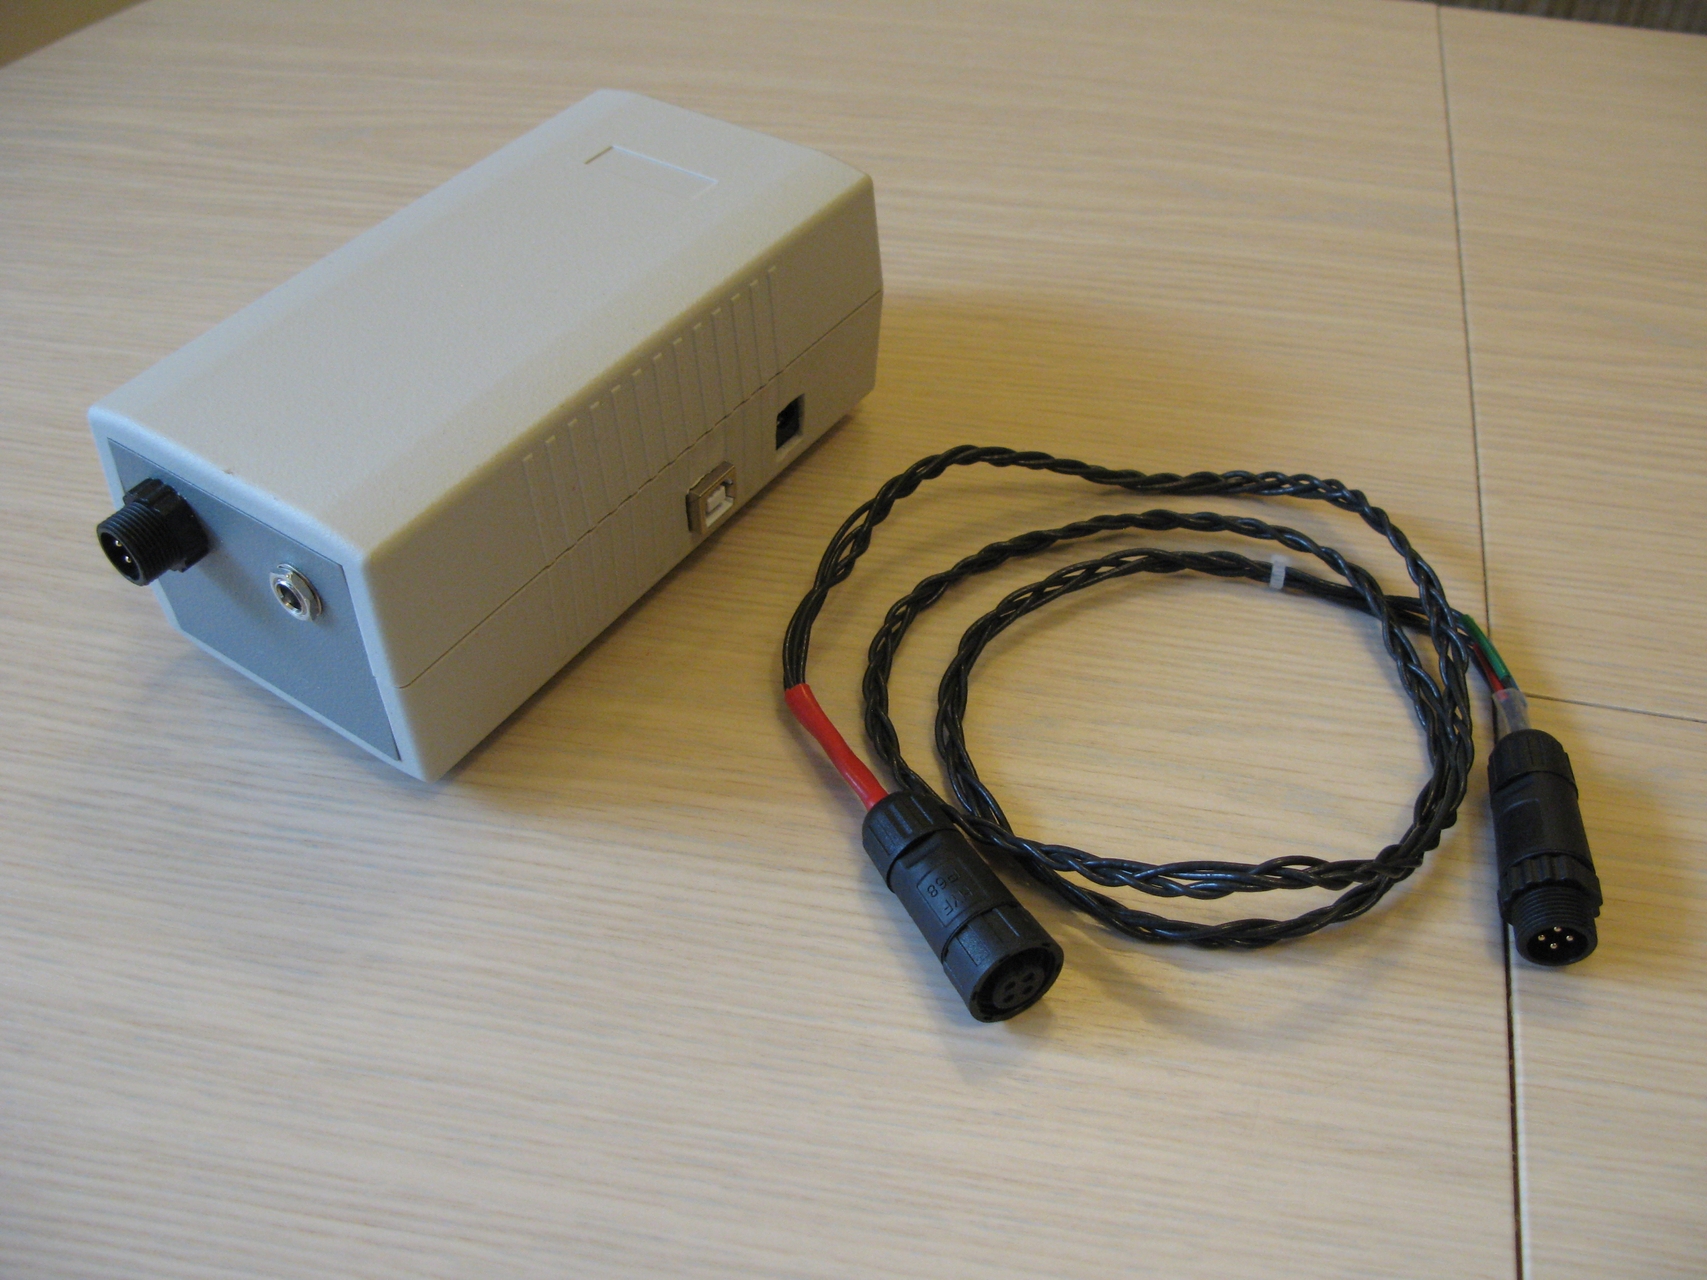
- Focuser control unit based on the debug board of the Arduino Uno microcontroller and the Polulu A4988 stepper motor driver in an industrial case, power supply - 12V, 25 watts
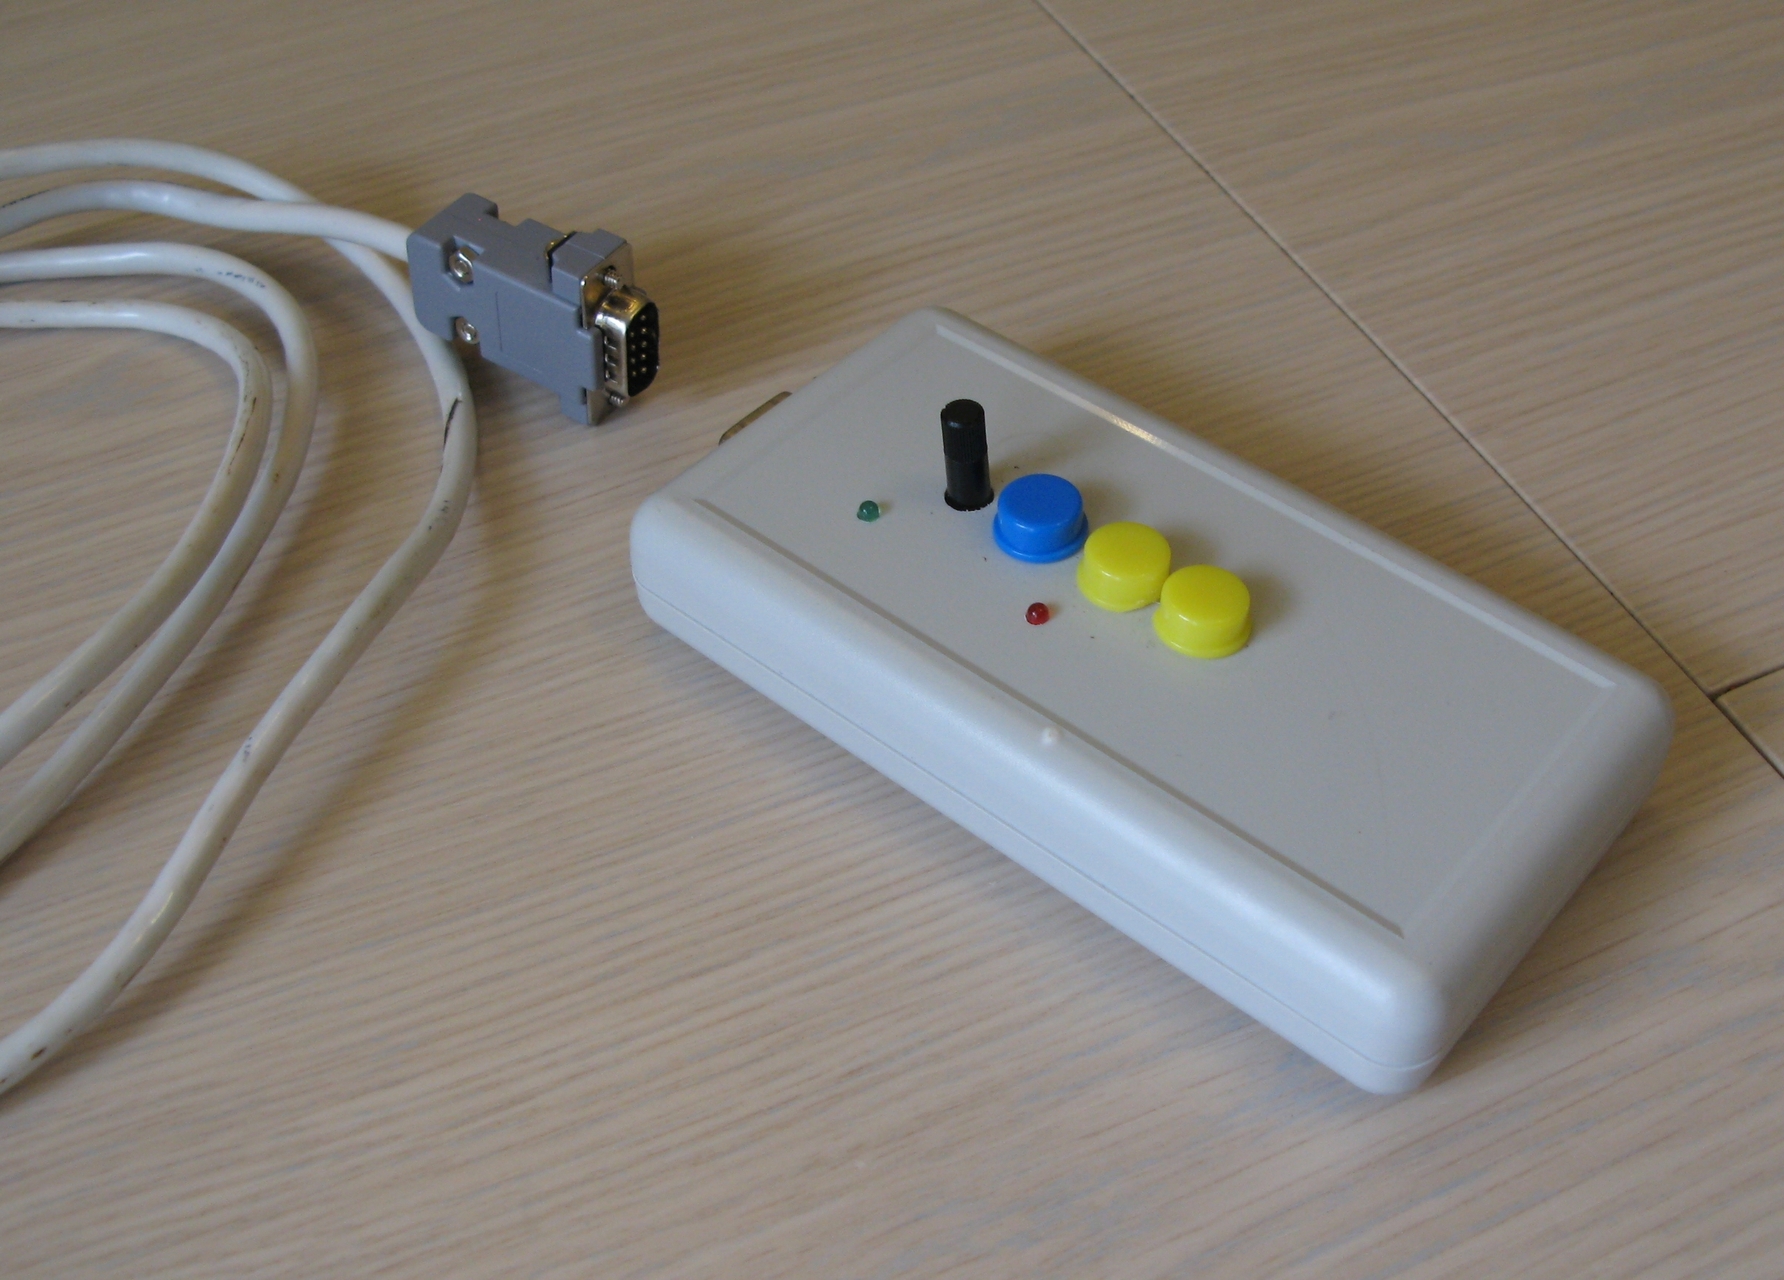
- The focuser control panel, for working near the telescope without using a PC, has
- two diggers of focuser rotation (yellow, continuous rotation at a given speed while the button is pressed);
- button to remove voltage from the engine (blue, in case of overheating and in order to reduce power consumption);
- speed adjustment knob;
- Focuser control program from a PC (the control unit is connected to the PC via USB, the assembled version of Focuser Control Panel (for Windows) is available here
Schematic diagram of the control unit and remote control:

The microcontroller firmware is available on GitHub , as well as the source code of the control panel.
The specification for all components is available here . Components were purchased mainly in Russian online stores, prices are approximate. When ordering parts in China, the cost can be reduced by 2-3 times.
Ideas for the future
ASCOM driver
To automate the process of fine focusing, it would be nice to use ready-made solutions like Backyard EOS. To do this, you need an ASCOM driver, which I plan to tackle a bit later.
Microfocus
When using a Craiford focuser with a microfocus knob, the solution may differ significantly, although first you need to establish exactly whether the game is worth the candle? When using a microstep, it is possible to rotate the axis of the foxer by an angle of about 3-4 '.
Replaceable filters
The next desire that arises after the mechanization of the focuser is the mechanization of the eyepiece and filter wheels. This task has much more complex mechanics and is beyond the scope of this project. However, there are projects that solve this problem. For example: ivastro.e3w.ru/FWF/index.htm
Wireless remote
There are various solutions that get rid of wires. Or at least to minimize. There is a ready-made solution of the type IR remote control + SD control unit. I refused them, since in my case they have a number of drawbacks. For instance:
- IR remote control requires direct visibility, which is not always convenient;
- WiFi and Bluetooth modules for Arduino are quite expensive;
- For the remote control, you could use the I2C controller, reducing the number of wires to 4 and use a thin twisted pair cable, but a board with an I2C controller and peripherals will cost about $ 10.
- The ability to remember the position is very useful when changing eyepieces, with ready-made solutions it can be difficult to implement this function
Why is this done? How to make me?
A person who wants to use my experience and do something like this may reasonably have questions about how to choose an engine, what kind of power supply is needed, etc. I will share the experience, but due to the volume of material I will spread it in parts.
UPD: To be continued .
UPD2: the problem with the engine twitching at startup was decided trivially - if possible, do not use the 13th pin of the Arduino. The scheme is fixed, the firmware code on github has been updated.