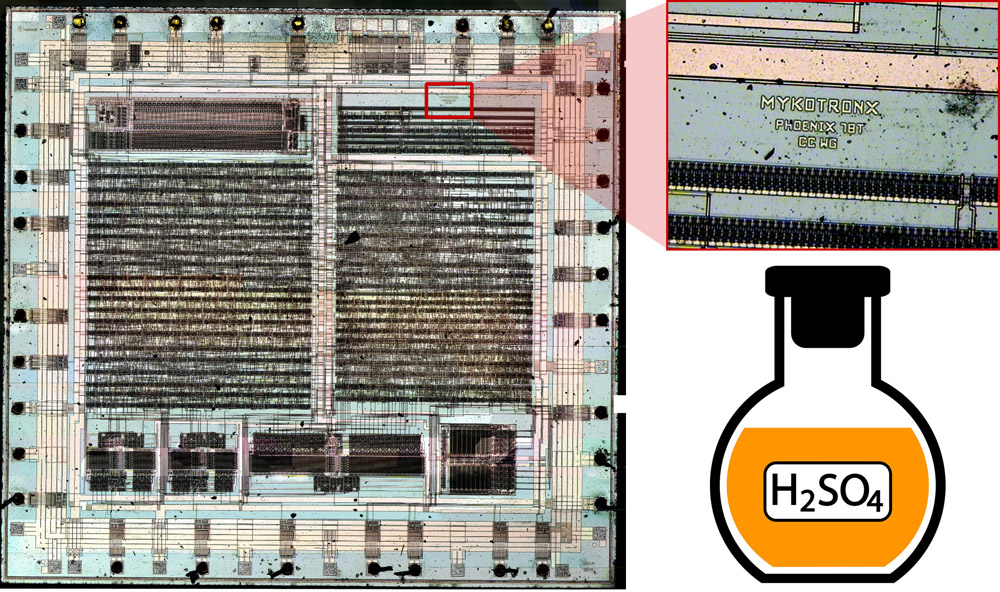
Chemistry lesson: how to expose a microchip's crystal for photography
Introduction
If you have dabbled into microchip photographing before, then this article will probably not offer much to you. But if you want to get into it, but don’t know where to start, then it’s exactly for you.
Before we start, a fair warning: while the procedure is quite entertaining, at first it’ll probably be physically painful. The chemicals used during the process are toxic, so please handle them carefully – that way it’ll still hurt, but less so. Also, if you have even a slight amount of common sense, conduct the procedure in a fully-equipped chemical laboratory under supervision of trained professionals: we’ve had to deal with people who tried to do it at home immediately after reading the guide. And finally: if you don’t know whether you need to pour acid into water or water into acid without a Google search and don’t realize what this lack of knowledge will entail – stop reading this immediately and go to a chemistry 101 course in a local college or something.
Equipment
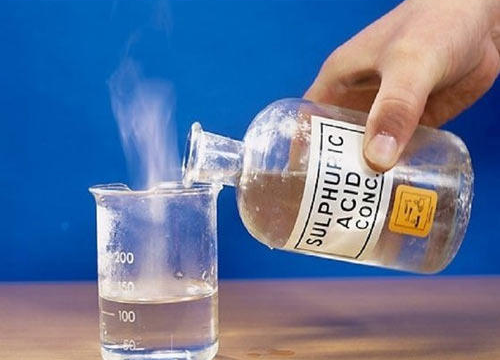
At the absolute minimum, you will need a highly concentrated nitric acid (HNO3) and sulphuric acid (H2SO4). How legal they are to purchase varies from country to country. If you live in a country where the government pays special attention to protecting the environment, you’ll need different components (I hear the Germans use rosin to good results). Aside from these two core acids, you’ll need isopropyl alcohol and acetone as solvents. You’ll also need something to store the chemicals in. Since the procedure is quite simple, you’ll only need a couple of test tubes, glasses and a tripod with a ring to hold the tube.
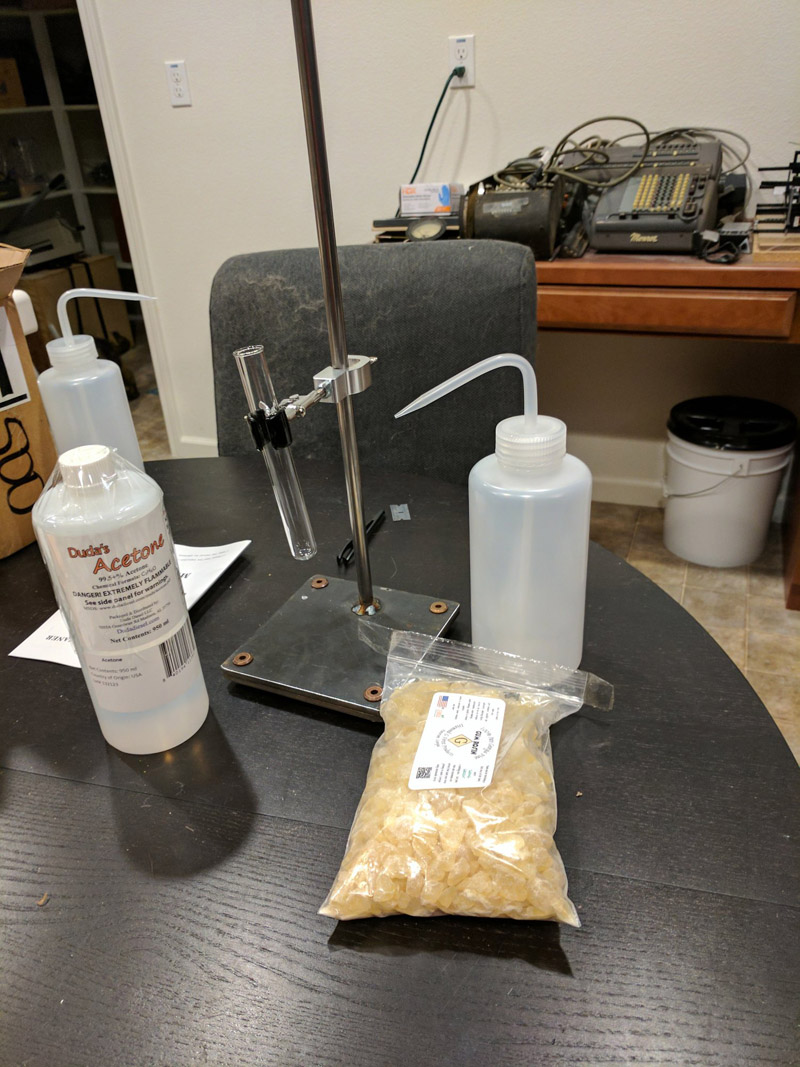
- When purchasing a used tripod, remember that the metal ring shouldn’t touch the glass of the tube; some used equipment might lack the rubber (or cloth) layer that protects the tube from scratches
- Acids you’re going to work with might enter destructive reactions with metal, so get some acid-resistant tweezers. From our experience, tweezers tend to get lost or bent, so buy a dozen of them to solve that problem forever.
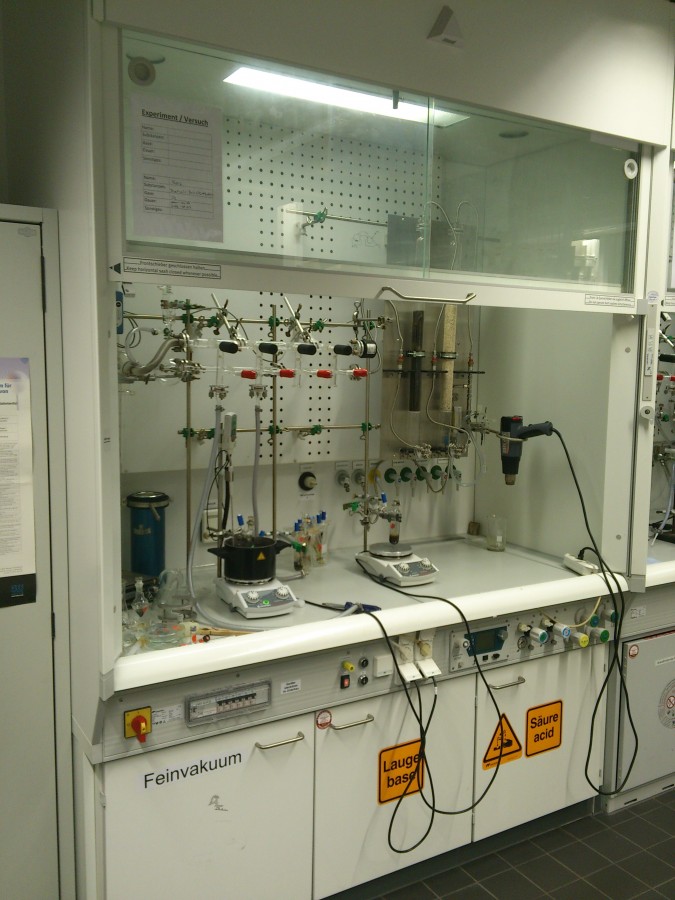
- Since acid gas — especially from nitric acid – is extremely toxic, you’ll need an exhaust hood that will pull the gas emanating out of the tube as you heat it up out of the facility.
- As a convenient indicator of how high the concentration of the acid gas went, use thermal paper that plane or train tickets are commonly made of. When in contact with acid gas, thermal paper turns either black or red. A plane ticket hanging slightly above the tube will let you know if the acid gas is produced a bit too quickly.
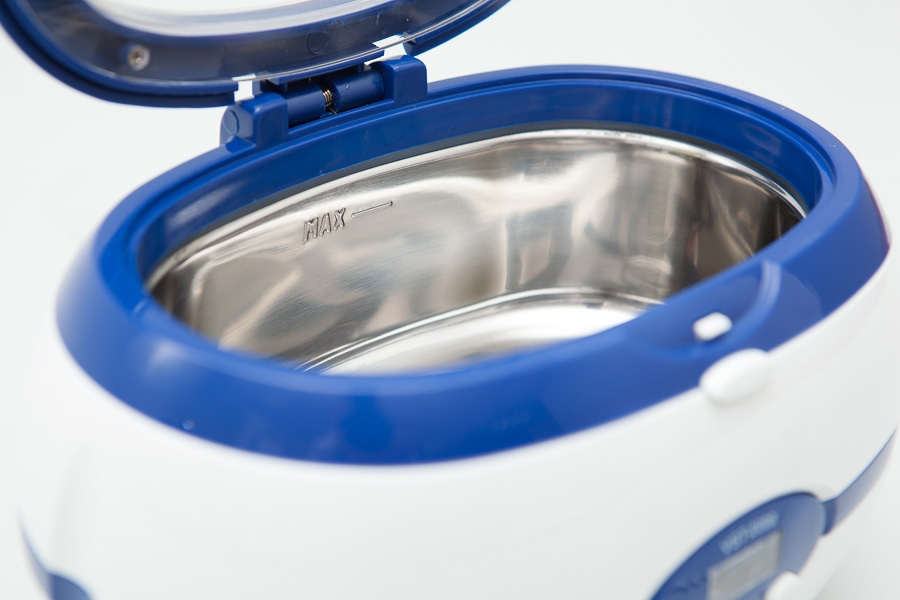
- To clean the surface of the microchip with a solvent, you could realistically just use a toothbrush, but I recommend ultrasound containers. You could get them rather cheaply from a local jeweler. But make sure that your solvent doesn’t also dissolve the plastic parts of these containers.
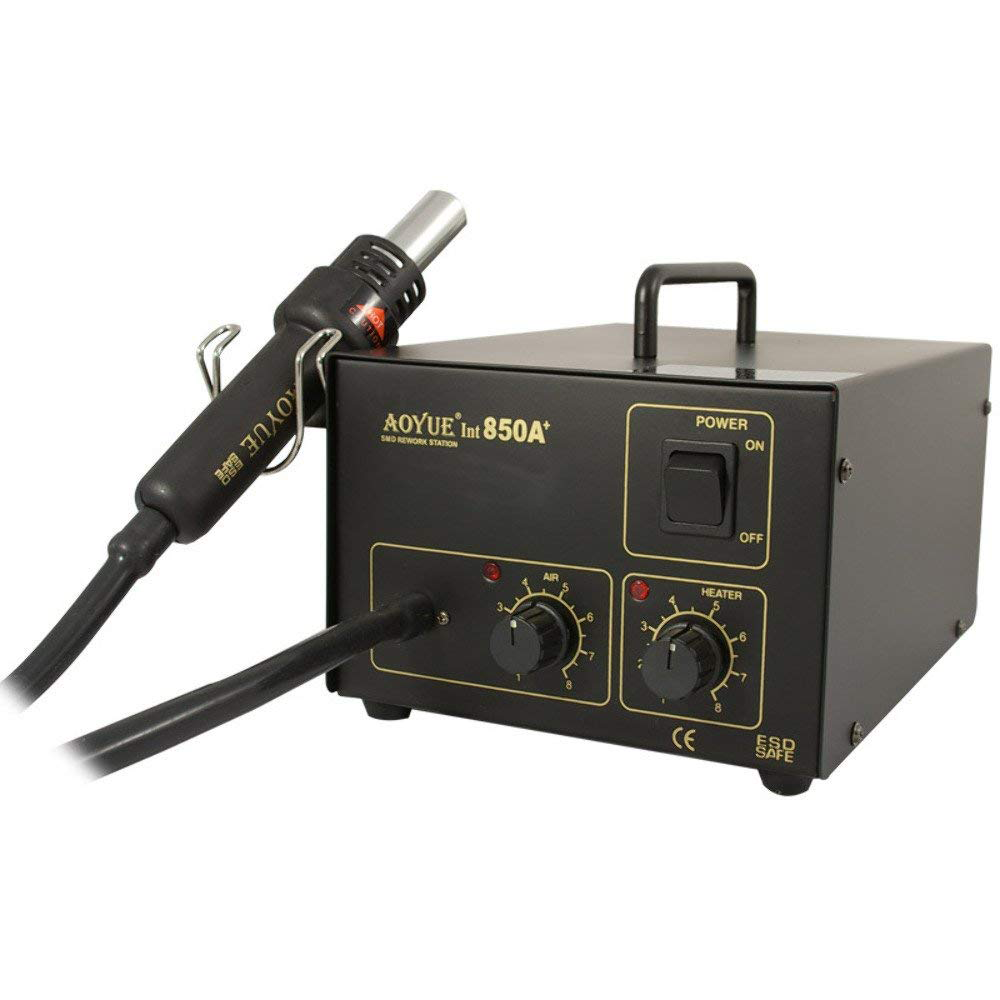
- And finally, you’ll need a source of adjustable heat. You’ve probably already got a Bunsen burner ready, but it’s completely unfit for what we’re about to do. Instead use a cheap soldering station made to work with SMDs: surface-mounted circuit boards. An Aoyue 850A is a nice example. By adjusting the air stream regulator of the heat gun near the maximum and slowly getting its temperature up, you could heat up the tube to the necessary temperature and then hold it there.
Chemical procedure
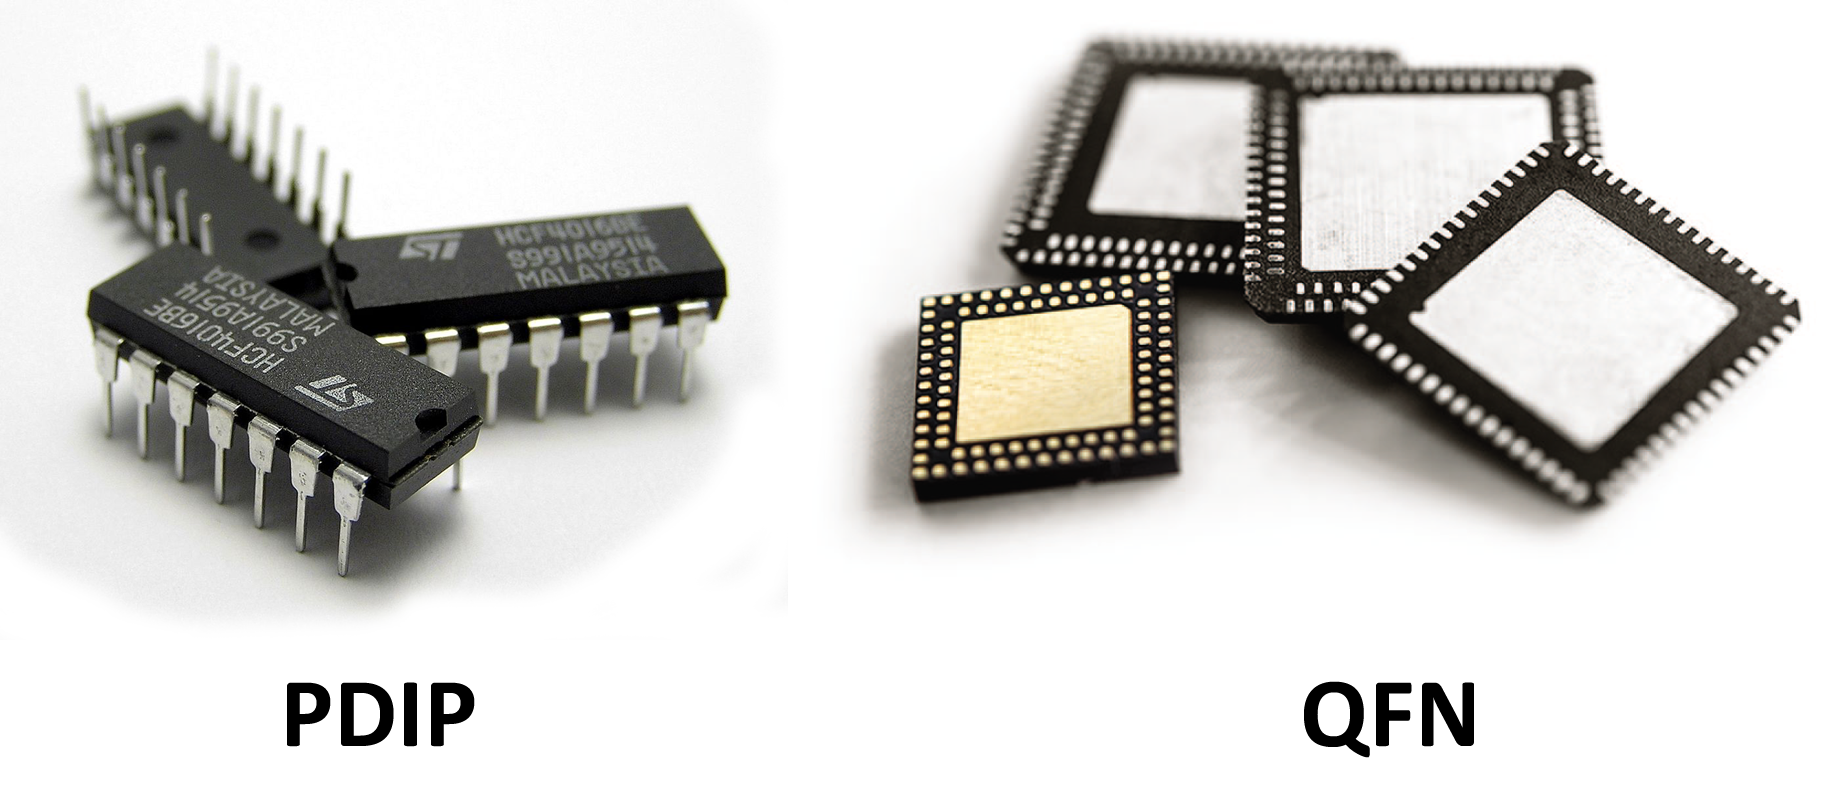
Your microchip should be the smallest of what’s available on the market. For example, Texas Instruments MSP430F2012 comes in two form-factors: PDIP (Plastic Dual Inline Package, plastic casing with two rows of pins) and QFN (Quad Flat No-leads, a square case with no pins). Even though the procedure we’re describing applies to both form-factors, QFN is preferable, since it’s a lot smaller and there’s less plastic (that would need to get dissolved anyway), which means we’ll need less nitric acid to get to the crystal.
- Start by connecting the ring holding the test tube to the tripod and point the heat gun slightly below the bottom of the tube – but not fire it yet.
- Place the chip into a tube with enough nitric acid to completely submerge the chip. You could also add a drip of sulphuric acid if you want (but not too much, or else it’ll dissolve not just the plastic, but the actual circuitry as well). You’ll quickly learn to do this in the short period of time while the glass is still cold (for the purpose of self-preservation, since you’ll very quickly and painfully find out that cold glass looks exactly like hot glass).
- Place the tube into the tripod. The tube should be slightly inclined, lower part towards you – so the occasional eruptions of boiling acid would fire away from your face.
- So, you now have an acid-covered chip. Now configure the soldering station so that the air stream coming out of the heat gun is fast, but not heated. Slowly increase the temperature, taking note of the acid gas coming out of the tube. The idea is to find the temperature where the acid is boiling intensely, but the gases don’t go outside the tube,
- A laser pointer pointed at the tube will show you the exact height of the gas stream, since, unlike clean air, acid gases will be illuminated by a laser beam.
- If you overheat the tube, the acid gases will pour outside, filling either the exhaust hood or the lab. In the latter case, all metals inside the lab will start to rot, your lungs will start to burn, and fire alarms will go off. Don’t do that.
- As the chip is boiling within the nitric acid, its case will gradually change color. It should continue until either the acid starts to dissolve the crystal itself, or its dissolving abilities run out.
- You could notice that the acid itself will also change color. HNO3 becomes either green or blue after dissolving lead – and it signals that its ability to dissolve plastic has weakened. After the acid “fizzled”, let the tube cool down and pour its contents into an empty jar.
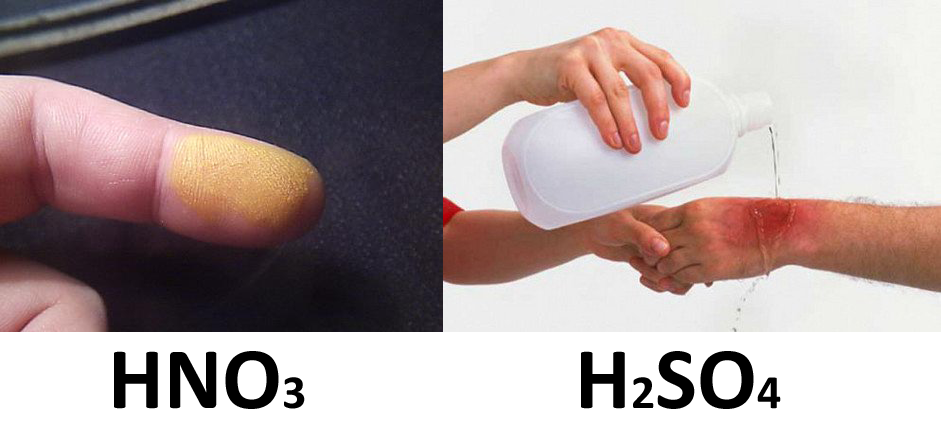
- At this point the acid isn’t strong enough to dissolve the chip’s case — but still plenty strong enough to dissolve your skin. HNO3 burns initially don’t hurt that much, so you might not even realize it unless you notice a yellow spot on your skin, which will dissolve in about a week or so. Sometimes you can feel it more like an itch and not a burn, but still: if a spot on your hand starts to itch, run to the water tap immediately. H2SO4, meanwhile, is a lot more aggressive. When it makes contact with skin, it’ll start to hurt acutely and get covered with red rash.
- So, now that you know that you shouldn’t put fingers into an acid-filled tube, use the tweezers to remove the chip’s crystal from the tube and drop it into another jar – with acetone. Then put this jar into an ultrasound container for a couple of minutes.
- At this point the crystal is almost completely exposed, aside from some dirt. But if the chip you’re working on is large, one nitric acid session might not be enough and the crystal will remain covered. If that’s the case, repeat the procedure until there’s only dirt remaining on the crystal. Then, before taking the photo, the crystal should take an H2SO4 bath that will clean off the last remaining bits of dirt.
- These two acids vary significantly in their behaviour. You could notice that the chip behaves a lot differently while submerged in H2SO4 than in HNO3. H2SO4 has a higher boiling temperature than HNO3, but it dissolved plastic rather well even below its boiling point. You could also notice that H2SO4 doesn’t color the case, but dissolves it and turns black at the same time, which makes it harder to see the crystal, and thus realize whether you should remove it or not.
- After an H2SO4 bath, leave the crystal in the ultrasound container for a couple more minutes. Now it’s ready for a photo session.
Photo equipment
Now that you have an exposed crystal, it’s time to take a picture. For that, you would need a metallographic microscope – the one that emanates reflective light, and not transmitted.
- To take a picture of a microchip crystal, either buy a special microscope camera, or use a digital professional camera. Both options have their advantages, but “microscope cameras” often turn out to be the cheapest of the cheap webcams with buggy software that only works for Windows, so I’ll recommend using a normal digital camera.
- Whatever camera you choose, you won’t manage to capture the entire chip in one picture. You would need to take multiple shots and then stitch them together. The easiest way to do that is to use software for creating panoramic shots.
- For the best result, fragments of the picture should overlap by about a third with neighboring shots.
- After you shoot the entire chip, transfer the images to a computer with enough RAM and upload the images to Hugin – a utility for creating panoramic images. Among other useful features, it also does some error correction, assuming there isn’t too many errors. Hugin does everything it can to produce a smooth shot. In the end, it outputs either a perfect shot or a jumbled mess. If the mess happens because of a small error, you could fix it within the application. But if the errors are large enough, like insufficient overlap or a bad focus – you would need to conduct another photo session. The following image represents the full photo of the crystal from the Clipper chip, created using Hugin.
