How to make a solar flashlight do it yourself (part 2)
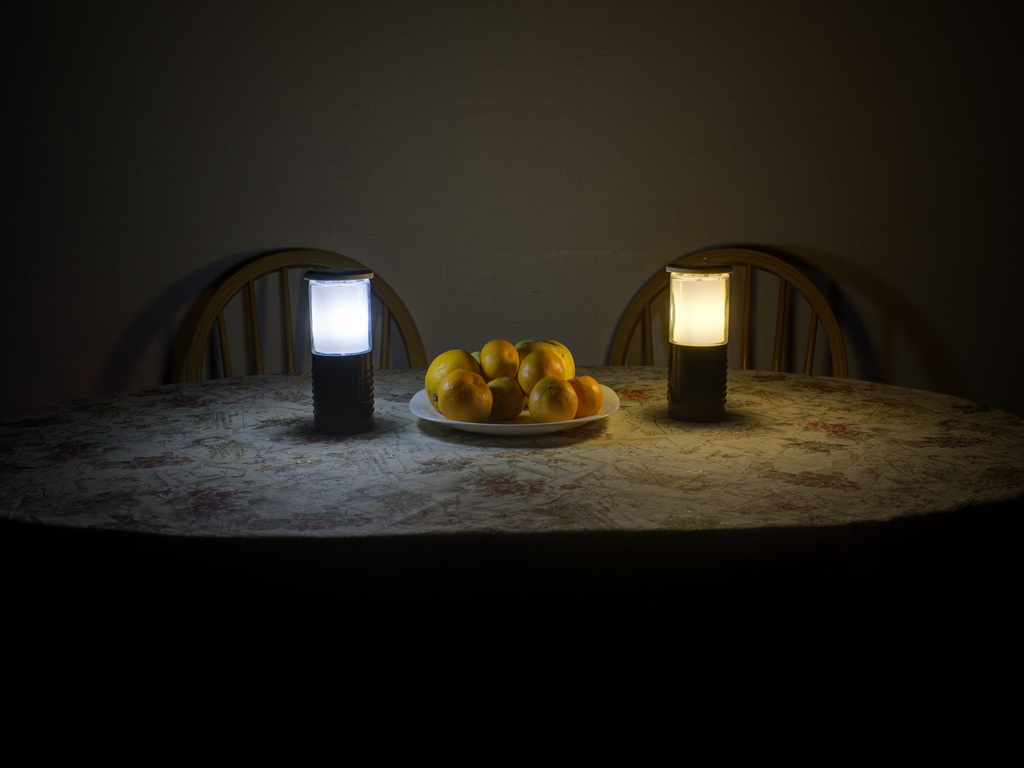
In the previous article, the nuances of the assembly of classic solar lanterns on a column were considered. In this article, I want to share my experience in assembling tabletop solar lanterns — nightlights and single-piece, one can say “pathetic” solar lanterns based on ready-made or crystal ceiling lamps.
Solar powered lanterns - nightlights
The reason for the appearance of these lanterns was the need to highlight the washstand under a spreading apple tree, where it is impossible to put an ordinary solar torch out of the shadows behind the shadows. Of course, as an option, it could have been put there only for the night, but without a column they could not be reliably installed, they always strive to roll away somewhere, so the idea arose to make a small steady flashlight with a flat base. In the morning it is taken out to be charged on the sun, and in the evening it is put in place. In the photo, the progenitor of my desktop solar lanterns "Today":

In the evening, they can also light up the table outdoors if the party is delayed, or use it as a nightlight:
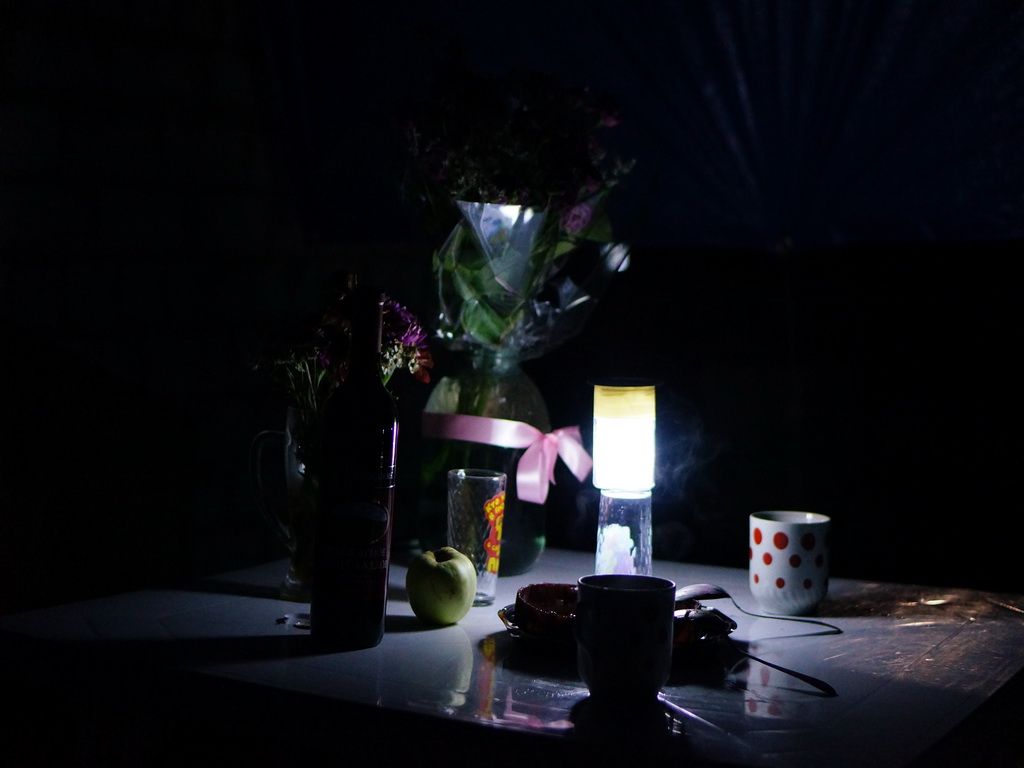
The idea took root and “Today” had successors, deprived of its shortcomings in the form of low ceiling position, because for normal lighting of the table it had to constantly put some kind of stand, for example a glass like in the photo above. Flashlights "Jardine" (left) and "Grand" (right):

Due to the height and good "catchiness", these two flashlights turned out to be much more convenient and practical and sometimes literally save, because by law of meanness, electricity in the summer at the dacha is sometimes turned off at the most inappropriate moment . The lanterns are made of jars from the instant coffee of the same name (this is not an advertisement for coffee brands, these jars were the first to come in hand and you can use any suitable ones instead):

Slightly heated remove stickers. In the flashlight "Grand" solar panel is pasted on top of a plastic jar lid. Before gluing the knife from the top cover, cut off the protruding inscription and thoughtfully, for example with the aid of an awl, scratch it in order to improve the adhesion of the surface to the glue:
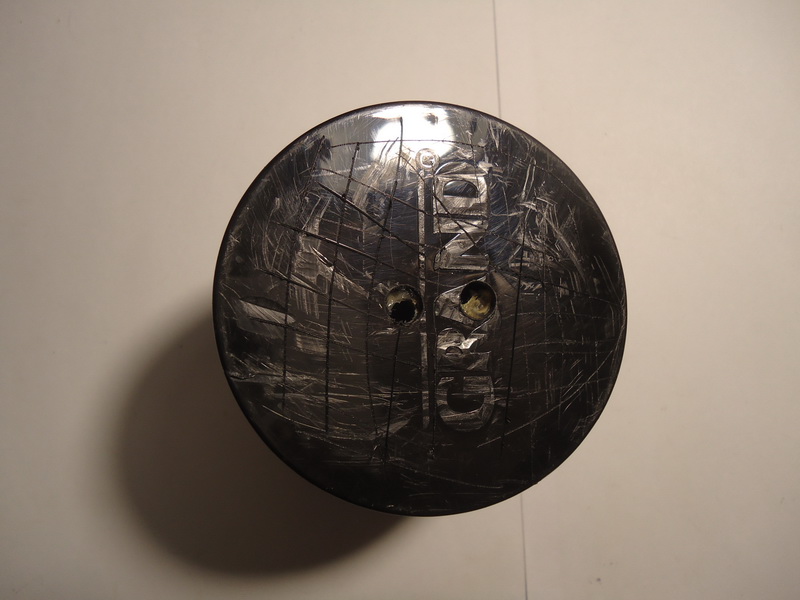
On the reverse side, a plastic base with a diameter of about 35 mm and about 5 millimeters is glued to the cover. With the help of small self-tapping screws, an attachment bracket for the battery, cut out of roofing iron, is attached to it, and a PVC plastic tube with a diameter of 4-5 mm with LEDs mounted on it is
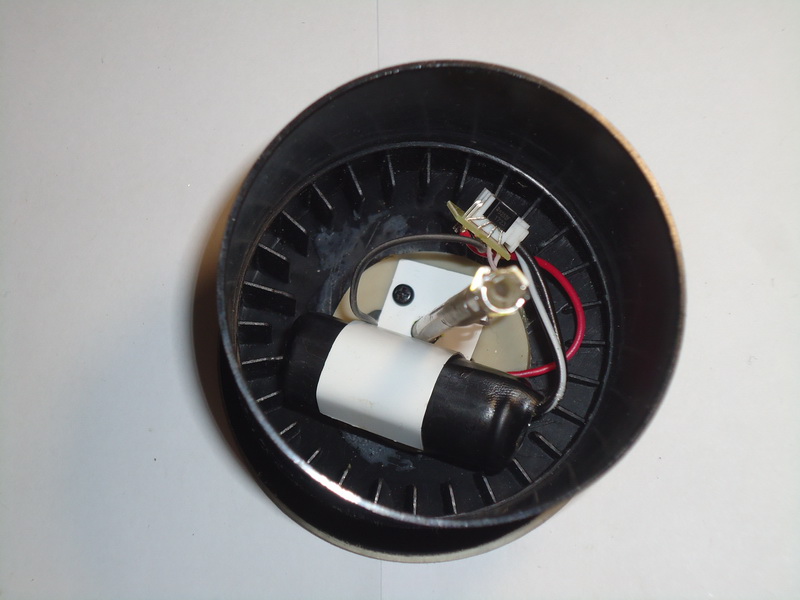
glued into the hole in the center of the base: Matting with a white matte film wrapped in a ring and fixed with transparent tape:

Flashlight "Jardine" is assembled in a similar way, to the contrary, in the bottom of the ceiling we drill three holes with a diameter of 6 to 8 millimeters:
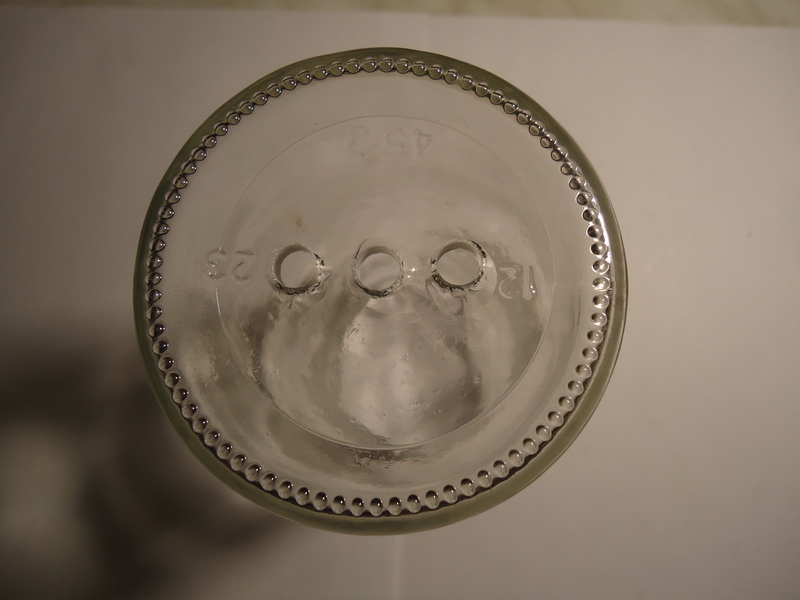
And using a 4 mm stud and a nut with a washer, we fix the base with the solar battery installed on it to the ceiling. The joint between the base of the solar panel and the canopy is protected from water ingress using a transparent sealant (The process of assembling the base for a solar cell and the technology of drilling holes in glass are completely similar to the one described in the article How to make a solar flashlight with your own hands (part 1) ). A PVC tube with mounted LEDs of 4-5 mm in diameter is attached to the hairpin and fastened with an M4 nut from below. The lid must make holes for draining rainwater and condensate, the electronics board and battery are located on its bottom:

The plafond is matted using a white matte film similarly to the “Grand”

torch : In the process of using these lanterns, it turned out that the solar panels are very sensitive to face shocks, the result in the photographs: The
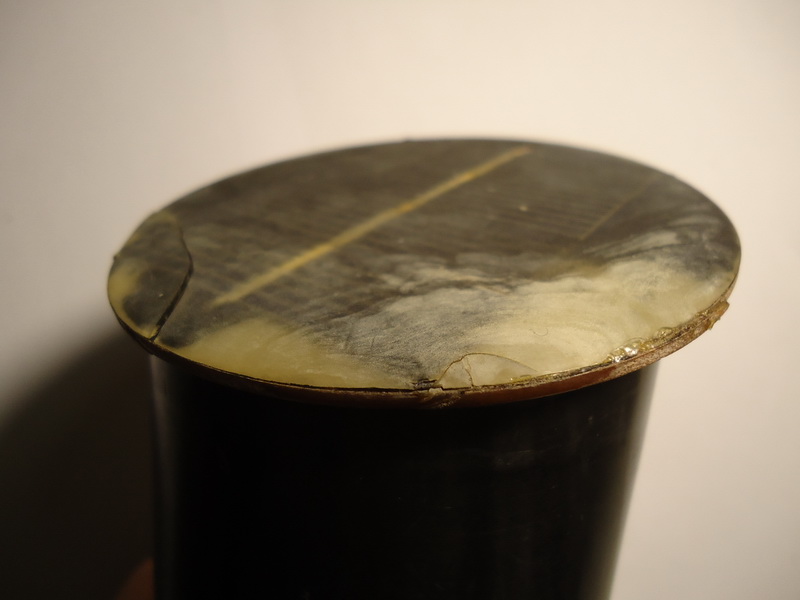
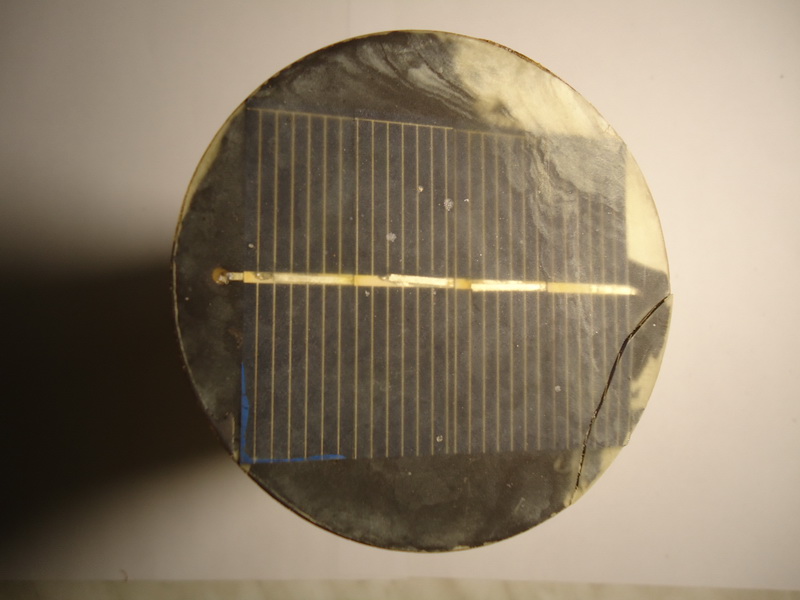
transparent compound from the strikes begins to peel off from the board - the base of the solar panel made of sheet glass. , and the corners of square solar panels are even more defenseless before the blows, which are generally uncommon, blown away by the wind, or someone stumbled without noticing, etc., actually, therefore, in solar panels m oh their flashlights and plastic protective bases appeared.
"Pathos", or piece solar lanterns on the basis of finished lampshades
Why precisely “pathos”? The fact is that ready-made ceiling lamps for chandeliers, wall lamps cost from 200 rubles and more and this significantly increases the total cost of such solar lanterns and not everyone can afford their mass use. But ... Sometimes you still want to. Let's start with a small photo gallery. On the photo is a flashlight “Chandelier” with LEDs with a color temperature of 3200K, and somewhere in the background a flashlight from the Globus lurks:
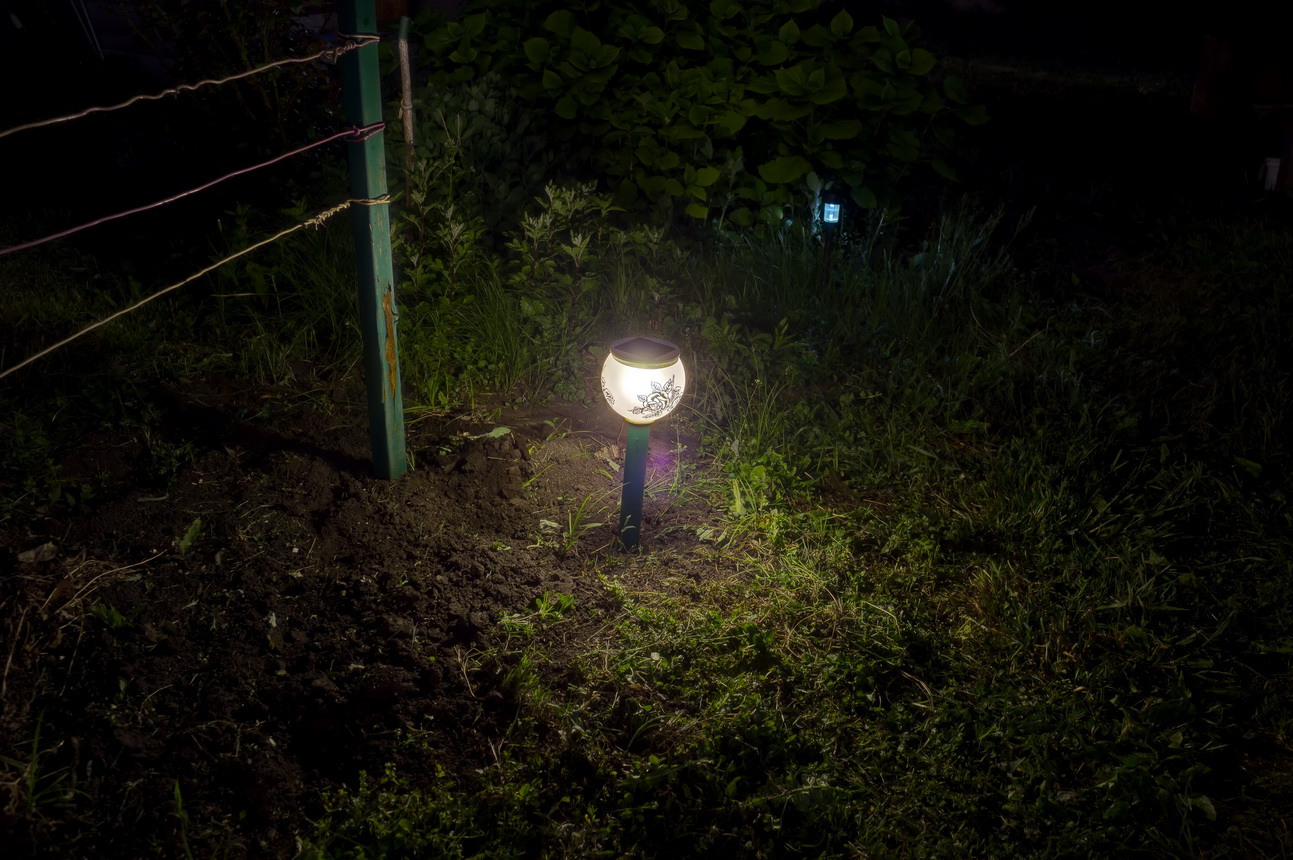
Flashlight “Sphere”:

From left to right flashlights - “Sphere”, a flashlight purchased in Globus and familiar from the previous ones the articles “Caprice”:
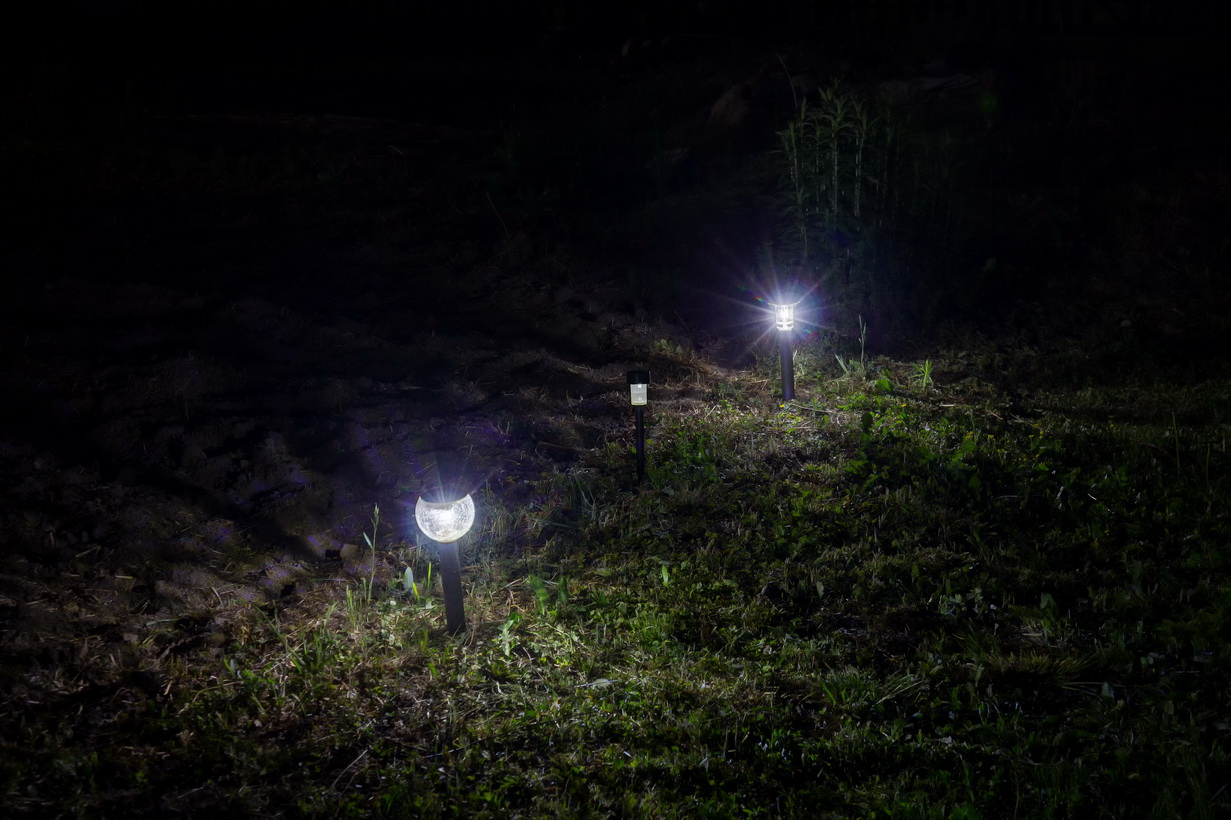
Flashlight “Lilia” is probably already familiar to many from the title photo to the article Solar lanterns - we need brighter :
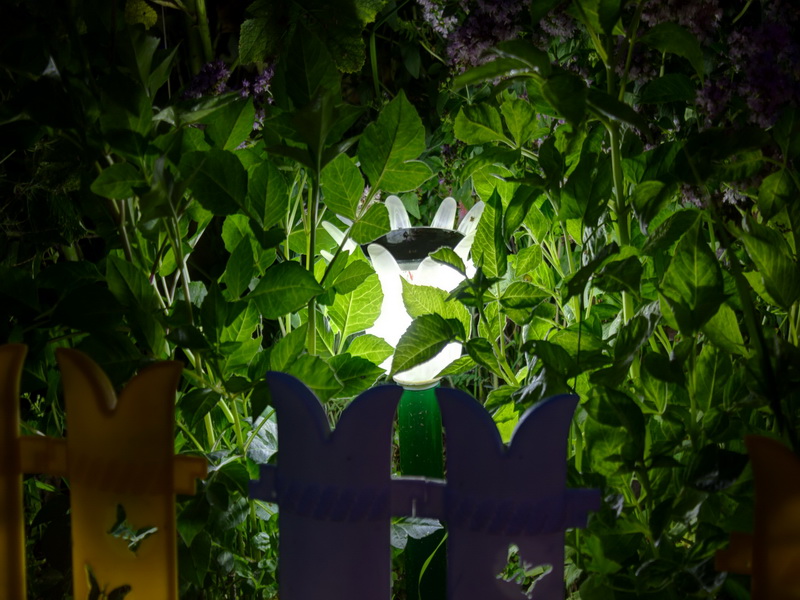
Flashlight “Oda”:
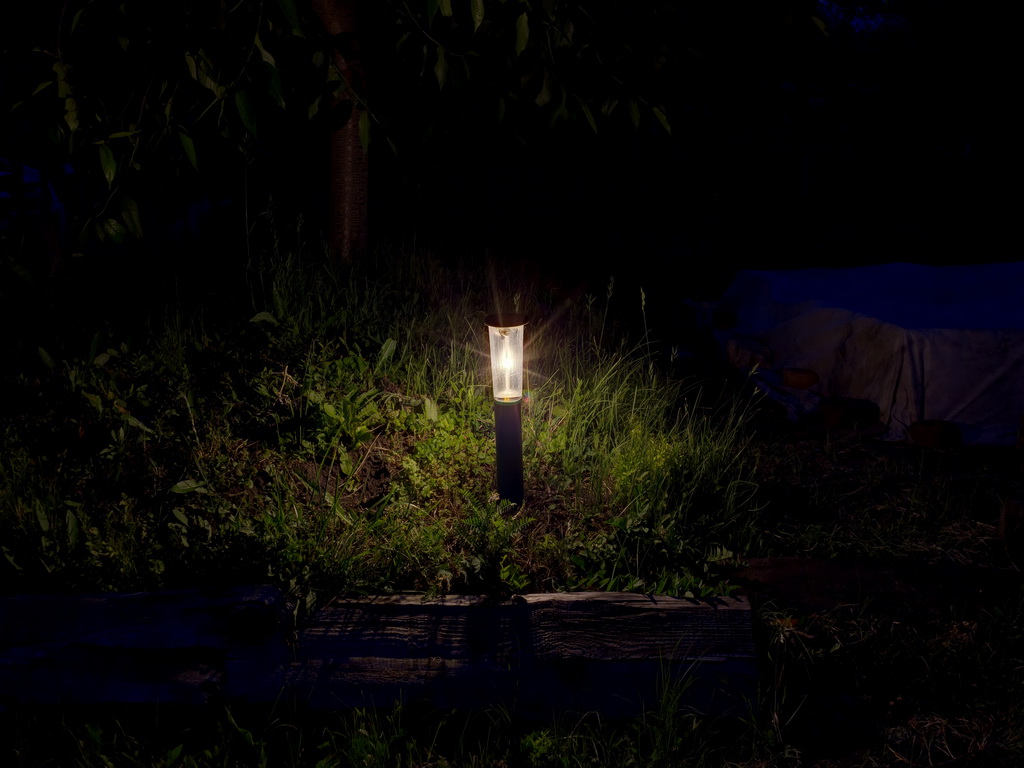
Flashlight “Ocean”:
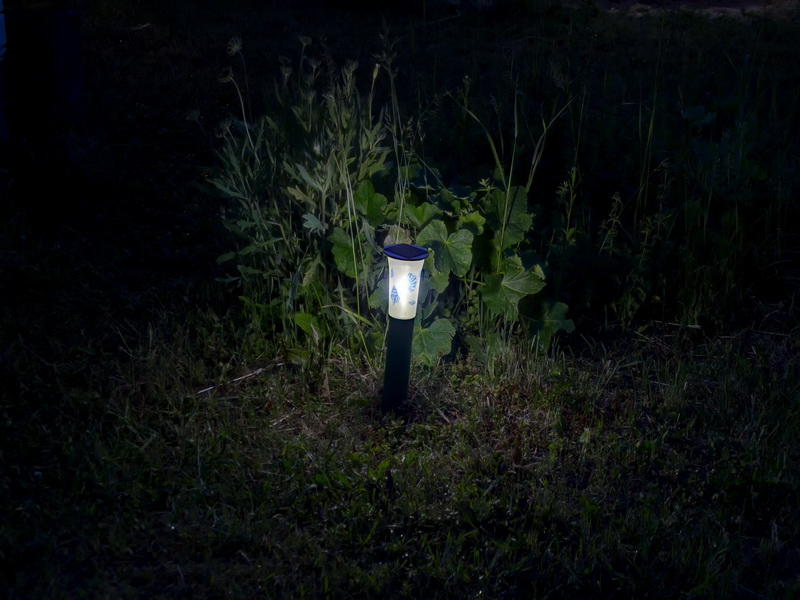
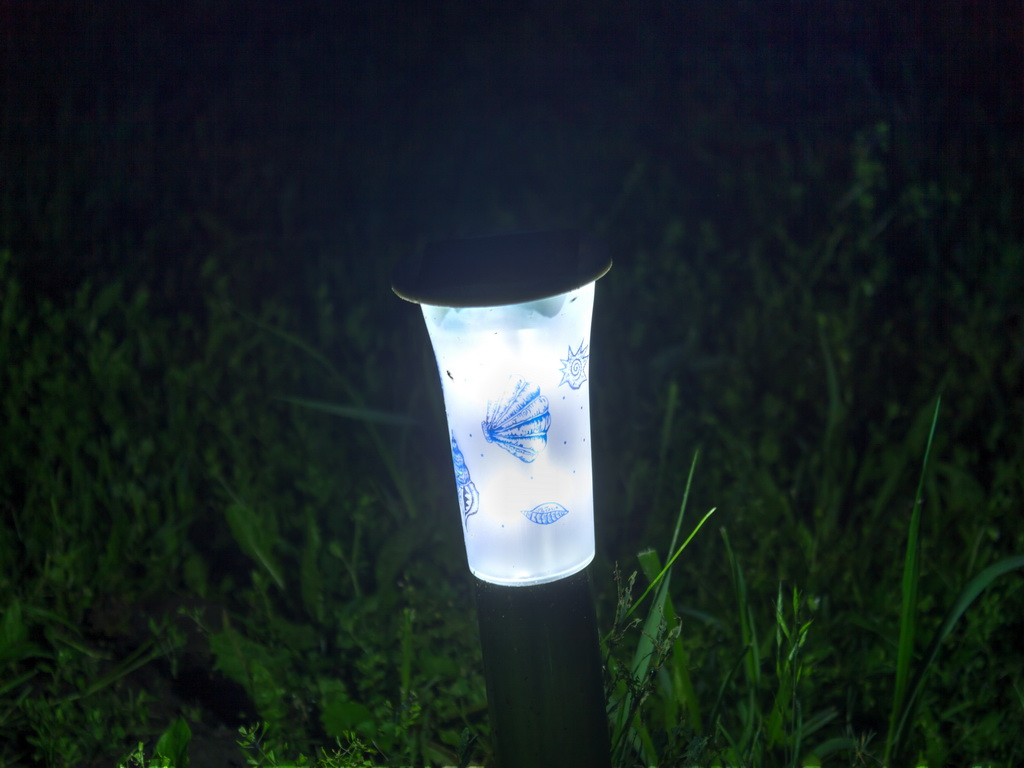
For the manufacture of solar lanterns from the photographs above, the ceiling lamps from the old chandelier (“Chandelier”) were used:
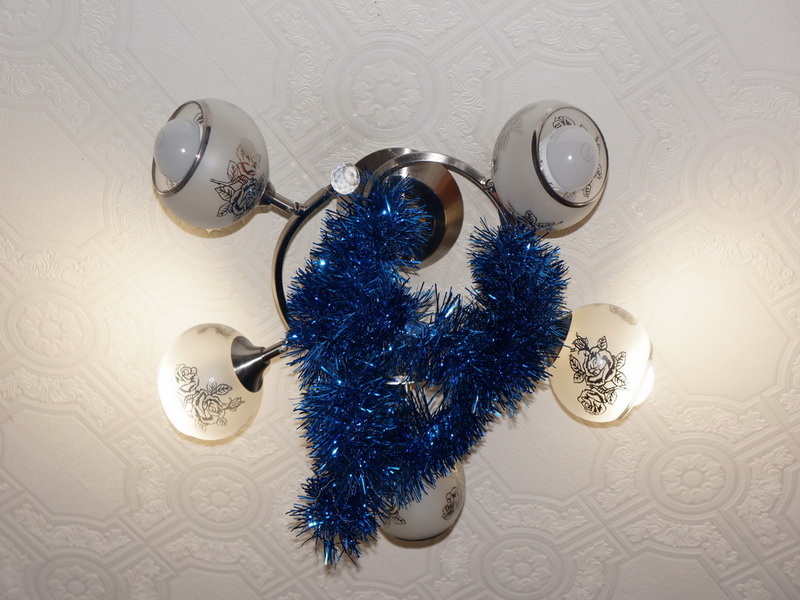
Such ceiling lamps are made of very thin glass and rather fragile, because of the fact that one of them crashed, the chandelier had to be thrown out, and the four surviving ceiling lamps turned into Solar lanterns:

Ceiling lamps purchased in Leroy (Sphere and Lilia flashlights):


Plastic and glass cups became the shades for Oda and Ocean flashlights:
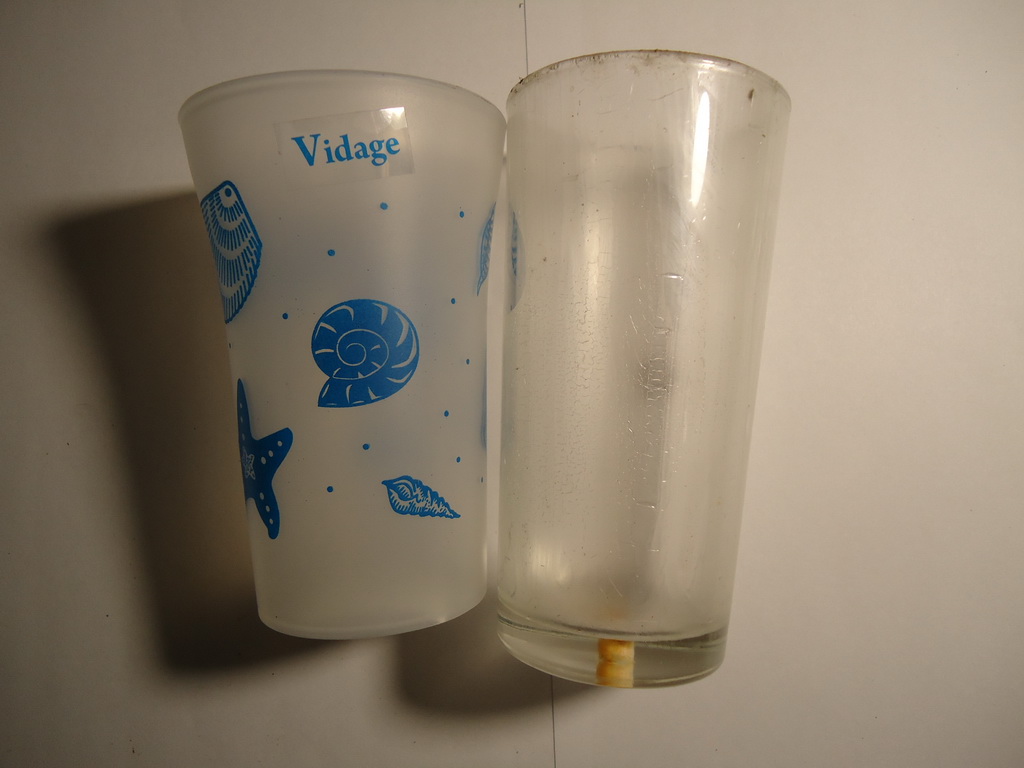
Flashlights Ocean and Oda actually turned out to be not entirely successful. Matting glass shades from the inside with white acrylic lacquer in several layers turned out to be time consuming, and this coating turned out to be short-lived, in the photo below you can see flashlights that served only one season and wintered in an unheated garage. You can see how the lacquer peeled off on the left flashlight, and on the right it curled altogether:

Practice has shown that when placing the electronics and batteries inside the ceiling, the candidate for the lights is better to choose moderately matt or translucent, but not to get carried away, because matting will hinder the passage of light . The use of completely transparent plafonds is not always justified from an artistic point of view, it is noticeable and striking as for example with the Bell flashlight:

Actually, because of this, it is usually placed in the far corners of the garden.
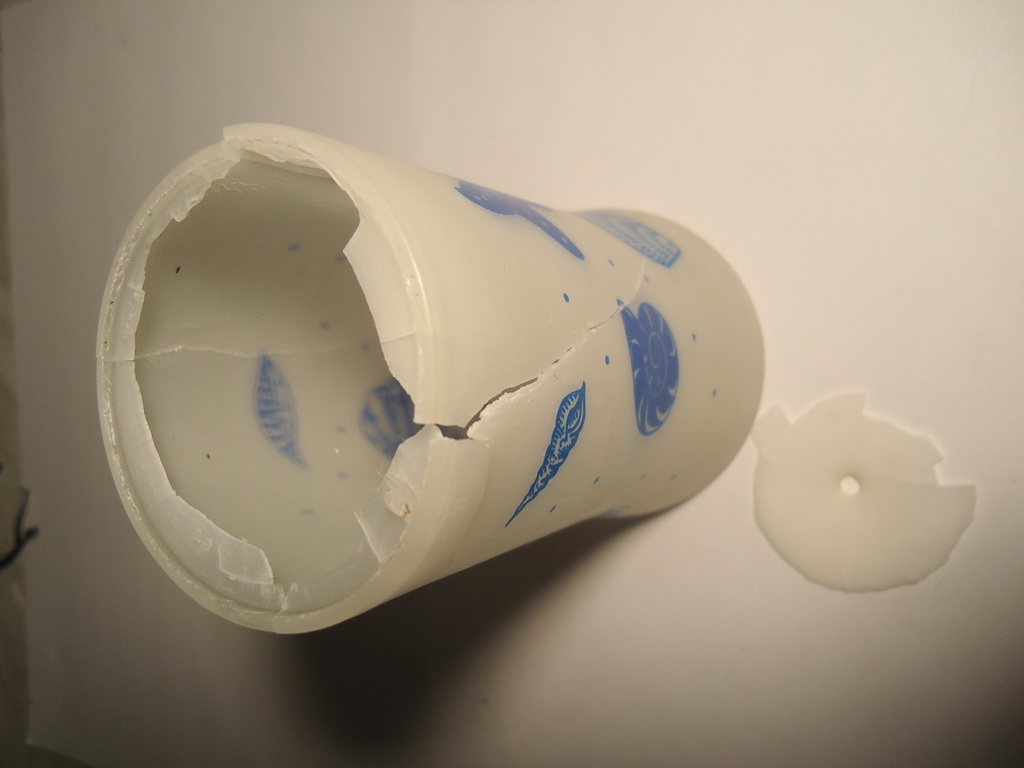
Flashlight "Ocean" has summed up the material the ceiling, after only a couple of seasons of operating under the influence of the sun plastic has become quite fragile and when you try to clean it from dirt simply crumbled in his hands:
And now the example of a flashlight "Chandelier" consider the build process:
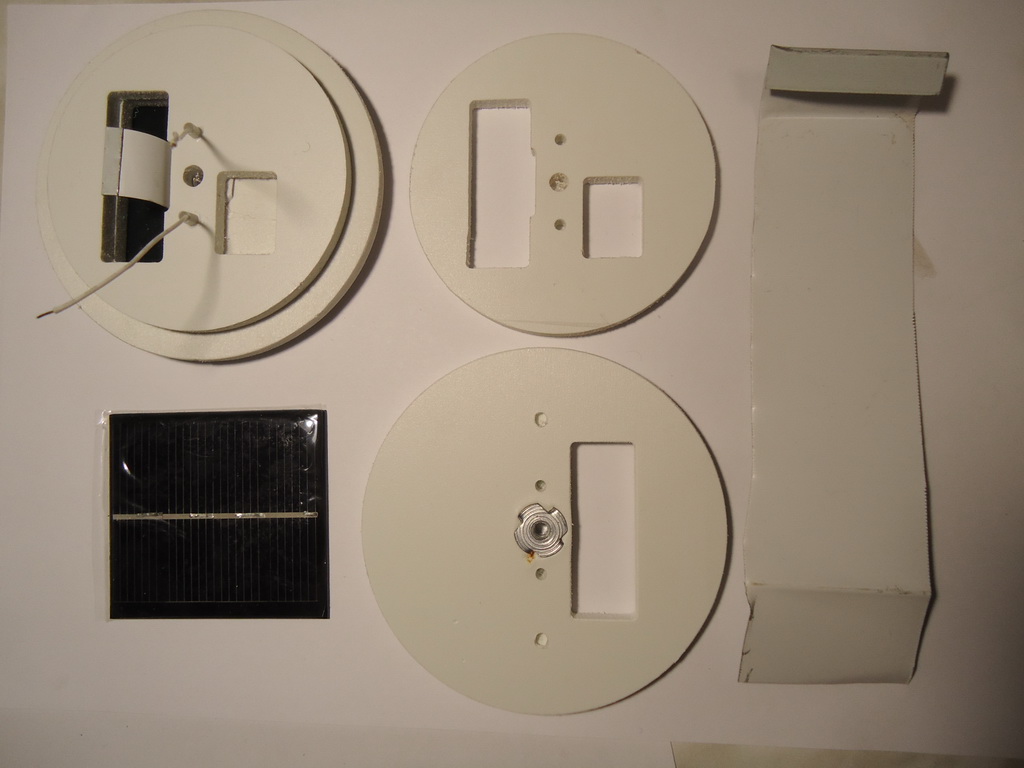
(More manufacturing base of solar process batteries with fused M4 furniture nut, poles and pegs are described in the article How to make a solar flashlight with your own hands (part 1) ".)
The battery mount is made from trimming roofing gland. You can also use any sheet metal from computer cases, CD-ROM, but at least cans of condensed milk. It can be glued between the base of the solar battery and the insert, as in the photo above, or secured with two small screws:

If unprotected iron is used as a material for mounting the battery, it is better to varnish it or paint it. Remember - inside the flashlights rust and rot everything!
The electronics board is glued to a 3M double-sided tape in a specially cut niche:
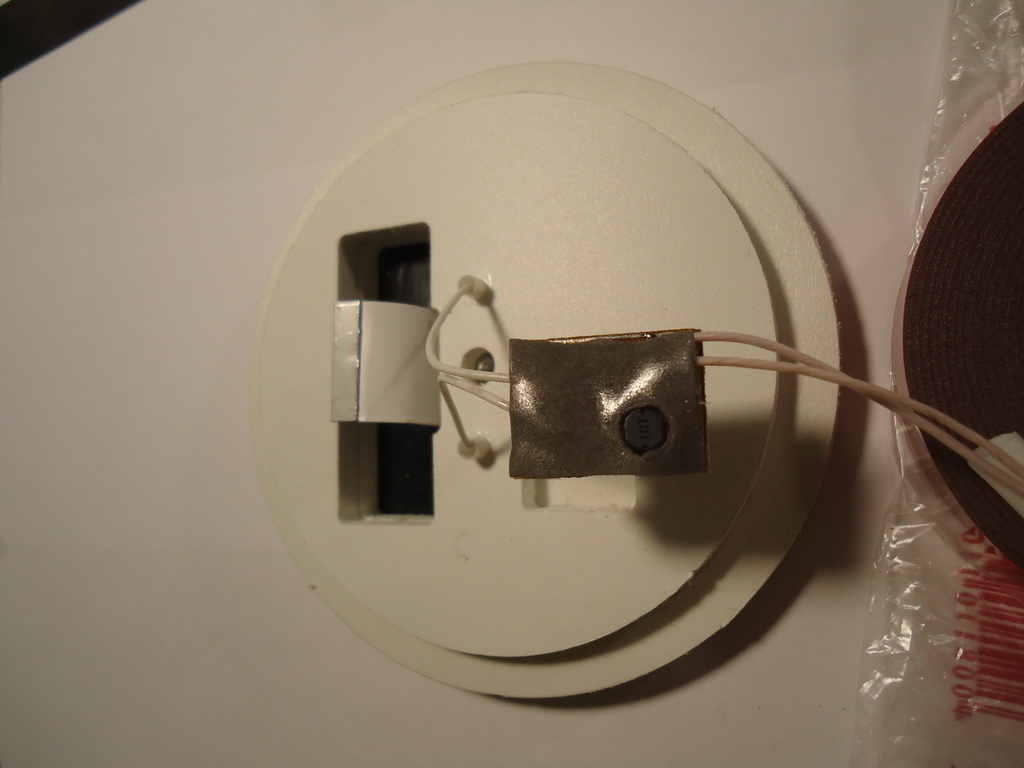
You can fix the board using the battery bracket (in the photo there is a mount for the old type of boards, but the general sense is generally understood):
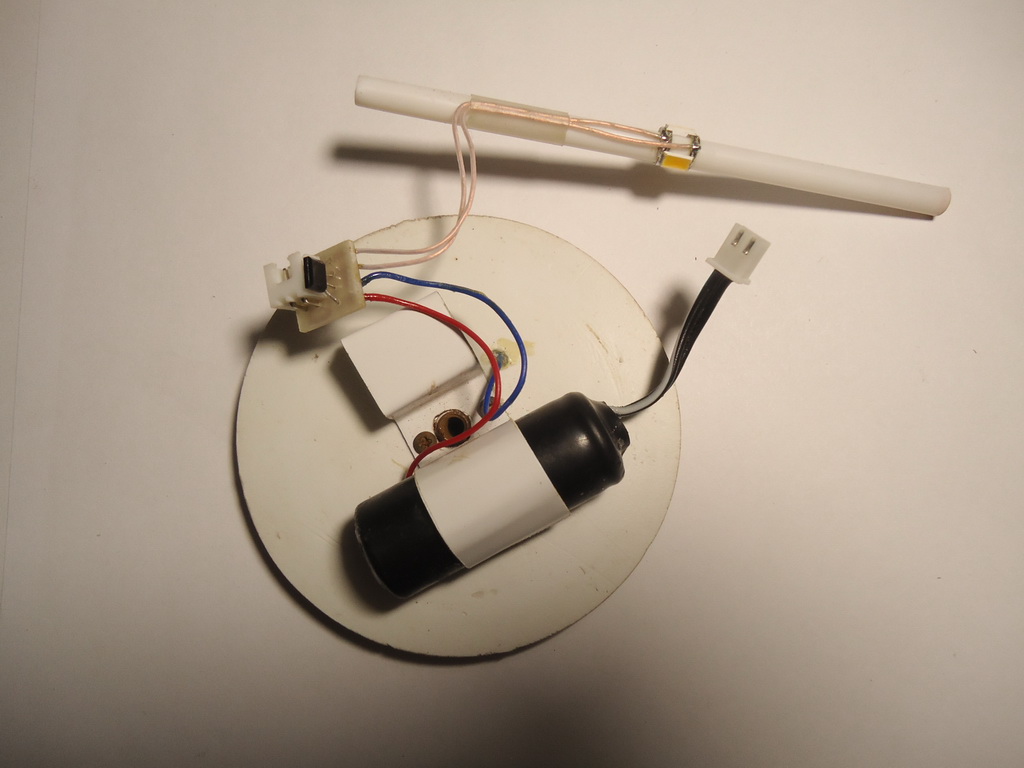
And you can not fix, leaving hanging on the wires as shown in the photo assembly "crystal" flashlight.
In the chandeliers "Chandelier" and "Sphere" the ceiling light is clamped between two plastic inserts, and the base of the solar battery with the battery and the electronics board is wound on top of it. In “Odet” and “Ocean”, the plafond is pressed from below with the help of a nut and a stud through a flashlight:
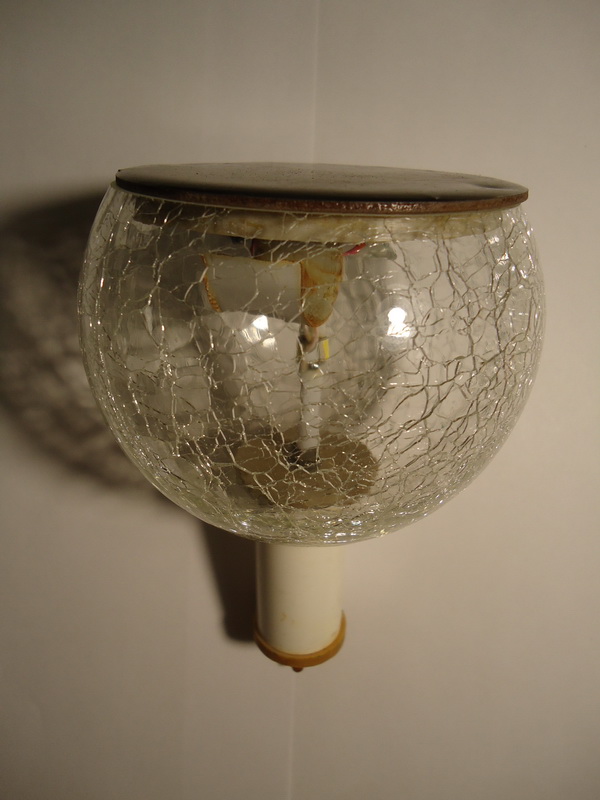

As a lazy person, I cut these parts on the CNC, but they can also be made with an electric jigsaw. The photo shows the bases by which the lanterns are inserted into the posts, on the right, an Oda flashlight with an old mounting option made of PVC ceiling panels. This solution is not as reliable and durable as other flashlights, but also quite workable:

Practically any sheet PVC 4 - 6 millimeters thick, plexiglass, Winniplast, fragments of old office equipment can be used as the material of fasteners:
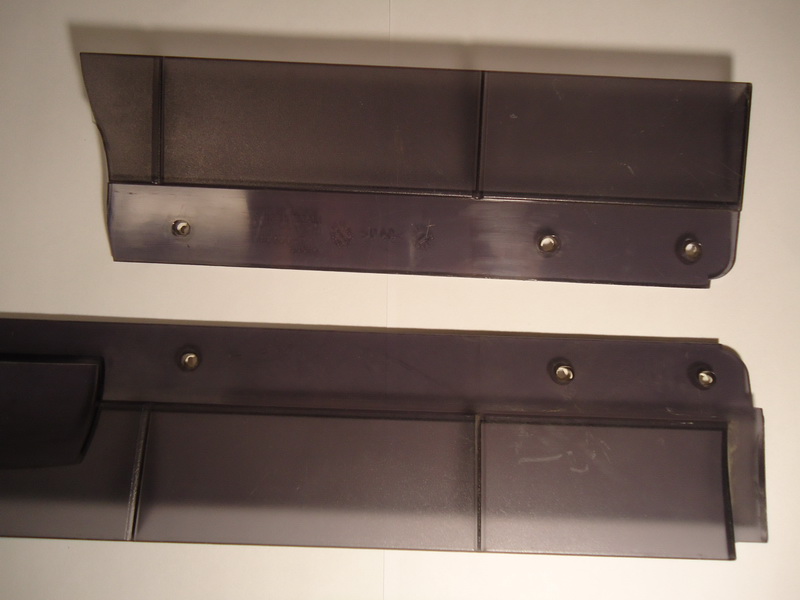
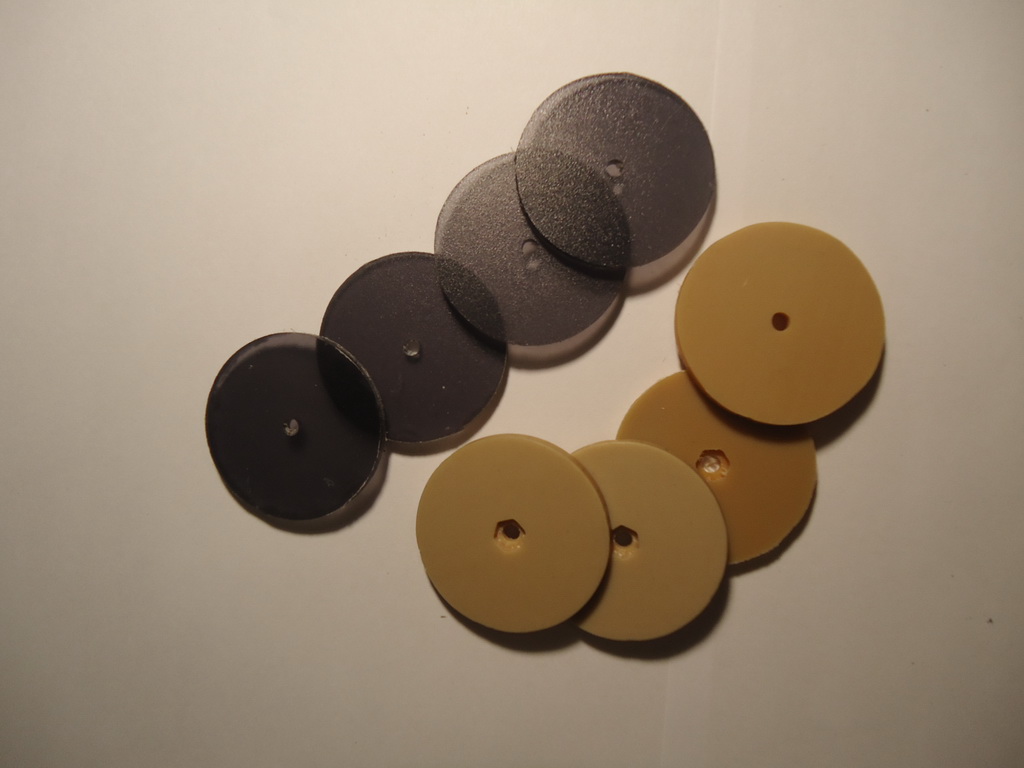
In the flashlight "Lilia" because of its peculiar open canopy, which cannot be completely covered with a rain pad, of - causing a first embodiment, it has gathered to the brim with water, had subsequently alter plastic parts, between which the cover is attached, making them discharge openings:

also hide had n ho electronics and the battery in a suitable plastic tube from the medication:
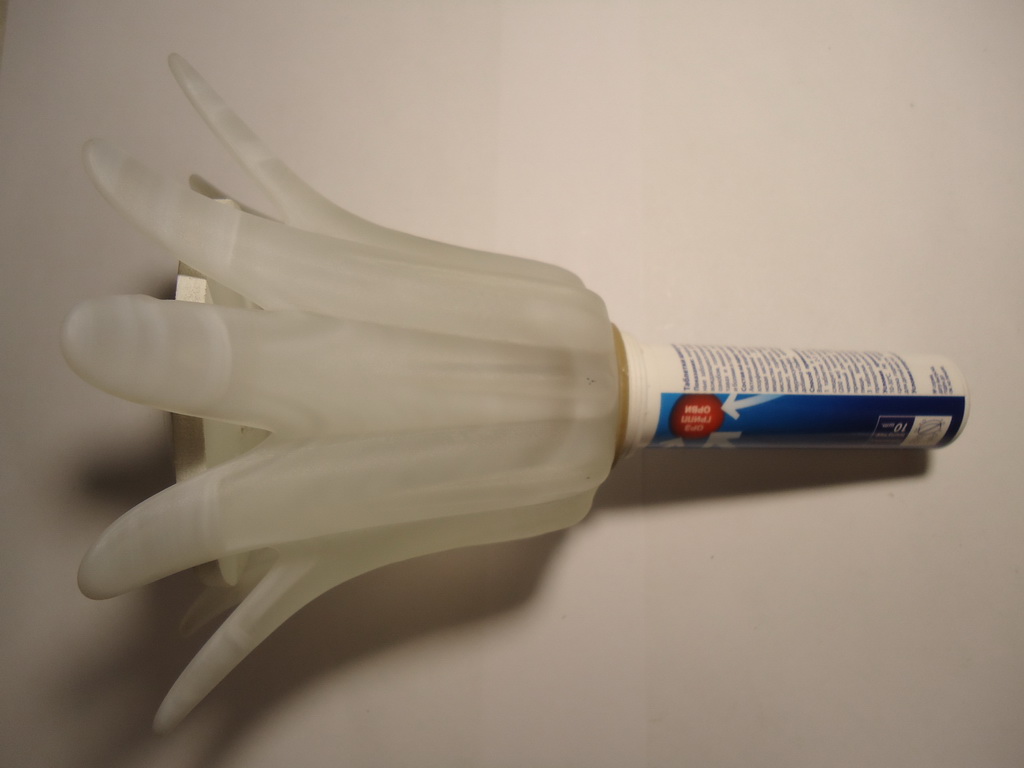
Before assembly, with the cover of the tube is cut off the plastic spring is removed and silica gel
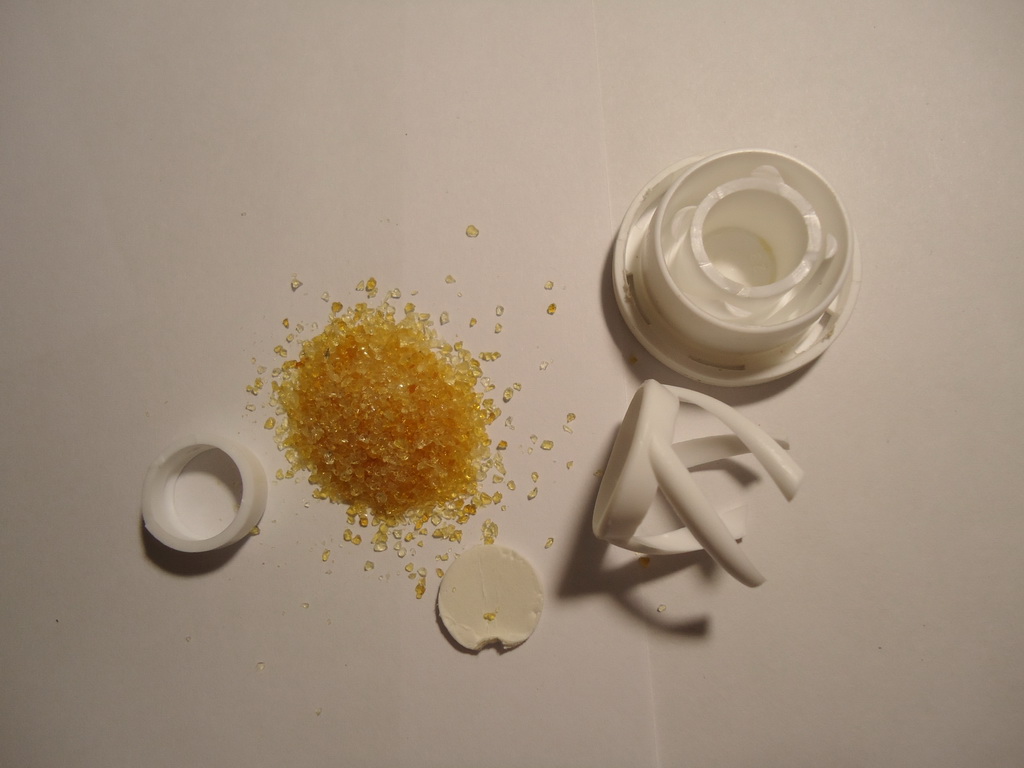
to prevent water from entering the tube butted him on the cover sealing:

Wires are drawn through an oval hole in the cap of the tube and a plastic washer with a slit:
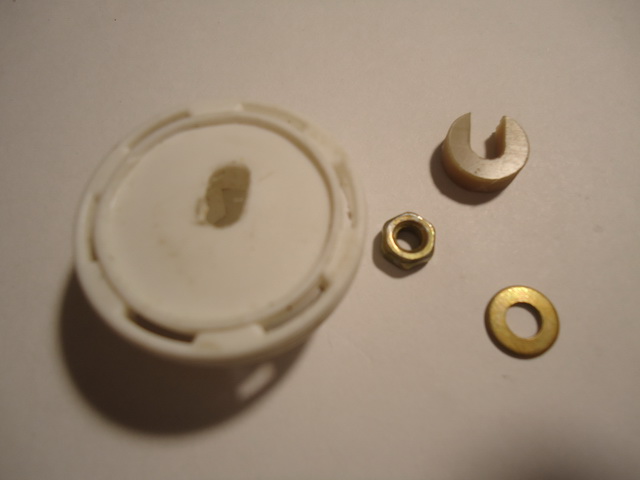

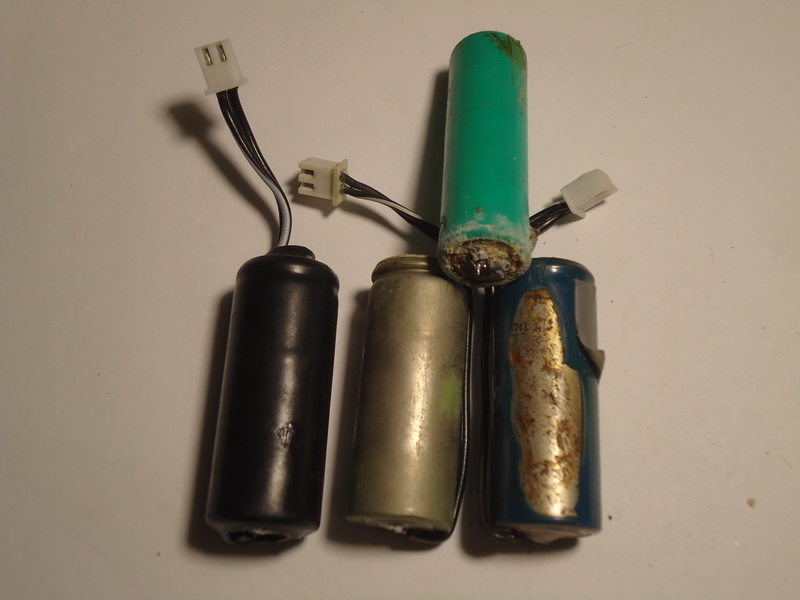
The execution of the electronics and battery compartment from the medicine tube is also perfect for flashlights like “Caprice” and the like; I actually made several of my flashlights of this type in this way (until the tubes are out). In the tube it is also necessary to make drainage holes to drain the water, because despite the seeming tightness, it perfectly draws moisture and as a result, the battery and the electronics board float in the water. In just one summer month, the tube without drainage holes is about half filled with water. The result in the photo is a green battery with turned-off wires after the season of operation in a tube without drainage and two batteries with protected caps - lacquer soldering points of the wire after just one season of operation in the Sphere and Oda flashlights, on the left the battery protected by varnish and shrink film:
Crystal lanterns
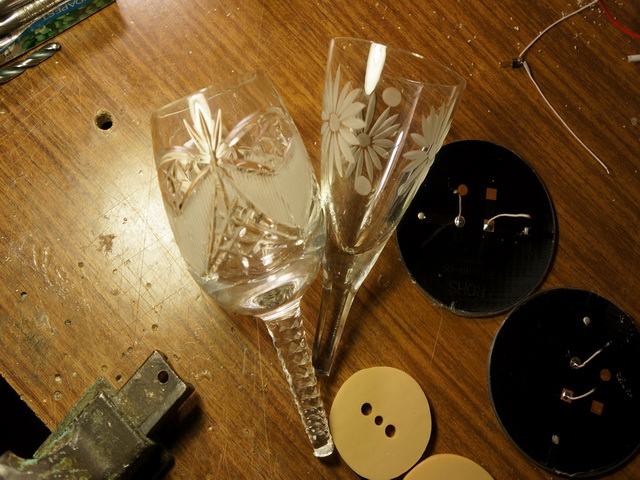
Once I was sorting out the trash in the garage, I came across a pair of crystal glasses with broken legs left over from previous owners. And I thought, why not?
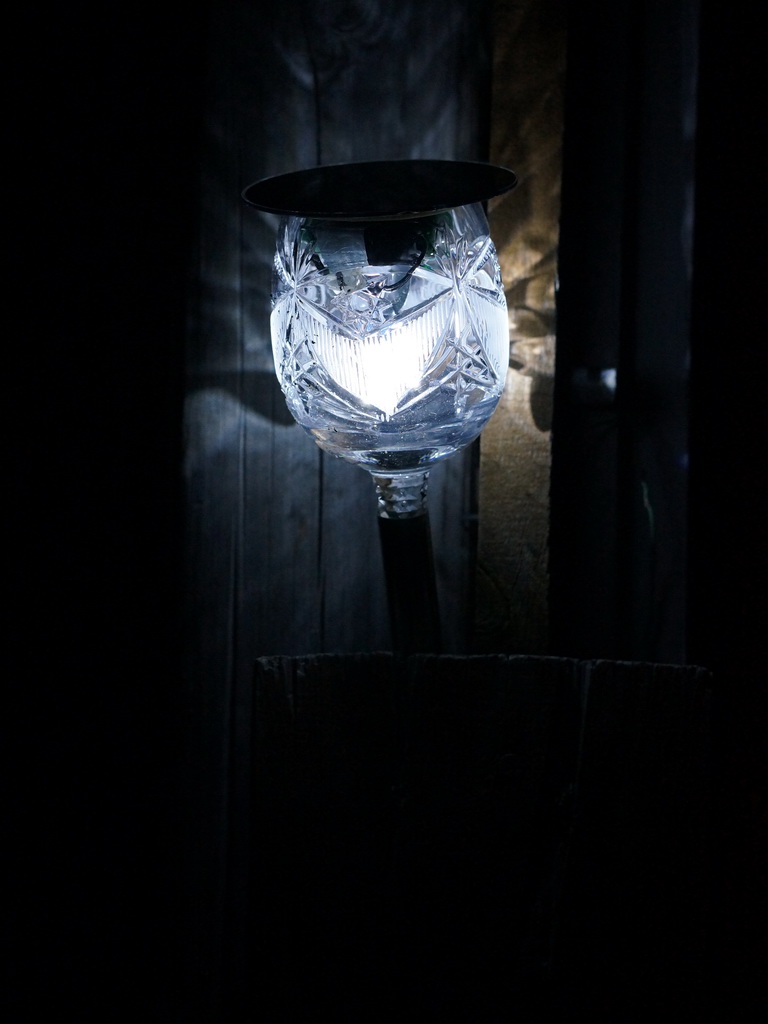

This is the same flashlight as in the photo above, only at the beginning of the dacha season of 2018, LEDs with a color temperature of 3000K were installed in it:

The family did not approve the replacement, “the crystal flashlight should shine with a bluish-white color”, so I had to put in it later LEDs with a color temperature of 6000K.
The base of the solar battery for crystal lanterns is done in the same way as the Chandelier or Oda lanterns, with the difference that the furniture nut is not installed in the base, and a PVC plastic tube with a diameter of 4 - 5 mm is glued into the hole in the center LEDs mounted on it:
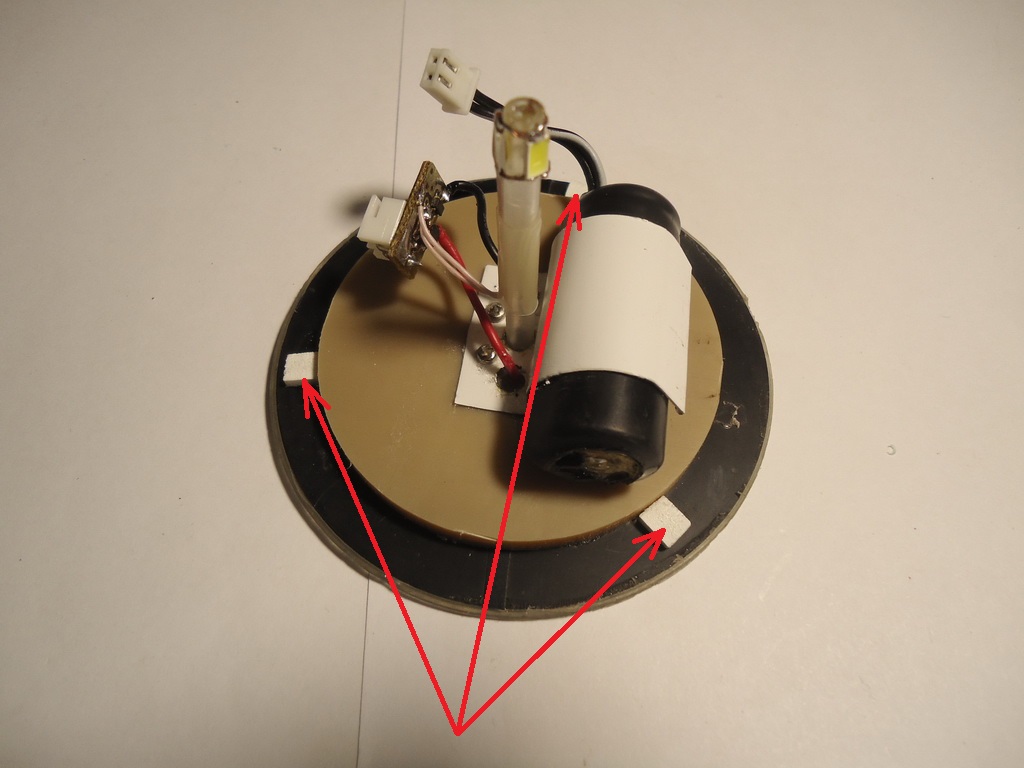
As a stand for LEDs, you can use any plastic tubule, for example, a cocktail tube, or a gel pen stem, and at least a stick from the lash - chups. The red arrows show the plastic stands installed to allow the flashlight to be ventilated. Without them, in the plafond for the month, water was practically collected to the brim, and the connectors on the board and the battery were simply turned off. The bollards to the crystal lanterns perfectly approached from the dead Chinese counterparts, but in order for them to stand exactly, the blue electrical tape must be wound on the end of the leg:

Picking up photos for this article, I was surprised to find that some photos of “crystal” and table lanterns were taken almost five years ago. “Nowadays”, these lanterns practically didn’t change, except that small scratches and sometimes “combat” rust inside were added, and in the process of evolution the electronics managed to change two or three times during this period, eventually coming to the schemes 8 ... 11 published in the article Solar lanterns - we need brighter . So in the end, despite the use of "junk" materials, these homemade products turned out to be not only brighter, but also more durable and reliable than their Chinese counterparts.
Previous Cycle Articles
A small review of solar lanterns
Solar lanterns - we need to be brighter
How to make a solar lantern with your hands (part 1)
