Read data from an old MiniScribe hard drive.
- Transfer
Translation of an article from the site of a programmer and old-time lover Michael Slomkovski An
old MFM disk, MiniScribe 2012, came into my hands, along with the controller. MFM is a modified frequency modulation , and this technology is often associated with bulky hard drives from the era before the IDE / Parallel ATA. The ancient data stored on the disk (mainly MS Word 4.0 documents) had a certain sentimental value for the previous owner, so I decided to extract them.
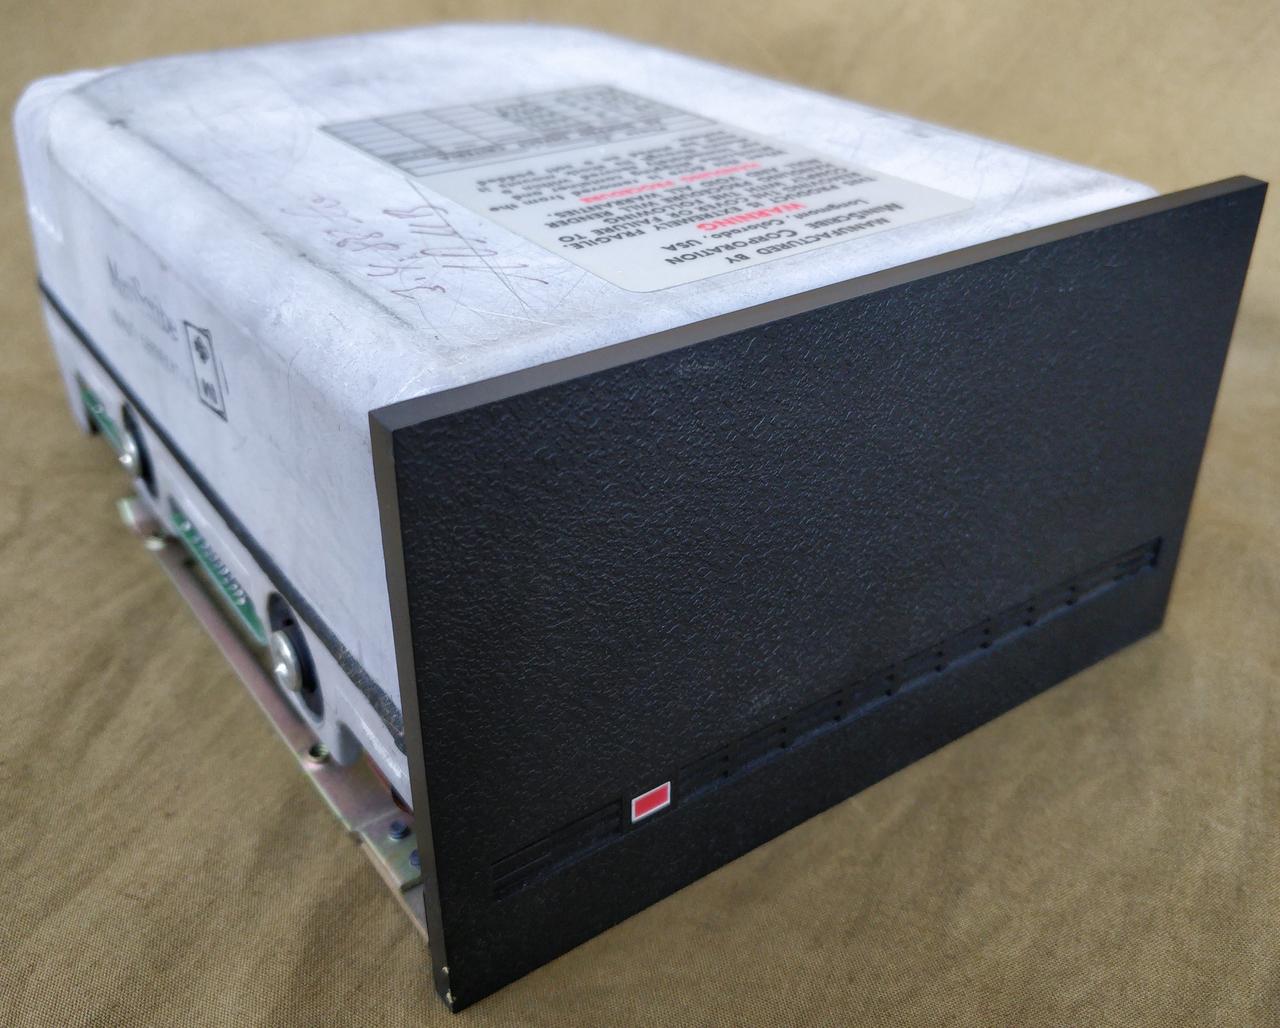
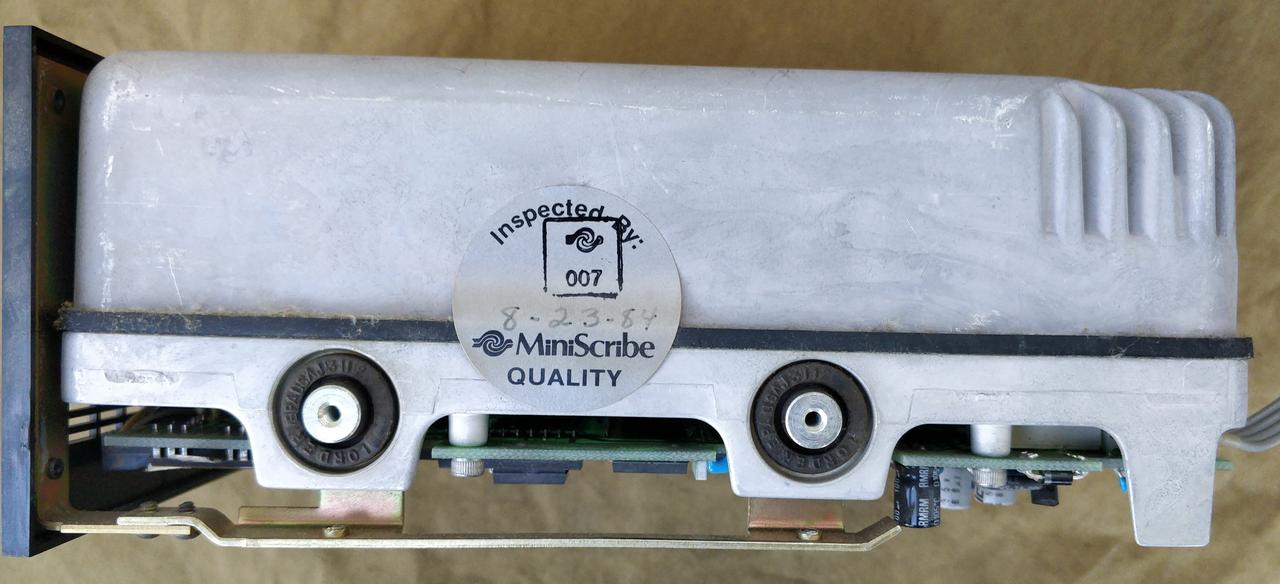
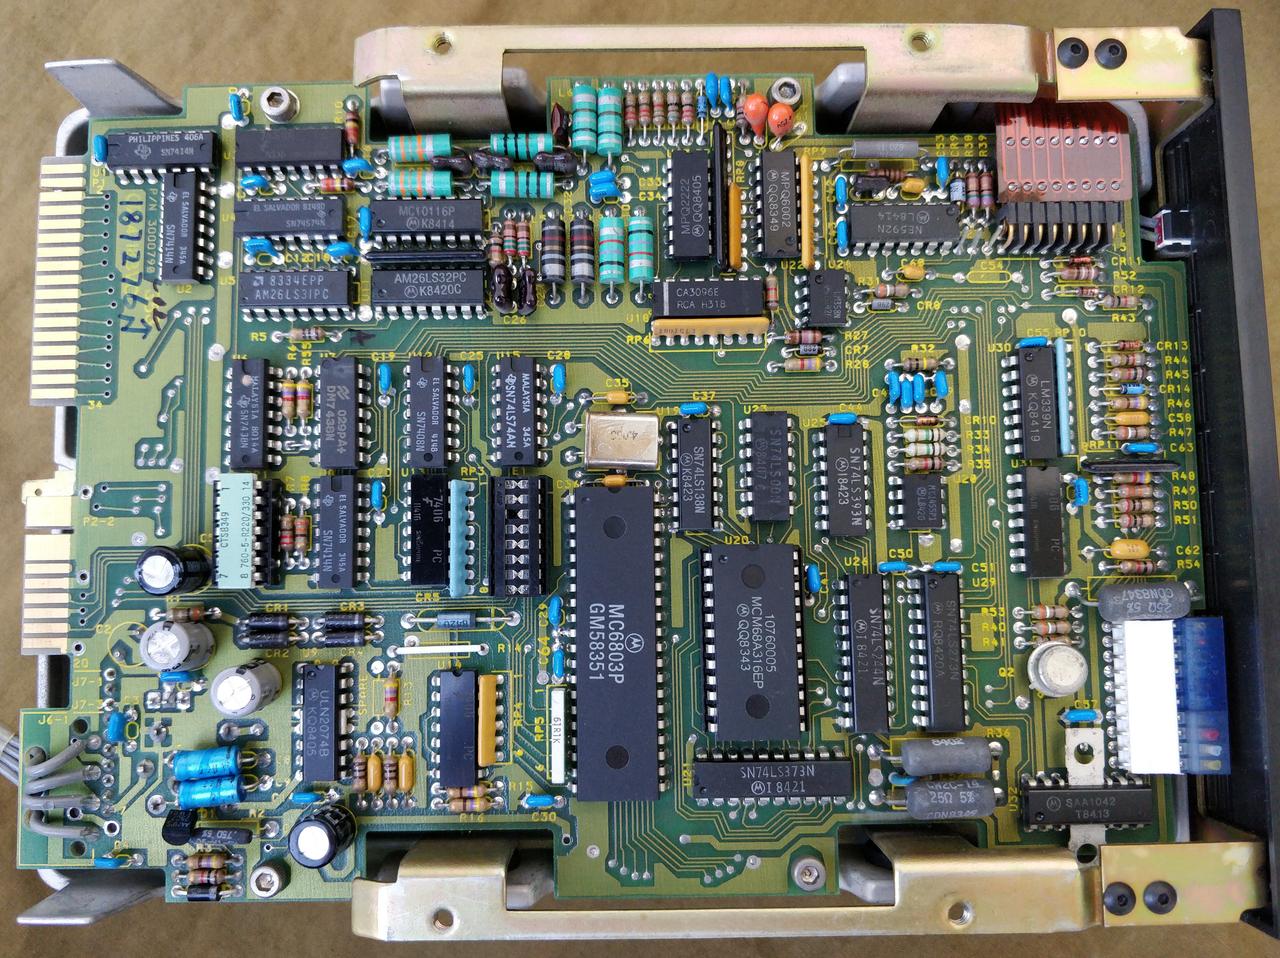
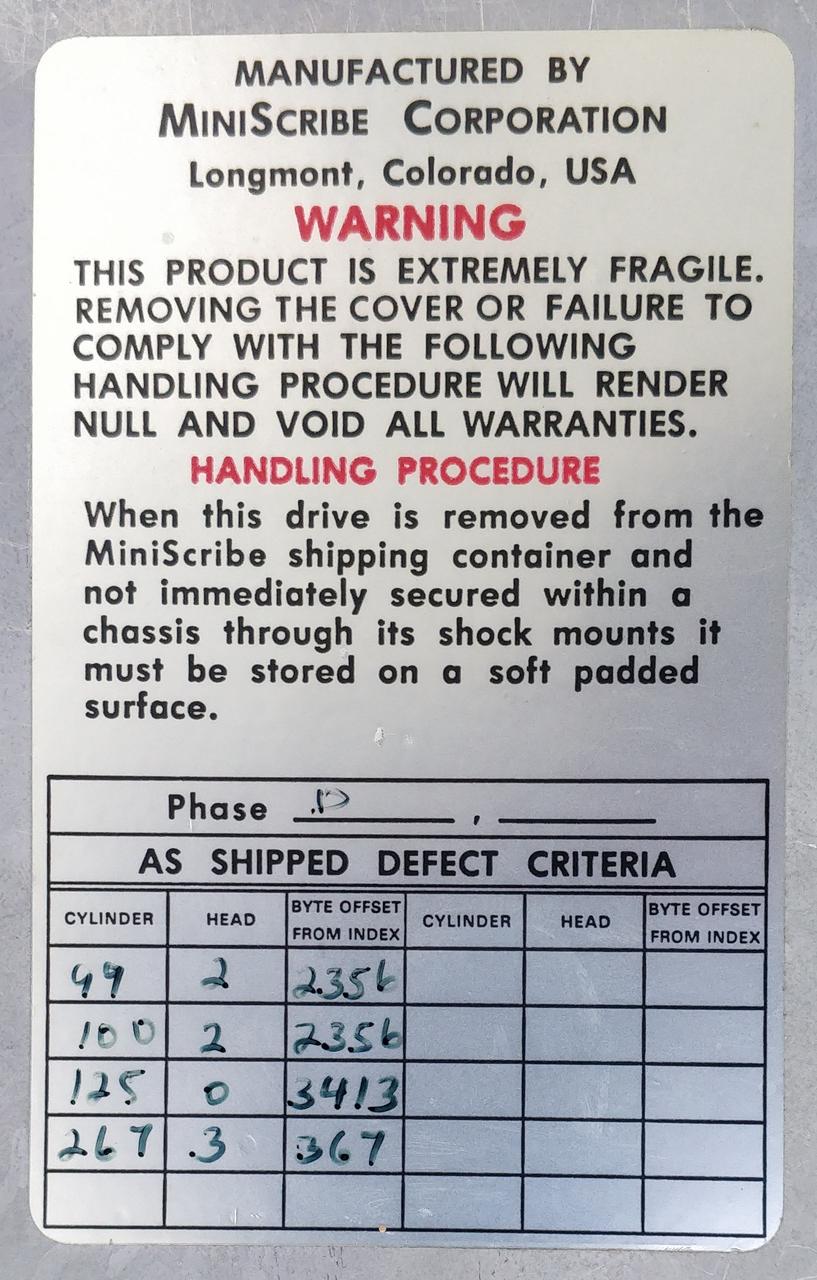
MiniScribe 2012 Hard Drive
The hard drive, the MiniScribe 2012 MFM, was probably produced in 1984. He stood in an IBM XT-compatible computer. This monster occupies two slots of 5.25 "and weighs more than two kilograms. As indicated in the instructions , its volume is simply amazing - as many as ten megabytes. The power connector is a standard Molex. The disk is connected to the controller card with two cables.


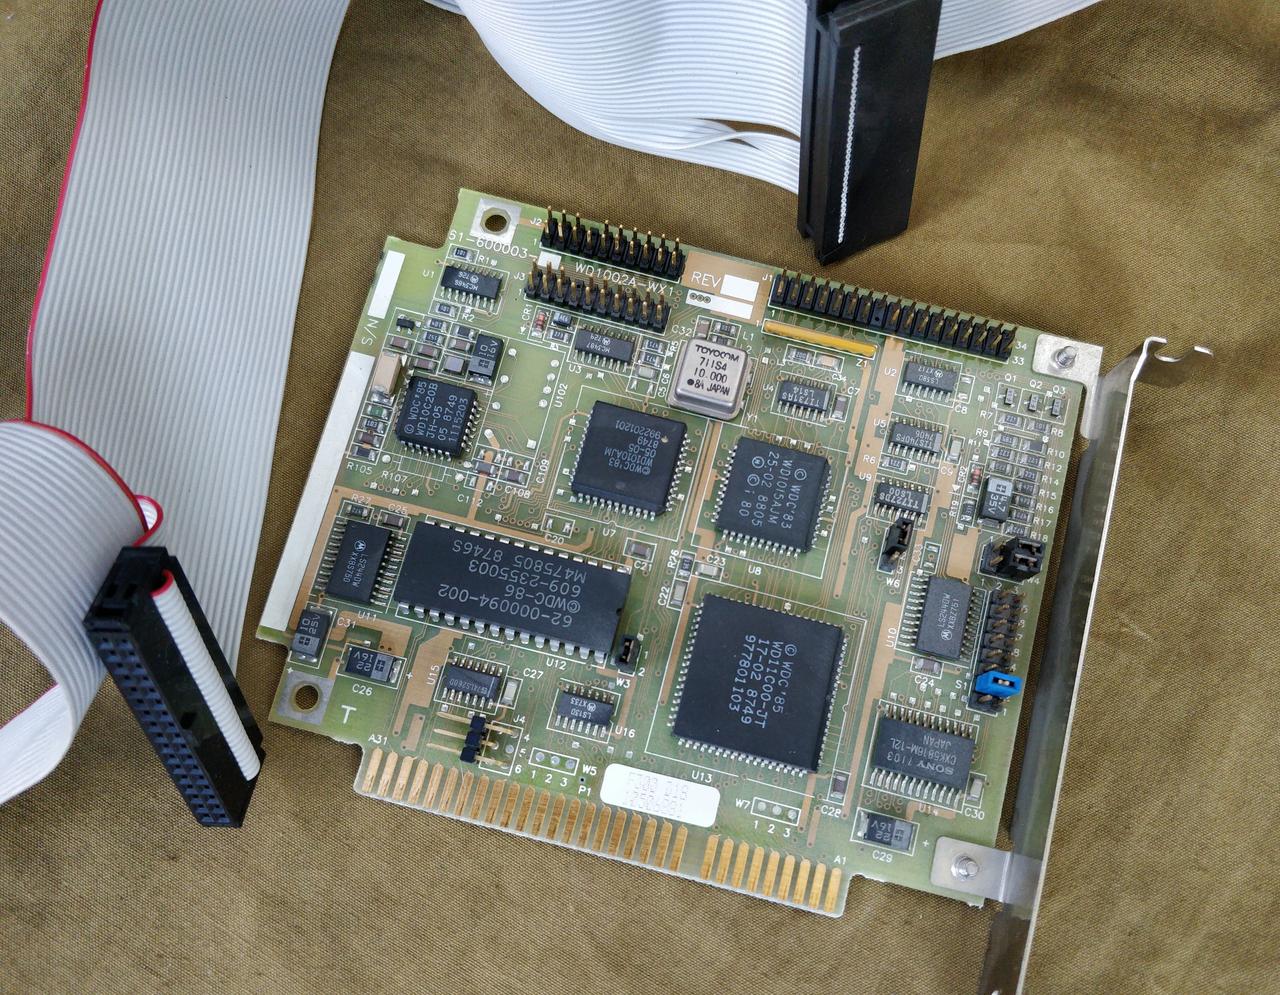
The MiniScribe disc in the box has a dedicated 8-bit ISA controller called WD1002A-WX1. Its specifications are easy to find. The text file contains installation instructions; we may also need a list of compatible devices.
In theory, the controller is able to work with any drive that supports the ST506 / 412 protocols, but in practice everything is not so simple. The list of bad sectors should be stored in the ROM controller. This requires special software. Often, a new drive starts working after connecting it with a new controller and performing low-level formatting.
WD1002A-WX1 MFM
Disk Controller The controller has its own BIOS, commonly called Option ROM. It is caused by the motherboard BIOS during the POST sequence. The code registers a hook on the INT 13 interrupt and as a result becomes accessible from DOS using the standard interrupt call.
Device
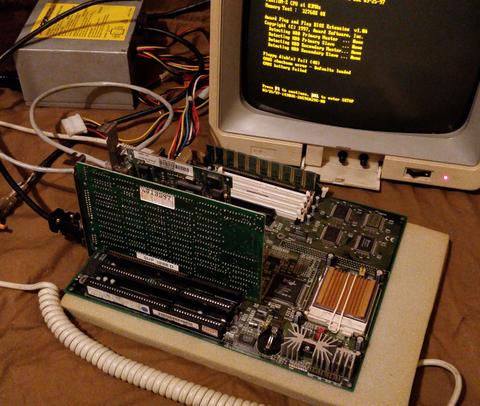
Fortunately, I had an old AT motherboard (ATC-1020) with ISA slots and a Pentium processor. There was no radiator on the processor, but I installed the jumpers on the board so that it worked at minimum speed, and fitted the temporary radiator with an elastic band. I also installed a 32 MB DIMM RAM module on the board.

I did not have a graphics VGA card for either PCI or ISA, so I used MDPA with a special yellow monochrome display. The motherboard successfully recognized it, as seen in the photo.
To check the disk, I turned off the IDE controller in the BIOS and tried to boot. The disk came to life and even booted - hurray!
PXE boot
I assumed that in order to play around with this MiniScribe disk, I would need DOS utilities, so I decided to boot from MS-DOS diskette. Since it is inconvenient to bother with physical diskettes, I decided to use network boot. Fortunately, I had a PCI Ethernet network card with PXE support : 3com 3C905C-TXM
To boot a floppy image over PXE, you need a special boot loader. One of the most popular is PXELINUX, which is part of Syslinux, the syslinux module from Arch Linux. On a Linux machine, you need to create a directory for network booting and copy
PXELINUX there :
cp /usr/lib/syslinux/bios/{ldlinux.c32,memdisk,pxelinux.0} .
mkdir pxelinux.cfg
Then create a text file pxelinux.cfg / default with the following contents: The boot diskette image must be saved as fdboot.img. These files can be downloaded as a zip archive . A popular way to configure PXE boot is dhcpd and TFTP daemons. This is a difficult task, but fortunately, I found a small and easy-to-use netboot server (aur / netboot for Arch Linux). It combines the capabilities of DHCP and TFTP servers. In my router, I ran it without shutting down the DHCP server, since they didn’t seem to conflict. Run netboot in the directory where the PXE boot files are located. After the DHCP request, the server returns the pxelinux.0 * file.
default dos

label dos

 kernel memdisk

 append initrd=fdboot.img
netboot {broadcast IP} {local machine IP} {IP for client machine} {MAC pattern}{MAC pattern} must match the MAC address of the client network card.
For example, my address on the local network is 192.168.1.0, the IP of my Linux machine is 192.168.1.10, and the MAC of my 3com card ends at 66:
netboot 192.168.1.255 192.168.1.10 192.168.0.20 -66As fdboot.img, I used a standard MS-DOS 6.22 disk. Then I downloaded it all - and it worked!
Attempts to copy data from IDE-disk
Since the MFM controller has its own BIOS, the drive was visible under MS-DOS. But I needed a drive to which I could copy the files. At first, I decided to try an IDE disk. The motherboard had two IDE channels. I connected a 40 Gb drive from Seagate. The system found it, but, unfortunately, after that MFM ceased to be available. Jumper games did not help. Perhaps there was some kind of conflict between the two disk procedures.
Copying data to a USB flash drive
Then I tried a different approach. I installed a PCI USB expansion card and USBASPI drivers for MS-DOS. Now there was no conflict, and I managed to copy the entire disk to a USB flash drive!
xcopy c:\ d:\ /e /k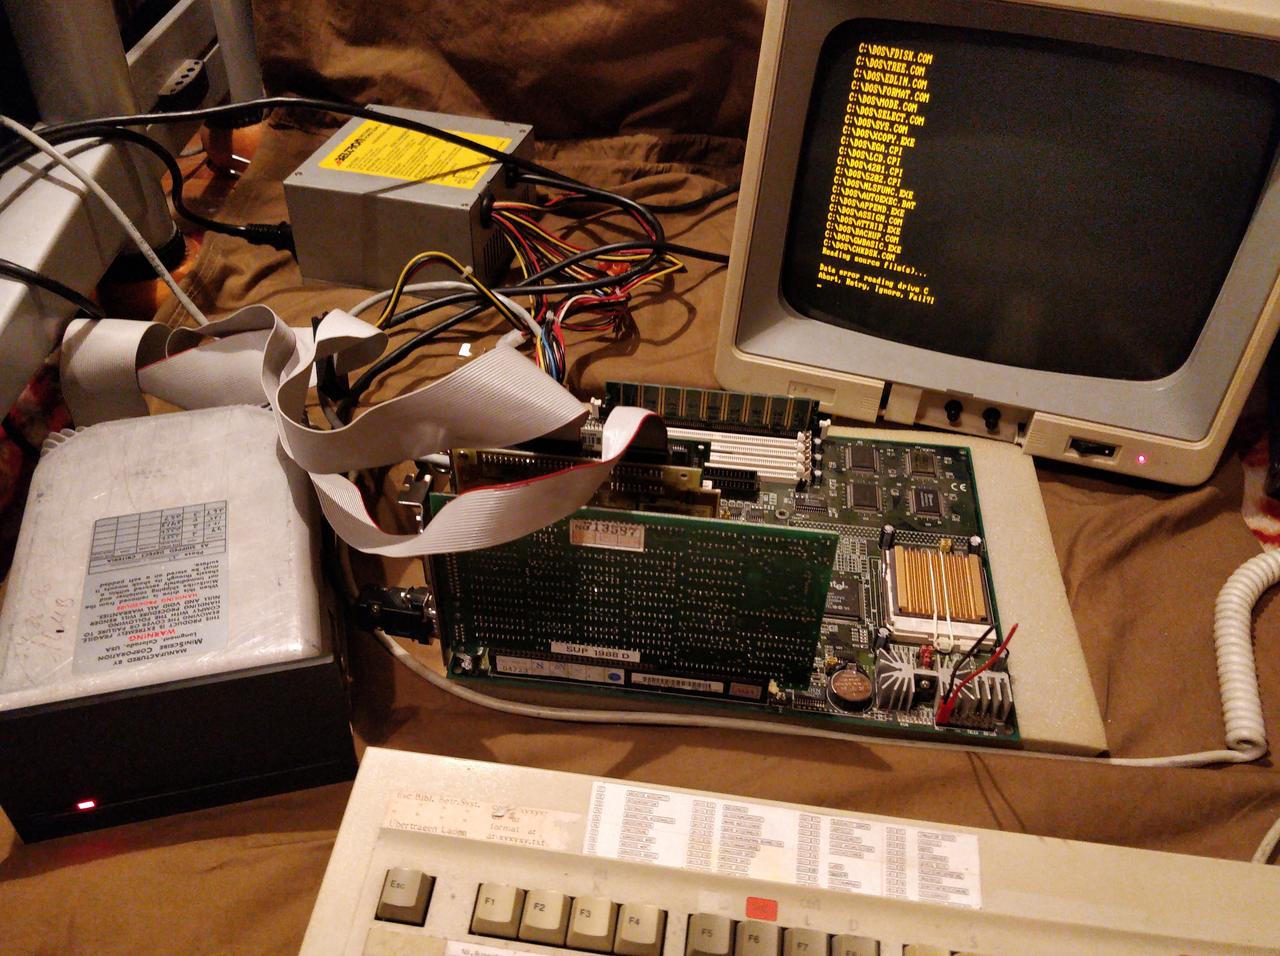

Four expansion cards on the motherboard. From left to right: MDA graphics card, MFM disk controller, 3com Ethernet network card, USB expansion card.
As a result, I had more than two hundred Microsoft Word files for DOS, which I converted to RTF .