How to Clean Up Computer Storage on Windows & Mac: A Definitive Guide
A sluggish computer, failed software updates, and the dreaded "Startup Disk Full" warning all point to the same problem: storage saturation. When your drive exceeds 85-90% capacity, system performance degrades significantly due to increased file fragmentation and garbage collection overhead . This guide provides a systematic, operating system-specific approach to reclaiming space on both Windows and Mac machines, using built-in tools rather than third-party "cleaner" software that often introduces more problems than it solves.
Part 1: The Universal First Step — Diagnose Before You Delete
Before deleting anything, you must understand what is consuming space. Blind deletion risks removing critical system files or application support data.
For Windows 10/11:
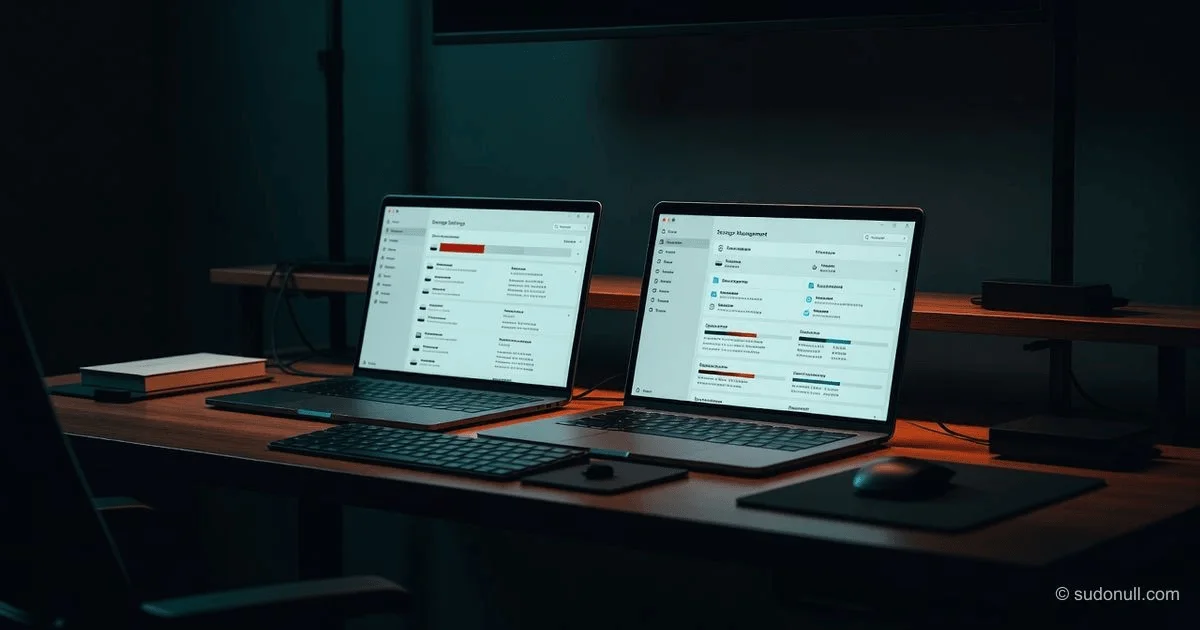
- Open Settings > System > Storage (or type "Storage Settings" in the search bar).
- Review the breakdown by category: Apps & features, Temporary files, Documents, Pictures, Videos, and Other.
For Mac (macOS Ventura 13 or later):
- Click the Apple menu > System Settings > General > Storage .
- Examine the color-coded bar. Pay special attention to two categories:
- System Data (or "Other") : A general category containing caches, logs, disk images, and Time Machine local snapshots. This is often the largest and most opaque category .
- Applications: Lists all installed apps sorted by size.
Why this matters: A 2024 study on file system aging demonstrated that "space pressure can cause a substantial amount of inter-file and intra-file fragmentation," which directly slows read performance . Diagnosing first prevents you from wasting time clearing 500MB of "Documents" when 50GB of "System Data" is the real culprit.
Part 2: Windows — Targeted Cleanup Strategies
Windows includes a robust suite of native cleaning tools that are often underutilized.
2.1. Run Storage Sense (Automated)
Storage Sense automatically deletes temporary files and items in your Recycle Bin older than a set threshold (default: 30 days).
- Path: Settings > System > Storage > Storage Sense.
- Recommendation: Configure it to run "Every week" and set "Delete files in my Recycle Bin if they have been there for over 30 days."
2.2. Manual Cleanup with Disk Cleanup (For Deep Cleans)
The Settings app does not catch everything. The legacy Disk Cleanup tool remains more thorough.
- Press
Windows + R, typecleanmgr, and press Enter. - Select your system drive (usually C:).
- Click "Clean up system files" (requires administrator privileges).
- Check these boxes for maximum safe recovery:
- Windows Update Cleanup (often 2-10+ GB)
- Delivery Optimization Files
- Recycle Bin
- Temporary files
- Thumbnails (will regenerate automatically)
Based on Microsoft's diagnostic criteria, maintaining at least 10% free space on your system drive is required for optimal temporary file operations and system updates .
2.3. Move User Folders to Another Drive
If you have a secondary HDD or SSD:
- Right-click Documents, Downloads, or Pictures folder > Properties.
- Go to the Location tab > Move.
- Select a folder on your secondary drive (e.g.,
D:\Users\YourName\Documents).
2.4. Advanced: Addressing TRIM on SSDs
If you use a Solid-State Drive (SSD), simply deleting files is insufficient for long-term performance. When you delete a file on an HDD, the operating system just marks the space as available. On an SSD, the drive needs a command called TRIM to know which data blocks are truly invalid .
- How to verify: Open Command Prompt as Administrator, type
fsutil behavior query DisableDeleteNotify.- If the result is
0, TRIM is enabled. - If
1, typefsutil behavior set DisableDeleteNotify 0to enable it.
- If the result is
- Why this matters: Research on hybrid SSDs indicates that early TRIM execution minimizes "garbage collection costs," directly improving both performance and endurance of the drive .
Part 3: Mac — Systematic Space Recovery
Apple's storage management is integrated into macOS, but it requires deliberate activation.
3.1. Enable Optimized Storage (Passive Recovery)
macOS can automatically offload work to iCloud and delete watched content.
- Path: Apple Menu > System Settings > General > Storage.
- Click the (i) icon next to each category:
- Store in iCloud: Stores photos, messages, and desktop/documents in iCloud, keeping only recent files locally. Based on Apple's documentation, this requires an iCloud storage plan (50GB starts at $0.99/month) .
- Optimize Storage: Automatically removes watched movies and TV shows from Apple TV.
- Empty Trash Automatically: Deletes items in Trash after 30 days.
3.2. Hunt for "System Data" (The Black Hole)
This category—often 50-100GB—contains caches, Time Machine local snapshots, and app support files.
- Clear System Caches via Safe Mode: Shut down your Mac, turn it on and immediately hold the Shift key until the login window appears. Log in (this may take longer than usual). Safe Mode forces the system to clear specific caches. Restart normally to complete the process .
- Delete Time Machine Local Snapshots: If you use Time Machine but haven't backed up recently, your Mac stores "snapshots" locally. Open Terminal and type
tmutil listlocalsnapshots /to see them. Delete them withsudo tmutil deletelocalsnapshots(requires an external backup immediately after).
3.3. Manual Purge (Immediate Relief)
Navigate to these locations via Finder > Go > Go to Folder:
~/Library/Caches/: Delete folders inside (not the folders themselves) for apps you no longer use.~/Downloads/: Sort by size and delete large.dmginstaller files (Apple recommends deleting files in Downloads, especially media you can stream again) .~/Library/Mobile Documents/: Check for orphaned iCloud Drive files.
3.4. Eject External Drives Properly
While not directly freeing space, failure to eject drives can cause file system corruption, leading to "Data Recovery" folders that consume space. Always right-click the drive on the Desktop or click the eject icon in Finder .
Comparison: Native Tools vs. Third-Party Software
| Feature | Built-in Windows/Mac Tools | Third-Party "Cleaners" |
|---|---|---|
| Safety | High (Microsoft/Apple signed) | Variable (Risk of registry/deletion errors) |
| System Cache | Yes (via Disk Cleanup/Safe Mode) | Yes (often aggressive) |
| Duplicate Files | No | Yes (but requires manual review) |
| Cost | Free | Often subscription-based |
| TRIM Support | Yes (Automatic) | Rare |
Recommendation: Use only built-in tools. A 2023 IEEE paper on storage systems noted that while user-initiated TRIM reduces overhead, "aggressive third-party optimization scripts often conflict with the Flash Translation Layer," potentially increasing write amplification .
Part 4: The Nuclear Option — Fresh Start
If your computer is still slow after cleaning, backup fragmentation may be irreversible without reformatting. Research from the University of Wisconsin demonstrated that even when storage devices are "nearly empty," certain usage patterns induce "exquisite proneness to read aging" .
When to clean install:
- You have less than 10GB free after deleting all user data.
- The "System/Other" category exceeds 100GB and cannot be reduced.
- You experience kernel panics or Blue Screen of Death (BSOD) related to
NTFS.sysorAPFS.
Process:
- Windows: Use "Reset this PC" (Settings > Recovery) or a USB installation media.
- Mac: Restart and hold
Command + Rto enter Recovery Mode, then use Disk Utility to erase the volume and reinstall macOS.
Key Takeaways
- Maintain 10-15% free space on your startup disk. Saturation below this threshold triggers aggressive garbage collection and fragmentation, slowing reads by an order of magnitude .
- Run native tools first: Disk Cleanup (with system files) for Windows; Storage Management + Safe Mode boot for Mac. These are safer and more effective than paid cleaners.
- Enable TRIM on Windows SSDs and understand that macOS handles it automatically. This prevents "write amplification," which degrades SSD lifespan .
- Distinguish between deletion and offloading. Moving photos to iCloud or an external drive is not the same as deleting them; the former preserves access while freeing local space .
- When in doubt, reboot and retry. Temporary files locked by running processes (Windows pagefile.sys, Mac swap files) only release after a restart.
Frequently Asked Questions
Q1: Why does my "System Data/Other" keep growing even when I don't install anything?
A: This is usually Time Machine local snapshots (Mac) or System Restore points/Previous Versions (Windows). On Mac, connect an external backup drive to force snapshots to clear. On Windows, type "Create a restore point" > Configure > Delete to clear old restore points, but be aware you will lose rollback capability.
Q2: Is it safe to delete everything in the "Temp" folder?
A: Yes, but only after a restart. On Windows, type %temp% in Run; you can delete all files. Skip any "file in use" errors. On Mac, navigate to ~/Library/Caches/. Do not delete the folder itself, only its contents. Deleting caches will slow down your first launch of apps afterward but will not break them.
Q3: Does defragmenting help modern computers?
A: No for SSDs; rarely for HDDs. Defragmenting an SSD causes unnecessary write cycles and reduces its lifespan. Windows automatically defragments HDDs weekly. macOS does not expose a defrag tool because APFS is designed to reduce fragmentation, though research shows APFS is still "exquisitely prone to read aging" under specific write patterns .
Q4: I deleted 30GB of files, but Windows says I only have 1GB free. Why?
A: The Recycle Bin. Deleted files remain in the Recycle Bin and still occupy space. Empty the Recycle Bin. On Windows, you can also adjust the "Maximum size" of the Recycle Bin by right-clicking it > Properties.
Q5: My Mac won't boot because the startup disk is full. How do I fix it?
A: Boot into Safe Mode (hold Shift during startup). Safe mode clears system caches and may free 2-5GB, giving you enough room to boot normally and uninstall applications . If that fails, boot into Recovery Mode (Command + R) and use Terminal to delete a large folder (e.g., rm -rf /Volumes/Macintosh\ HD/Users/yourname/Downloads/*).
— Editorial Team







No comments yet.