JoysMaker R2 Black - 3D printer for the inexperienced
Recently, it’s already not surprising anyone with the next 3D printer. I got the Joysmaker R2 Black FDM printer in an acrylic case, I liked it first of all with characteristics comparable to more expensive competitors. I want to note right away that Joysmaker printers are manufactured and shipped from China, this is a replica of the notorious Ultimaker.
After calculating the cost of delivery from China and remembering my adventures with customs a couple of years ago, I decided to order it in Moscow in an online store, and besides, it was available there. I did not order the assembly kit, but immediately took the assembled version, it only remained to charge the plastic coil and carry out the calibration.
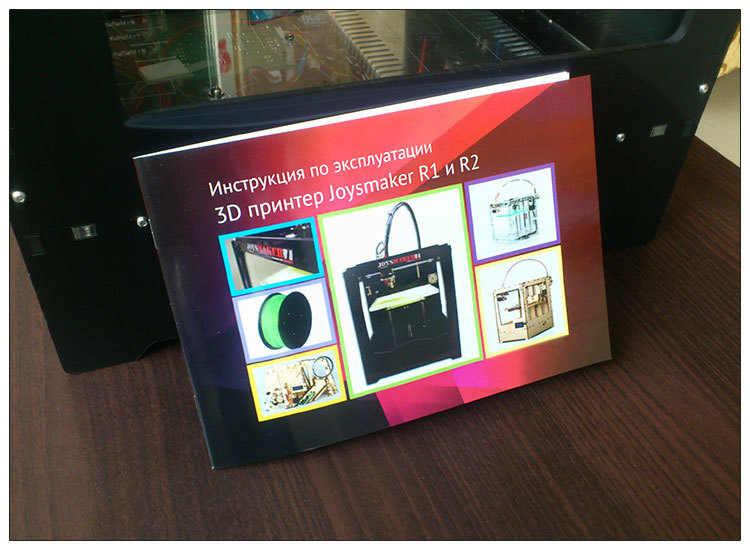
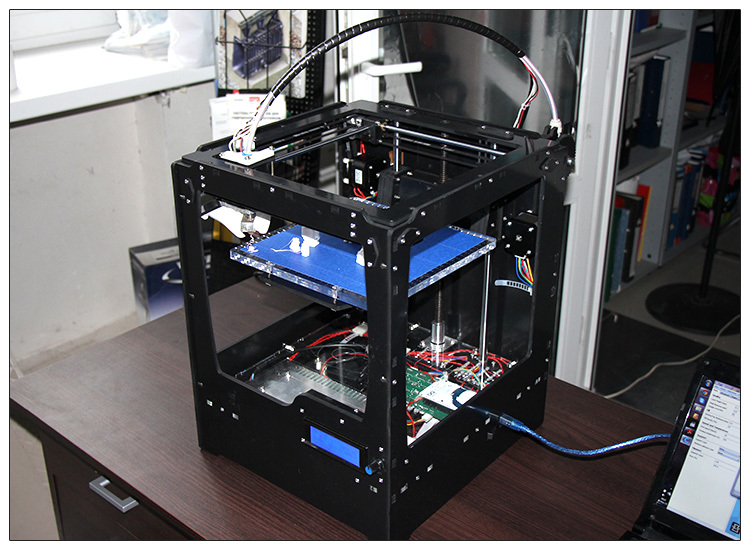
The first thing I naturally rushed to closely study this device, I must note that the quality of work exceeded my expectations. The case of black acrylic does not look as artisanal as plywood. There was a booklet with a brief instruction that tells the lucky owner the first steps in communicating with a 3D printer.

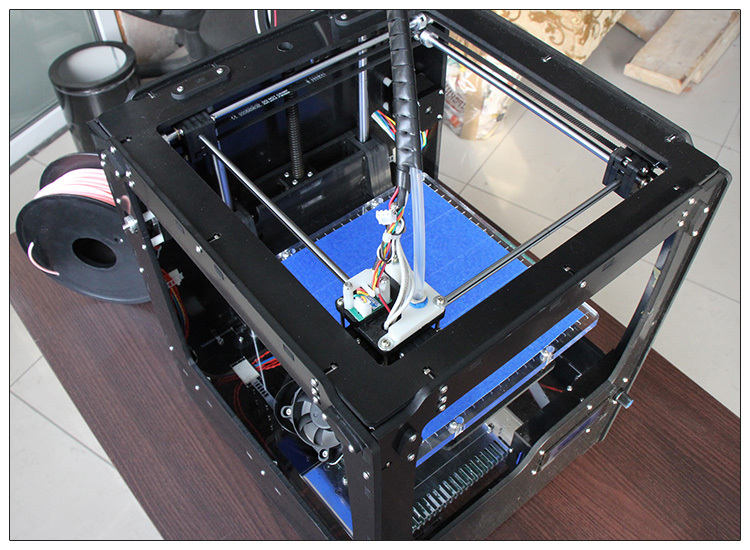
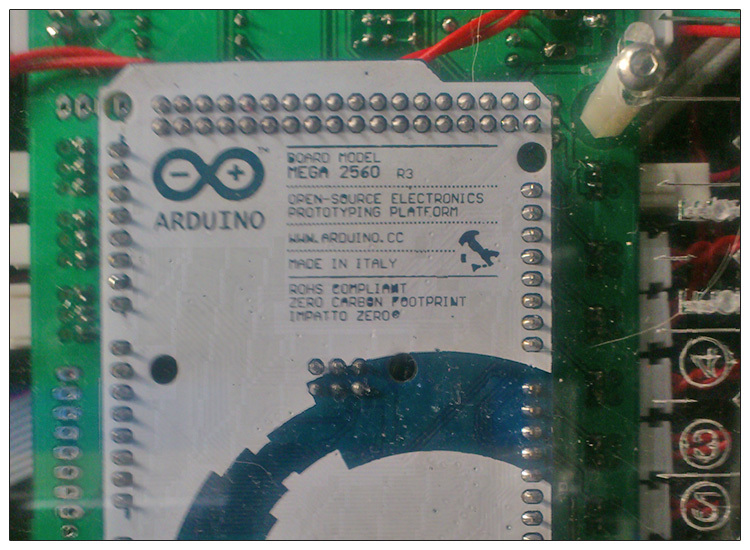
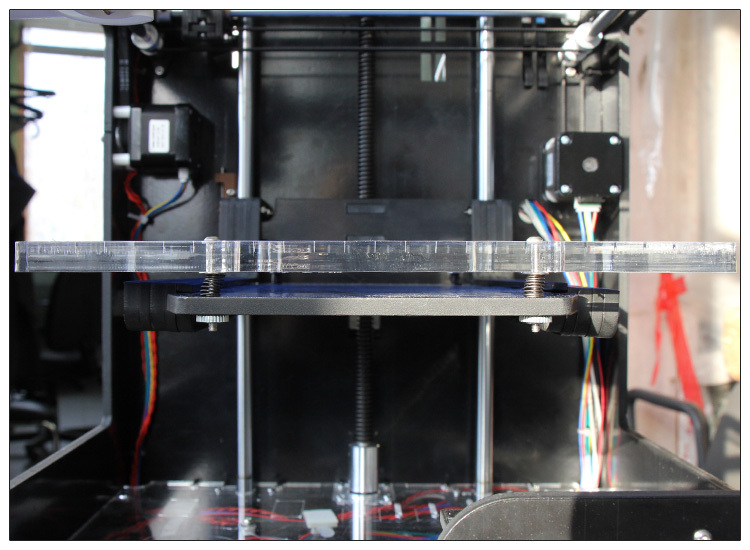
I can’t say that the printer is heavy, but not light. In total, its weight is about 13 kg. A couple of photos of the filling itself will help to make out the details below:

Dimensions of the printer's working area: 21x22x22 cm. The

coil was brought to me in pink, do not ask why. It should be noted that the Joysmaker R2 Black model itself has the ability to use both PLA plastic and ABS plastic.
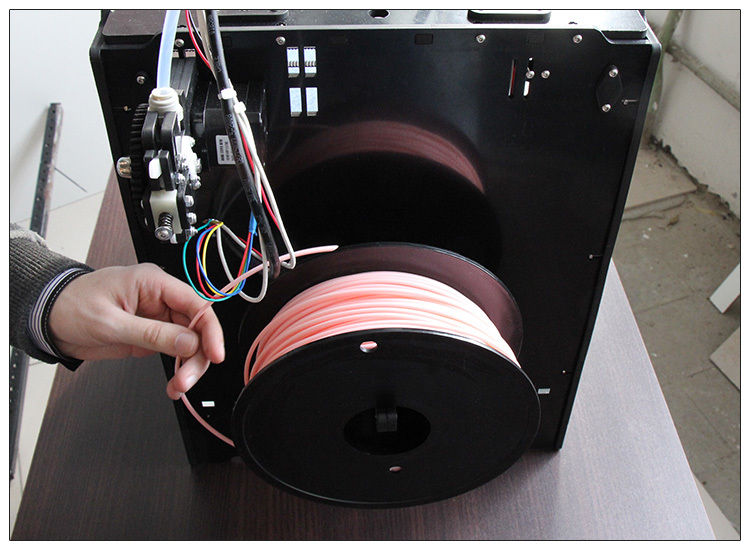
An important indicator when ordering this model is the number of extruders. In my model there was one extruder, but if desired, you can order a complete set with two extruders. The thing turned out to be tricky, and without thehelp of the call hall to a friend, I could not stick a plastic thread into it and get to the base of the print head, which in turn would heat this thread.
I will briefly describe the process of this operation below.
1. Pull up on the lever, which will lower the lower extruder structure all the way down.
2. Push the plastic thread all the way. You should already see it at the other end of the transparent tube and feel the base of the nozzle.
3. Pull up the lower extruder structure, returning to the initial position the white lever, finally locking with the transverse lever.

A short video of how we did this is attached below.
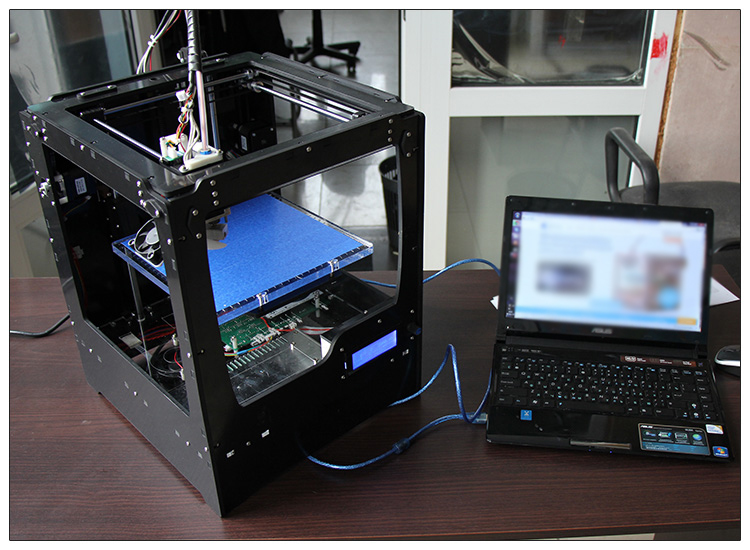
After preparing the printer, it remains only to install the software. Joysmaker uses the same software as Ultimaker, namely the Cura program. What can I say, China produces analogues that are not inferior to the original, while maintaining compatibility with the software.
In the end, having calibrated the printer, we were ready to go to print. Many ready-made models can be downloaded on the Internet, but it is much more interesting to create a model yourself. For simple models, Trimble SketchUp Pro (Pro, since there is export to obj) is quite suitable. The printer itself eagerly “eats” files with the extension .stl and works much faster with them when they are copied to the memory card itself.
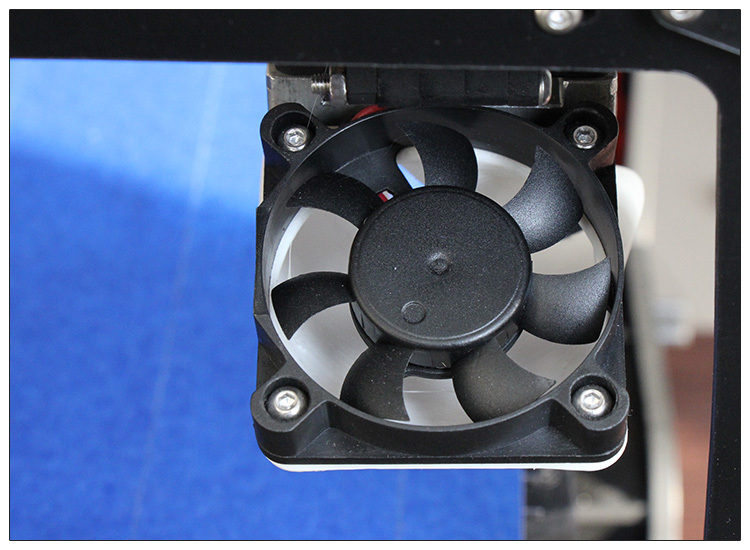
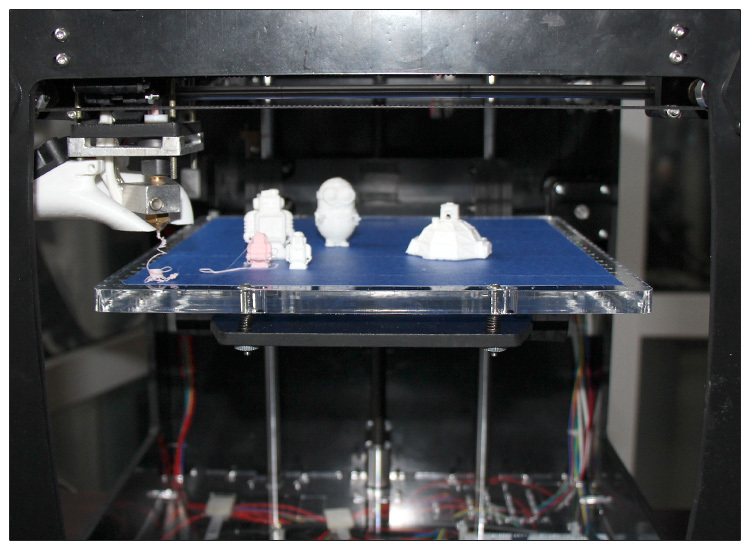
Well, we only had to wait 30 seconds after which the nozzle of the 3D printer warmed up to 220 degrees and started the process. A narrowly directed mini-fan is also mounted to the print head of the printer, which prevents the parts from melting in the layer of hot air between the heated platform and the extruder. The cooler works very quietly and imperceptibly. It was also quite convenient to monitor all the processes through the built-in display, which optionally appeared in the R2 models, which allows you to track many parameters. Of the languages, only English is available.


The accuracy of the positioning and the final product that JoysMaker R2 makes is often lame, however, the correct calibration of the printer decides a lot. It takes a lot of time for small objects, the smallest robot printed for 11 minutes with a layer thickness of 0.5 mm.
The main characteristics according to the manufacturer's statement for JoysMaker R2 Black are as follows:
Printing technology: FDM
Materials used: ABS, PLA
Number of extruders: 1 (can be installed 1 more)
Heated platform: yes
Working area: 210х210х220 mm
Printing speed: 50-300 mm / s
Declared layer thickness: ≥0.05 mm
Declared accuracy: 0.0125 mm
Part cooling: yes
Nozzle diameter: 0.4 mm
SD card printing: yes
LCD display: yes
OS: Win / Mac / Linux
Power supply: 220V 50Hz
JoysMaker R2 Black prints using the Fused Deposition Modeling (FDM) method and must admit that when the platform and the print nozzle were incorrectly calibrated and overheated, the layers of the part began to creep, turning the detailed model into an unknown design. As it turned out later, a mistake was made on my part, expressed in the initial under-calibration and incorrect software configuration. Cura allows you to customize print settings for the future model individually, thereby producing quite delicate items in terms of accuracy, subtlety and complexity.
For those who want to print more complex designs using two coils, a similar model with an extension is provided at the same time, marking itself as the JoysMaker R2 Double Black.
I would also like to express special thanks to Kirill and Vyacheslav for their support and encouragement to conduct the review. We were satisfied with the purchase and the new toy, which found application not only in work, but also in household goods.
After calculating the cost of delivery from China and remembering my adventures with customs a couple of years ago, I decided to order it in Moscow in an online store, and besides, it was available there. I did not order the assembly kit, but immediately took the assembled version, it only remained to charge the plastic coil and carry out the calibration.
The first thing I naturally rushed to closely study this device, I must note that the quality of work exceeded my expectations. The case of black acrylic does not look as artisanal as plywood. There was a booklet with a brief instruction that tells the lucky owner the first steps in communicating with a 3D printer.
I can’t say that the printer is heavy, but not light. In total, its weight is about 13 kg. A couple of photos of the filling itself will help to make out the details below:
Dimensions of the printer's working area: 21x22x22 cm. The
coil was brought to me in pink, do not ask why. It should be noted that the Joysmaker R2 Black model itself has the ability to use both PLA plastic and ABS plastic.
An important indicator when ordering this model is the number of extruders. In my model there was one extruder, but if desired, you can order a complete set with two extruders. The thing turned out to be tricky, and without the
I will briefly describe the process of this operation below.
1. Pull up on the lever, which will lower the lower extruder structure all the way down.
2. Push the plastic thread all the way. You should already see it at the other end of the transparent tube and feel the base of the nozzle.
3. Pull up the lower extruder structure, returning to the initial position the white lever, finally locking with the transverse lever.
A short video of how we did this is attached below.
After preparing the printer, it remains only to install the software. Joysmaker uses the same software as Ultimaker, namely the Cura program. What can I say, China produces analogues that are not inferior to the original, while maintaining compatibility with the software.
In the end, having calibrated the printer, we were ready to go to print. Many ready-made models can be downloaded on the Internet, but it is much more interesting to create a model yourself. For simple models, Trimble SketchUp Pro (Pro, since there is export to obj) is quite suitable. The printer itself eagerly “eats” files with the extension .stl and works much faster with them when they are copied to the memory card itself.
Well, we only had to wait 30 seconds after which the nozzle of the 3D printer warmed up to 220 degrees and started the process. A narrowly directed mini-fan is also mounted to the print head of the printer, which prevents the parts from melting in the layer of hot air between the heated platform and the extruder. The cooler works very quietly and imperceptibly. It was also quite convenient to monitor all the processes through the built-in display, which optionally appeared in the R2 models, which allows you to track many parameters. Of the languages, only English is available.
The accuracy of the positioning and the final product that JoysMaker R2 makes is often lame, however, the correct calibration of the printer decides a lot. It takes a lot of time for small objects, the smallest robot printed for 11 minutes with a layer thickness of 0.5 mm.
The main characteristics according to the manufacturer's statement for JoysMaker R2 Black are as follows:
Printing technology: FDM
Materials used: ABS, PLA
Number of extruders: 1 (can be installed 1 more)
Heated platform: yes
Working area: 210х210х220 mm
Printing speed: 50-300 mm / s
Declared layer thickness: ≥0.05 mm
Declared accuracy: 0.0125 mm
Part cooling: yes
Nozzle diameter: 0.4 mm
SD card printing: yes
LCD display: yes
OS: Win / Mac / Linux
Power supply: 220V 50Hz
JoysMaker R2 Black prints using the Fused Deposition Modeling (FDM) method and must admit that when the platform and the print nozzle were incorrectly calibrated and overheated, the layers of the part began to creep, turning the detailed model into an unknown design. As it turned out later, a mistake was made on my part, expressed in the initial under-calibration and incorrect software configuration. Cura allows you to customize print settings for the future model individually, thereby producing quite delicate items in terms of accuracy, subtlety and complexity.
For those who want to print more complex designs using two coils, a similar model with an extension is provided at the same time, marking itself as the JoysMaker R2 Double Black.
I would also like to express special thanks to Kirill and Vyacheslav for their support and encouragement to conduct the review. We were satisfied with the purchase and the new toy, which found application not only in work, but also in household goods.