Making a charge and mileage indicator for an electric car

Who needs a battery indicator in%? In fact, we need to know how far we can travel on a battery without recharging. Let's make such an indicator. It can show how much you have traveled (seconds / minutes / meters) after fully charging, as well as how much more you have to drive (meters / seconds / minutes) as well as the total mileage. At the same time, we will figure out using a super example the Micro Arduino ATtiny family of controllers.
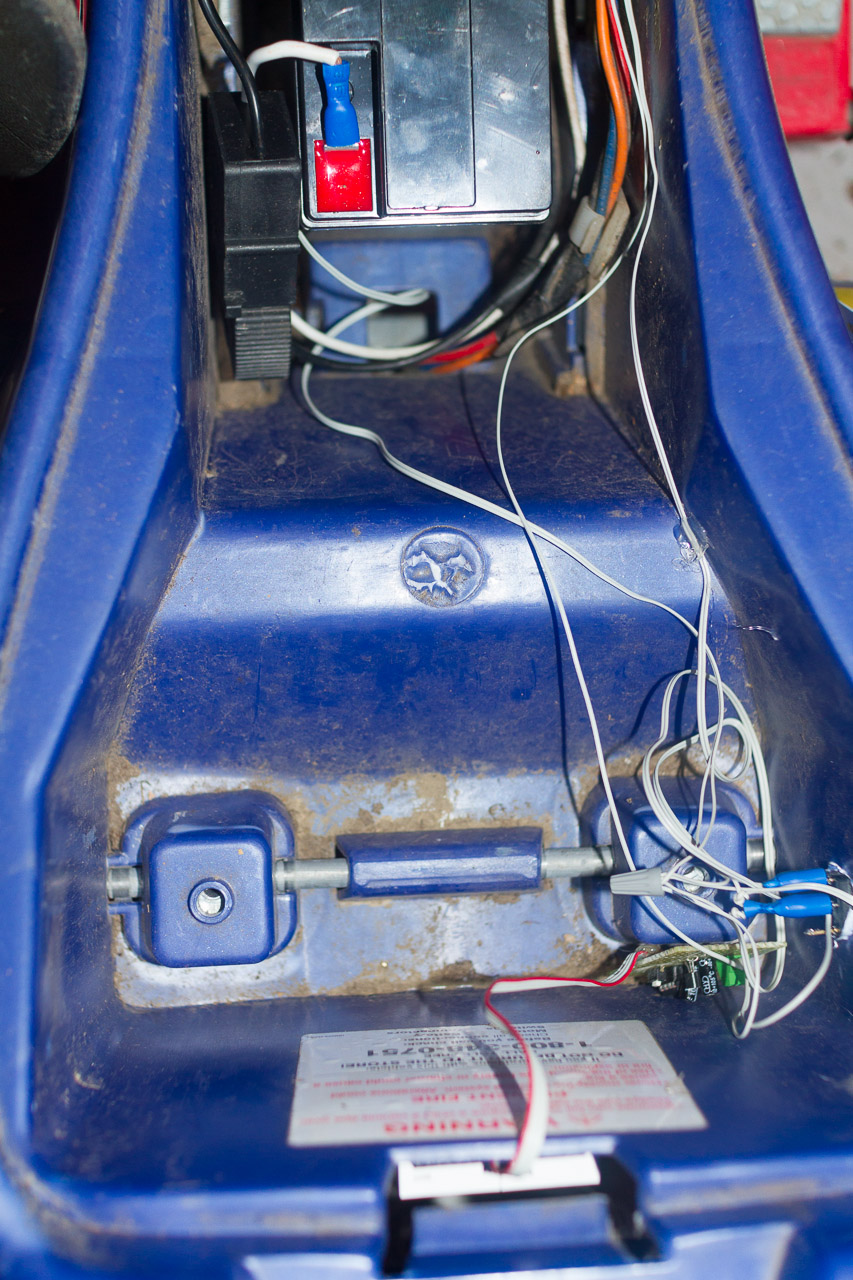
The resulting device can be used on any children's cars (for example, Power Wheels) and, one way or another, on any electric vehicles, electro-quads, electric bicycles, electric mopeds and electric golf cars. Our device will count the time (in seconds) that the motor was turned on. It is understood that the average speed is approximately the same and full throttle is always pressed. Then these seconds are remembered and converted into meters and kilometers according to the programmed formula.
Different cars have different batteries. Our device will work from 6 to 24 volts.
And so the same is displayed:
1) The current (after the battery is fully charged) mileage in meters with an accuracy of tens of meters.
2) The current (after the battery is fully charged) mileage in hours, minutes and seconds, accurate to tens of seconds.
3) The distance at which the battery will last (using the previously verified and prescribed time in seconds of the engine running with a charged battery) in meters to the nearest tens of meters.
4) The total number of moto-hours for all the time (like on airplanes)
5) The total mileage on all the time (like on cars)
6) The current voltage on the battery. On it, too, you can judge the discharge.
Of course, battery capacity decreases over time. There is also self-discharge and poor performance at low temperatures.
This project pursued the two goals mentioned above. I was interested to deal with ATtiny and tired of pushing my son, on a discharged electric quadric, to the house. ATtiny is much cheaper than its large Arduino counterparts. And often in projects where 8kb and 5 GPIOs there is absolutely no reason to shoot sparrows from a cannon. Of course, we got a bias in the fact that we saved on the controller, but paid three expensively to the Chinese for the indicator with I2C.
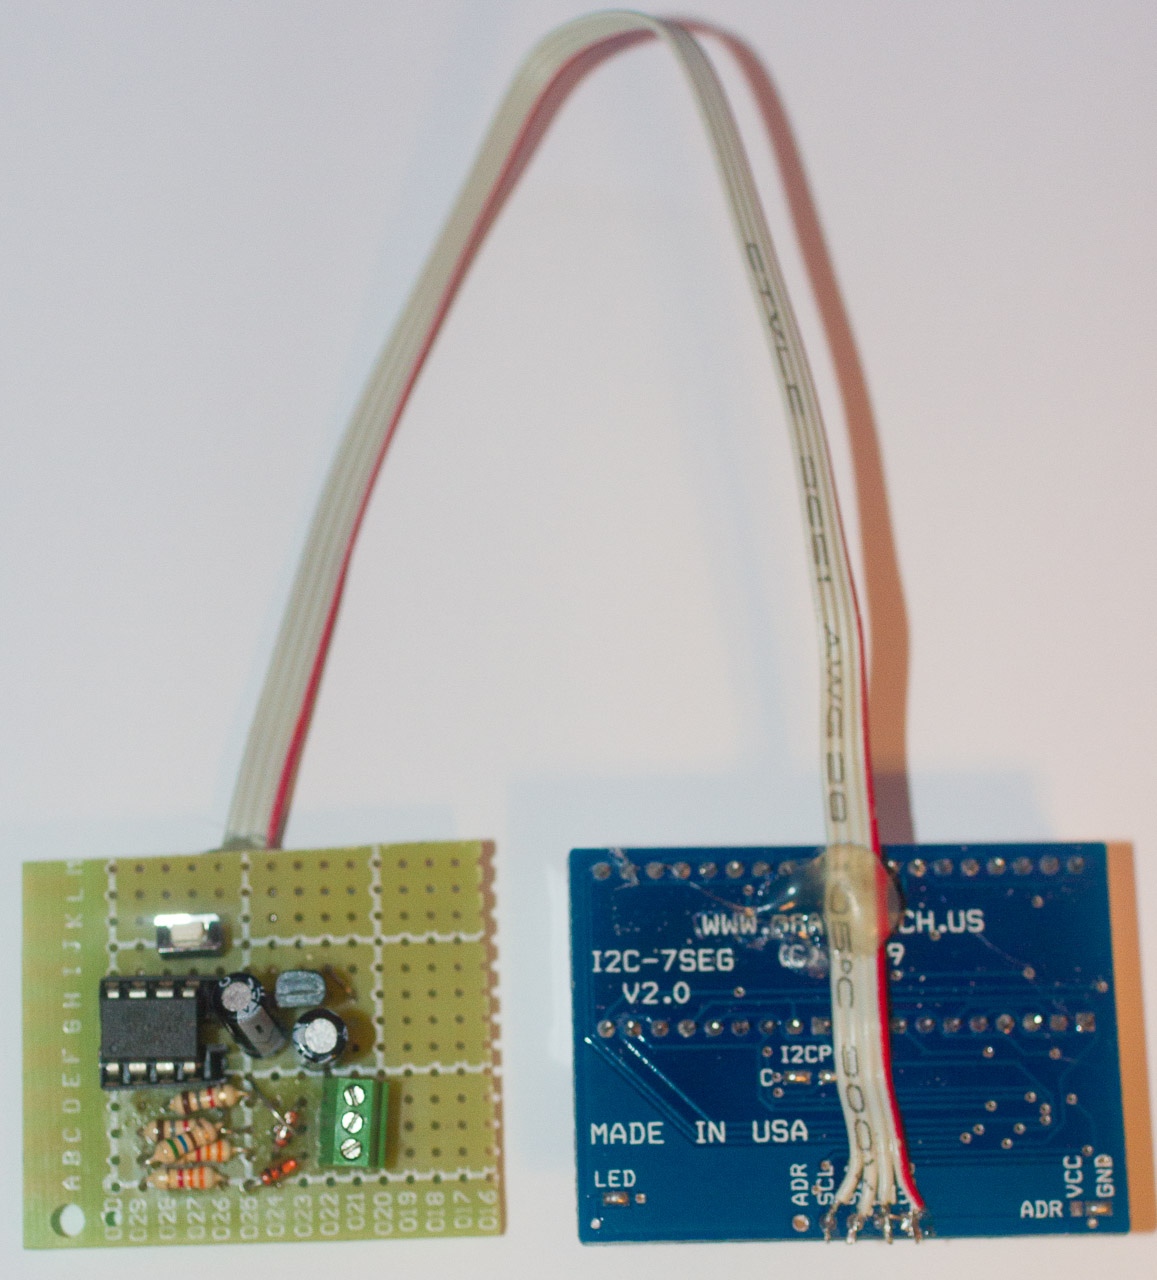
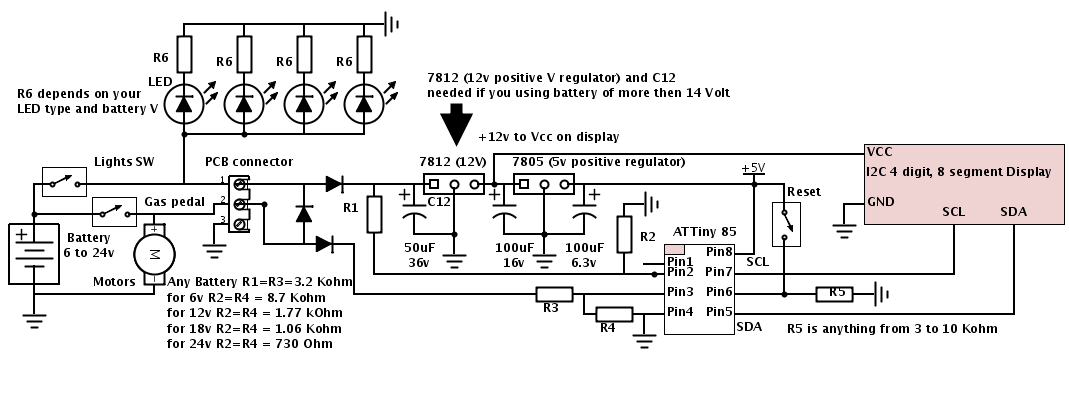
What we need: a 4x4 cm textolite training board with a pitch of 2.54 mm, 5 resistances, 3 diodes, 2-3 capacitors, a reset button, a toggle switch on / off, a DIP socket for 8 legs, one roll at 5 volts and maybe one at 12, one ATtiny85 chip (programmable, for example, via the usual Arduino from the standard IDE) and one 8-segment 4-digit LED indicator with I2C interface. The cost of the latter greatly outweighs everything else and can reach up to 400 rubles. I bought on ibey. In total, 450-500r is obtained.
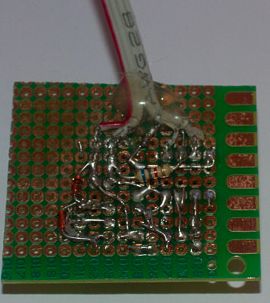
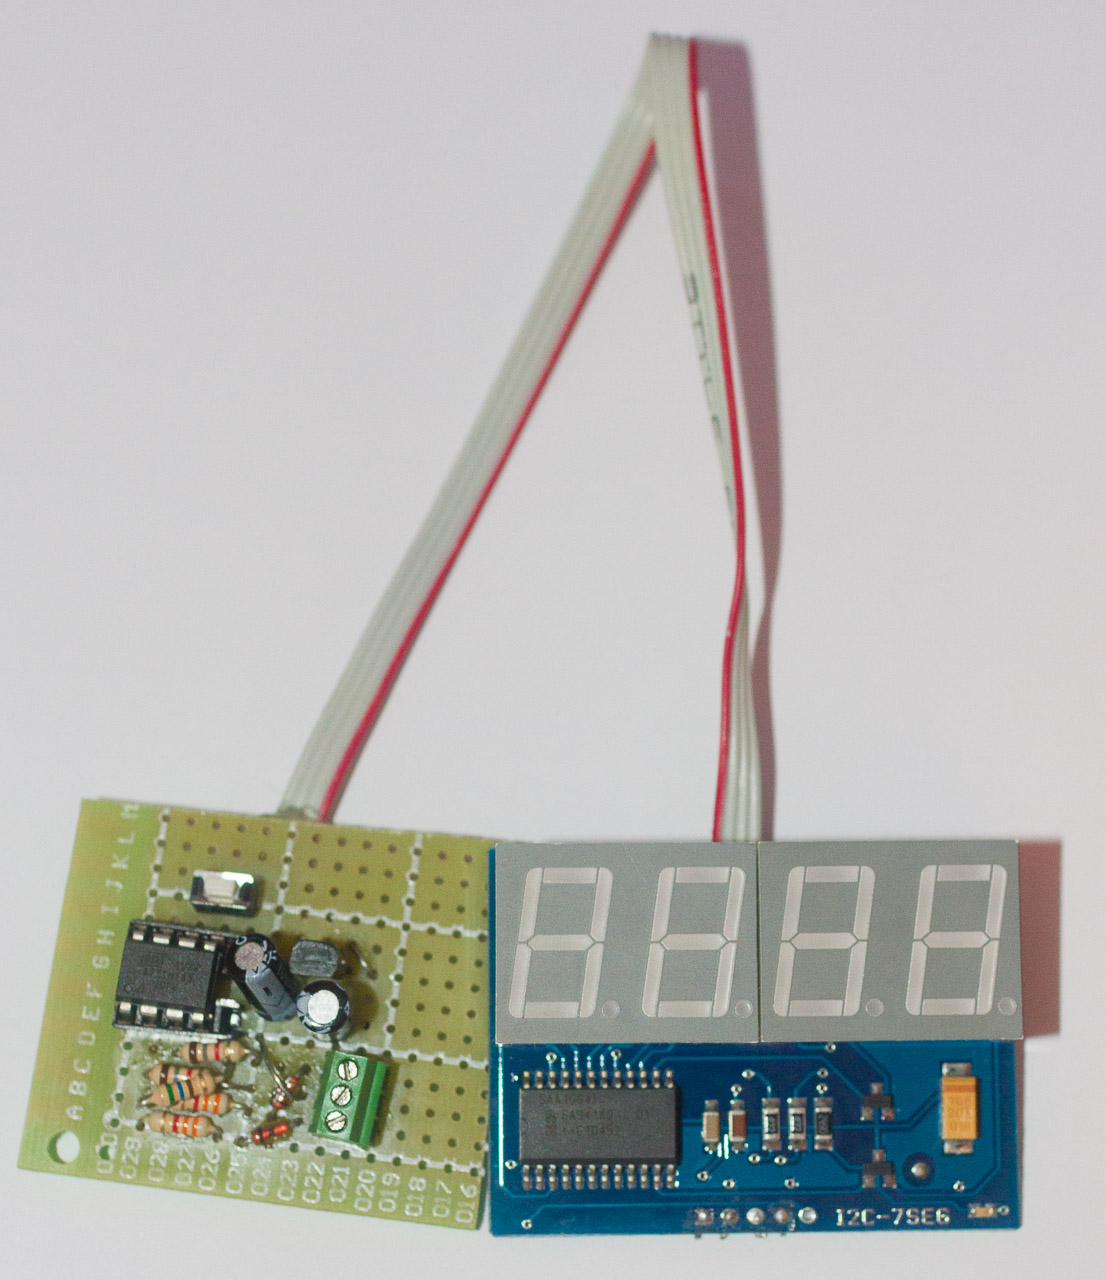
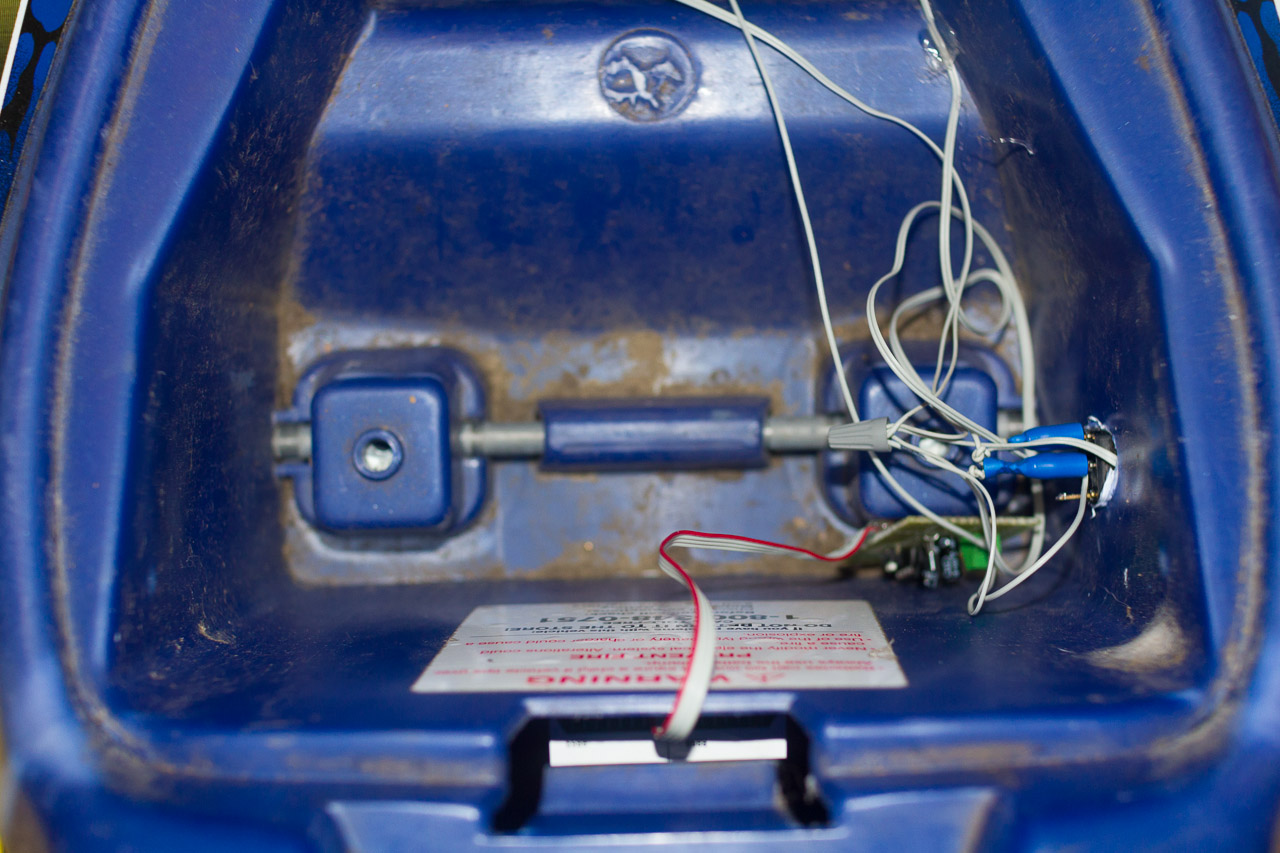
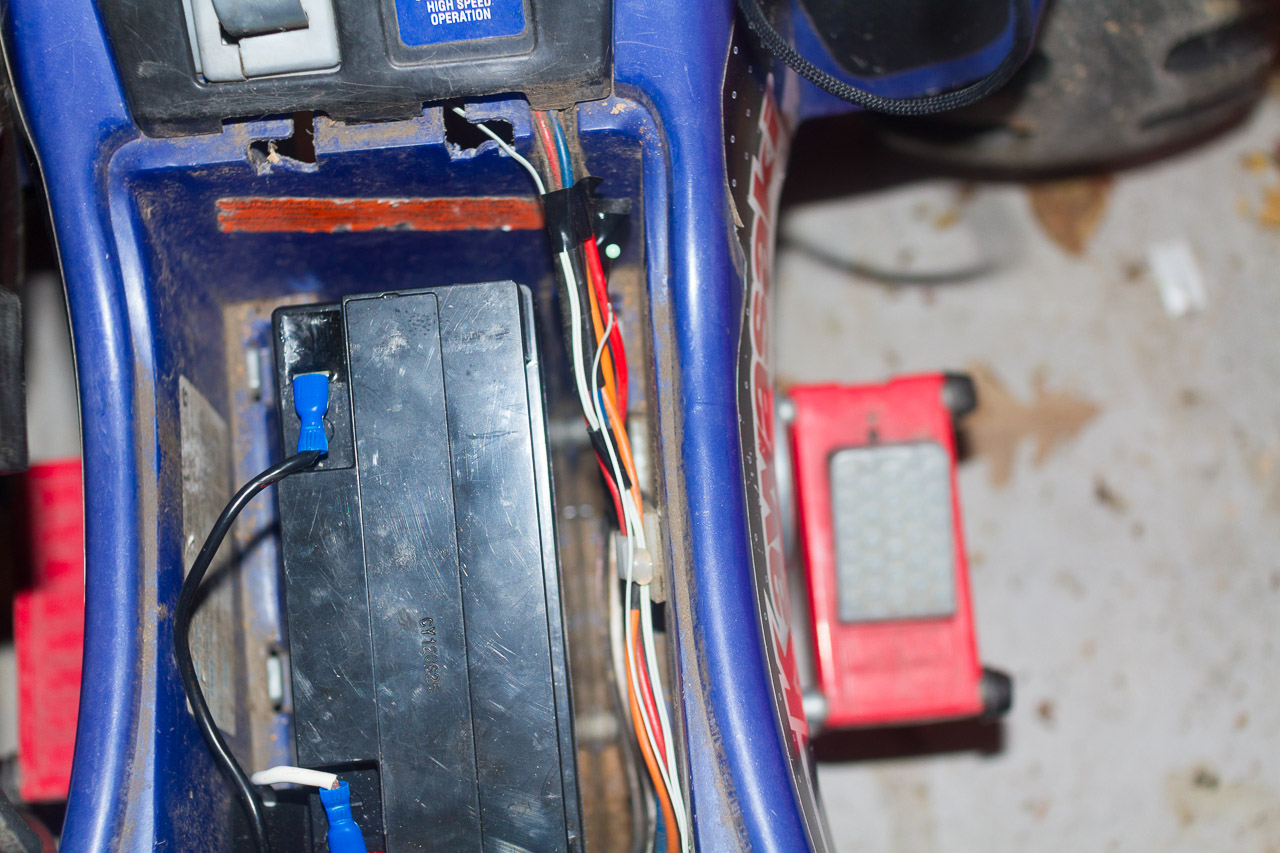
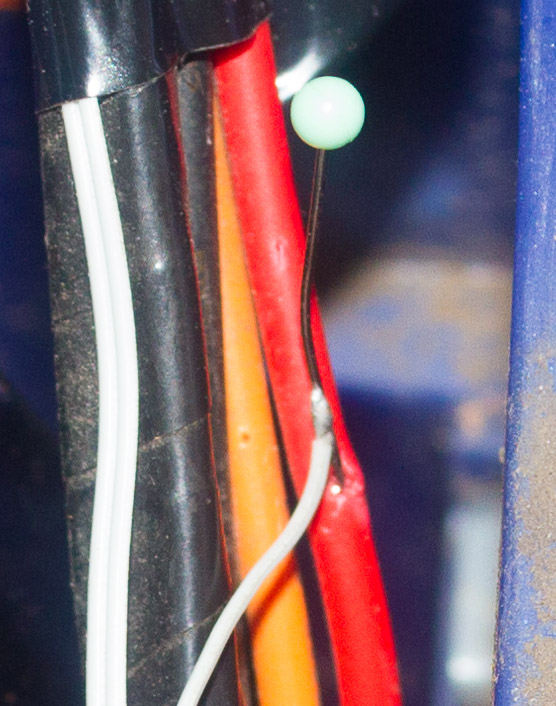
Here is a diagram of the device and photos of manual wiring: Four LEDs are for illuminating the dimensions. It gets dark early in winter and for safety it is better that your child rushing along the street can be seen from far away. Code, required libraries and firmware https://github.com/chouckz/PowerWheelsOdomiter
tinyI2C is already tweaked for working at 8MHz.
Guide on how to program ATtiny85 http://www.youtube.com/watch?feature=endscreen&v=30rPt802n1k&NR=1
The only thing to remember is to preload the boot loader at 8 MHz.
Typical schemes of children's electric machines:
http://www.modifiedpowerwheels.com/forum/topic.asp?TOPIC_ID=2236
http://www.modifiedpowerwheels.com/forum/topic.asp?TOPIC_ID=1075
Here's what happened:
Video