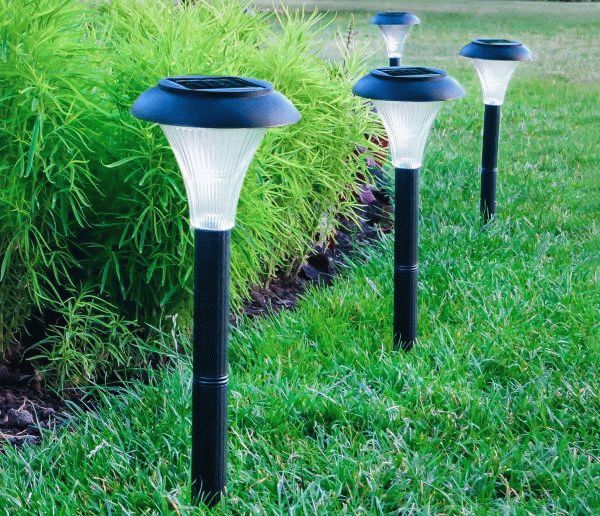
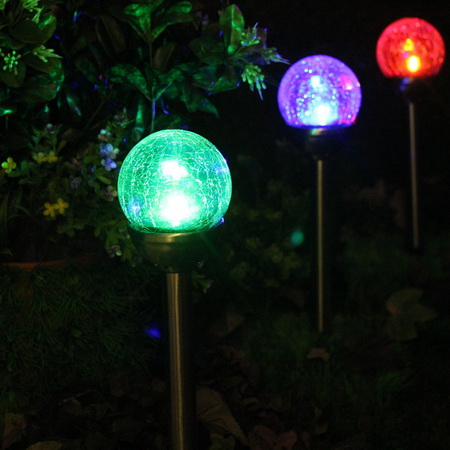
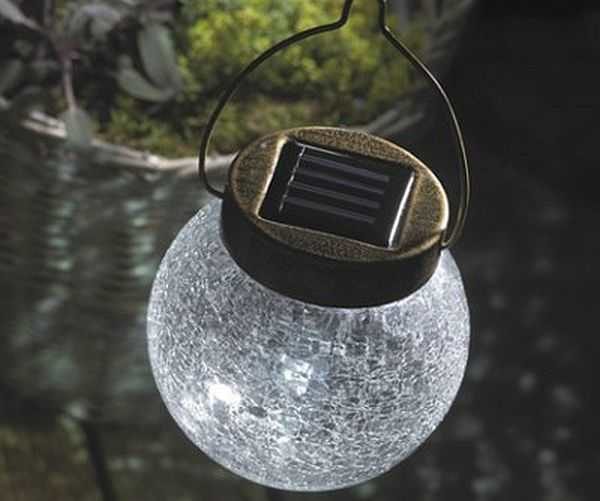
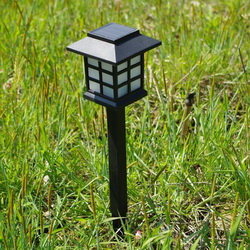
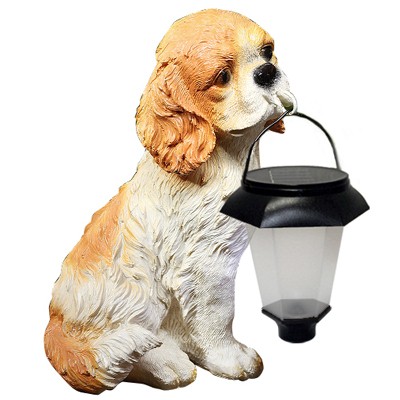
A small review of solar lanterns
Probably many gardeners and owners of houses in the village more than once saw various flashlights with a solar battery in shops and supermarkets and many could not resist buying. It's so interesting - to decorate your site so that it would look elegant not only in the daytime, but also in the evening hours. After all, the garden paths and flowerbeds illuminated at night look so beautiful!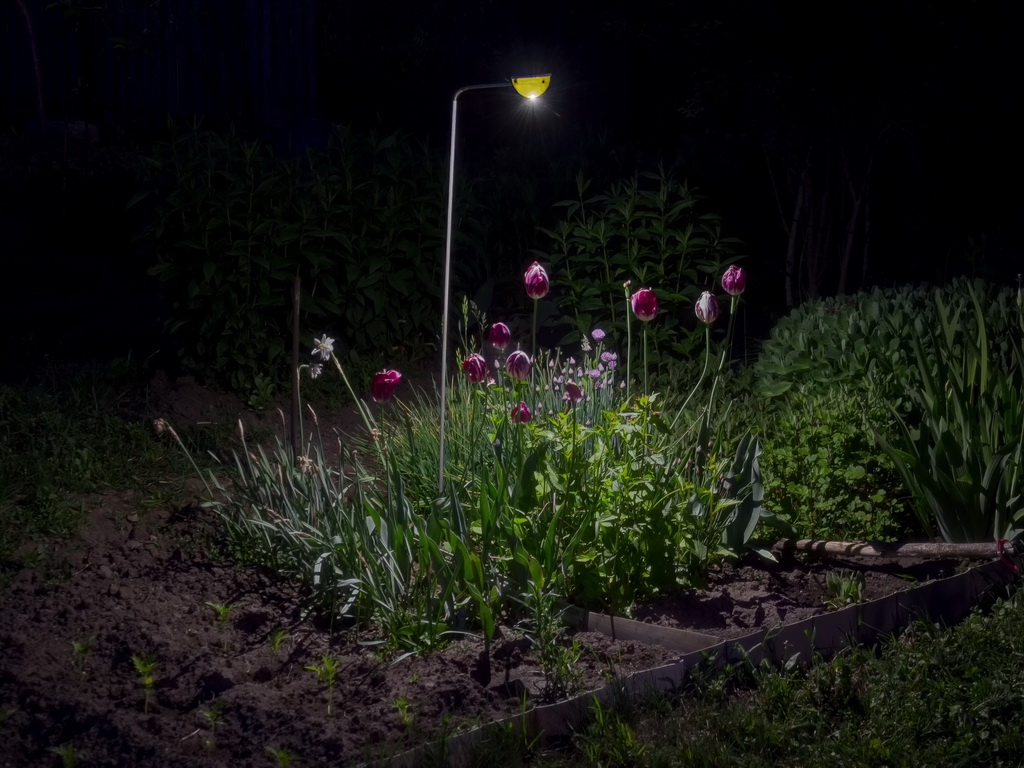
Carefully, under the cut a lot of pictures
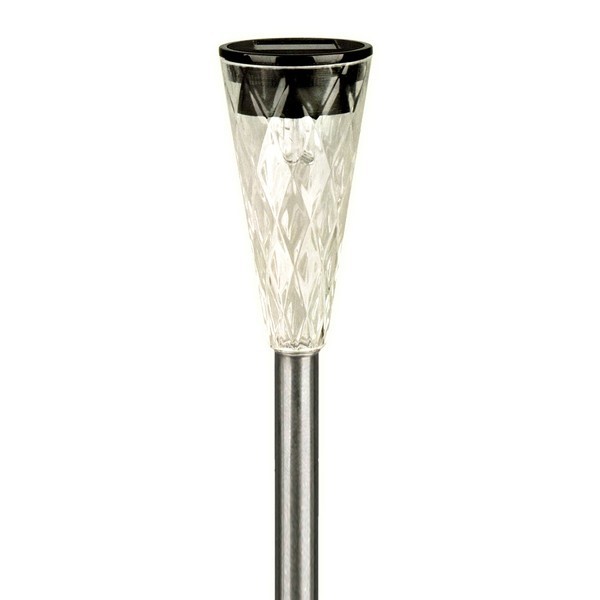
Despite all the external variety of designs of solar lanterns, their electronic filling is made quite typical: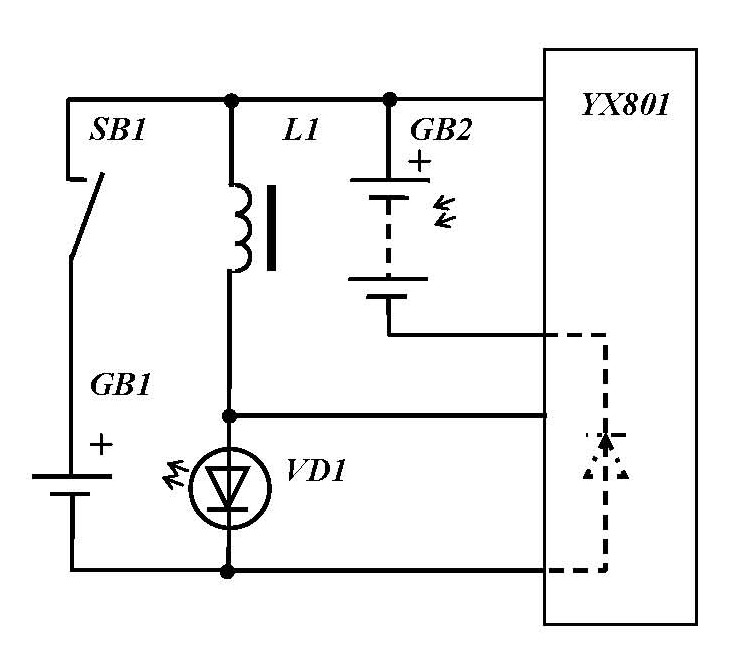
It consists of a solar battery, a printed circuit board with electronics built on ICs of the YX8XXX, ANA618, QX5252 families, an LED, a battery and a switch, which is often replaced with a paper check inserted between the plus terminal of the battery and the contact in the battery compartment for cheaper purposes. 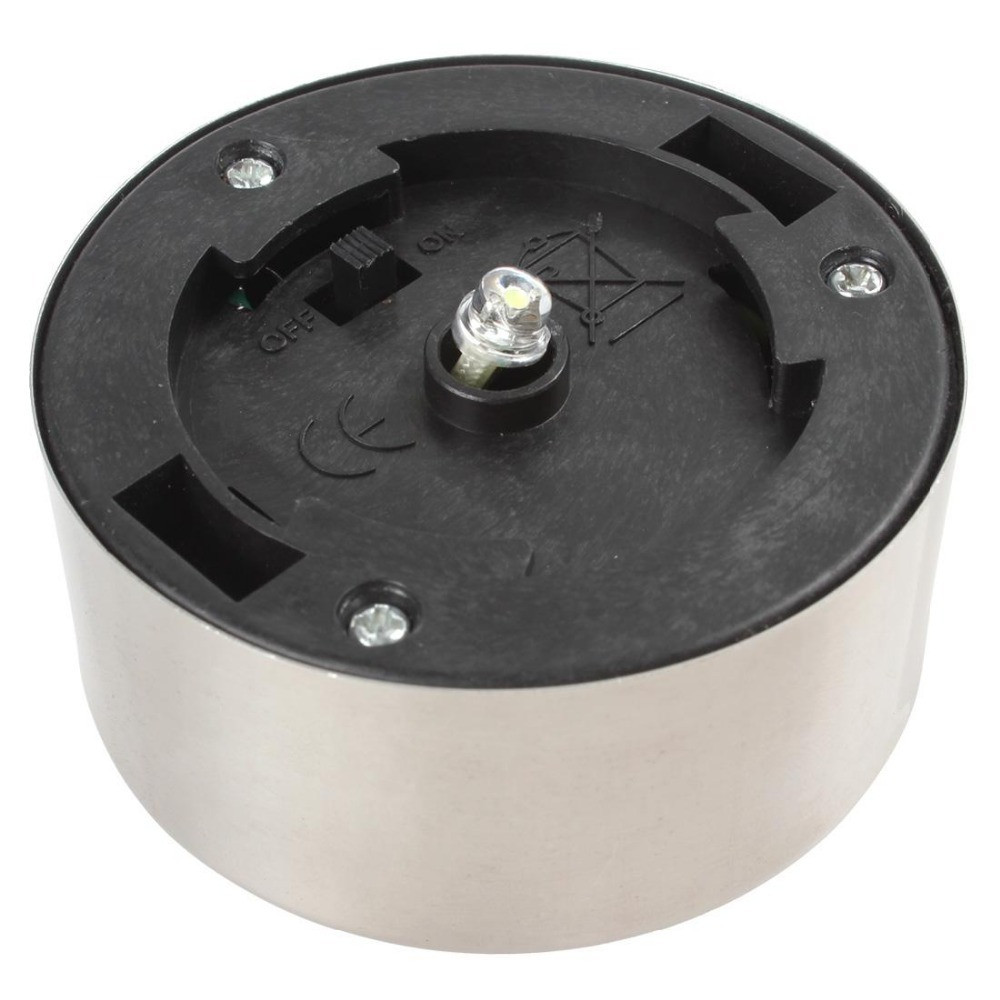
The flashlights use finger Ni-Cd or Ni-Mh batteries of the AA, AAA format, or disk elements with a capacity of 80 ... 600 mA / h, usually of poor quality, but for the season they are usually quite enough (and if recharged in the winter, then even -3 seasons).
And now let's take a closer look at solar batteries. Basically, two main types of solar cells are used, these are film panels: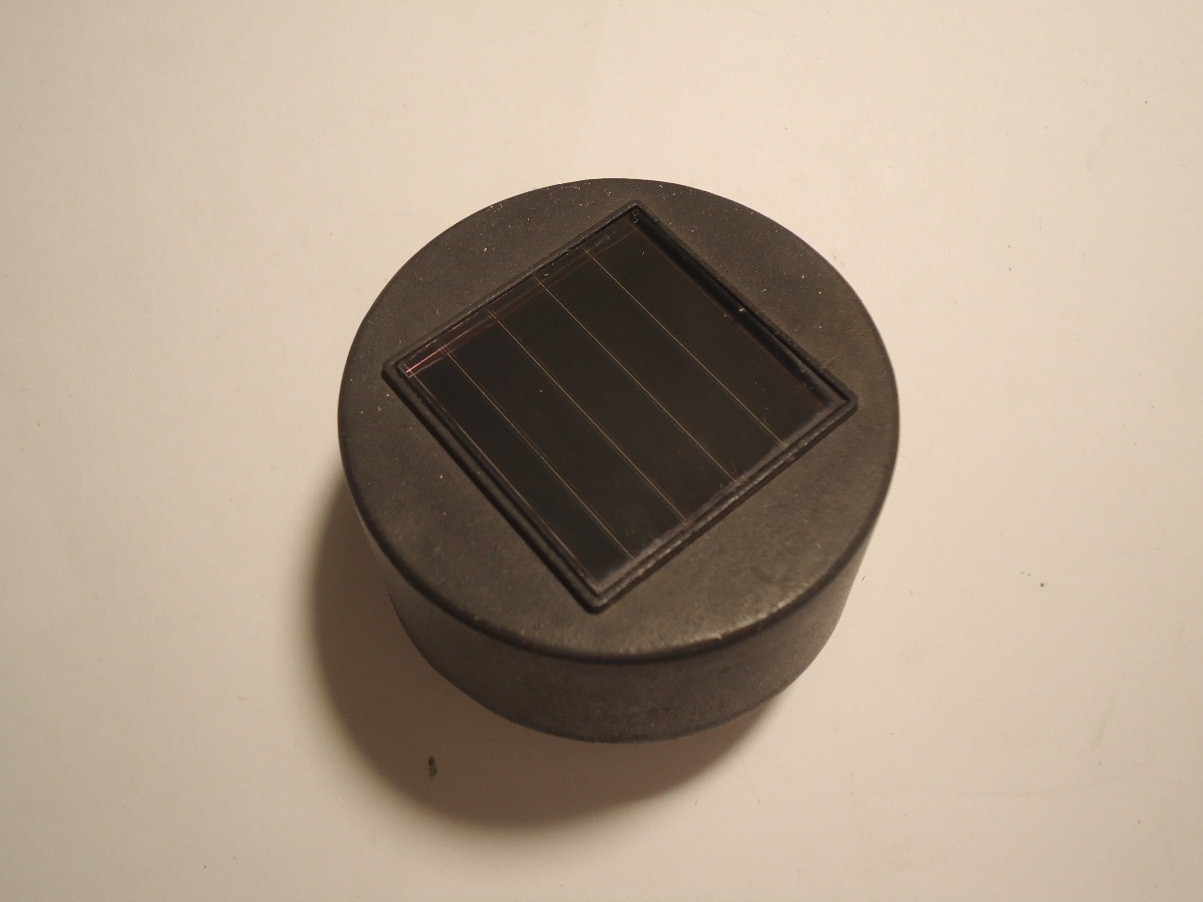
And monocrystalline silicon panels:
Film elements do not differ in efficiency, but in 30–100 ruble solar lanterns, which are widely presented in commercial networks, they are usually used, losing by current output to monocrystalline silicon panels comparable in area about five times.
Solar panels based on monocrystalline silicon wafers for solar torches are usually made from industrial solar panels production wastes, and even in one batch they can have significant differences in the area of photovoltaic plates poured into a transparent compound. But the larger their area, the better for the day the battery will charge the solar flashlight, so when buying, if you can better choose a flashlight with larger plates of photocells.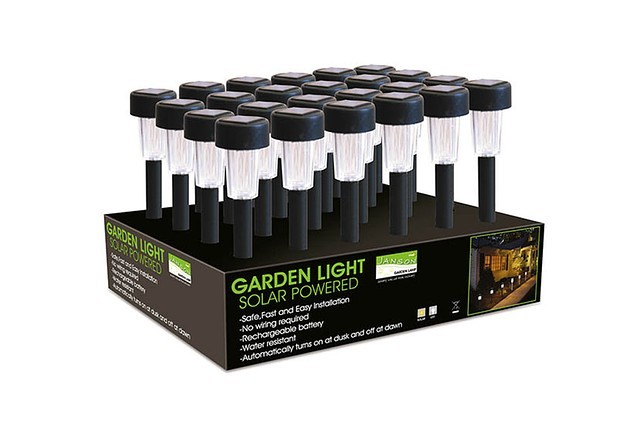
Before buying it is better to carefully inspect the flashlight, its leg and the cover for the presence of cracks, the solar panel of the flashlight should not have any visible damage. Turn on the flashlight, for this you need to remove the cover and move the switch engine to the "ON" position. If the switch is absent, then you need to pull the check, it is located at the positive contact of the battery. In order for the flashlight to light up, you need to cover the photocell with your hand. If the flashlight does not glow, then most likely its battery is discharged and it is better to choose a workable flashlight, or to refuse to purchase, because the battery that died of self-discharge still in the store will immediately require replacement, and the new one will cost at least 50 rubles, which is comparable to the cost of a solar flashlight.
How to extend the life of flashlights
In order for your solar flashlight to serve longer and to delight you with its light, you need to protect its electronic filling, because the flashlight body is not sealed and moisture comes in freely in the form of splashes, fumes after rain, dew. Once on the board with live radio elements, moisture causes the electrolysis process (it looks as if the board is rusting), destroying the conclusions of the radio elements, soldering, board tracks. In order to protect the board with radio elements, it is necessary to coat it with a moisture resistant varnish in 2 - 3 layers, for example: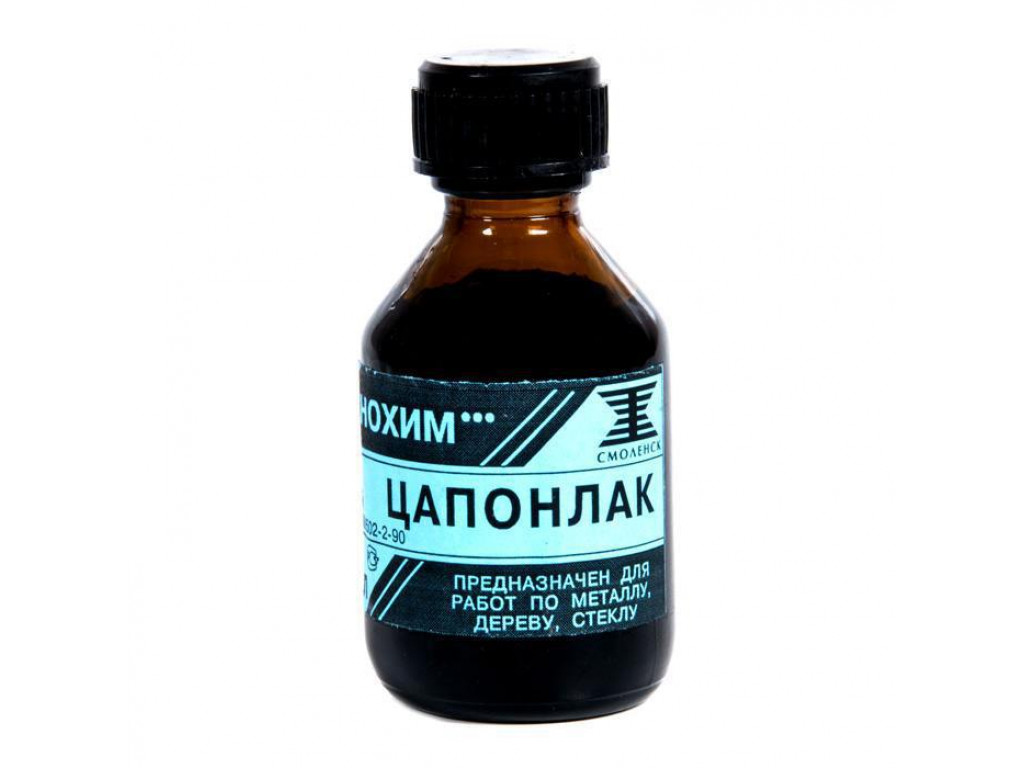
Also, it is necessary to protect the legs of the LED, chips, wires in the places of soldering with the board, battery and switch contacts with varnish.
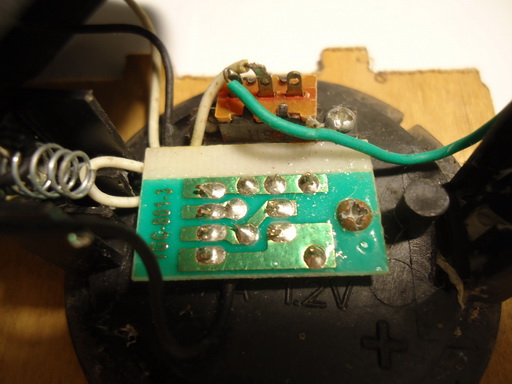
In the photo, a flashlight, protected in this way and spent about three seasons, - despite the rusty mounting screw, the board is as good as new!
Major faults
The main malfunctions of solar torches are the oxidation of the battery and switch contacts, as well as the deep discharge of the battery. If the flashlight with the onset of twilight has ceased to glow, then first you need to scroll the battery in the battery compartment and turn off and turn on the flashlight several times to strip the oxide from the contacts. If this does not help, then you need a multimeter, for example: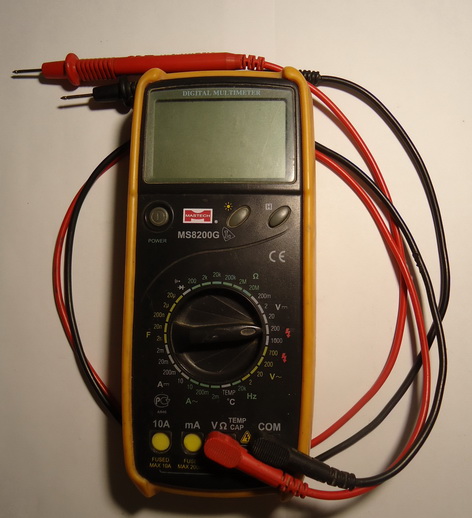
Pull the battery out of the compartment and, switching the multimeter to constant voltage mode with a measurement limit of 2 volts, measure the voltage at the battery contacts. If the battery voltage is in the range of 1.2 ... 1.5 volts, then the battery is healthy, switching to the “dialing” mode, check the contact and switch function, if the board is covered with oxides, then we wash it in alcohol. If the battery voltage is in the range from 0.1 to 1 volt, the battery should be charged using a charger, for example: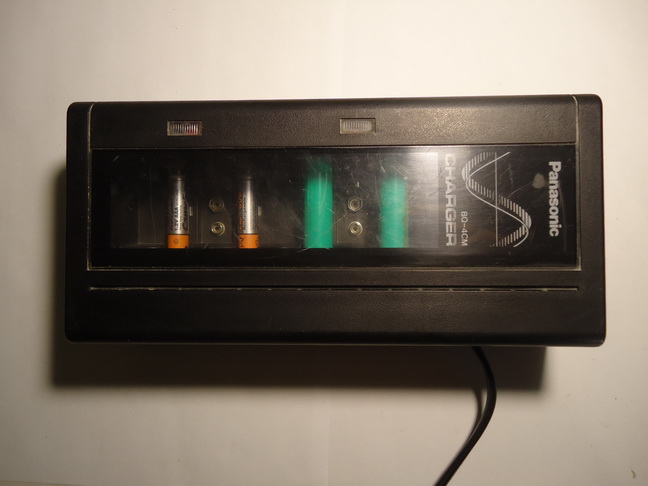
If the voltage is about zero volts, then switching to the “dialing” mode, we check the battery and if it rings as a short circuit, then the battery is faulty and must be replaced. It is optimal to take a battery of an average price range from reputable manufacturers, for example Sanyo, GP, Camelion. For an average solar flashlight, for an AAA battery, a capacity of no more than 300-600 mAh is sufficient, and for a AA size of 600-1000 mAh, it is not advisable to buy large capacity batteries, because it is simply physically impossible to fully charge it in a daylight time from a solar battery. It is also desirable that the battery was from the LSD series (Low Self-Discharge). This abbreviation was introduced by Sanyo, which developed and patented the technology for the production of batteries with low self-discharge.
How to arrange the lanterns on the site
The main mistake is that the lanterns are placed in the shade of trees, bushes and buildings, and the insufficiently lit solar battery simply does not have time to charge the battery for the day. Since Ni-Cd and Ni-Mh batteries are used in flashlights, as a result of constant daily undercharging during the day and overdischarge at night, the so-called “memory” effect in the form of a reversible loss of battery capacity begins to be generated. It is as if he “remembers” that in previous cycles his capacity was not fully used and, when charged, stores energy only to the “usual” value. Therefore, when installing, try to place your flashlights in sunny places so that during the whole daylight hours they are charged from direct sunlight falling on them and avoid shady places.
Battery care
On short and cloudy autumn days, flashlights especially often fail due to high humidity, contacts oxidize, and the sun simply does not have time to dry the case from the inside, the solar panels do not have time to fully charge the batteries and with the onset of dusk the flashlights only glow for a few hours. After several cloudy days, the “memory” effect begins to manifest itself and in order to get rid of it, it is necessary to give the battery several full cycles of discharge-charge using a universal charger, for example IMAX B6: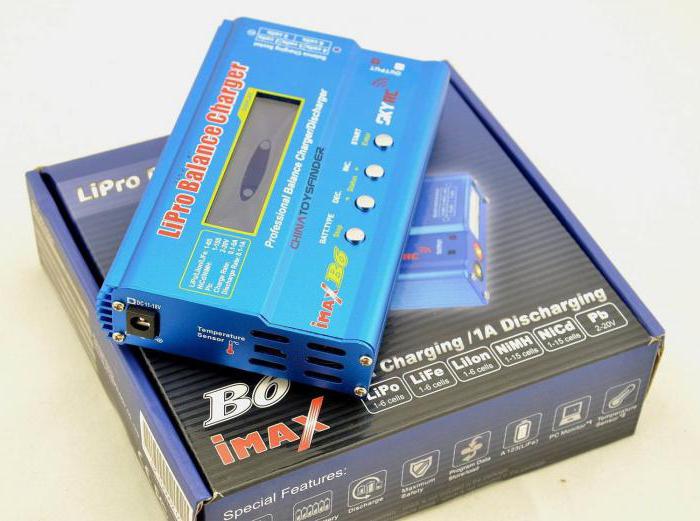
By connecting the batteries using a cassette like this: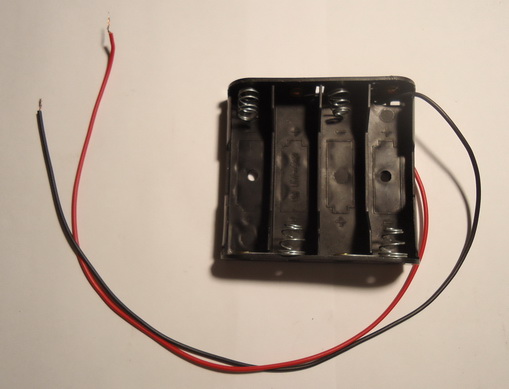
Finishing the summer season, the lanterns need to be stored for storage, after removing the batteries from them. You can store flashlights in a dry unheated room, such as a garage, but batteries should be stored at room temperature, charging once every 2-3 months using a charger, and ideally, not just charging, but giving them a few cycles of discharge - charge.