How to Set Up Your Own VPN Server in 15 Minutes
- From sandbox
- Tutorial
If you use Habr, chances are, you’re conscious about privacy on the web. As governments and corporations tighten their grip on people’s online activities, the issue of keeping your browsing data to yourself becomes more and more relevant.
Numerous tech websites say VPN is no longer a geek-only thing, and regular people should use it, too (Fast Company, Mashable, PCMag). But as a tech-savvy person, you know there isn’t a service you can trust as much as the one you host and manage yourself.
With this post, you’ll deploy your own instance of Outline VPN on AWS.
What is Outline?
Outline is an open-source project backed by Jigsaw, a Google subsidiary focused on information security and privacy. Outline consists of three parts: a Docker-based server software, Outline Manager for creating and deleting users, and the client app for several platforms. Sources for all those components are available on GitHub.
Strictly speaking, Outline is not a traditional VPN, but a ShadowSocks-based proxy. However, since it forwards traffic to the remote server and encrypts data en route, i.e. does two things usually expected from a VPN service, I’ll refer to Outline as a VPN (it seems like everyone does so).
Hosting
For the sake of simplicity, we’ll host Outline with Lightsail, an amateur-friendly part of AWS. The lowest-tier plan costs $3.50 (less than ₽250) a month and gives you 512 MB of RAM, a 20-gigabyte SSD, and 1 TB of data transfer—enough resources to run a VPN service.
EC2 is good for when your project needs scalability and you’re prepared to configure (and pay for) every service, including computing, data transfer, etc., individually. For small projects, like a personal VPN server, EC2 is confusing and, most importantly, too expensive: the cheapest EC2 instance will cost you $3.87 a month, data transfer not included.
The only good reason to use EC2 instead of Lightsail is if you haven’t used the AWS free tier (Lightsail is not eligible for it).
Getting Started with Lightsail
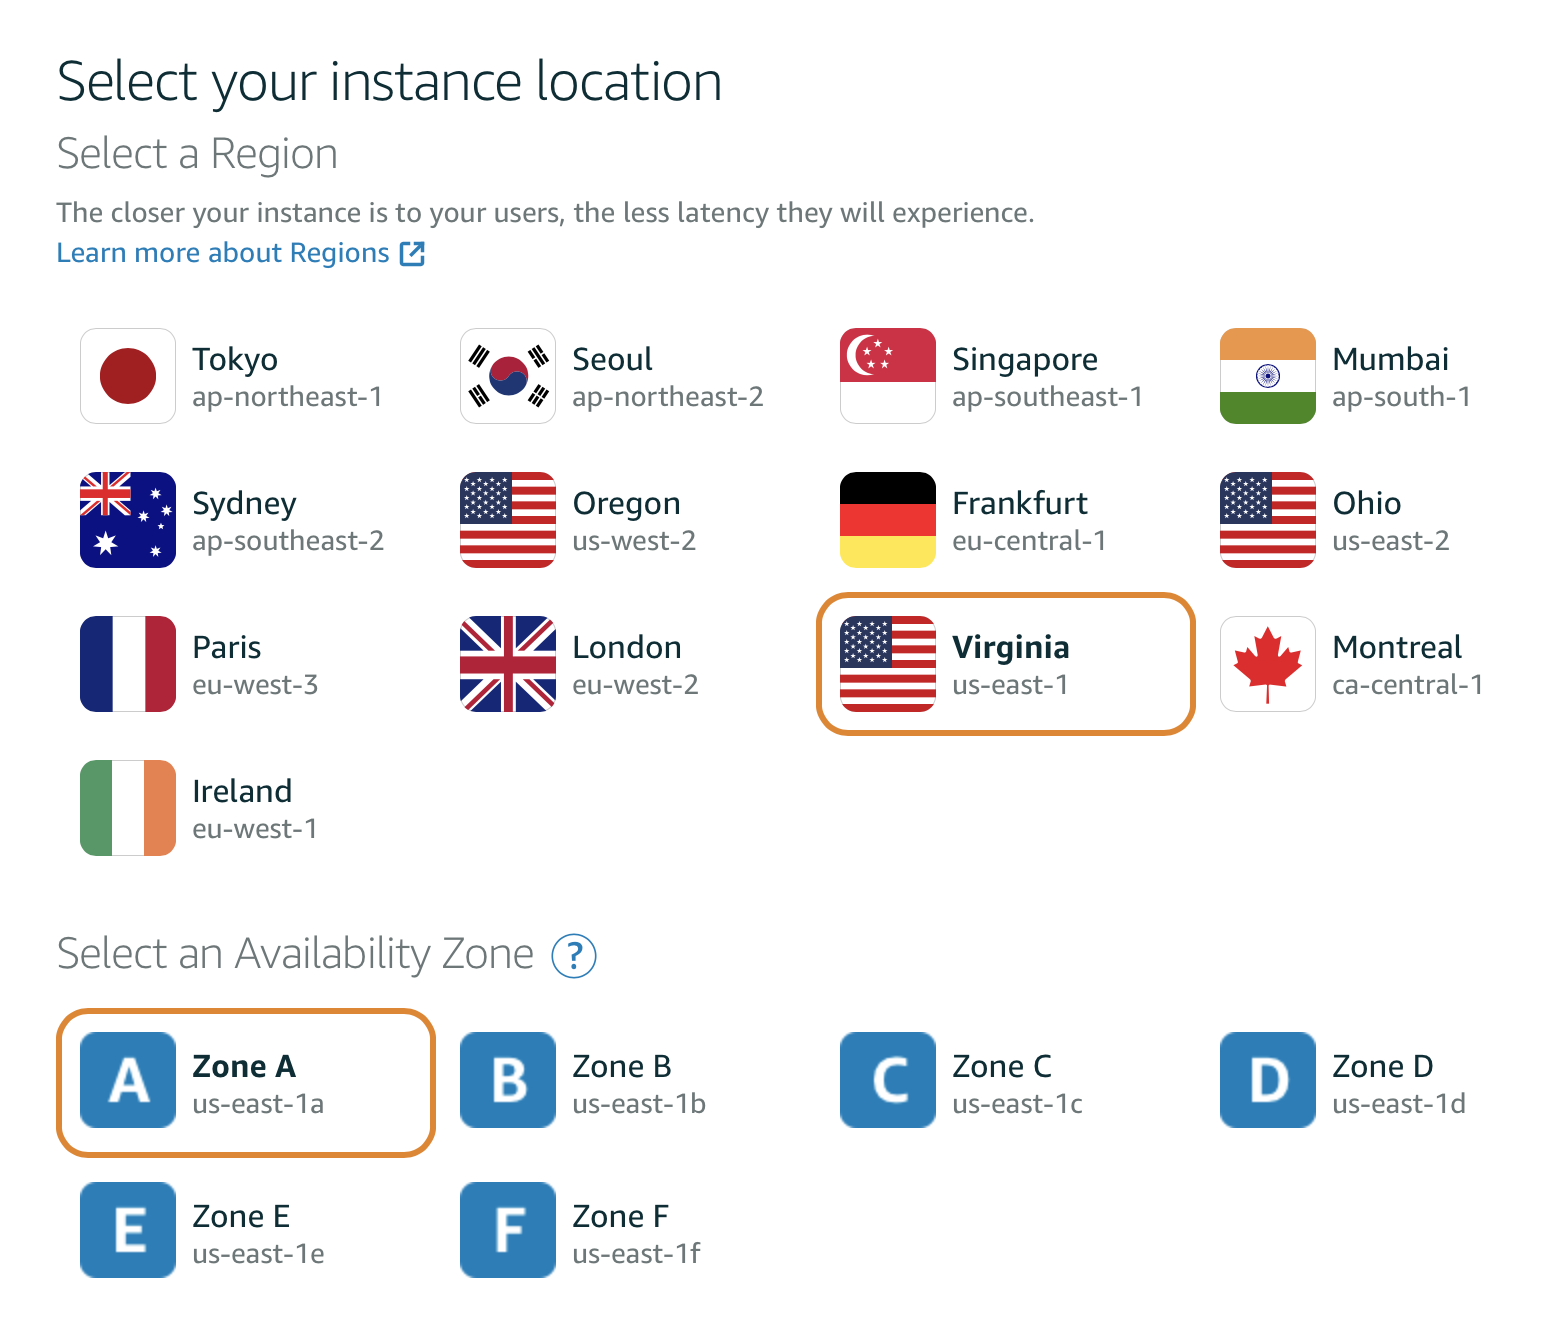
Create a new Lightsail instance. You’ll be presented with a list of locations. Select whichever one that suits you most. Changing availability zone is only relevant if you launch several instances in one region and are worried about fault tolerance; otherwise, leave the default value.
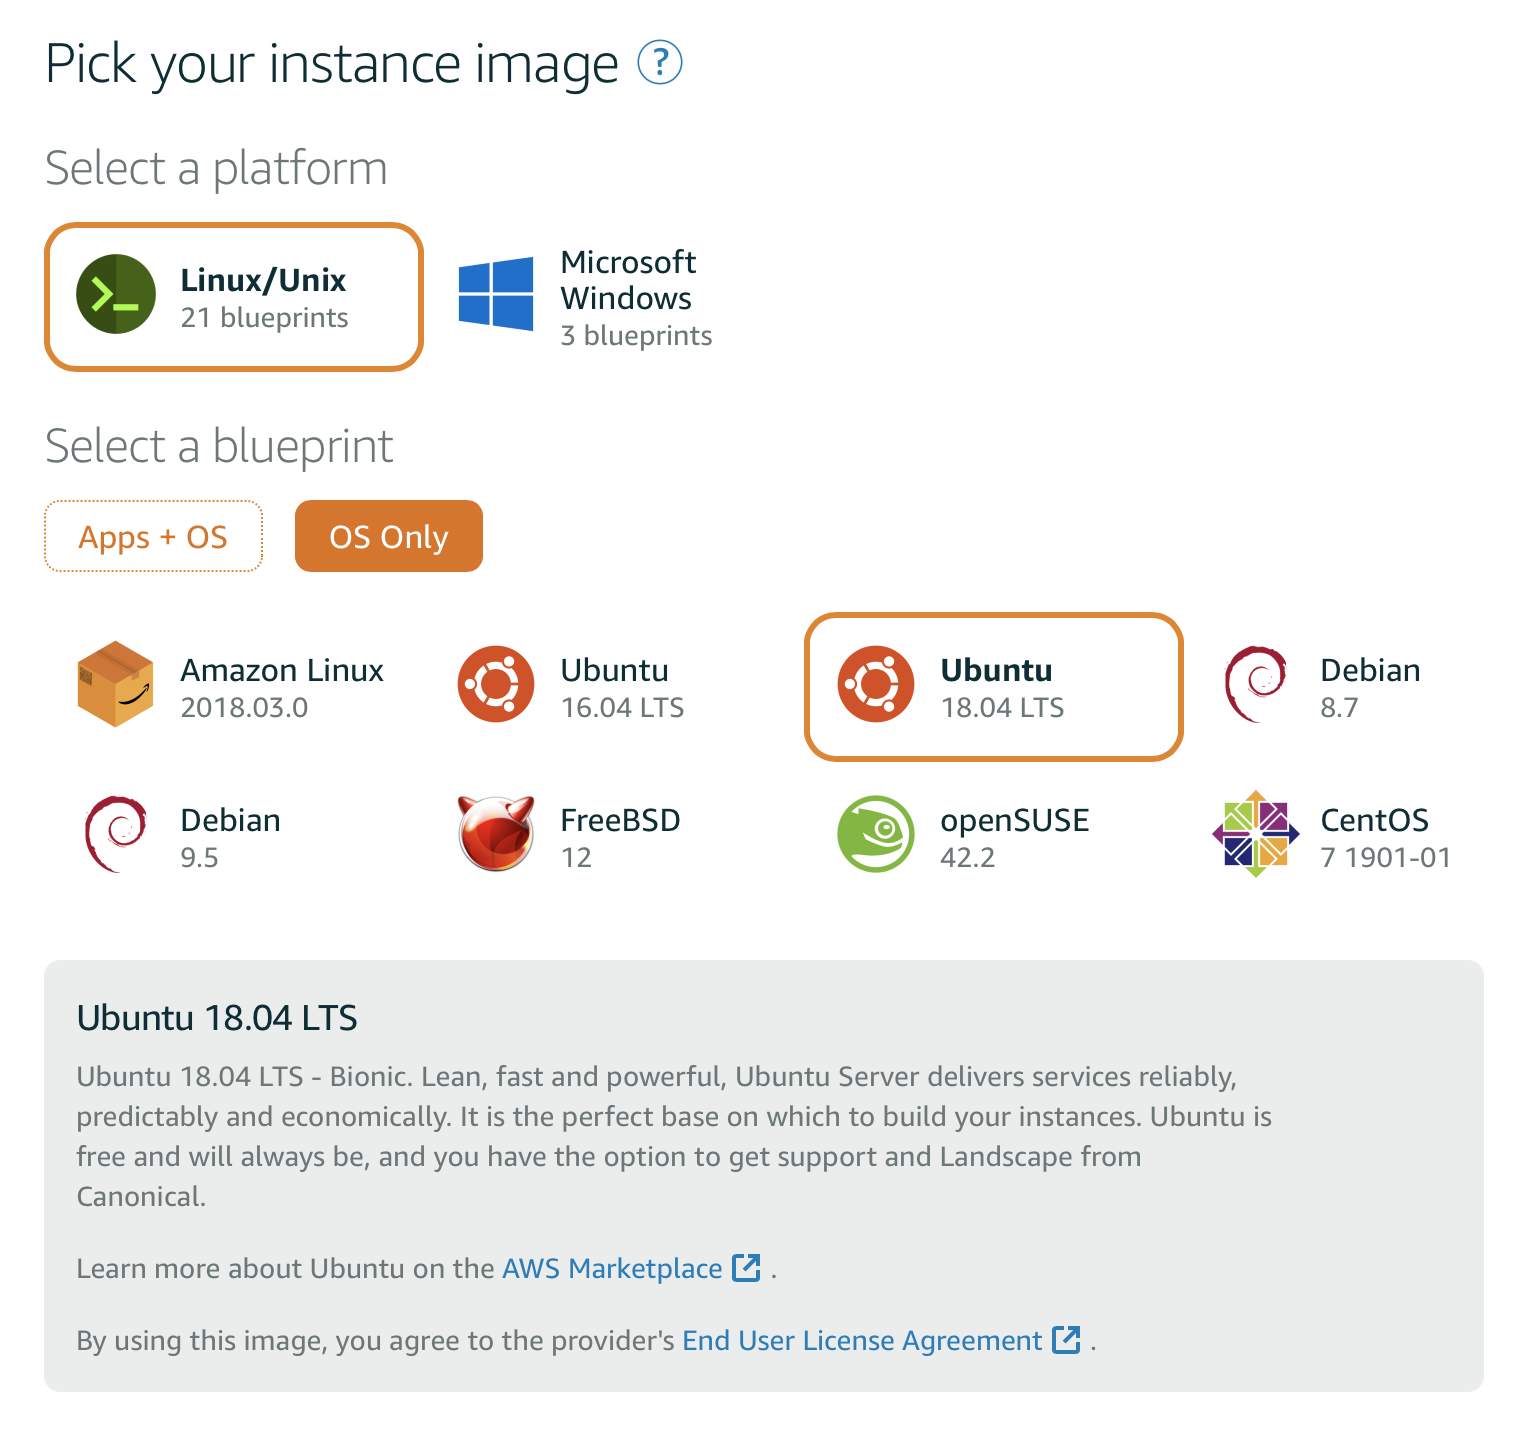
Select Ubuntu 18.04 LTS as the operating system.
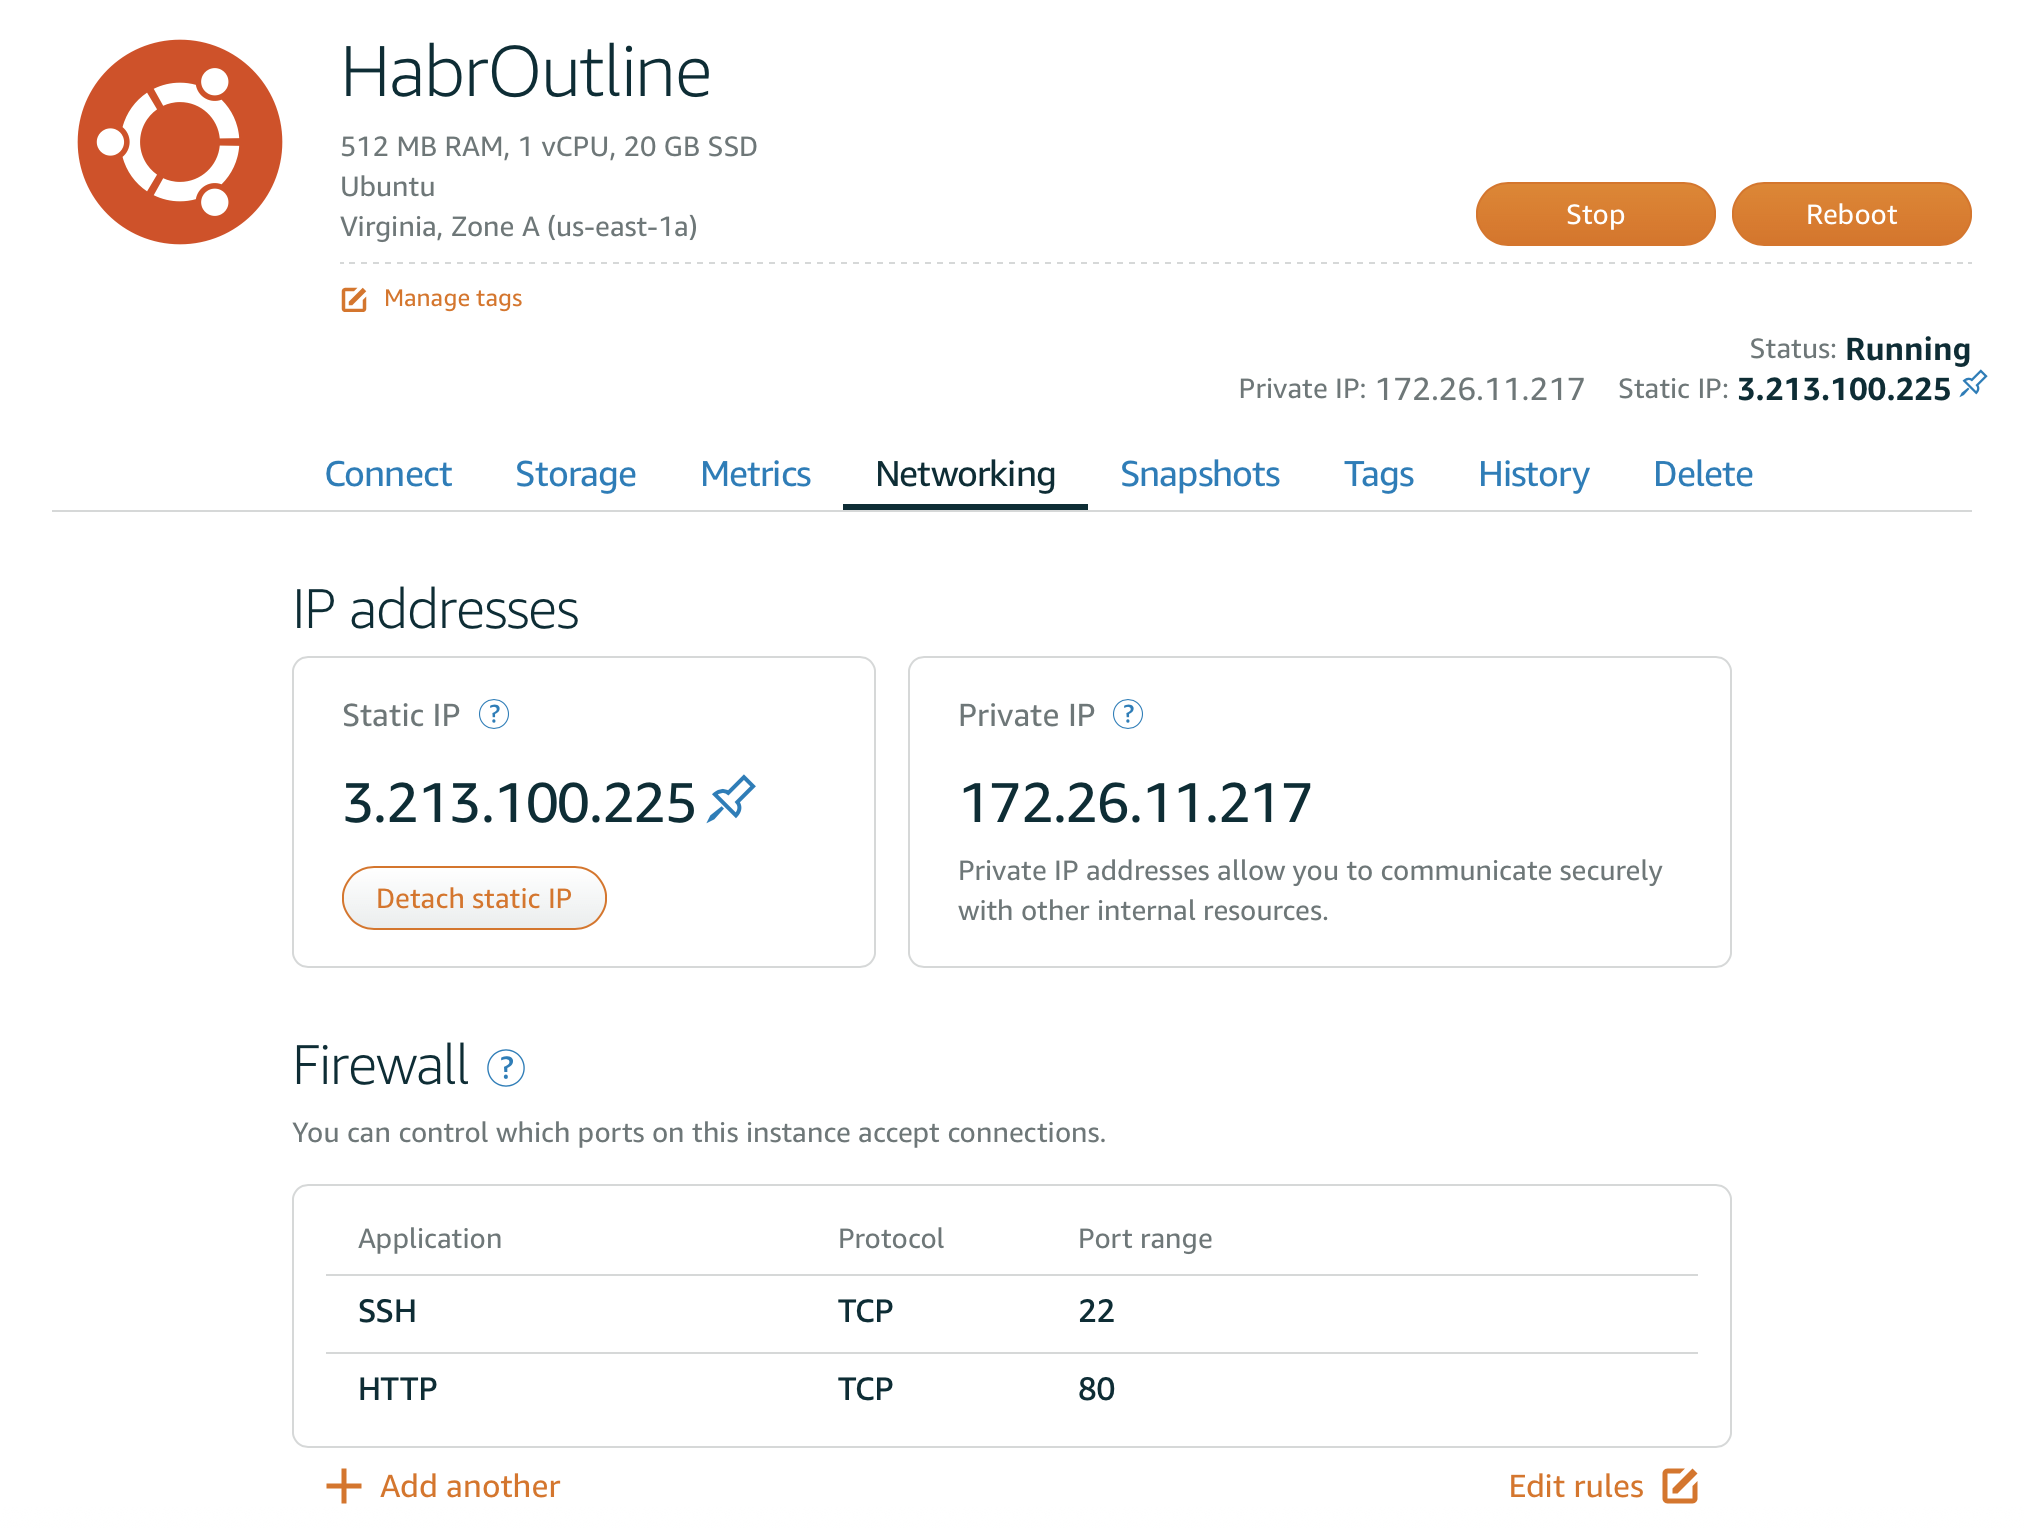
Create the instance, wait for it to launch, and then open its settings. On the Networking tab, create a static IP address (it’s included in the price of the instance).
Connect to the server using SSH. You can use the browser-based client on the Connect tab in settings.
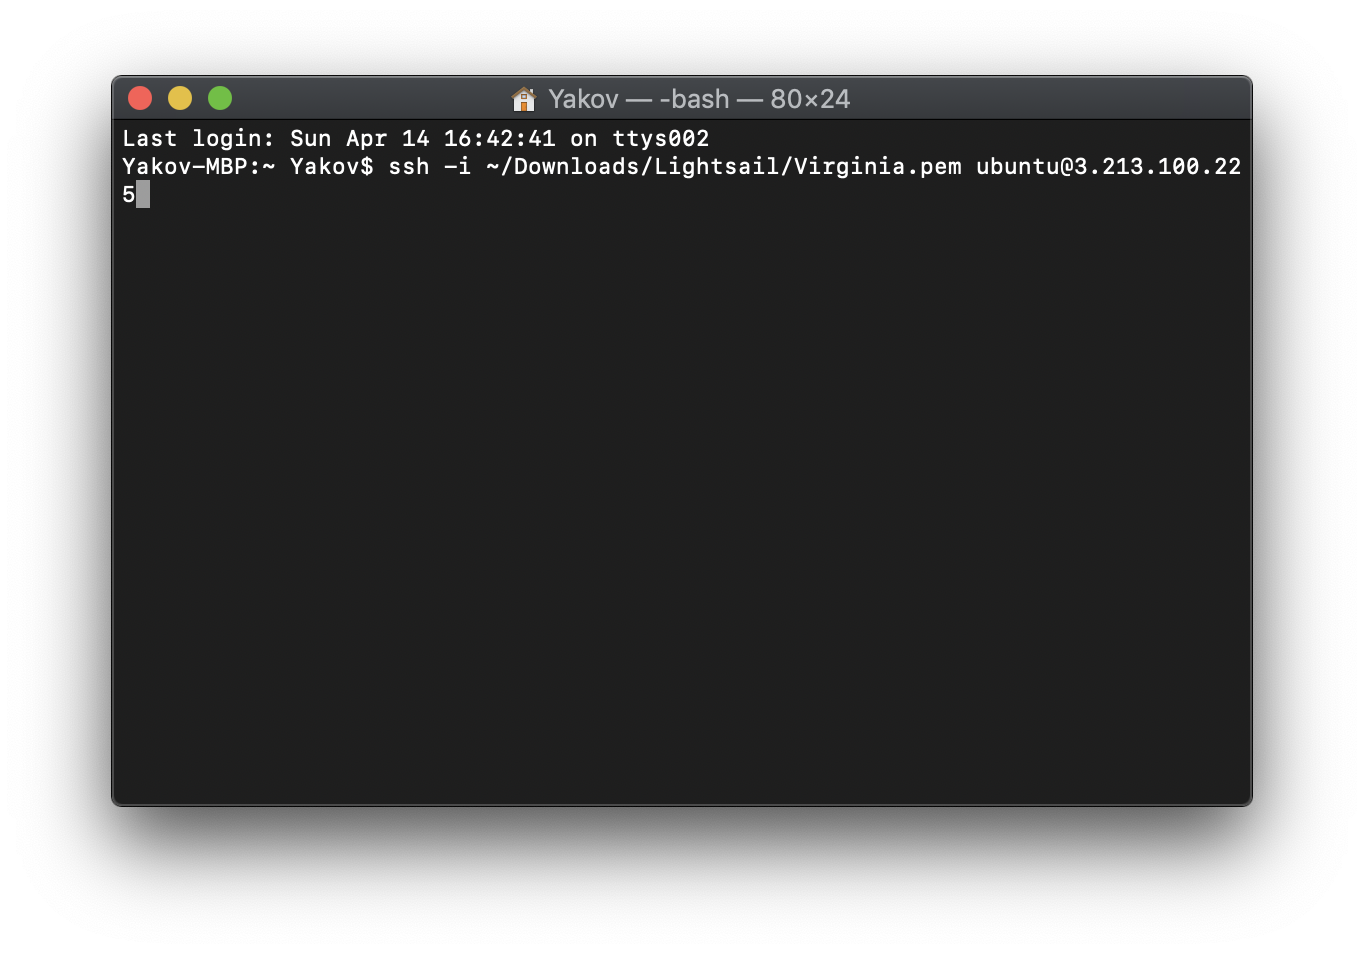
Once connected, install software updates.
sudo apt-get update
sudo apt-get upgrade
️ It’s highly recommended to configure swap. See this guide.
Install Docker
Outline server software relies on Docker, but Ubuntu ships without it installed. Fortunately, it can be installed in a matter of seconds.
sudo curl -sS https://get.docker.com/ | sh
sudo usermod -aG docker ubuntu
️ Don’t forget to log out and reconnect to the server for settings to apply!
Install and Configure Outline
Run the following command to install server software:
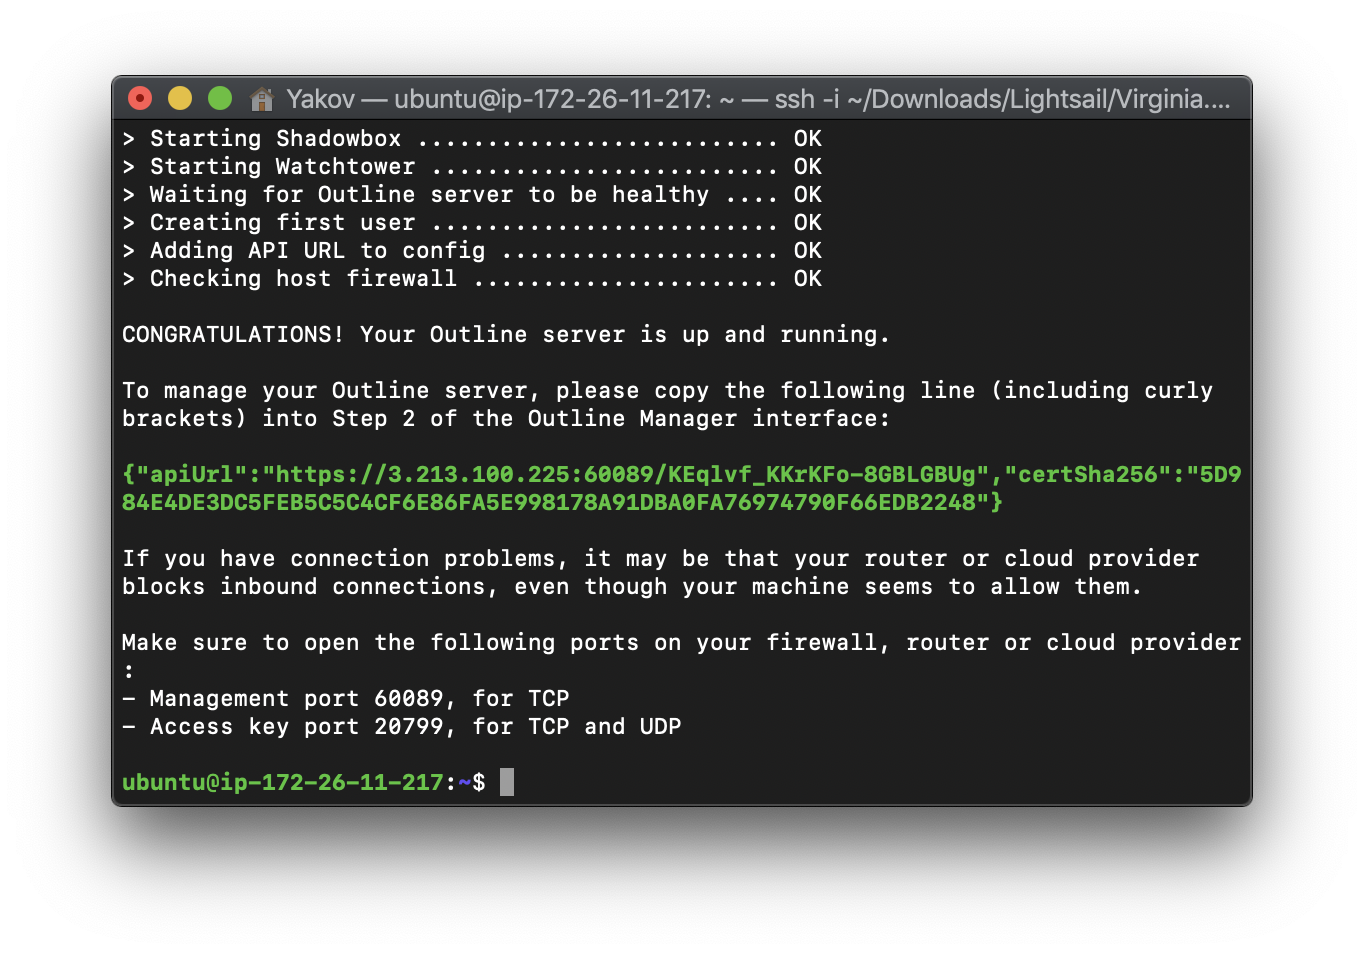
sudo bash -c "$(wget -qO- https://raw.githubusercontent.com/Jigsaw-Code/outline-server/master/src/server_manager/install_scripts/install_server.sh)"Once installation is complete, you’ll see two important things: server management key and a set of ports you need to open. Go back to server settings and configure firewall on the Networking tab.
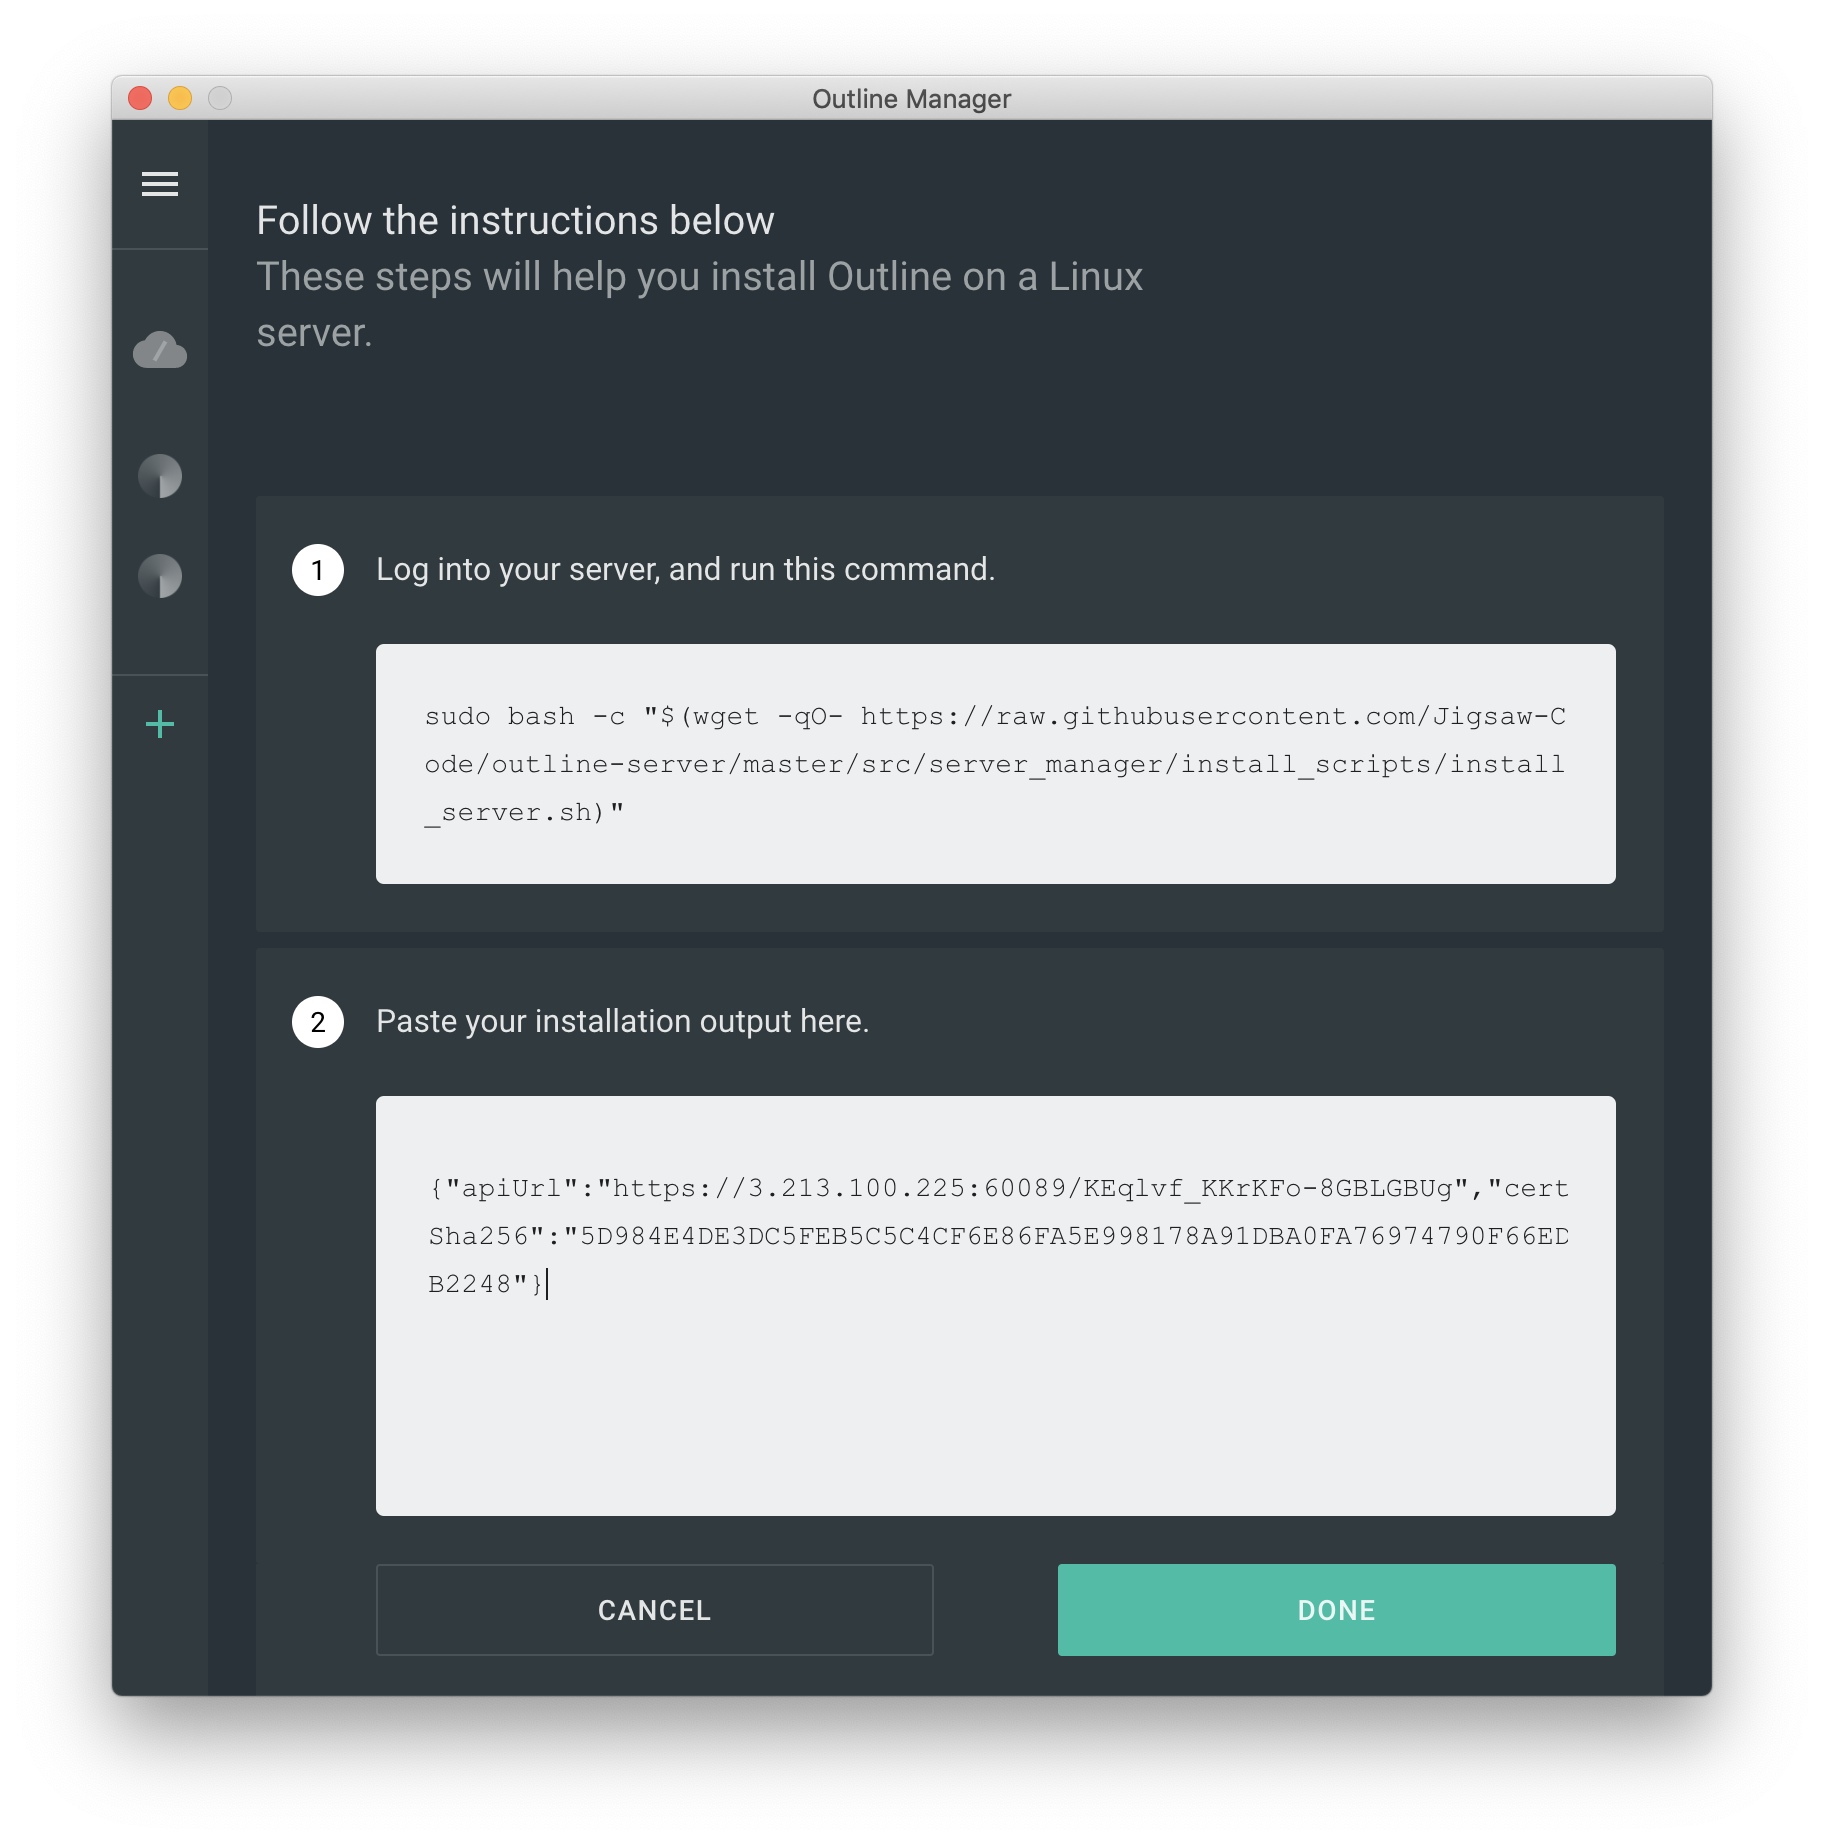
Download and install Outline Manager from the website. The app is available for macOS, Windows, and Linux. On the setup page, select “Set up Outline anywhere” and paste the server management key.
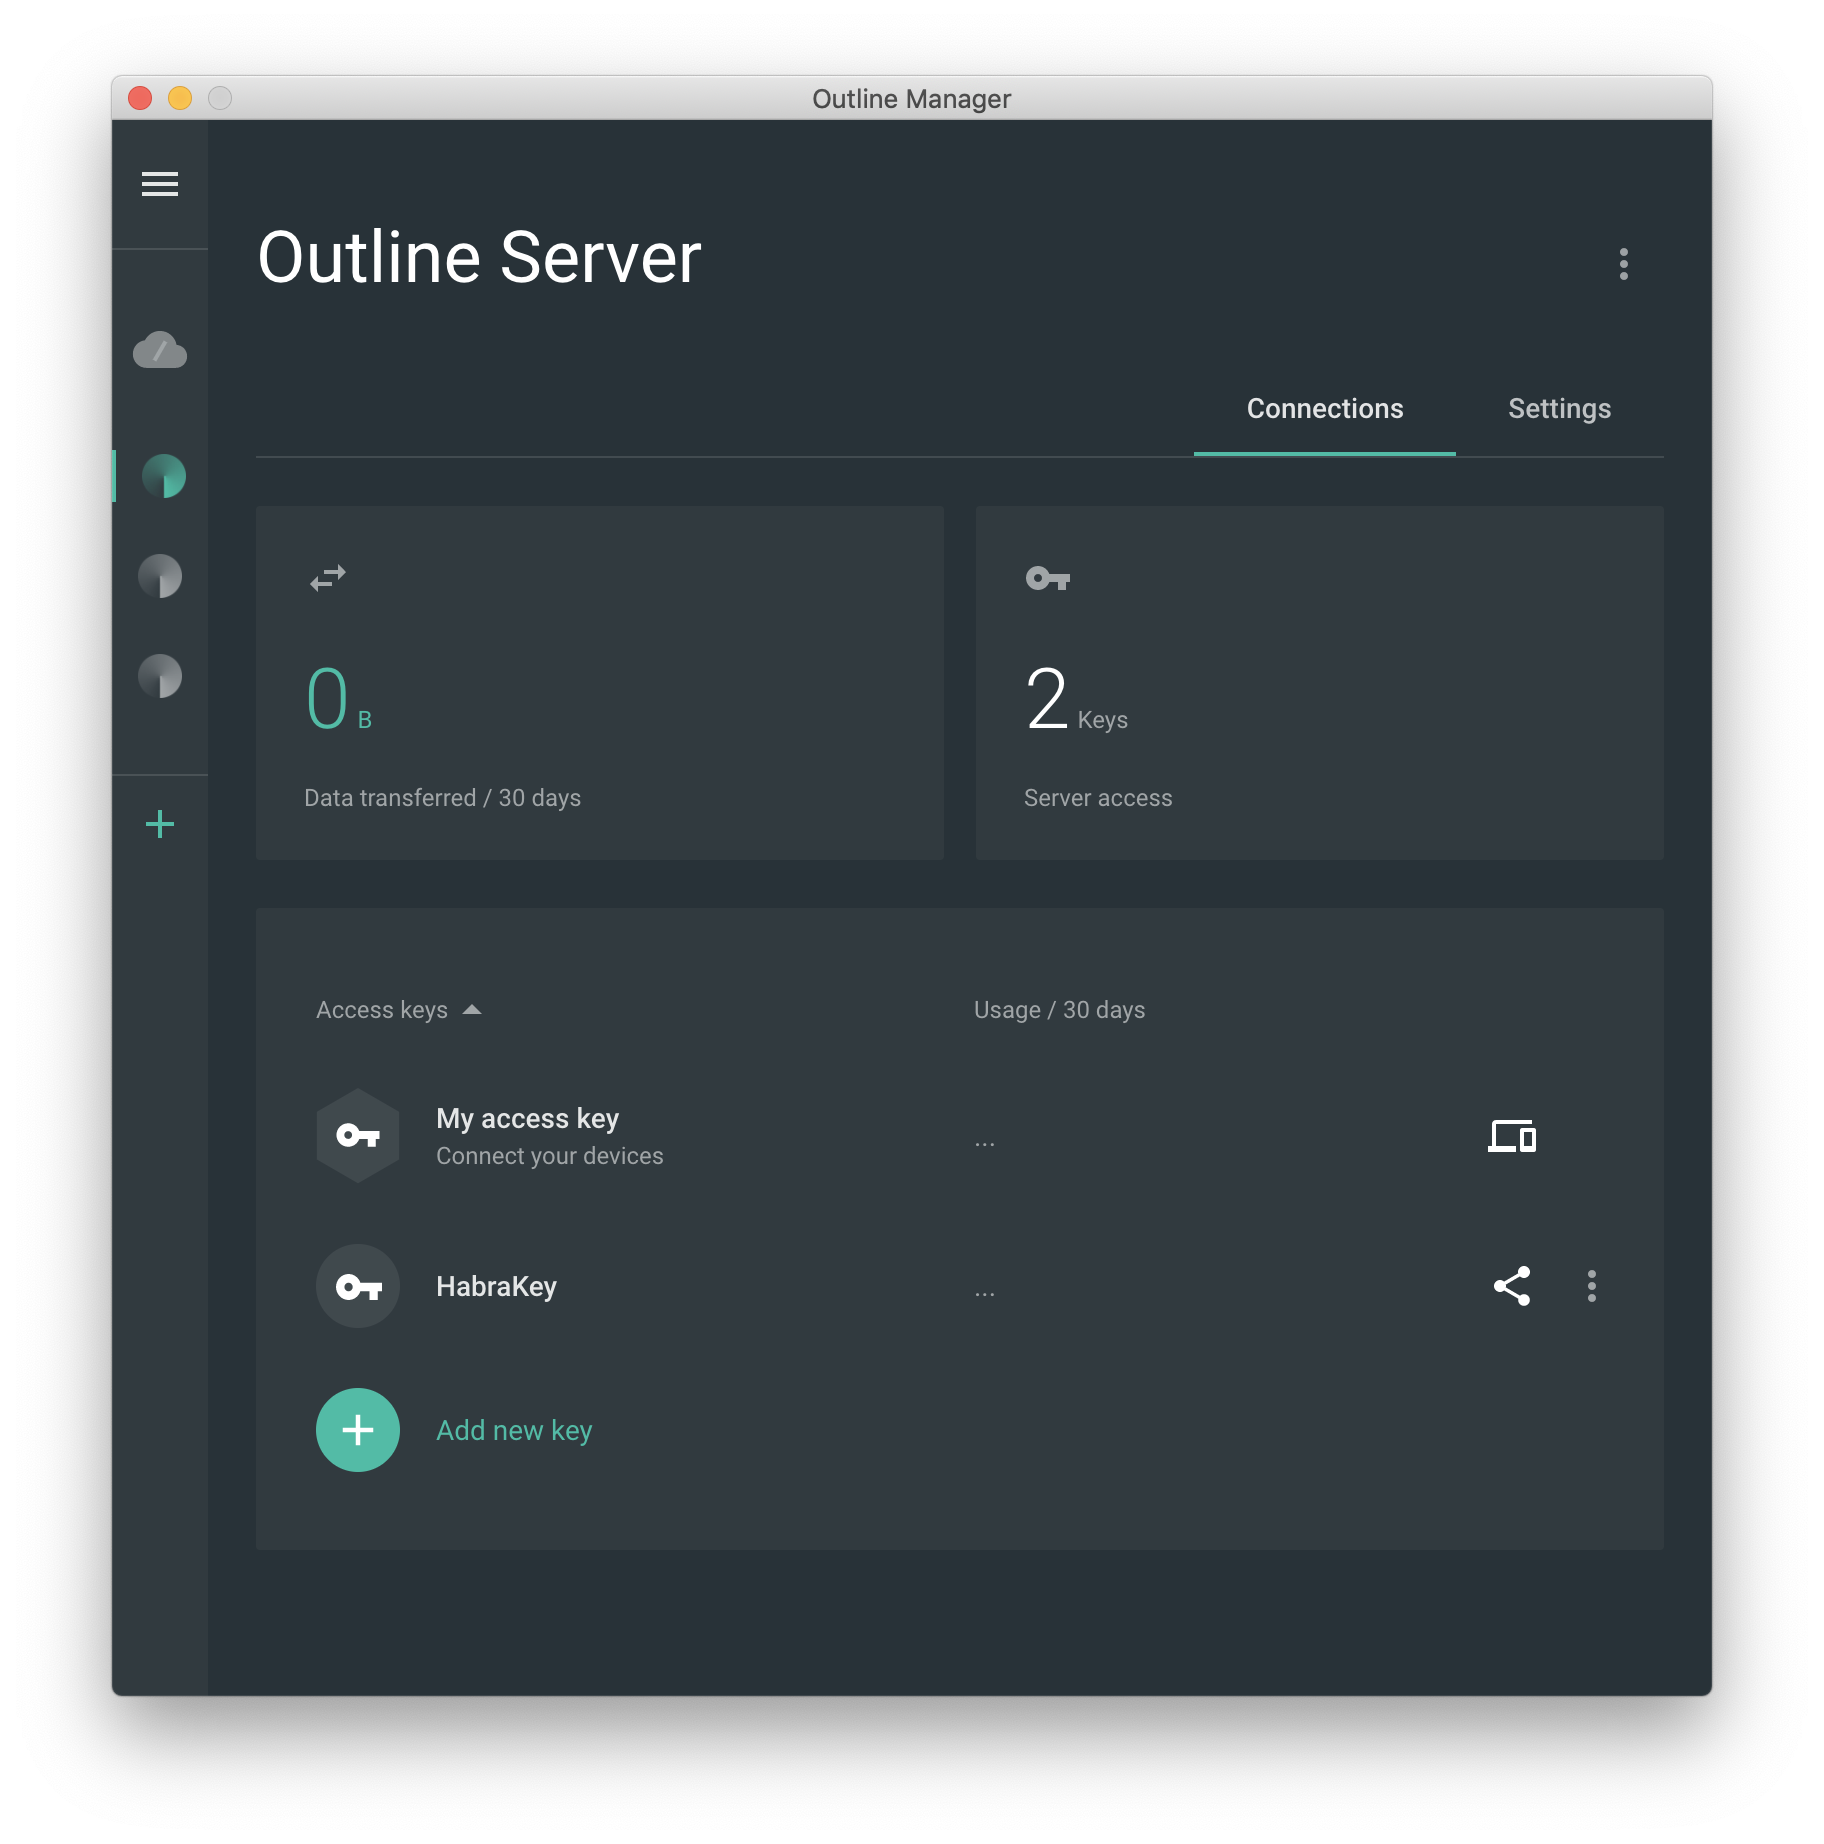
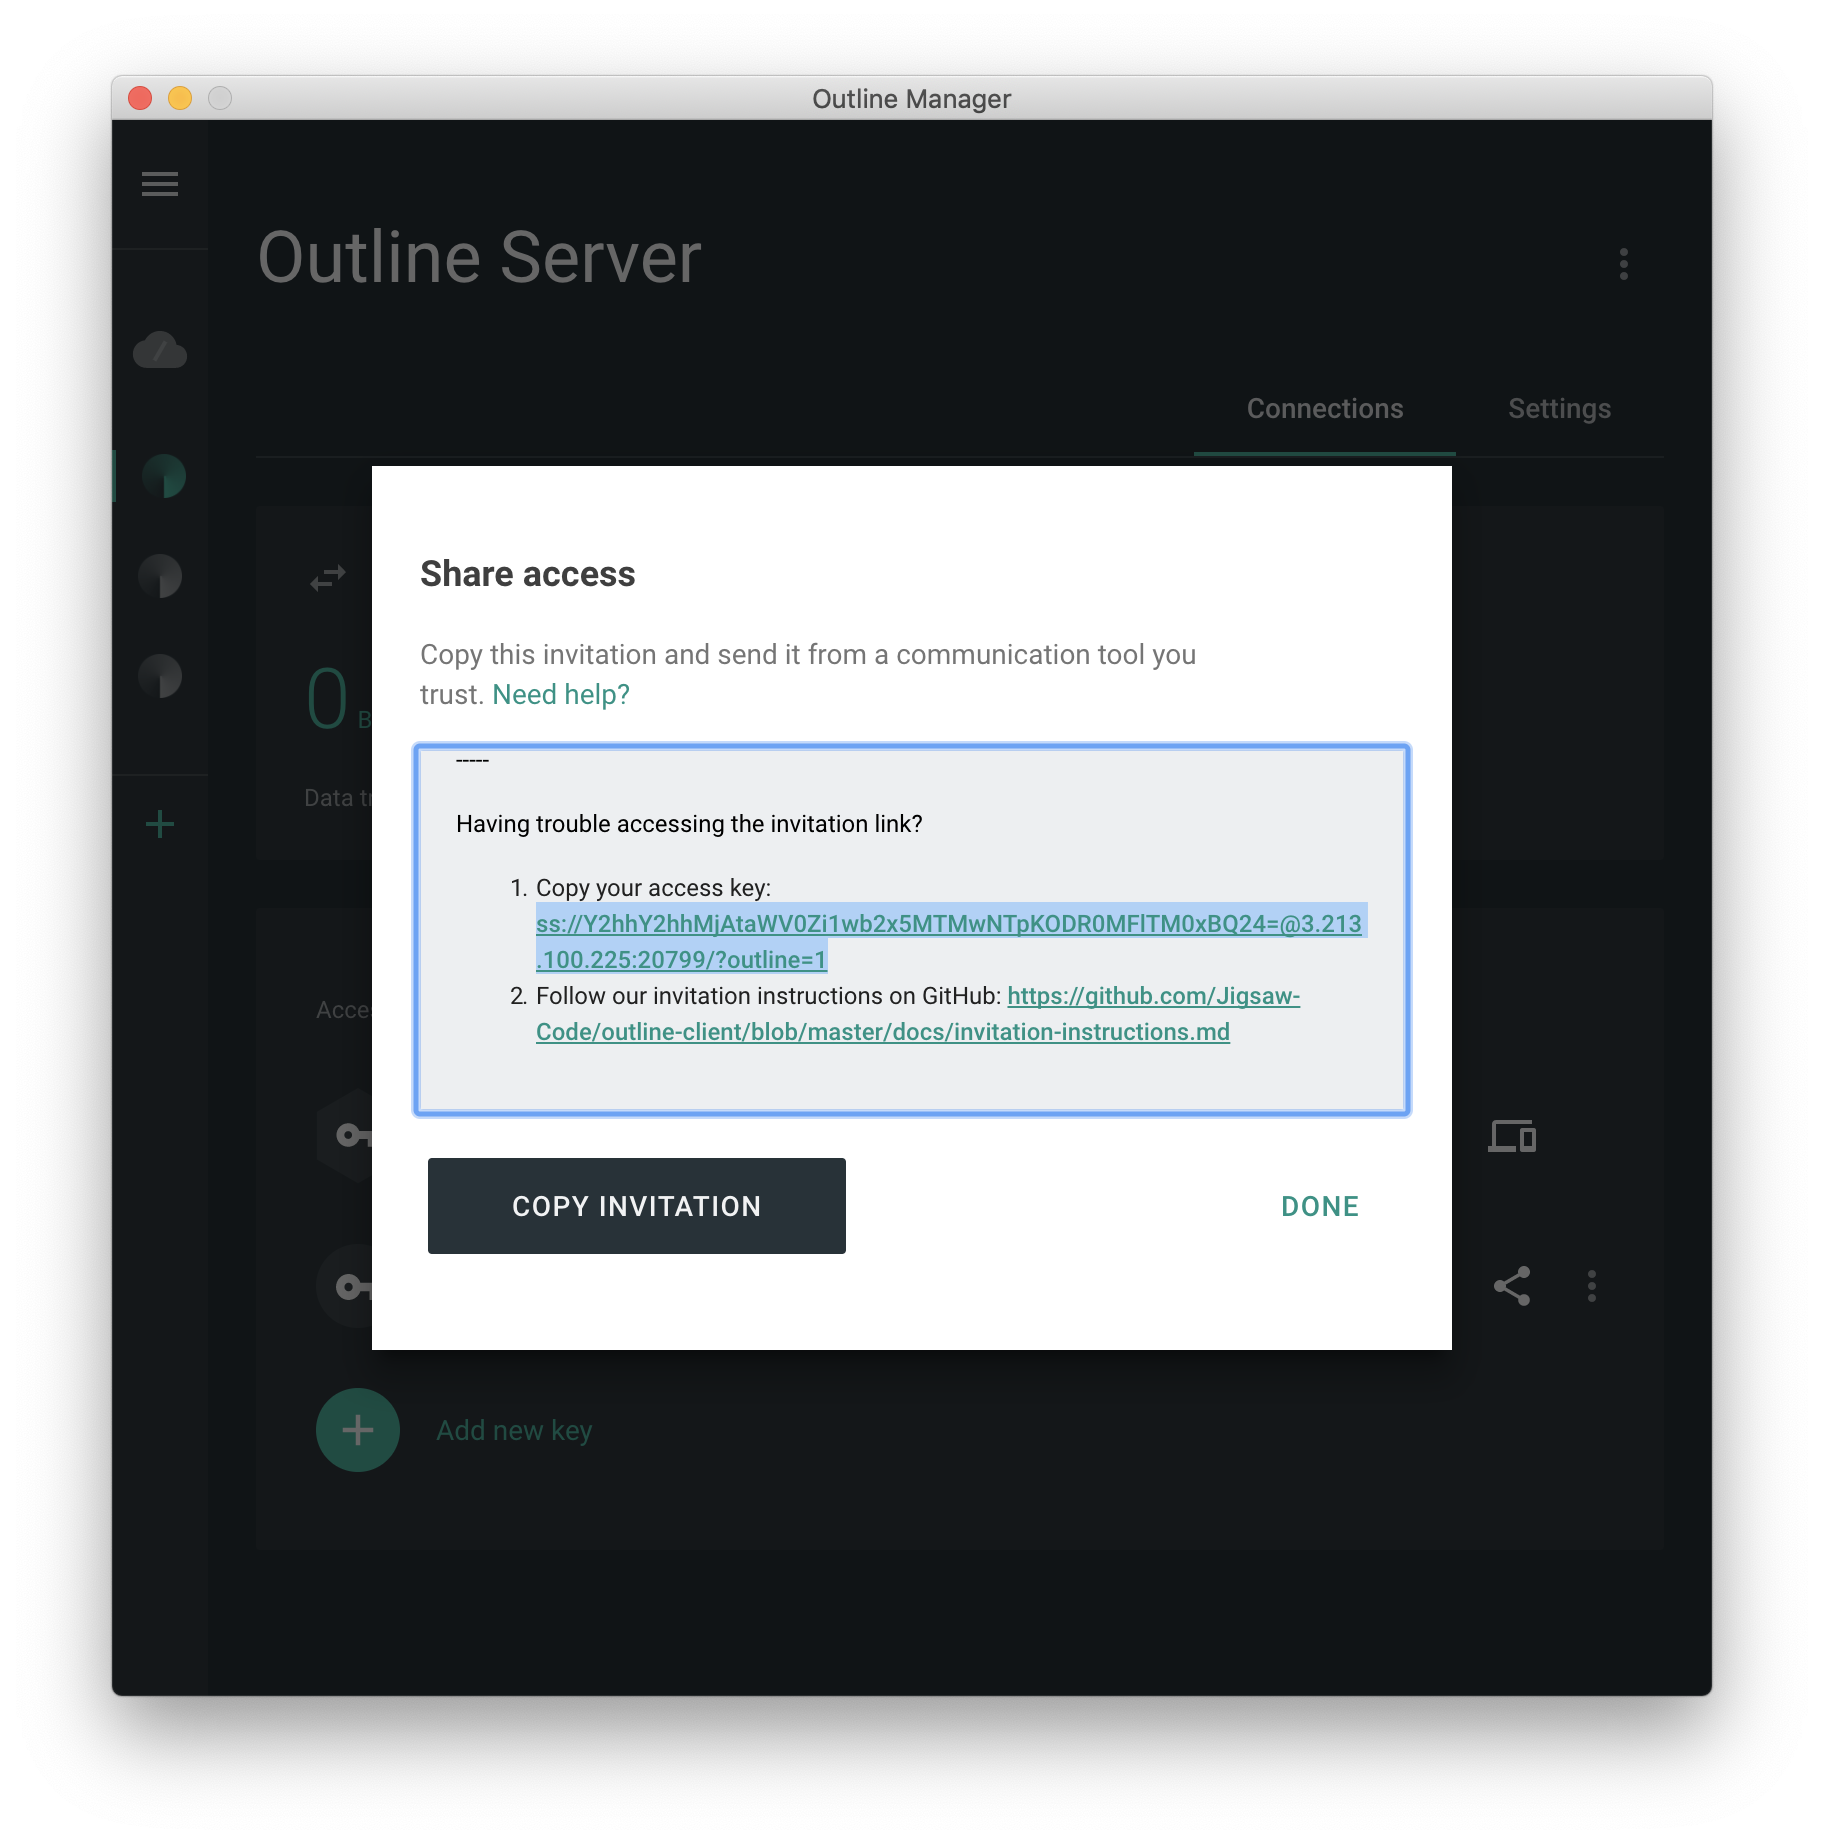
Once you’ve done that, you’ll see the server management screen where you can add and remove user keys, and view data transfer stats. Create a key, rename it if you want, click the share button on the right, scroll down in the popup window, and copy the access key.
Connect to Your Server
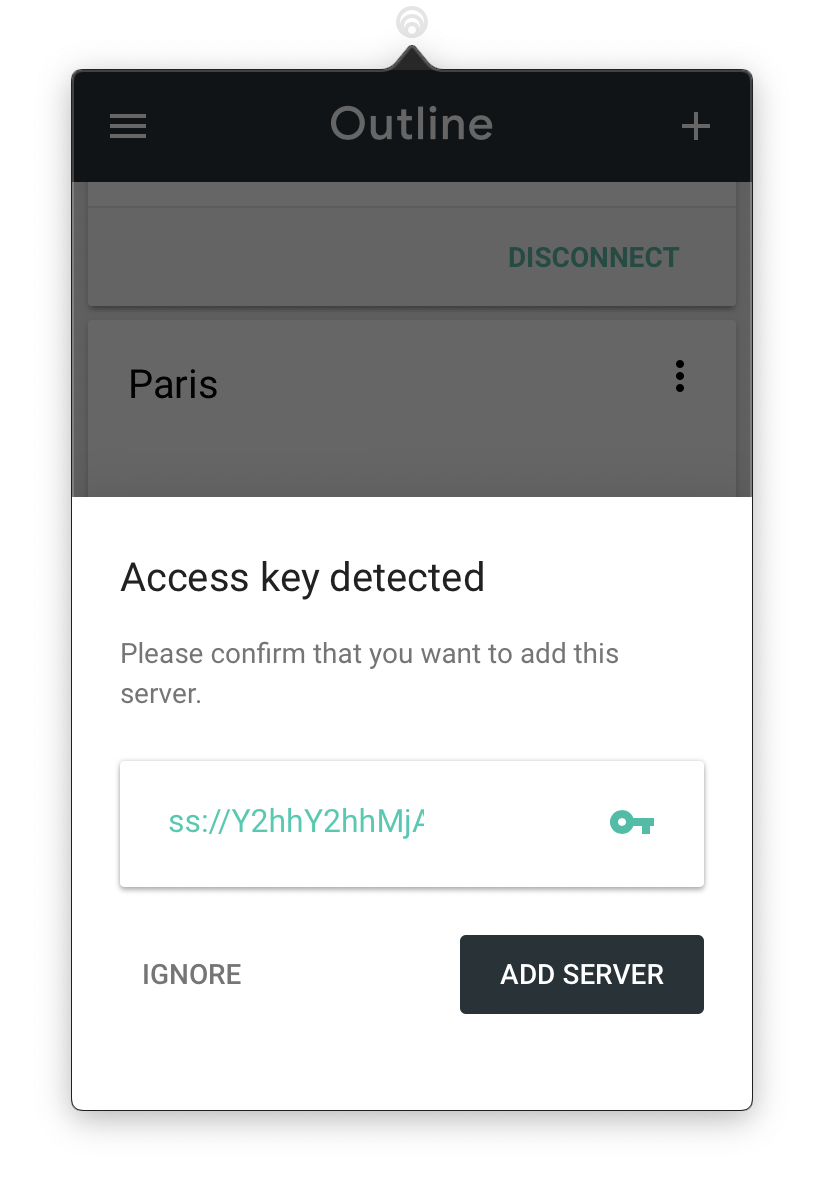
Download the Outline Client app. As of today, it supports macOS, Windows, Linux, ChromeOS, iOS, and Android. In the app, click or tap the plus button, paste the key, and connect to the server.
Your traffic is now secure.
