How not to jump out of the window, the designer’s ideal workflow
- Transfer
As designers, we constantly experiment with different tools and processes to find the most effective solution. After a mass of such experiments, I developed my ideal workflow, which I will share in this post. Design is a process, and a variant of this process, which I will describe below, was used by me on all projects to create so-called “habit-forming” products (that is, products that form habits) that users love so much.
1) Outline ( paper and pen ) - every great design is born on paper. Take out the sheet and pen, and start drawing some shapes.

2) Next, you need to photograph your sketches on your smartphone and upload to POP . So you can test your prototype.
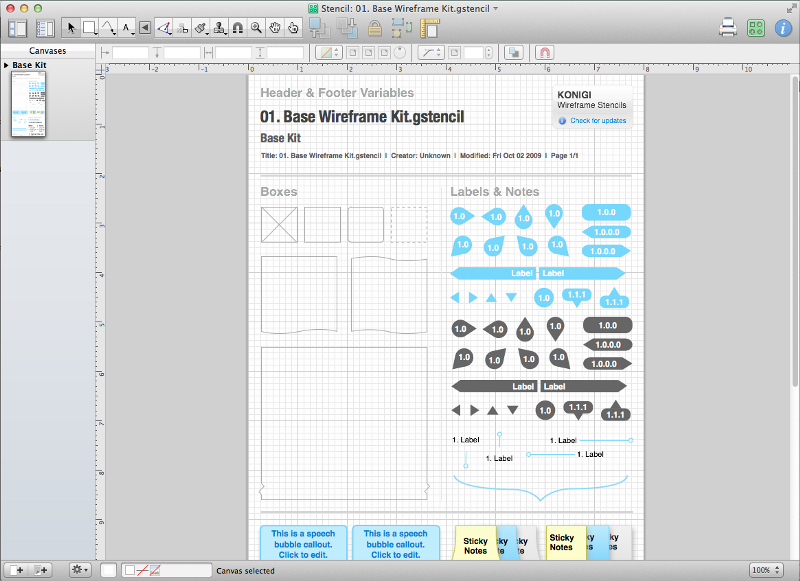
3) Next you need to make wireframes. Sketches are always not enough. Wireframes are required in almost 100% of cases. There are no options. Open Omnigraffle and create your wireframes in this application.
4) Suddenly, you realized that you need to add a drop-down menu, and therefore you will have to redo some of the wireframes in Balsamiq .
Not bad if you draw for 3-graders.
5) Now imagine that you hate Balsamiq to death and remake the same in Axure .

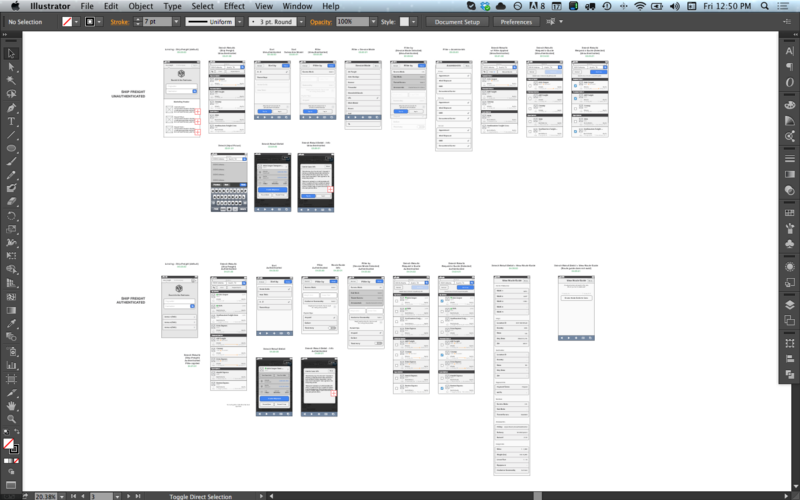
6) Now imagine that you hate Axure to death and decided to do the same in Adobe Illustrator using the UI Wireframing kit for $ 89.
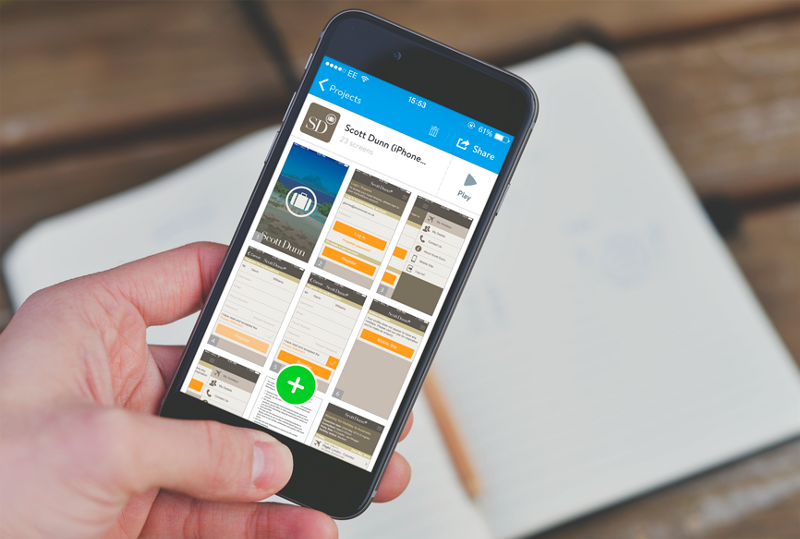
7) Now export these wireframes to PNG files and import them into Invision so that you can share them with the team.

8) You woke up the next morning and cried into your bowl of cereal because a colleague made very unflattering comments about your prototype in Invision .

By the way, what a delicious thing it is.
9) You decide to never use Invision again. And all because of a dissatisfied colleague.

10) Convert your prototype to Marvel in the hope that a colleague will not find how to post comments in Marvel.
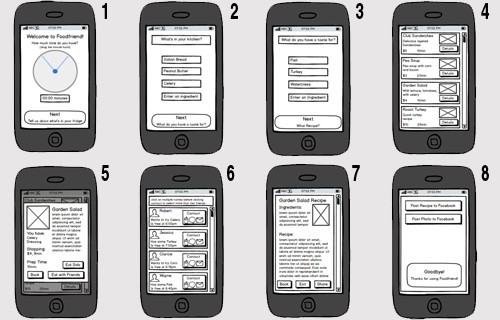
11) You have achieved your goal. Wireframes approved. It is time to work on a more detailed prototype.

12) Take pictures from the photo bank that everyone uses for such needs, and use Photoshop to optimize them.
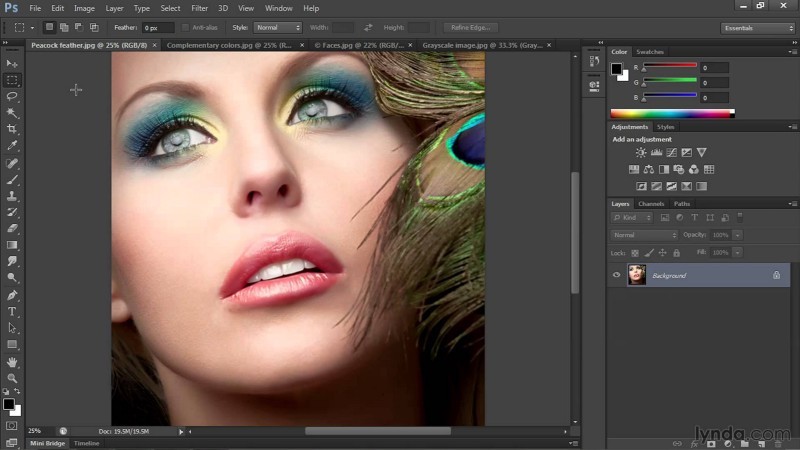

13) Open Sketch and start creating a UI for your application. It starts to look like a real product!

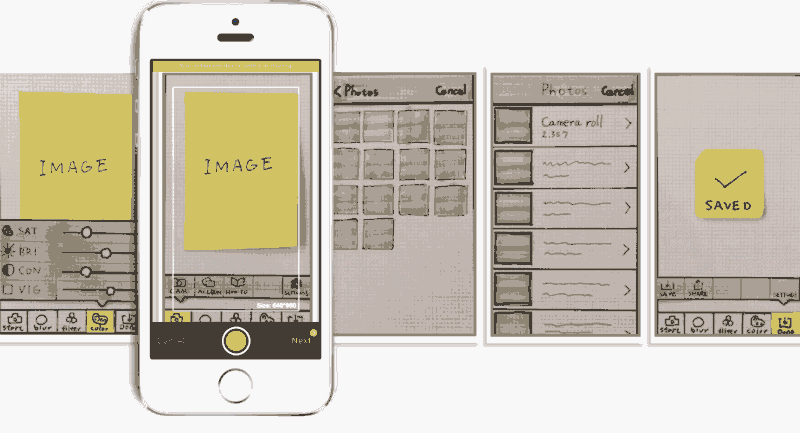
14) Now export them as PNG files and import screens into Flinto Lite .

15) Imagine you need gestures, so pay $ 99 for Flinto for Mac so you can add gestures.
 These are different people! Very important!
16) Your boss / founder / client “does not want to install another application on his phone” and refuses to download Flinto on his iphone.

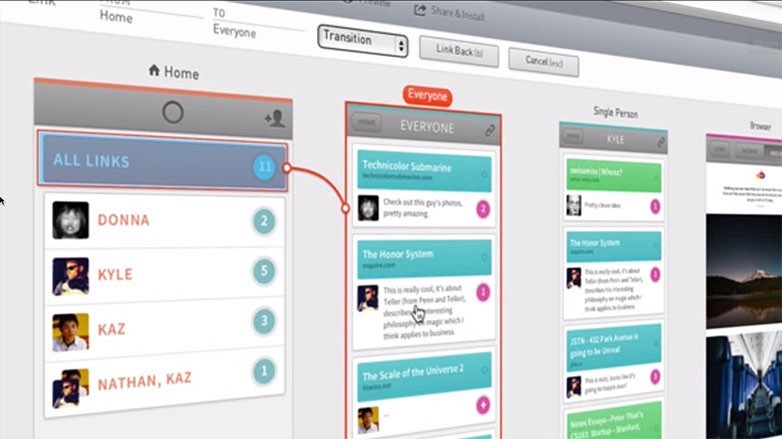
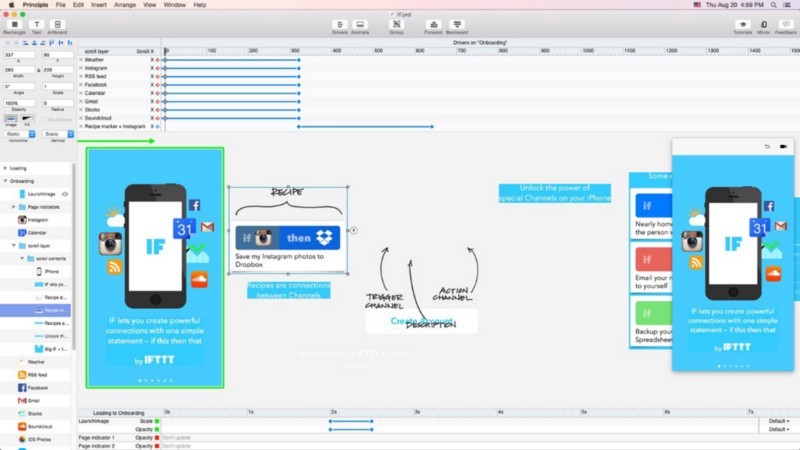
17) Import the designs into Principle and add interactions.
18) Imagine, Principle exports a prototype like a video! Humble yourself. Everything will be fine, right?

19) Download Pixate because it is free and why not?

20) Try to figure out how to use Pixate (good luck with that).
21) You just want to crash your computer. I would advise you to resist this desire if you can. All of this is part of the creative process. First you need to fall to rise to a new level.

22) When Pixate brought you to the handle, change the scenery and download the free trial version of Framer .

23) Take a break for lunch. You deserve it.

Tacos is a great choice.
24) Come back from lunch and realize that the trial version of Framer has expired. (Seriously, only 32 minutes of trialke are given).

25) Once again, create a prototype, but already in Justinmind .
26) Catch the rays of good from your colleagues to whom the Justinmind file was sent. No one on the team had ever heard anything about Justinmind.

27) Consider jumping out of the window, but there is a way out - a friend told you about a new prototyping tool.

It is you.
Thank you for reading. I hope my experience will help you in your work.