Data Science in Visual Studio Code using Neuron
- Transfer
Today we have a short story about Neuron, an extension for Visual Studio Code, which is a real killer feature for data cyntists. It allows you to combine Python, any machine learning library and Jupyter Notebooks. More under the cut!

Data science is a very fashionable phenomenon of the 21st century. Starting with IoT devices that create thousands of data elements per day, and ending with social networks that consolidate information about people at a level previously unknown, most of the technology development that occurs today will sooner or later come into contact with “data science”.
Data quietists come from different industries, but the vast majority of them use the standard set of tools: Python, <insert the name of a popular machine learning library>, and Jupyter Notebooks.
And here Microsoft got an idea: can we integrate all these tools into a single, understandable workspace? Or rather, is it possible to create an extension for Visual Studio Code that would allow analyzing data directly, directly, without disrupting the development process?
The advantages of this are obvious. You get the power of an intelligent Python editor (Visual Studio Code) in combination with the speed of execution and visualization of Jupyter Notebooks. All in one window. Thus was born Neuron.
The principle of Neuron is simple. It all starts with a regular Python or R editor in Visual Studio Code. Along with this, on the other side of the screen is the Neuron. At first this is a blank page, but when you run code snippets, output turns into interactive images. They can be simple text, tables, images, charts, maps ... anything. Here is an example:

You can find the Neuron in the marketplace .
After installation, a button will appear in the editor panel. It will always be there when you edit a supported file (currently Python or R).

Clicking on it will display the Neuron main output panel.
The extension uses Jupyter Notebooks in the background to create visualizations. If you are familiar with data analysis, most likely you have Jupyter installed on your computer. If not, Neuron will offer to install it when you first open the extension.
The first step is to write the code. The extension currently supports Python and R because they are the two most common languages used in data analysis. Open a new Python file and write the code:
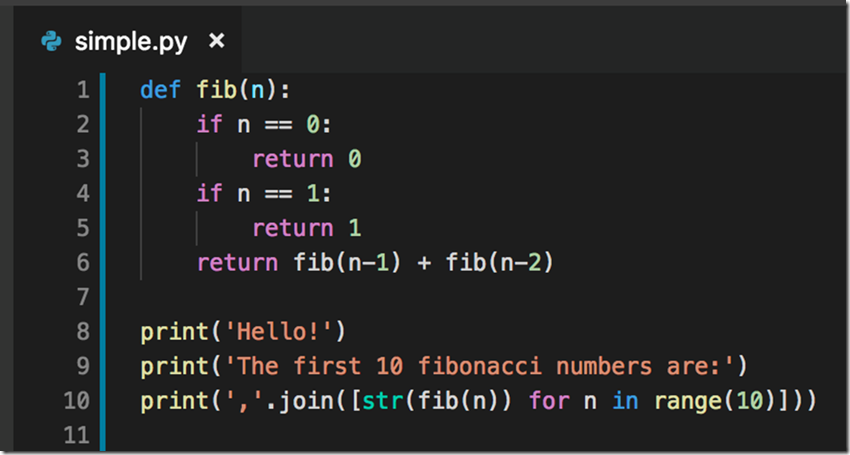
This is not big data, but the meaning is clear. To run this code and get the result, we just need to select it and press Alt + Enter (option + return on Mac). And ... here it is!
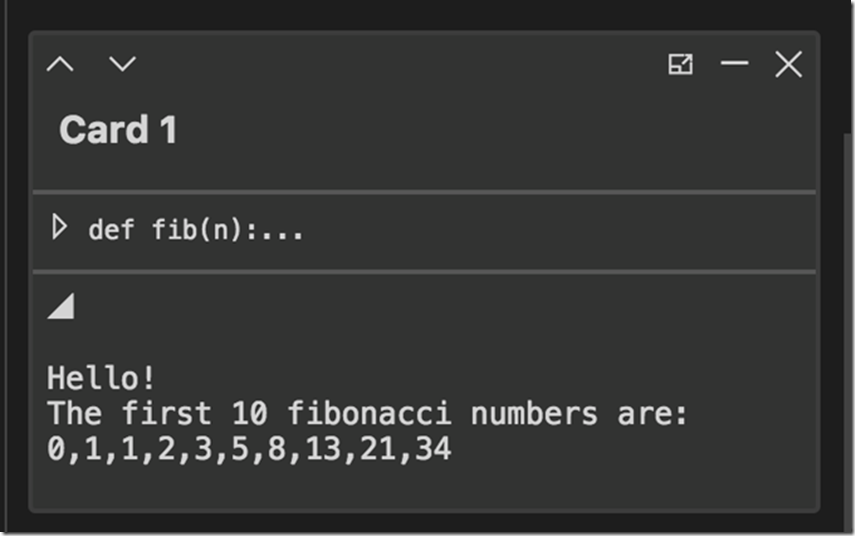
On the right side there will be a card with the output of your code. You can delete it, move it up and down the list, minimize it, or move it to a separate window. Neuron keeps track of the code snippets associated with each card so you can quickly find them and rerun them if necessary.
Difficult data visualization: this is where Neuron is really strong. It supports more output options than Jupyter Notebooks.
For example, the standard way to create graphs in Python is through the popular plotly library. Let's try to build some simple data elements on a 2D-plane.
Select the text again, press Alt + Enter, and the map will be generated.
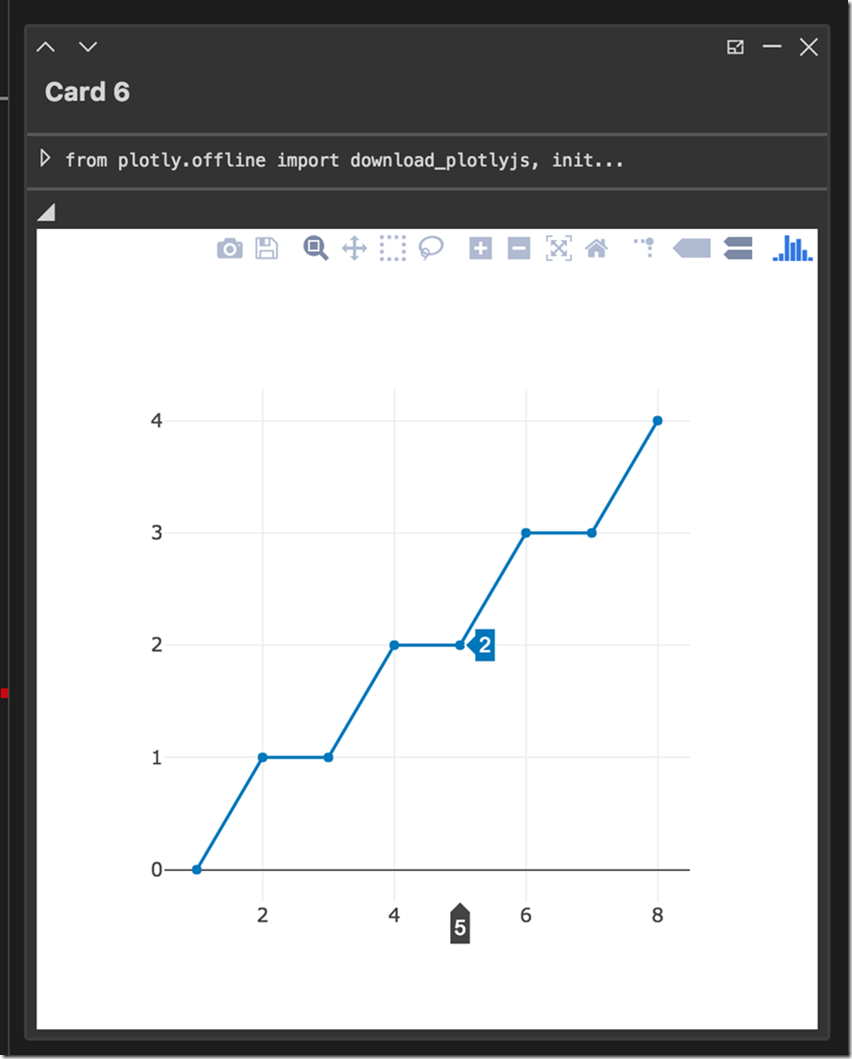
The map is interactive, so you can scale and pan it as needed, as well as mark the values on the graph or export the image to PNG. If you want to edit data points, all you need to do is go back to the source code, change some values and execute it again. A new map will appear just below the old one: Neuron keeps track of your code history until you close Visual Studio.
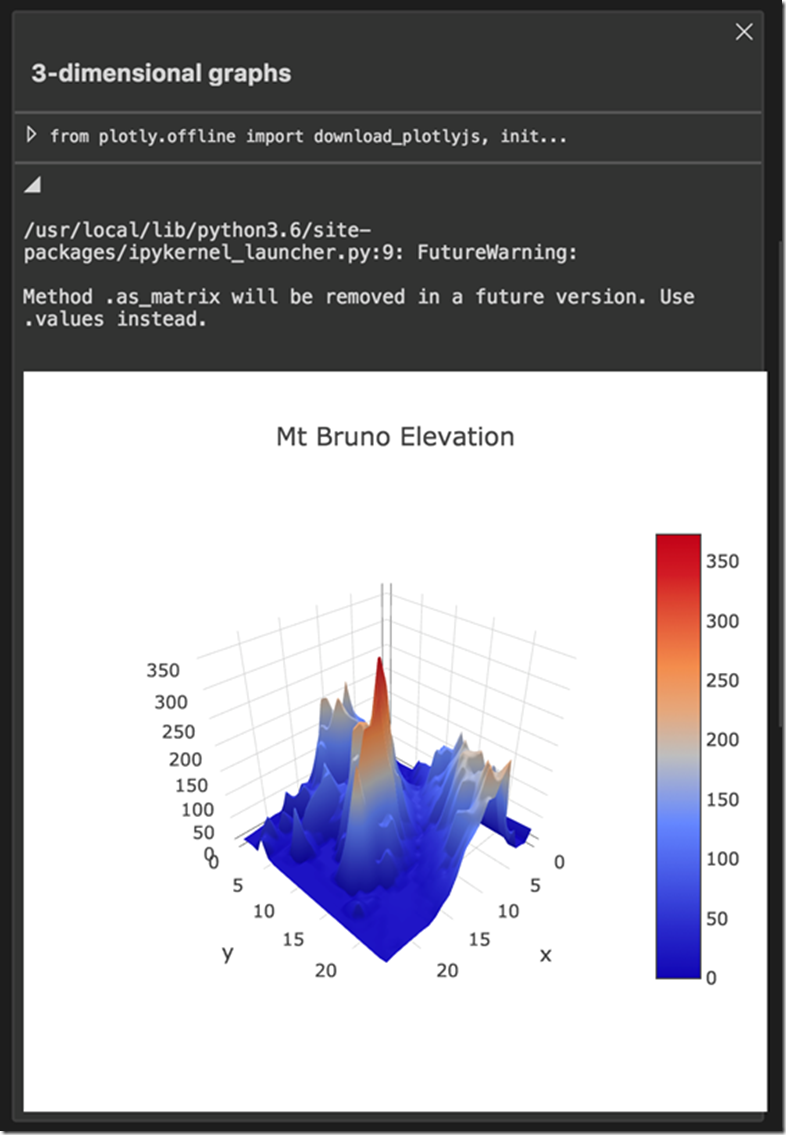
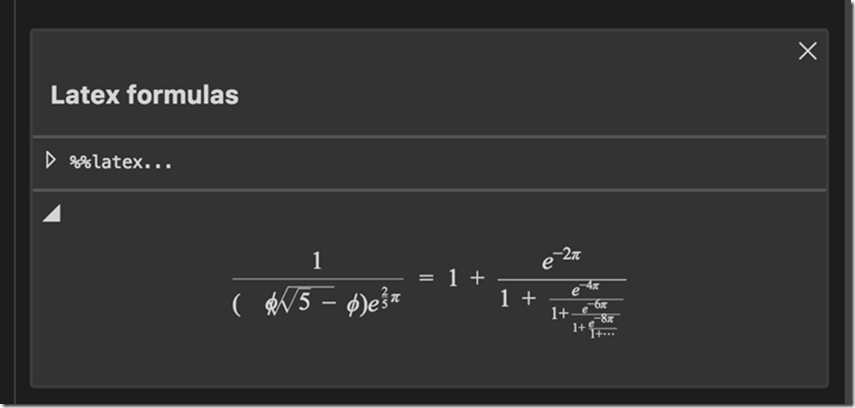
Neuron also supports 3D graphics, maps, LaTeX formulas, markdown, HTML, and various types of static images. The steps to create them are the same as the ones I demonstrated above. You can find examples of all of them in our demo file below.
If you are looking for a tutorial on working with Neuron, then try our demo file to help you learn the most useful extension features.
Filtering maps in the output: the list of maps can make navigation a bit more difficult if you use a lot of code fragments. Filter maps by keywords or by type using the search box and the filter button on the toolbar in the output pane.
Does Jupiter work? If there are strange and inconsistent errors when running your Python code, it may be useful to restart Jupyter running in the background. The command is called “IPE: Restart active kernels”.
Output sharing: Neuron is compatible with Jupyter notebooks. You can import existing notebooks using the “IPE: Import Jupyter notebook” command, and it converts all Jupyter cells into maps. Similarly, everything works with exporting.
The guys from the AI-Community are now holding an online championship in Data Science with a prize fund of 600,000 rubles. Join us, the case may interest you.
A bit of context - aka how did the idea of Neuron
Data science is a very fashionable phenomenon of the 21st century. Starting with IoT devices that create thousands of data elements per day, and ending with social networks that consolidate information about people at a level previously unknown, most of the technology development that occurs today will sooner or later come into contact with “data science”.
Data quietists come from different industries, but the vast majority of them use the standard set of tools: Python, <insert the name of a popular machine learning library>, and Jupyter Notebooks.
And here Microsoft got an idea: can we integrate all these tools into a single, understandable workspace? Or rather, is it possible to create an extension for Visual Studio Code that would allow analyzing data directly, directly, without disrupting the development process?
The advantages of this are obvious. You get the power of an intelligent Python editor (Visual Studio Code) in combination with the speed of execution and visualization of Jupyter Notebooks. All in one window. Thus was born Neuron.
What Neuron does and how to use it
The principle of Neuron is simple. It all starts with a regular Python or R editor in Visual Studio Code. Along with this, on the other side of the screen is the Neuron. At first this is a blank page, but when you run code snippets, output turns into interactive images. They can be simple text, tables, images, charts, maps ... anything. Here is an example:
1. Installing the extension
You can find the Neuron in the marketplace .
After installation, a button will appear in the editor panel. It will always be there when you edit a supported file (currently Python or R).
Clicking on it will display the Neuron main output panel.
2. Customization
The extension uses Jupyter Notebooks in the background to create visualizations. If you are familiar with data analysis, most likely you have Jupyter installed on your computer. If not, Neuron will offer to install it when you first open the extension.
3. Using the interface
The first step is to write the code. The extension currently supports Python and R because they are the two most common languages used in data analysis. Open a new Python file and write the code:
This is not big data, but the meaning is clear. To run this code and get the result, we just need to select it and press Alt + Enter (option + return on Mac). And ... here it is!
On the right side there will be a card with the output of your code. You can delete it, move it up and down the list, minimize it, or move it to a separate window. Neuron keeps track of the code snippets associated with each card so you can quickly find them and rerun them if necessary.
4. Transition to more meaningful results
Difficult data visualization: this is where Neuron is really strong. It supports more output options than Jupyter Notebooks.
For example, the standard way to create graphs in Python is through the popular plotly library. Let's try to build some simple data elements on a 2D-plane.
from plotly.offline import download_plotlyjs, init_notebook_mode, plot, iplot
from plotly.graph_objs import Scatter, Figure, Layout
iplot([{"x": [1, 2, 3, 4, 5, 6, 7, 8], "y": [0, 1, 1, 2, 2, 3, 3, 4]}])
Select the text again, press Alt + Enter, and the map will be generated.
The map is interactive, so you can scale and pan it as needed, as well as mark the values on the graph or export the image to PNG. If you want to edit data points, all you need to do is go back to the source code, change some values and execute it again. A new map will appear just below the old one: Neuron keeps track of your code history until you close Visual Studio.
Neuron also supports 3D graphics, maps, LaTeX formulas, markdown, HTML, and various types of static images. The steps to create them are the same as the ones I demonstrated above. You can find examples of all of them in our demo file below.
5. Try it yourself
If you are looking for a tutorial on working with Neuron, then try our demo file to help you learn the most useful extension features.
Some secrets
Filtering maps in the output: the list of maps can make navigation a bit more difficult if you use a lot of code fragments. Filter maps by keywords or by type using the search box and the filter button on the toolbar in the output pane.
Does Jupiter work? If there are strange and inconsistent errors when running your Python code, it may be useful to restart Jupyter running in the background. The command is called “IPE: Restart active kernels”.
Output sharing: Neuron is compatible with Jupyter notebooks. You can import existing notebooks using the “IPE: Import Jupyter notebook” command, and it converts all Jupyter cells into maps. Similarly, everything works with exporting.
Conclusion from the author
I am very pleased that Microsoft decided to integrate Neuron into the Python extension for Visual Studio Code. You can track project progress in the Github repository . I look forward to your feedback!
Minute advertising
The guys from the AI-Community are now holding an online championship in Data Science with a prize fund of 600,000 rubles. Join us, the case may interest you.