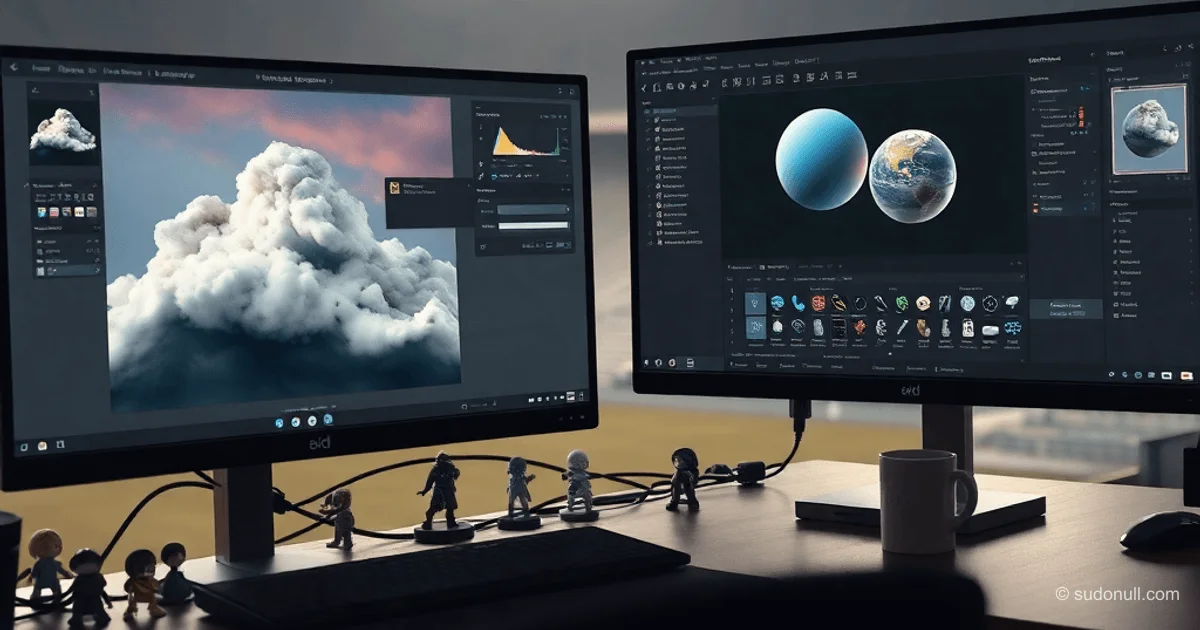
Creating Realistic Game Clouds: Photoshop + UE5
Start by creating a 2048x2048 pixel document. Use a reference image of clouds—take a screenshot of a suitable example.
- Create a new layer.
- Select a soft brush to outline the cloud shape.
- Sketch a rough silhouette—precision isn’t critical.
Switch to a textured brush for volume. Set the blending mode to Normal instead of Multiply to ensure proper color mixing.
Add gradients for shadows and highlights using smooth transitions from white to gray tones. Merge layers to form your base texture.
Generate Base Color and Opacity Mask
For Base Color, blend the white background with the cloud layer.
For Opacity Mask:
- Select the cloud layer.
- Press Ctrl + U → set Saturation = -100.
- Press Ctrl + L → adjust Levels (example: Output 0-255, Input 0-200-255).
- Merge into a single layer.
Export both maps as PNG files with an alpha channel. Import them into Blender or Maya and apply them to a Plane with UV unwrapping.
Material Setup in Unreal Engine 5
Create a Material Function MF_ColorControls:
- Connect Texture Sample (Base Color).
- Add parameters for Color Tint and Intensity.
In the Master Material:
- Set Domain to Surface.
- Set Blend Mode to Translucent.
Color Group
TextureSample (BaseColor) → Lerp (with Color Parameter) → Base Color
Opacity Mask → Opacity
Build a dedicated group for color controls.
Opacity Group
Connect the Opacity Mask to the Opacity Strength parameter (0.0–1.0).
Animating with Flow Map and Panner
Add a Flow Map texture:
- Add Texture Sample (Flow Map).
- Use Panner (Speed X/Y) on the Flow Map’s UVs.
- Add Rotator node for direction control.
- Connect output to PixelNormalWS or WorldPositionOffset.
Final setup:
- Base Color from the Color group.
- Opacity from the Opacity group.
- Normal from Flow Map + Panner.
Configure Material Instance
Create an instance from the Master Material:
- Color Tint: RGB values for overall tone.
- Brightness: 0.8–1.2.
- Flow Speed: 0.1–0.5.
- Noise Scale: 10–50 for subtle distortions.
- Opacity Strength: 0.7–0.95.
Apply the material to a Plane geometry imported from Blender. Scale the planes to cover the sky area.
Key Tips
- Always use separate layers in Photoshop for non-destructive editing.
- Keep the Normal blending mode when adding depth—critical for realism.
- Flow Map + Panner delivers dynamic animation without requiring Skeletal Meshes.
- Material Instances let you quickly tweak visuals for different weather conditions.
- Test in UE5 under various lighting setups (Sky Light + Directional Light).
— Editorial Team










No comments yet.