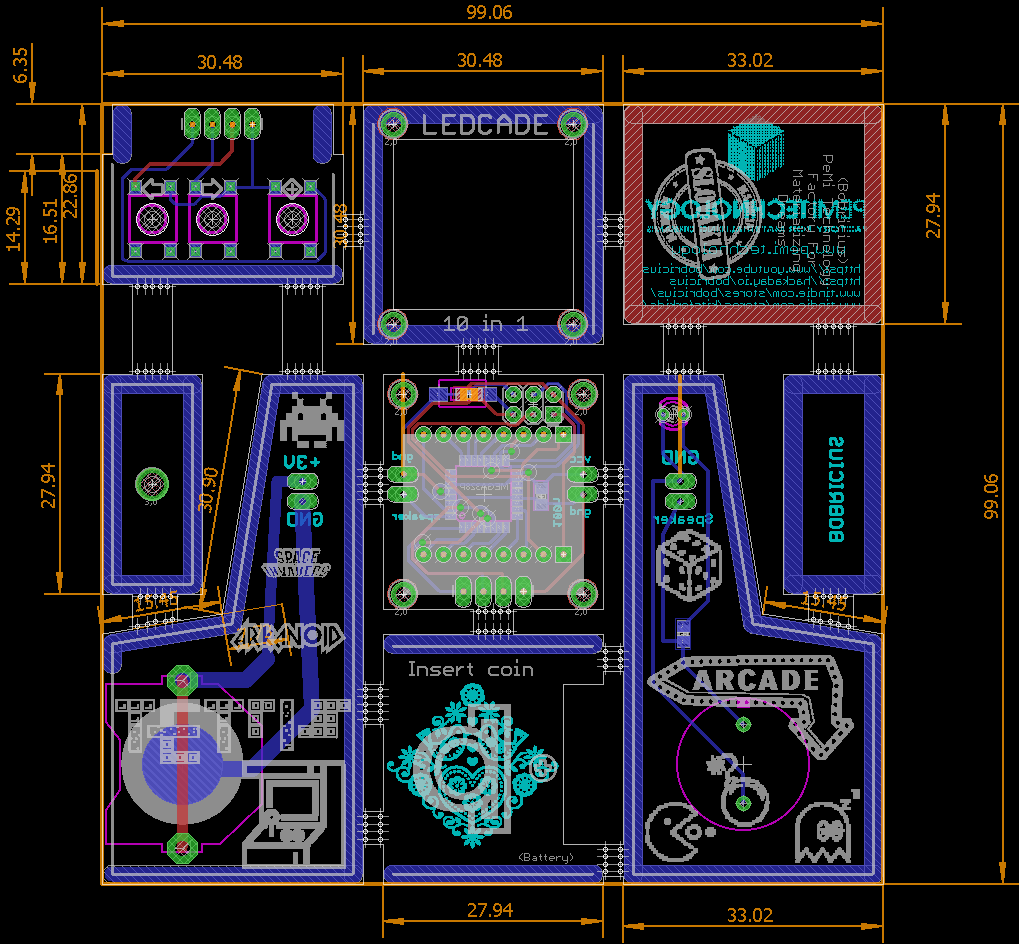
How to make a game console with a case by ordering one printed circuit board
- Transfer
- Tutorial

You just need to remember the youth and the case, assembled by soldering from the same material as the board. There is nothing new under the sun.
In general, the author reworked his own development - the “64-bit” console, adding a body to it. 64 bits in this case is not the width of the data bus, but the amount of video memory. The author generally loves puns, for example, in the new console, the classic “Insert coin” means “Insert coin cell”.
The device is made on the microcontroller ATmega328. Eight games are taken here , here and here . The processing result is posted here.. Everything is there: the circuit, and the board, and software. In general, I liked this project for a long time, but there were no files for repetition (they appeared 4 days ago), which is why it was slow to translate.
All that was missing was the PNG scheme. I asked the author, and now she is on GitHub. Such a scheme will help, if you wish, to assemble the same even on a breadboard (ATmega328P also happens in DIP):

But when assembling on a breadboard, the walls of the case will also have to be made manually, another PNG file will serve as a drawing with dimensions. In this case, the walls can be joined not only by soldering, but also by hot glue, so foil material is not necessary.

The author ordered the boards in DirtyPCBs, choosing the dimensions 100x100mm, thickness 1.2 mm. It turned out expensive, but another manufacturer, positioning itself as “cheap”, requested even more for boards of increased complexity.
It’s not easy to get used to controlling three buttons, but you can:
